










Peace Lily Watering: The Complete Guide to Keeping Your Plant Thriving
Understanding the Peace Lily’s Natural Water Needs
The peace lily (Spathiphyllum) is one of those houseplants that rewards you for paying attention — and water is the thing to pay closest attention to. These plants originally come from the tropical rainforests of Central and South America, where they grew up in warm, humid conditions with soil that would drain well between rainstorms. That backstory basically tells you everything: peace lilies want steady moisture, but they really can’t stand sitting in soggy, waterlogged soil for too long.
One thing peace lilies are genuinely great at is telling you when they’re thirsty. The broad, glossy leaves will start to droop and lose their usual upright perkiness — it’s the plant’s way of flagging that it needs a drink. Plenty of experienced growers just watch for this and use it as their watering cue. That said, letting your plant collapse completely on a regular basis puts real stress on the roots over time, so it’s better to catch it at the early droop rather than waiting for a full meltdown.
Your soil choice matters a lot here too. A good potting mix with perlite or bark mixed in will let excess water drain away at a pace the plant actually likes. Dense, compacted soil holds water far too long and creates the conditions for root rot, which is the most common thing that takes peace lilies down. Before you blame your watering habits, it’s worth taking a look at whether your soil and pot are doing their part.
How Often Should You Water a Peace Lily?
There’s no one-size-fits-all answer here, because how often your peace lily needs water depends on your specific home — the light levels, pot size, humidity, soil type, and time of year all play into it. That said, most peace lilies in a typical indoor setting are happy being watered roughly once every one to two weeks. The real rule of thumb is to check the soil rather than stick to a rigid schedule.
The easiest way to know when it’s time is the finger test: poke your finger about an inch into the soil near the edge of the pot. Dry at that depth? Go ahead and water. Still cool and damp? Give it another day or two and check again. It’s simple, it actually works, and it adjusts itself automatically as the seasons change. In spring and summer when your plant is actively growing, it’ll want water more often. Come autumn and winter, growth slows down and the soil stays moist longer, so you’ll naturally water less.
A moisture meter is another handy option, especially if you’re newer to plant care and still developing a feel for things. You just push it into the soil and get a number. Aim to water when it reads around three on a one-to-ten scale. Using it alongside regular leaf checks gives you a pretty complete picture of how your plant is actually doing.
The Right Way to Water a Peace Lily
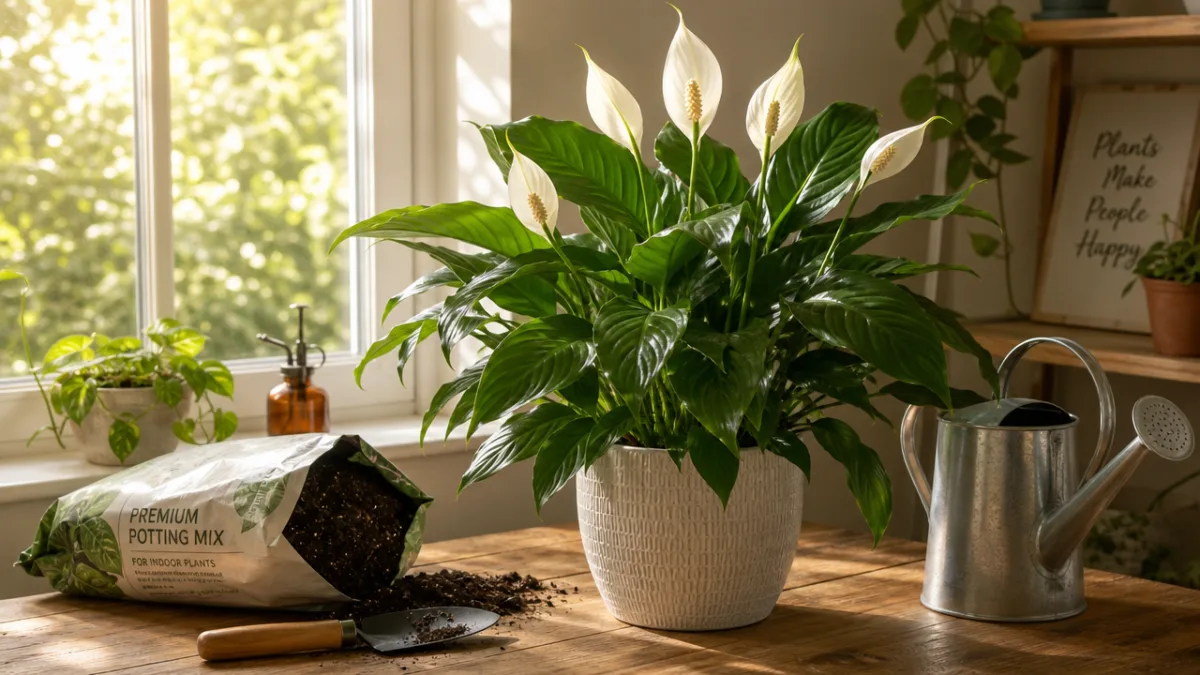
How you water matters just as much as how often. The goal is to water deeply and evenly — pour water slowly across the soil surface until it starts flowing out of the drainage holes at the bottom. This encourages roots to grow downward toward the moisture, which means a stronger, more resilient plant over time. Little shallow sips, on the other hand, keep moisture near the surface and can result in weak, poorly anchored roots.
Once you’ve watered, let the pot drain fully before putting it back in its saucer or decorative pot. Leaving a peace lily sitting in standing water for more than about thirty minutes is a fast track to root rot. If you use a saucer, empty it after every watering. Some people just take their plant to the sink or shower, let it drain completely, then bring it back — it’s a great habit because it removes any guesswork about water pooling underneath.
Water temperature is something a lot of people overlook, but peace lilies actually notice it. Cold water can stress the plant and cause brown leaf tips — and once a leaf tip goes brown, that particular leaf won’t recover. Always use room-temperature water, and if you can, let it sit out for a few hours before using it. That rest time also lets chlorine and fluoride — both of which peace lilies are more sensitive to than you might expect — partially dissipate. If your tap water is on the harder side, filtered or collected rainwater is genuinely worth considering.
Recognizing and Correcting Watering Problems
Figuring out whether your peace lily is getting too much or too little water is one of the most useful skills you can build. Here’s the tricky part: overwatering and underwatering can look surprisingly similar — droopy leaves, sad appearance all around. The soil is your clue. Drooping with wet soil points to overwatering. Drooping with bone-dry soil means the plant just needs a drink.
Root rot from chronic overwatering is the more serious of the two problems. It’s caused by fungi that thrive when roots sit in waterlogged, airless conditions, and it turns roots brown and mushy. You’ll often notice yellowing leaves, a bad smell coming from the soil, and a plant that looks like it’s giving up. If you catch it early enough, you can save the plant by taking it out of its pot, cutting away all the damaged roots with sterilized scissors, and repotting it in fresh, well-draining soil.
Underwatering is less immediately dangerous, but it wears your plant down if it becomes a habit. A chronically thirsty peace lily will develop brown, crispy leaf tips and edges, lose its rich green color, and eventually stop putting out those lovely white flowers it’s known for. If your plant has been underwatered, don’t overcompensate with a huge flood of water all at once. Water it thoroughly, let it drain, and then keep a closer eye on it going forward to build a more consistent routine.
Here are the most common watering problems and their visual symptoms:
- Yellowing lower leaves: Often a sign of overwatering or poor drainage, especially when combined with wet soil.
- Brown leaf tips: Typically caused by fluoride or chlorine sensitivity, inconsistent watering, or low humidity rather than excess water.
- Drooping with wet soil: A strong indicator of root rot — check the roots immediately and consider repotting.
- Drooping with dry soil: The plant is thirsty — water thoroughly and it should recover within a few hours.
- Pale or yellowing new growth: Can suggest the roots are struggling to absorb water and nutrients efficiently, often linked to waterlogged soil.
Water Quality and Its Impact on Peace Lily Health
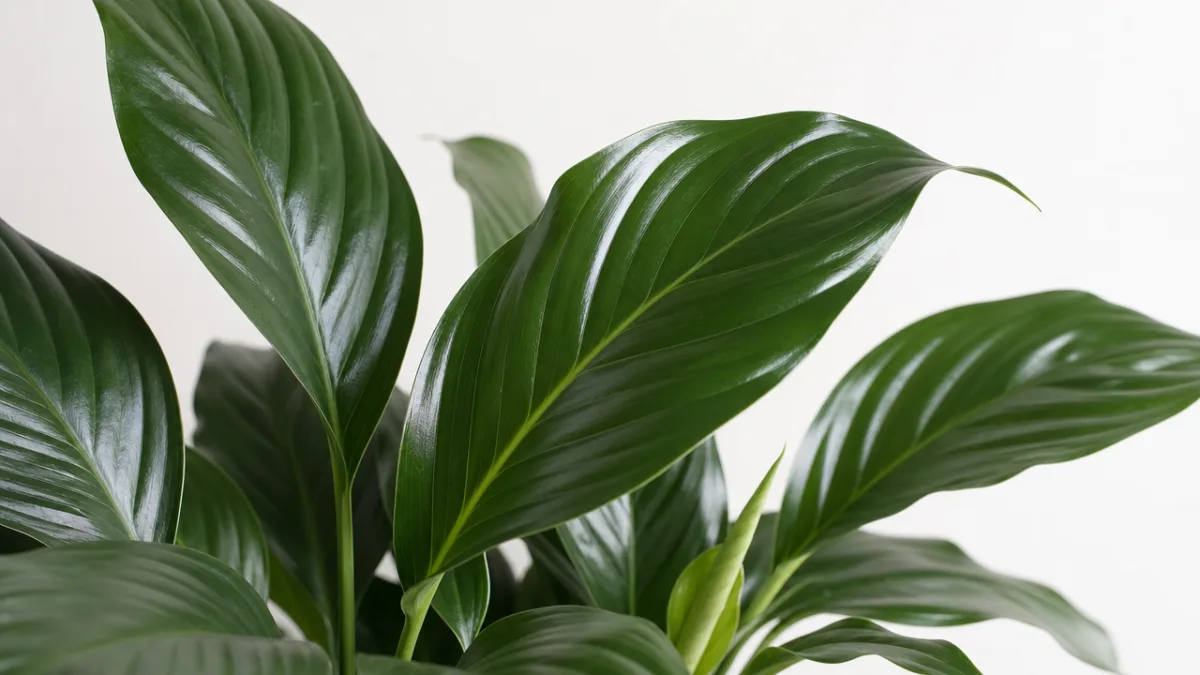
Peace lilies have a reputation for being fussy about water quality, and it’s a fair one. Most municipal tap water contains chlorine and chloramine for disinfection, plus naturally occurring fluoride — all harmless to us, but they can build up in the soil over time and cause visible damage to your plant, most often those brown leaf tips that people often chalk up to watering frequency or dry air.
The easiest fix is to fill a container with tap water and leave it sitting uncovered on your counter overnight before using it. Chlorine is a volatile gas and will mostly evaporate within twelve to twenty-four hours when exposed to open air. Chloramine is a bit more stubborn and doesn’t evaporate as readily, but letting the water rest overnight still brings it to room temperature, which is good on its own. For plants that are already showing tip damage, a basic water filter can make a real difference.
Rainwater is honestly the gold standard for peace lilies and most other tropical houseplants. It’s naturally soft, free of chemical additives, and slightly acidic — conditions that closely match what these plants grew up with. If you have any outdoor space at all, setting out a bucket or barrel when it rains is an easy way to give your plants a real treat. Distilled water is another solid option, though it’s stripped of the trace minerals that rainwater carries naturally, so alternating it with filtered tap water is a practical long-term approach.
Seasonal Adjustments and Special Watering Considerations
One sign of a truly experienced plant person is adjusting their watering habits with the seasons rather than sticking to the same schedule year-round. In spring and summer, peace lilies are in full growing mode. More light, warmer temperatures, and longer days all mean the soil dries out faster and the plant is actively using more water. During this stretch, you might find yourself watering every seven to ten days, or even more often if your home runs warm. Checking the soil every few days keeps you from falling behind.
When autumn rolls around and the days get shorter, your peace lily naturally starts to slow down. It takes up less water, and the soil stays moist for longer between waterings. A really common mistake in the cooler months is continuing to water at the same rate as summer — that’s how overwatering problems develop. Through autumn and winter, many peace lilies only need water every two to three weeks. Same finger-test principle applies: trust the soil over the calendar.
There are also certain moments in a plant’s life that call for a little extra care around watering. When you repot, it helps to water the plant a day or two before so the root ball stays together, then water lightly after repotting and ease back into a normal schedule. If you’ve just brought a new plant home from a nursery, give it several weeks to settle into your home’s light and humidity levels — its water needs might be hard to predict during that adjustment window. Just stay patient and observant, and you’ll dial it in.
Here is a quick seasonal watering reference guide to help you stay on track throughout the year:
- Spring: Begin increasing watering frequency as growth resumes; check soil every three to four days.
- Summer: Water most frequently; monitor closely in high heat or air-conditioned environments that dry soil quickly.
- Autumn: Gradually reduce frequency as growth slows; allow soil to dry slightly more between waterings.
- Winter: Water least frequently; prioritize soil checks over calendar schedules to avoid overwatering during dormancy.
Humidity, Misting, and Complementary Moisture Practices
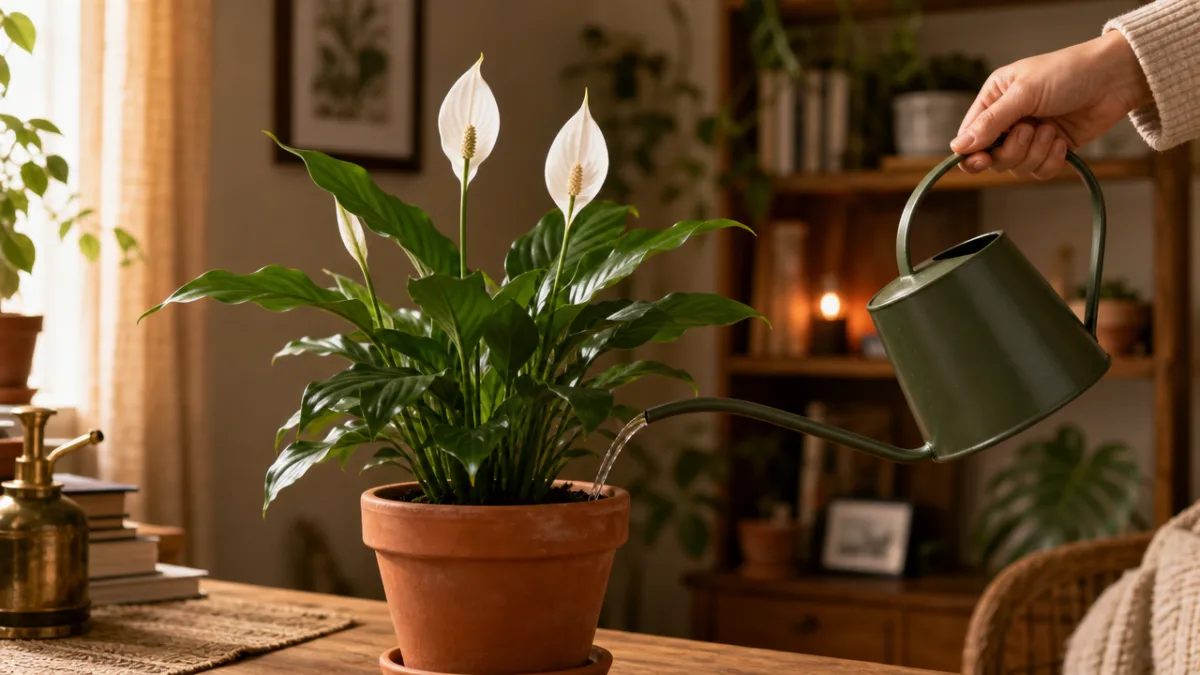
Watering the soil is only part of the picture. Peace lilies are tropical plants, and they genuinely prefer higher humidity than most homes naturally provide — especially when heating or air conditioning is running. Typical indoor humidity sits somewhere between thirty and fifty percent, while peace lilies are happiest closer to fifty to sixty percent. That gap can show up as brown leaf tips, slower growth, or a generally dull appearance, even when your watering routine is perfectly on point.
There are a few easy ways to boost the humidity around your plant. Sitting the pot on a shallow tray filled with pebbles and a little water is a popular and effective approach — as the water evaporates, it raises the humidity right around the plant without the roots ever touching the water. Grouping plants together is another good trick, since plants release moisture through their leaves naturally, and a cluster of them will collectively create a more humid little microclimate. A small humidifier running nearby during winter can also make a surprisingly big difference to your whole plant collection.
Misting is where plant people tend to disagree. Some swear by misting their peace lily’s leaves every day or two, while others point out that water sitting on leaves for too long can invite fungal problems. If you do mist, morning is the right time to do it so the leaves can dry out before the evening. A nice alternative is wiping the leaves down with a damp cloth every few weeks — it clears off the dust that can actually block light absorption, and it delivers a small amount of moisture to the foliage in a more controlled way.
At the end of the day, getting peace lily watering right is less about memorizing rules and more about learning to read your plant. Regular soil checks, decent water quality, adjustments through the seasons, and a little attention to humidity will add up to a plant that doesn’t just survive but genuinely thrives — giving you that lush, dark foliage and those beautiful white blooms that make peace lilies so worth keeping around.








What do you think?
It is nice to know your opinion. Leave a comment.