










Step-by-Step Furniture Refinishing Made Simple
Why Furniture Refinishing Is Worth Your Time and Effort
There is something deeply satisfying about rescuing a piece of furniture from the brink of the trash heap and transforming it into something beautiful again. Furniture refinishing is one of those skills that rewards patience and attention to detail with results that feel almost magical. Whether you are working with a family heirloom that has seen better days or a thrift store find with great bones, the process of stripping away the old and revealing the new is both practical and creative.
Beyond the emotional rewards, refinishing furniture makes excellent financial sense. A solid wood dresser or dining table that might cost hundreds or even thousands of dollars new can often be purchased secondhand for a fraction of that price, then restored to stunning condition with a modest investment in supplies and time. In an era when sustainability matters more than ever, choosing to refinish rather than replace also keeps usable wood out of landfills and reduces demand for newly manufactured goods.
Many people are intimidated by the idea of furniture refinishing because they assume it requires professional tools or years of experience. The truth is that with the right guidance and a willingness to take your time, even a complete beginner can achieve professional-looking results. This guide will walk you through every stage of the process, from assessing your piece to applying the final protective coat, so you can approach your first project with confidence rather than apprehension.
Understanding Different Types of Wood and Finishes
Before you pick up a single tool, it pays to spend some time understanding the material you are working with. Solid hardwoods like oak, maple, walnut, and cherry behave differently from softwoods like pine and fir, and both are very different from engineered wood products like MDF or particleboard. Hardwoods are generally more forgiving during the sanding process and accept stains and finishes more evenly, while softwoods tend to absorb stain unevenly and may require a pre-conditioner for best results.
Existing finishes also vary widely and will affect how you approach the stripping process. Lacquer, shellac, varnish, polyurethane, and paint all have different chemical compositions and respond differently to strippers and solvents. A quick test using denatured alcohol can help you identify shellac, since it will soften and become sticky when alcohol is applied. Lacquer will respond similarly to lacquer thinner. Identifying what you are working with before you begin saves time and prevents costly mistakes down the line.
Veneer is another consideration worth understanding early on. Many antique and mid-century pieces use a thin layer of attractive wood glued over a less expensive core material. Veneer can be refinished successfully, but it demands a much lighter hand during sanding because the layer is often only a millimeter or two thick. Sanding through veneer is easy to do by accident and very difficult to repair, so learning to recognize it before you start is an important part of the assessment phase.
Gathering Your Tools and Materials
Having everything you need before you begin will make the entire refinishing process smoother and more enjoyable. Running to the hardware store mid-project breaks your concentration and can cause problems if a partially stripped surface is left exposed too long. Take the time to make a complete list and gather all your supplies in advance, and you will find the work flows much more naturally from one stage to the next.
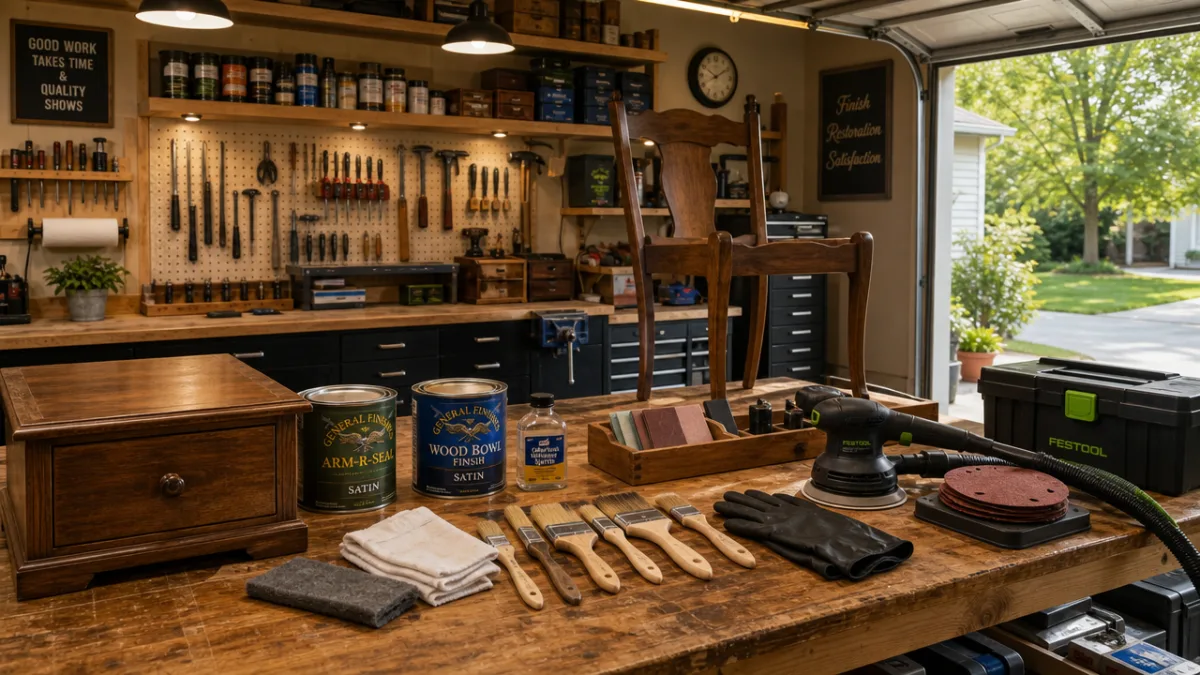
For most refinishing projects, your essential supply list will include chemical stripper or a heat gun for paint removal, several grits of sandpaper ranging from coarse to fine, a random orbital sander for flat surfaces, sanding blocks for detail work, wood filler for repairing any damage, your chosen stain or paint, and a high-quality topcoat or sealer. Do not skimp on brushes or application tools, since cheap brushes leave bristles in your finish and uneven application that takes significant effort to correct.
Safety equipment deserves just as much attention as the tools themselves. Chemical strippers contain compounds that can cause skin burns and respiratory irritation, so heavy rubber gloves, safety glasses, and a respirator rated for organic vapors are non-negotiable items. Work in a well-ventilated area or outdoors whenever possible. Keep a bucket of clean water and paper towels nearby for quick cleanup of any drips, and always read the safety instructions on every product you use before opening the container.
Setting Up Your Workspace for Success
A good workspace makes the difference between a frustrating project and an enjoyable one. Ideally, you want a space that is well lit, has good ventilation, and where you do not mind making a mess. A garage with the door open, a covered patio, or a basement with windows you can open are all workable options. Lay down a heavy drop cloth or use cardboard to protect the floor, and position your piece at a comfortable working height using sawhorses or a workbench if available.
Lighting is often underestimated in its importance to furniture refinishing. Working in dim conditions makes it easy to miss spots during stripping, sanding, and finishing, and you will only discover those missed areas once the project is done and the piece is back in a well-lit room. Position additional work lights to shine at a raking angle across surfaces so that any imperfections cast shadows that make them easy to spot and address before moving to the next stage.
Temperature and humidity matter more than most beginners realize. Most stains and finishes have an ideal application temperature range, typically between 60 and 80 degrees Fahrenheit, and high humidity can prevent finishes from curing properly, leading to a cloudy or tacky result. Check the weather before starting a project that you hope to finish in a day, and if conditions are not ideal, adjust your timeline rather than pushing forward and risking the final result.
Stripping the Old Finish
Stripping is often the most labor-intensive stage of any refinishing project, but it is also one of the most critical. A new finish applied over an old one that has not been fully removed will eventually peel, chip, or look uneven. Taking the time to strip the surface back to bare wood gives you the best possible foundation for whatever finish you choose to apply, and the results will reflect that investment of effort for years to come.
For most painted or heavily finished pieces, a chemical stripper is the most efficient approach. Apply it generously with an old brush, following the manufacturer’s instructions for dwell time, which is typically between 15 minutes and an hour depending on the product and the thickness of the finish. You will see the old finish begin to bubble and lift as the stripper works its way underneath. Once the surface looks adequately softened, use a plastic scraper to remove the loosened material, working with the grain of the wood whenever possible.
Detail areas like carvings, turnings, and moldings require special attention since a flat scraper cannot reach into them effectively. Steel wool, brass brushes, and wooden skewers or toothpicks are all useful for working stripper and loosened finish out of recessed areas without damaging the wood underneath. For very intricate carvings, a second application of stripper and a stiff natural-bristle brush can help loosen material from deep crevices. Patience here pays off significantly when it comes time to apply the new finish.
Neutralizing and Cleaning After Stripping
Once you have removed the bulk of the old finish, the surface will need to be neutralized and cleaned before sanding can begin. Most chemical strippers are either solvent-based or caustic, and residue left behind can interfere with the adhesion of your new finish or react with stains in unpredictable ways. Wipe the surface down thoroughly with the neutralizer recommended by the stripper manufacturer, which is often mineral spirits or water depending on the product type.
Allow the piece to dry completely after neutralizing, which may take several hours or even overnight depending on how much liquid was used and how porous the wood is. Rushing this step by moving directly into sanding while the surface is still damp can raise the wood grain unevenly and make sanding much more difficult than it needs to be. Touch the wood lightly in several places to confirm it feels dry and cool rather than cool and damp before proceeding.
Once dry, do a thorough visual inspection of the entire piece. Look for any remaining traces of old finish, particularly in corners, joints, and carved areas, and address them now rather than hoping they will disappear under the new finish. This is also a good time to assess the condition of the wood itself and identify any cracks, gouges, missing pieces, or loose joints that will need to be repaired before sanding begins. Making a mental note or a written list of repairs needed keeps you organized as you move forward.
Sanding for a Flawless Surface
Sanding is the heart of furniture refinishing and the stage that most directly determines the quality of your final result. No matter how beautiful your stain or finish might be, it cannot hide a poorly prepared surface. Scratches, mill marks, and uneven areas will show clearly once finish is applied, often more visibly than they appeared on the bare wood. Approaching sanding systematically and patiently is the single most important habit you can develop as a furniture refinisher.
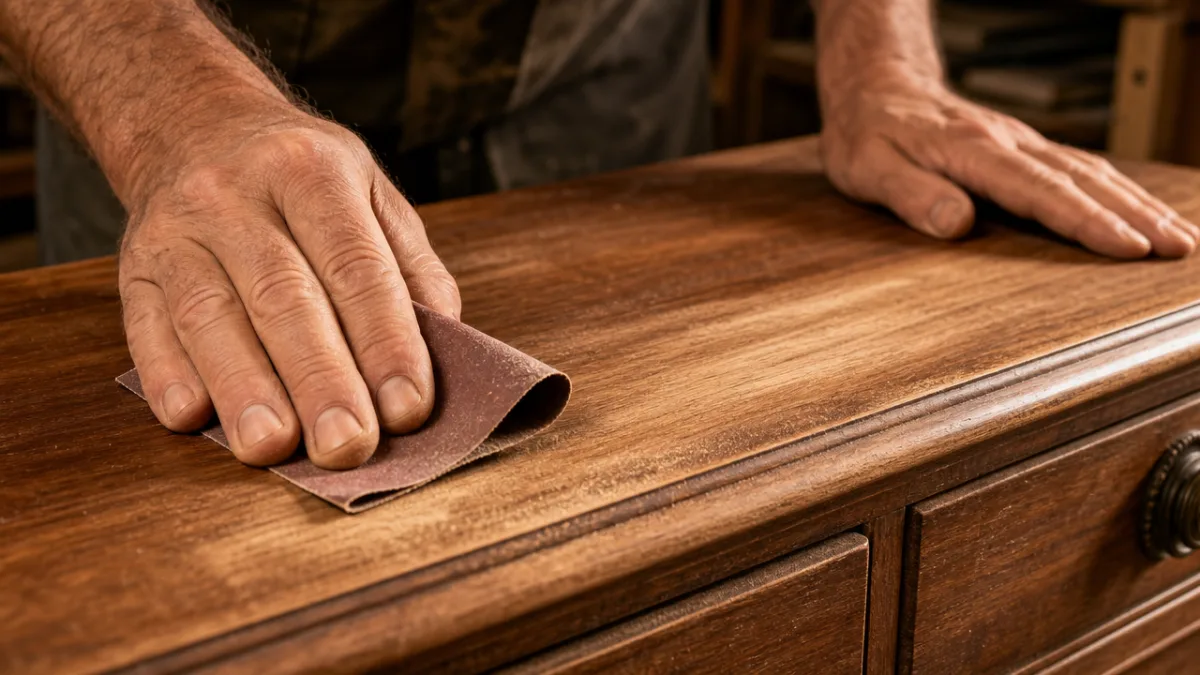
Begin with a coarser grit to remove any remaining traces of old finish and to level the surface, typically somewhere between 80 and 100 grit. Always sand with the grain of the wood rather than across it, since cross-grain scratches are very difficult to remove and become more visible once stain is applied. Progress through successively finer grits, typically 120, 150, and finally 180 or 220 for most projects, never skipping more than one grit level at a time. Each finer grit removes the scratches left by the previous one, and skipping grits means those scratches will show in your finish.
Between sanding sessions, wipe the surface with a tack cloth to remove all dust before inspecting your progress. Dust left on the surface can clog your sandpaper and create scratches, and it also makes it difficult to see how the surface actually looks. After your final sanding pass, wipe the piece down one last time with a clean tack cloth and examine the surface under raking light to confirm it is uniformly smooth and free of visible scratches in any direction. Only when you are genuinely satisfied with the bare wood surface should you move on to finishing.
Repairing Damage Before Finishing
Sanding sessions often reveal damage that was hidden under the old finish, including small gouges, cracks, nail holes, or areas where the wood has compressed over years of use. Addressing these imperfections before applying stain is essential because most wood fillers do not accept stain the same way raw wood does and will show as lighter or darker spots if stain is applied before the repair work is complete. The sequence matters: repair first, then do your final sanding, then stain.
For small holes and gouges, a pre-tinted wood filler that closely matches your intended final color is usually the best choice. Apply it slightly overfilled, allow it to cure completely per the manufacturer’s instructions, then sand it flush with the surrounding surface. For larger repairs or missing pieces of molding, two-part epoxy wood fillers offer greater strength and can be shaped and carved once cured. Cracks along the grain can often be stabilized with thin cyanoacrylate glue wicked into the crack before sanding.
Loose joints deserve attention at this stage too, since a piece that wobbles or flexes will eventually crack its finish no matter how beautifully it was applied. Disassemble loose joints where possible, scrape away old dried glue, and reglue with fresh wood glue, clamping firmly until fully cured. For joints that cannot be easily disassembled, injecting fresh glue using a syringe and clamping from the outside can often provide adequate reinforcement. A structurally sound piece is the foundation of a lasting refinish.
Applying Stain and Topcoat for a Professional Finish
With the surface fully prepared, you are finally ready for the most visible and rewarding stage of the process. Choosing the right stain color and topcoat type for your project involves both aesthetic preference and practical considerations. Oil-based stains generally penetrate more deeply and provide richer color, while water-based stains dry faster and clean up more easily. Gel stains are excellent for difficult woods like pine that tend to blotch with penetrating stains, since they sit more on the surface and apply more evenly.
Apply stain in thin, even coats using a good-quality brush or a lint-free cloth, working with the grain and keeping a wet edge to avoid lap marks. Allow the stain to penetrate for the time specified on the label, then wipe away any excess with a clean cloth before it becomes tacky. Leaving excess stain on the surface results in a blotchy, uneven appearance and can prevent proper drying. If you want a deeper color, a second coat after the first has dried will intensify the tone without the problems caused by excess stain on the surface.
Once the stain is fully dry, which may take 24 to 48 hours for oil-based products, apply your chosen topcoat according to its specific instructions. Polyurethane, lacquer, shellac, and hard wax oils all have different application methods and curing times. Regardless of which you choose, applying multiple thin coats with light sanding between them using 320 or 400 grit sandpaper produces a far superior result to attempting one thick coat. The final coat should be left to cure fully, often for several days, before the piece is returned to use.
Common Mistakes and How to Avoid Them
Even experienced refinishers encounter problems from time to time, and knowing what to watch for helps you catch issues early before they become serious. Bubbles in a freshly applied finish are usually caused by brushing too quickly, using a brush with too much air trapped in the bristles, or applying finish in conditions that are too warm. Slow down your brush strokes, gently tap rather than shake your finish container, and try to work during the cooler parts of the day to minimize this problem.
Blotching with stain is one of the most common frustrations for beginners, particularly when working with pine, cherry, or other woods that have inconsistent grain density. Applying a wood conditioner or pre-stain product before the stain dramatically reduces blotching by evening out the wood’s ability to absorb liquid. Gel stains, as mentioned earlier, are another effective solution since they rely less on absorption and more on a surface coating effect. Testing your stain on an inconspicuous area or a scrap piece of the same wood before committing to the full piece is always worth the extra step.
Drips and runs in your topcoat are a sign that you applied too much material at once. If caught while still wet, they can be carefully brushed out, but dried runs require sanding back and reapplication. The most effective prevention is simply using thinner coats than you think you need. Remember that three thin coats will always produce a better result than one heavy one, both in appearance and in durability. Patience at every stage of this process is not just a virtue but a genuine technique that separates good results from great ones.
Caring for Your Refinished Furniture
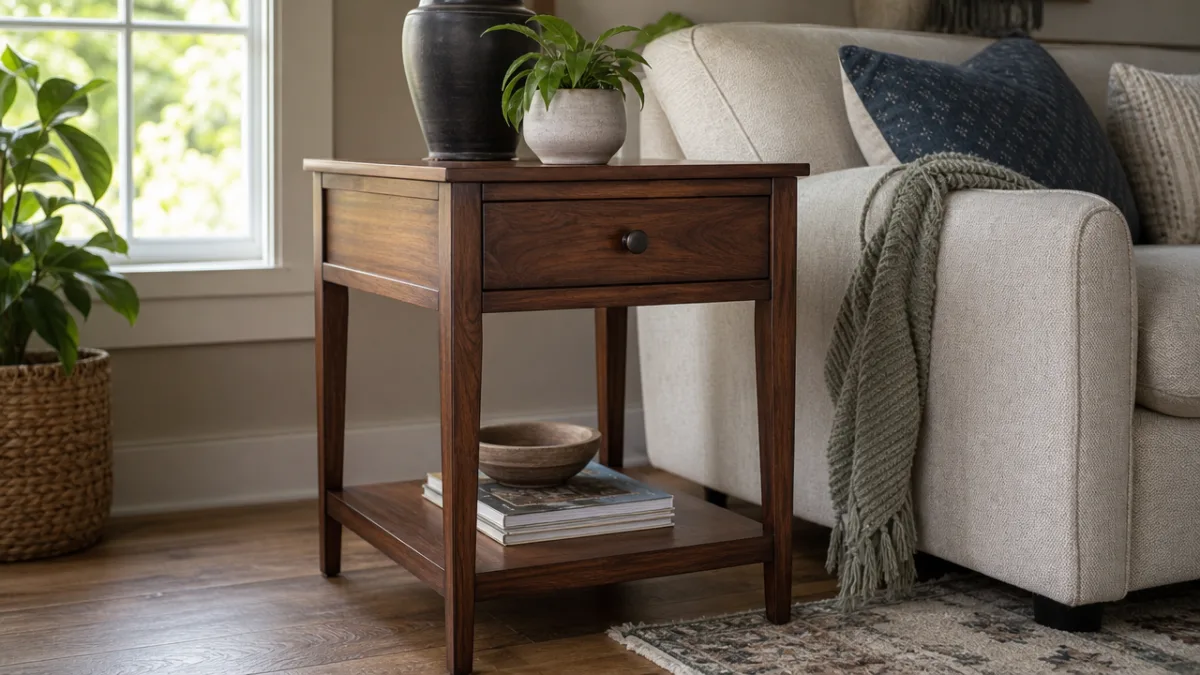
After investing the time and care required to refinish a piece of furniture, protecting that investment with proper ongoing care is both practical and worthwhile. The type of care your piece needs will depend on the finish you chose. Oil-based finishes and hard wax oils may benefit from periodic reapplication of the same product to maintain their depth and protection, while polyurethane and lacquer finishes are more durable and require less maintenance but cannot be spot-repaired as easily when they are eventually scratched.
For daily cleaning, a lightly dampened microfiber cloth is usually all that is needed for most furniture surfaces. Avoid harsh chemical cleaners, abrasive cloths, or excessive moisture, all of which can damage even a well-applied finish over time. For dining tables and other high-use surfaces, using placemats, tablecloths, and coasters protects against heat, moisture, and scratching, all of which are the most common causes of finish damage in normal household use. A little preventive care goes a long way in preserving your work.
Over time, even the best finishes will show wear, particularly on heavily used surfaces like tabletops and chair arms. The good news is that a piece you have refinished once is easier to refresh than one you are tackling for the first time. You already know what materials were used and how the wood behaves, and a light scuff sanding followed by one or two fresh coats of topcoat can often restore a worn finish without requiring a full strip-and-refinish project. Thinking of your refinished piece as something that can be cared for and renewed indefinitely, rather than something that needs to be perfect forever, takes the pressure off and makes the whole endeavor more joyful.
Building Your Skills for Future Projects
Every piece you refinish teaches you something new, whether it is a technique that worked better than expected, a product that disappointed you, or a problem you solved creatively under pressure. Keeping simple notes after each project, what wood species you worked with, what products you used, how long things took to dry, and what you would do differently next time, builds a personal reference guide that becomes more valuable with every project you complete.
As your skills grow, you may find yourself drawn to more ambitious projects, such as full dining room sets, antique pieces with complex repairs, or furniture with painted decorative details that require additional artistic skills. There is a wide community of furniture refinishers online and in local woodworking clubs who share techniques, product recommendations, and encouragement. Connecting with others who share your interest accelerates your learning and opens up possibilities you might not have discovered on your own.
Ultimately, furniture refinishing is a skill that pays dividends in every direction. It saves money, reduces waste, preserves beautiful objects, and produces a genuine sense of accomplishment that is increasingly rare in a world of disposable goods. The piece of furniture sitting in your garage or spare room right now, the one that seemed too far gone to bother with, may well become your favorite thing in your home once you have given it the attention and care it deserves. All it takes is the willingness to begin.








What do you think?
It is nice to know your opinion. Leave a comment.