










Mini Lid Banjos: A Complete Guide to This Delightful Kids’ Craft
Introduction to Mini Lid Banjos
There’s something genuinely magical about transforming ordinary household items into musical instruments kids can actually play. Mini Lid Banjos are one of those brilliantly inventive crafts that somehow manage to blend creativity, music appreciation, and fine motor skill development into one simple, joyful afternoon project. Made mostly from jar lids, rubber bands, and a handful of other easy-to-find bits and pieces, these charming little instruments have won over parents, teachers, and craft lovers everywhere.
What makes this craft so great is how accessible it is. You don’t need to hunt down specialty supplies or spend much money at all to end up with something that genuinely works as a musical instrument. Most of what you need is probably already lurking in a drawer or the recycling bin, which makes the whole thing budget-friendly and a surprisingly natural lesson in repurposing everyday materials.
Whether you’re a parent hunting for a rainy-day activity, a teacher looking for a classroom project with a music angle, or just someone who loves making things from scratch, Mini Lid Banjos are rewarding for pretty much any age. Kids tend to feel genuinely proud of the finished result, and that satisfying twanging sound keeps them coming back to play long after the crafting is done.
Materials You Will Need
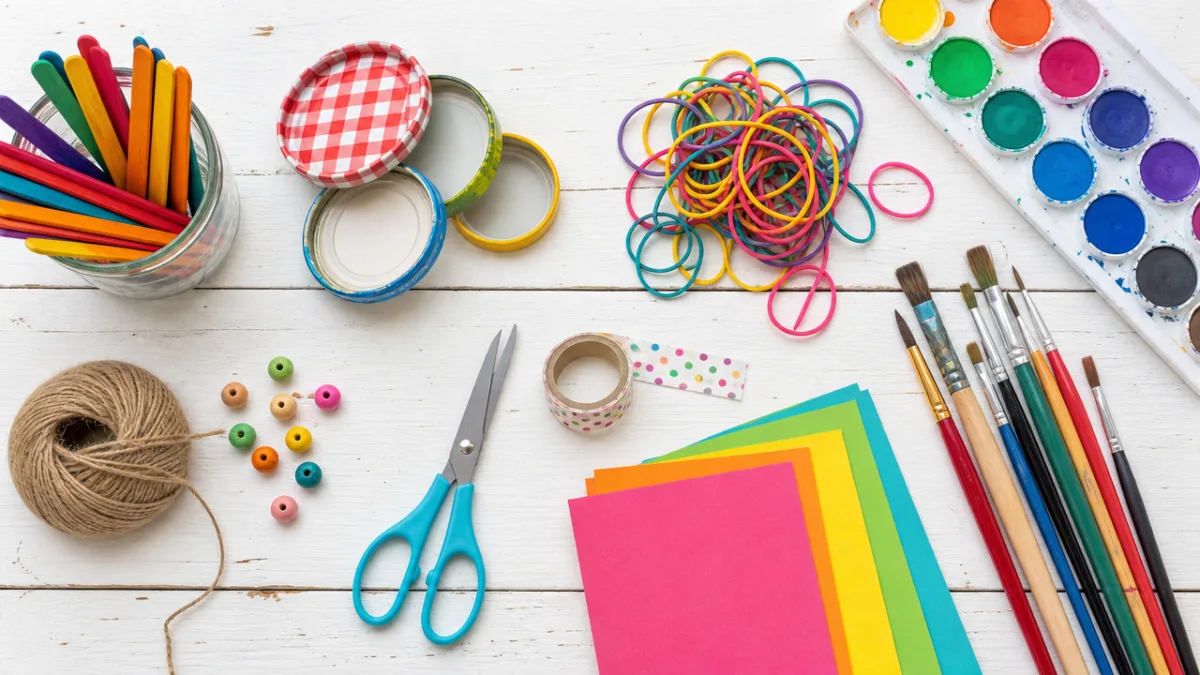
Getting everything together before you start is always a good idea with craft projects, and this one is no different. The supply list is refreshingly short, which is a big part of the appeal. Chances are you already have most of it at home, and anything you’re missing is easy to pick up cheaply at a craft store, dollar store, or even a supermarket. Having everything laid out and ready before you begin makes the whole experience smoother and more enjoyable for everyone involved.
The star of the show is, naturally, the lid. Metal jar lids in various sizes work really well — think mason jars or large pickle jars. The size actually affects the sound: bigger lids give you a slightly deeper twang, while smaller ones produce a higher-pitched tone. If you can gather a few different sizes, you’ve got the makings of a fun little science experiment about sound and vibration built right into the craft session.
Rubber bands are the other key ingredient, doing duty as the banjo strings. Different thicknesses produce different tones, which again gives kids something interesting to discover and explore. Beyond lids and rubber bands, here’s what else you’ll want to have on hand:
- Craft sticks or popsicle sticks (to form the neck of the banjo)
- Strong craft glue or a hot glue gun (for adult use only)
- Acrylic paint and paintbrushes for decorating
- Markers, stickers, or washi tape for personalising designs
- Scissors for any trimming needed
- Optional: glitter, gems, or sequins for extra sparkle
It’s also worth laying down some newspaper or a plastic mat to protect your work surface, especially if painting is on the agenda. Dried paint and glue are no fun to scrub off a table. Setting up a dedicated space where kids can get a little messy without anyone stressing about it tends to unlock a lot more creativity and experimentation anyway.
Step-by-Step Instructions for Making Your Mini Lid Banjo
Once your materials are ready and your workspace is set up, the fun part begins. The steps are simple enough that older kids can mostly work through them on their own, while younger ones will appreciate a helping hand — especially for anything involving hot glue. Working through it together can be a lovely bonding experience in itself, and watching the instrument come together piece by piece is genuinely satisfying no matter your age.
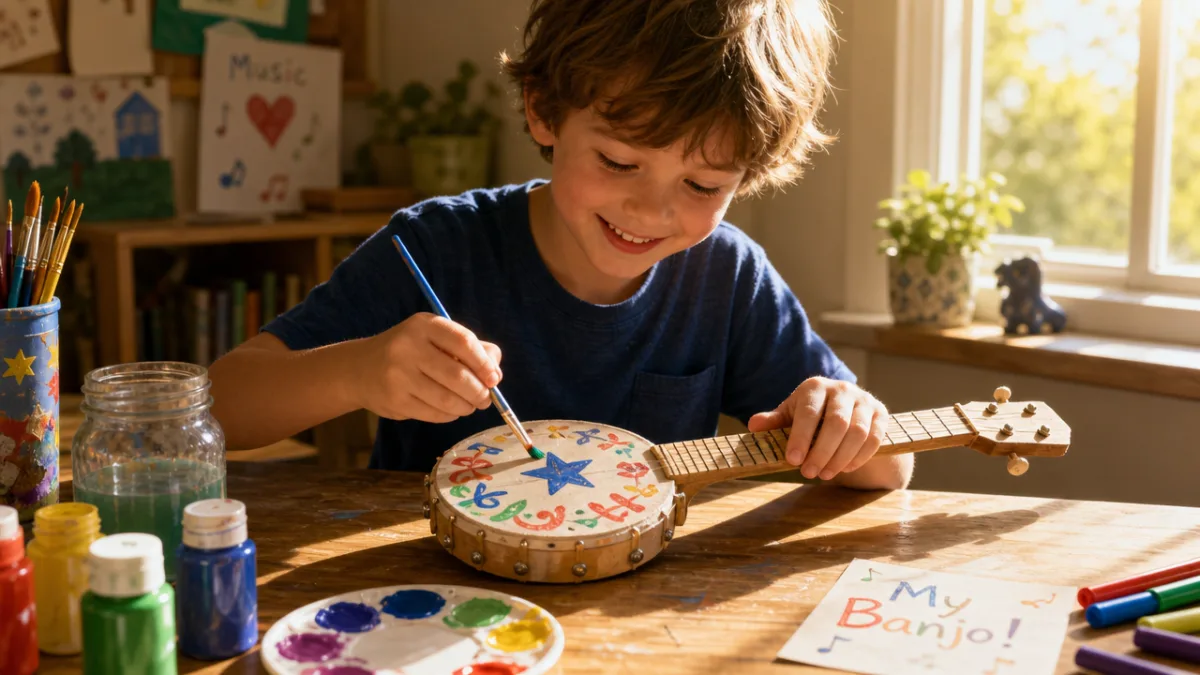
Start by decorating your lid before you assemble anything, because it’s so much easier when the lid is still flat and clear of all the other bits. Let kids paint the front and back in whatever colors they like, add their name, draw patterns, or paint a little scene. Then let it dry completely before moving on — assembling over wet paint means smudging and frustration for everyone. While you’re waiting, use the time to decorate the craft sticks that will become the banjo’s neck.
To put the banjo together, work through these steps in order:
- Glue two or three craft sticks together side by side to make a sturdy neck, and let them dry fully.
- Using strong glue or a hot glue gun, attach the craft stick neck to the back of the decorated lid so it sticks out like a handle.
- Let the glue set completely — this step really matters, because the neck needs to be properly secure before the rubber bands go on.
- Stretch two to four rubber bands across the face of the lid, running them along the length of the neck so they span the whole instrument.
- Space them evenly, and if you have different thicknesses available, mix them up for a range of tones.
- Give the rubber bands a gentle pluck to test the sound, and adjust their positioning if needed.
And that’s it — your Mini Lid Banjo is ready to play. Kids will get a real kick out of discovering they can produce actual musical sounds just by plucking the rubber band strings. Encourage them to try plucking at different points along the strings, pressing down lightly while plucking, or experimenting with different rhythms. It’s all good fun, and it also quietly builds an early understanding of how stringed instruments work in the real world.
Creative Decorating Ideas and Personalisation
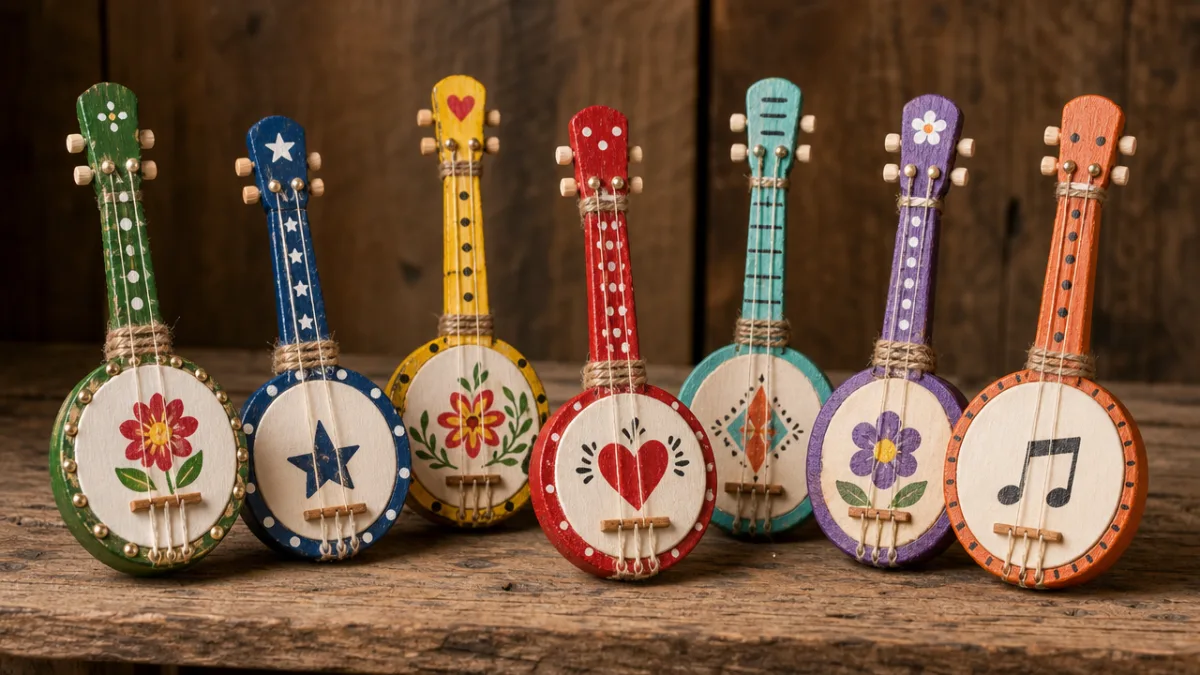
One of the best things about the Mini Lid Banjo craft is how much room there is for personalisation. Every single banjo can look completely different, and giving kids free rein to put their own stamp on their instrument creates a real sense of ownership and pride. Decorating is also a great low-pressure way for kids to practice artistic techniques, play with color, and experiment with patterns and design — and there are genuinely no wrong answers here.
Themed decorations can make the whole thing feel extra special. An ocean-loving kid might go for blues and greens with little painted fish and shell-shaped sequins. A space enthusiast might choose deep navy with gold and silver stars and a tiny rocket ship along the neck. These personal touches transform the finished banjo from a generic craft into something that feels like a real keepsake — and kids are far more likely to actually play an instrument they designed themselves.
For group settings like classrooms or birthday parties, setting up a few different decorating stations is a brilliant way to keep things moving and give everyone options. Consider setting up areas with these distinct approaches:
- Paint station: Acrylic paints in a wide range of colors, sponges for stippling effects, and fine brushes for detail work
- Collage station: Tissue paper, magazine cutouts, and decoupage glue for a layered, textural effect
- Sticker and tape station: Washi tape in various patterns, sticker sheets, and foam stickers for quick and easy decoration
- Glitter station: Glitter glue pens, loose glitter with a fixative, and gem stickers for sparkly, glamorous results
Letting kids wander between stations and mix techniques on a single instrument often leads to surprisingly beautiful results. It also nudges them toward an important creative insight: some of the most interesting outcomes come from combining things that weren’t originally meant to go together. That kind of open-ended thinking is one of the real gifts of a well-designed craft activity, and the Mini Lid Banjo is perfectly set up to encourage it.
Educational Benefits of Making Mini Lid Banjos
Crafts with real educational value are always a win for parents and teachers, and Mini Lid Banjos genuinely deliver on that front in several ways. Beyond the obvious fun of making something, this project quietly introduces kids to foundational ideas in physics, music theory, and even basic engineering — all packaged as something that feels like pure play rather than a lesson. That’s some of the most effective learning there is, because kids are following their own curiosity rather than ticking boxes on a worksheet.
The physics of sound is one of the most tangible things you can explore through this craft. When a child plucks a rubber band string and hears a sound, they’re watching vibration in action — the string moving back and forth rapidly, disturbing the air around it, creating sound waves that travel to the ear. Trying tighter and looser bands shows how tension affects pitch, while experimenting with different thicknesses demonstrates how mass influences tone. These are real concepts from the school science curriculum, and encountering them hands-on tends to make them stick in a way that reading about them in a textbook simply doesn’t.
Fine motor development is another genuine benefit. Handling small objects, applying glue carefully, stretching rubber bands, and painting detailed decorations all build dexterity and hand-eye coordination — skills that matter for everything from handwriting to scissors to eventually typing. The difference here is that kids are practicing those skills while deeply absorbed in something they actually want to do, which means they stick with it longer and try harder than they would with a dedicated fine motor exercise.
The music education angle is worth mentioning too. Lots of kids don’t have easy access to real instruments, whether because of cost or space, and the Mini Lid Banjo gives them a genuine entry point into the world of stringed instruments. Even in its tiny, simplified form, playing it introduces concepts like melody, rhythm, and dynamics. Kids might start plucking simple patterns, or try to pick out a song they know — which is early musical composition and performance, even if it doesn’t look that way in the moment. For some kids, a first instrument this accessible can be the spark that sets off a real love of music.
Tips for Running a Successful Mini Lid Banjo Craft Session
Whether you’re doing this with one child at home or a whole classroom at once, a bit of advance planning makes a big difference. The most common craft session headaches — running out of supplies, confusing instructions, not enough drying time — are all pretty easy to avoid with a little forethought. Putting in that prep time upfront pays off in a calmer, more enjoyable session for everyone, adults included.
Age range is one of the most important things to think about. For very young children aged three to five, simplifying the process helps a lot. Pre-gluing the craft stick neck to the lid before the session starts removes a step that needs adult supervision and involves waiting around, and offering just a few decorating options rather than a full table of choices tends to work better for that age group. Kids from about six upwards can usually manage most of the steps with light guidance, and older children or teenagers might genuinely enjoy the challenge of modifying the basic design — adding more strings, experimenting with different lid sizes, or even trying to tune their instrument.
It’s also worth mapping out your timing before you start. Set aside enough time for each phase, roughly along these lines:
- Setup and introduction: Five to ten minutes to explain the project and gather around the materials
- Decorating: Twenty to thirty minutes, as this is often the phase children enjoy most and should not be rushed
- Drying time: At least fifteen minutes, ideally more — having a secondary activity ready for this waiting period is useful
- Assembly: Ten to fifteen minutes for attaching the neck and adding the rubber band strings
- Play and exploration: Ten to fifteen minutes for children to try out their instruments and share them with each other
That last phase — the play and exploration time — is really worth protecting. Watching kids proudly pick up their finished banjos and immediately start plucking out rhythms is one of the best moments of the whole session. Consider wrapping things up with a casual mini concert where each child gets to show off their banjo’s sound, maybe even playing together as a group. It’s a celebratory ending that reinforces the sense of achievement and sends everyone home with a warm, positive feeling about both crafting and music-making that tends to stick around.
Variations and Extensions to Try
Once you and your young crafters have got the basic Mini Lid Banjo down, there’s a whole world of variations to explore that can keep the project feeling fresh across multiple sessions. What’s great about a craft this simple at its core is that it becomes a natural jumping-off point for more adventurous experimentation. Kids who’ve successfully built one banjo often get immediately excited about tweaking or improving their design, and that kind of iterative, problem-solving thinking is genuinely useful in all sorts of areas of life.
Experimenting with different types of lids is one of the easiest and most impactful variations to try. Metal jar lids are the classic choice, but plastic lids from coffee cans or food containers give you a different quality of resonance. Wooden embroidery hoops can create a beautifully warm-toned banjo body. Even cardboard circles cut from cereal boxes work as a lightweight option for very young children who might struggle with metal lids. Each material produces a subtly different sound, so comparing them becomes both a fun activity and a genuinely illuminating little experiment.
For older kids or those with a real interest in music and science, there are some more structured extensions worth exploring. Trying to tune a banjo by carefully adjusting the tension of the rubber band strings introduces the concept of musical tuning in a way that’s tangible and engaging rather than abstract. A small group of kids could work together to build a set of banjos with intentionally different pitches and then try to play a simple melody by coordinating who plucks when. It’s a cooperative musical activity that builds teamwork alongside musical understanding, and the result — however rough around the edges — almost always produces enormous pride.
And if kids really catch the music-making bug, the lid-based instrument concept can expand into a whole recycled-materials band. Lids strung together and struck with a craft stick make effective tambourine-style instruments. A row of different-sized lids hung from a rod can serve as a simple xylophone-like instrument to strike. Kids who fall in love with the Mini Lid Banjo often jump at the idea of building a full ensemble, and supporting that enthusiasm with more simple instrument projects is a wonderful way to keep them engaged with both craft and music for a long time to come.








What do you think?
It is nice to know your opinion. Leave a comment.