










How to Build a DIY Paper Tray Organizer: A Complete Guide to Decluttering Your Desk
If your desk is buried under stacks of paper, mail, notebooks, and loose documents, you are far from alone. Paper clutter is one of the most persistent organizational challenges in both home offices and professional workspaces. A well-designed paper tray organizer can transform a chaotic surface into a calm, functional area where everything has a place and nothing gets lost. The best part is that you do not need to spend a fortune at a home goods store to get one that suits your exact needs.
Building your own DIY paper tray organizer allows you to customize the dimensions, number of trays, finish, and style to match your existing décor and workflow. Whether you prefer a rustic wooden look, a sleek modern design, or a colorful painted finish, making it yourself puts every decision in your hands. This guide will walk you through everything from choosing materials to assembling and finishing your organizer, so you end up with something sturdy, attractive, and genuinely useful.
This project is suitable for beginners and intermediate DIYers alike. You do not need a fully equipped workshop or advanced woodworking skills. With a few basic tools, some inexpensive materials, and a free afternoon or two, you can have a custom paper tray organizer sitting on your desk by the weekend. Let us get started with understanding exactly what you need before you make your first cut.
Understanding Your Organizational Needs Before You Build
Before you pick up a single tool or buy a single board, it is worth spending ten or fifteen minutes thinking honestly about how you use paper in your daily life. Do you tend to accumulate incoming mail that needs to be processed? Do you have active projects with reference documents you reach for constantly? Are there categories like bills, receipts, school papers, or creative sketches that each need their own dedicated space? The answers will determine how many tiers your organizer needs and how deep or wide each tray should be.
Most people find that a three-tier organizer covers the most common workflows: one tray for incoming items that need attention, one for active or in-progress documents, and one for outgoing items or things to be filed. However, some people with more complex systems prefer five or even six tiers, separating mail, bills, projects, reference sheets, and blank paper. Do not be tempted to build more tiers than you will realistically use, because an overly complicated organizer often ends up being ignored, which defeats the whole purpose of building one.
You should also consider where the organizer will live. A desktop unit that sits flat will have different proportions than a wall-mounted version. Think about the height clearance you have above your desk, the width of the space you want to dedicate to it, and how deep your documents typically are. Standard letter-size paper in the United States is 8.5 by 11 inches, so your tray depth needs to comfortably accommodate at least 12 inches of space to allow for easy removal of papers without bending or crumpling them.
Gathering Your Materials and Tools
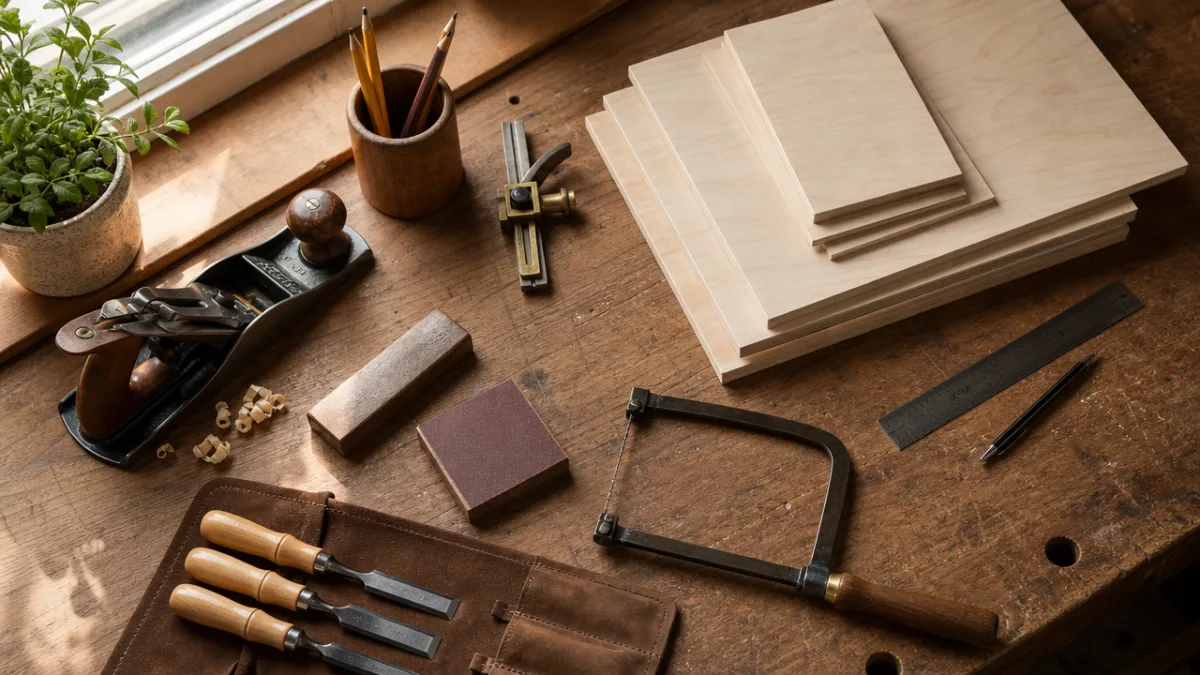
The most popular material for a DIY paper tray organizer is thin plywood, often sold as craft plywood or hobby plywood at hardware stores, typically in thicknesses between a quarter inch and half an inch. Thinner boards keep the organizer lightweight and easy to move, while thicker boards add durability and a more substantial, professional feel. Balsa wood is another popular option for very lightweight builds, though it dents more easily. MDF, or medium-density fiberboard, is budget-friendly and takes paint exceptionally well, though it is heavier and less forgiving of moisture.
Beyond the wood itself, you will need a few consumable supplies. Wood glue is essential for strong joints and is usually enough on its own for light-duty organizers, though you can reinforce corners with small finishing nails or brad nails if you have a nail gun. Sandpaper in at least two grits, such as 120 and 220, will help you achieve smooth surfaces. For finishing, you can use spray paint, chalk paint, wood stain, or a combination of stain and polyurethane depending on the look you want. If you plan to paint, a small foam roller or flat brush will give you the most even coverage.
In terms of tools, you will need a saw capable of making straight cuts, a measuring tape, a pencil, a square for marking right angles, clamps for holding pieces while glue dries, and a sanding block. A table saw or circular saw makes ripping boards to width much easier, but a hand saw works perfectly well for this small-scale project. If you want to add decorative touches like routed edges or carved details, a router is helpful but entirely optional. The beauty of this project is that it does not demand specialized equipment to produce a result you will be genuinely proud of.
- Thin plywood or MDF boards in your chosen thickness (quarter inch to half inch)
- Wood glue and clamps for assembly
- Sandpaper in 120 and 220 grit
- Paint, stain, or sealant for finishing
- Measuring tape, pencil, and carpenter’s square
- Saw for cutting boards to size
- Finishing nails or brad nails for extra reinforcement (optional)
- Foam brush or small roller for applying finish
Measuring, Marking, and Cutting Your Pieces
Precise measurement is the foundation of a well-built organizer. Even small errors at the cutting stage compound as you assemble, resulting in trays that are uneven, gaps that are too large, or a finished product that leans or wobbles. Take your time with this stage and measure every piece at least twice before cutting. A basic three-tier organizer requires two side panels, three tray bottoms, three tray front lips, and optionally a back panel to add rigidity. Sketch a simple diagram on paper first so you have a reference as you work.
For a standard letter-size organizer, a practical set of dimensions might look like this: side panels measuring 12 inches deep and 10 to 12 inches tall, tray bottoms measuring 9 inches wide and 12 inches deep, and front lips measuring 9 inches wide and 1.5 to 2 inches tall. The vertical spacing between trays should be at least 1.5 inches to accommodate a stack of papers with room to grab them easily, though 2 inches is more comfortable and forgiving. If you are building for legal-size paper, increase the depth to at least 14 inches.
When cutting your pieces, work methodically through one type of piece at a time. Cut both side panels before moving on to the tray bottoms, so you can confirm they are identical. Any slight variation in the side panels will affect how level your trays sit. If your saw leaves rough edges, clean them up with a pass of 120-grit sandpaper before assembly. Once all pieces are cut and lightly sanded, dry-fit everything without glue to confirm the pieces come together the way you intended. It is much easier to make adjustments now than after the glue has set.
- Draw a full cutting list and simple diagram before touching your materials.
- Measure and mark each piece carefully, using a square to confirm right angles.
- Cut side panels first, then tray bottoms, then front lips.
- Dry-fit all pieces together before applying any glue.
- Sand all cut edges smooth before assembly begins.
Assembling Your Paper Tray Organizer
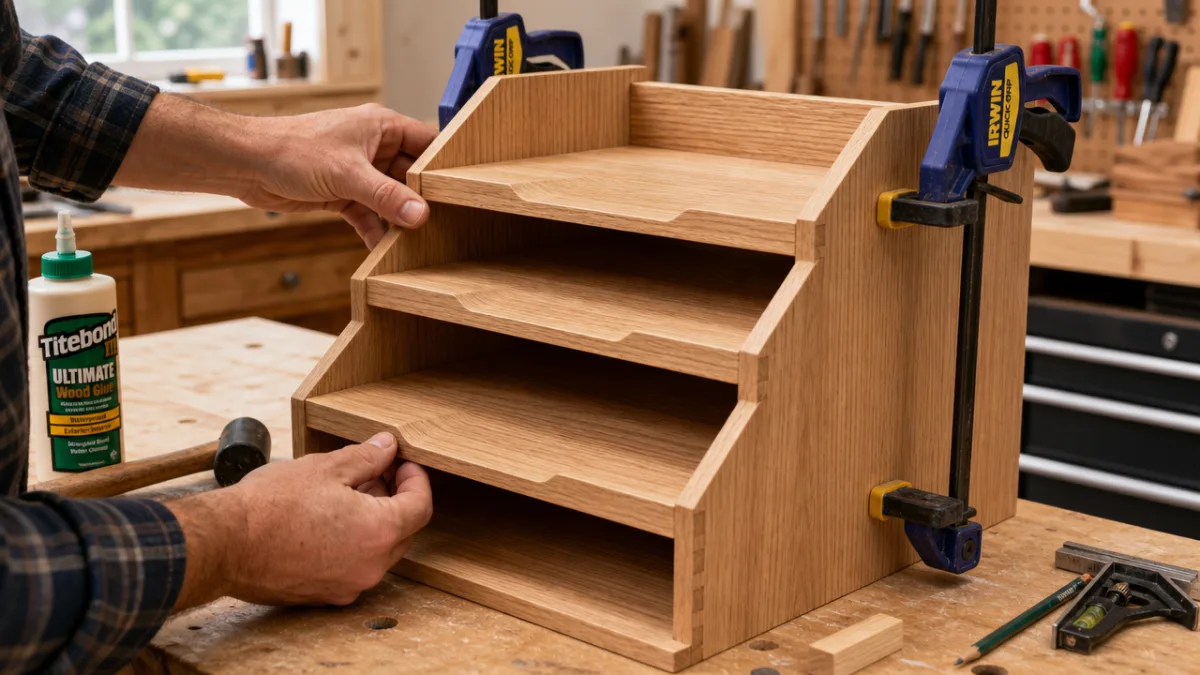
Assembly is the most satisfying phase of the project, where all your careful preparation comes together as a recognizable object. Begin by laying one side panel flat on your work surface and marking the positions of your tray bottoms with a pencil. These marks serve as guides for placing the tray bottoms at consistent heights, ensuring the spacing between each tier is even. Apply a bead of wood glue along the edge of the first tray bottom and press it into position on the side panel, then secure it with clamps while you work on the next piece.
Continue attaching tray bottoms to the first side panel until all three are in place and clamped. Allow the glue to begin setting for ten to fifteen minutes before carefully flipping the assembly and attaching the second side panel. This is the step where having a helper is most useful, since holding the side panel in alignment while applying glue and positioning clamps can be awkward with only two hands. If you are working alone, use extra clamps or prop the assembly against a wall to keep things steady while you work.
Once the main structure is assembled and the glue has cured for at least an hour, attach the front lips to the front edge of each tray bottom. These lips serve two purposes: they add visual definition to each tier and prevent papers from sliding off the front. Apply glue to the bottom edge of each lip and clamp it in place along the front edge of the tray bottom, making sure it is flush and level. If you are adding a back panel for extra rigidity, attach it last, running glue along the back edges of all the tray bottoms and both side panels before pressing the panel into place and clamping it securely.
Sanding, Finishing, and Personalizing Your Organizer
After the glue has fully cured, ideally overnight for maximum strength, remove all clamps and inspect the structure. Look for any dried glue squeeze-out along your joints, which can be scraped away with a chisel or sanded smooth once fully hard. Start your finish sanding with 120-grit paper, working with the grain of the wood on all visible surfaces and paying extra attention to corners and edges. Then move to 220-grit for a final pass that leaves the wood silky smooth and ready to accept paint or stain evenly.
The finish you choose dramatically affects the final character of your organizer. A natural wood stain in walnut, oak, or mahogany tones gives the piece a warm, traditional look that suits classic home offices beautifully. A coat of white or grey chalk paint followed by light distressing creates a farmhouse aesthetic that has remained enormously popular for good reason. Bright solid colors like navy, forest green, or terracotta make the organizer a statement piece that brings energy to your desk. Whatever you choose, apply thin, even coats and allow full drying time between each layer for the best results.
Personalization goes beyond paint color. You can line the inside of each tray with patterned contact paper or decorative paper to add a pop of visual interest when you look down at the organizer from above. Small adhesive labels or engraved wooden tags attached to the front lip of each tray help you remember which tier is designated for which category of paper, which is especially useful if you share a workspace with others. If you want to elevate the project further, small furniture feet or rubber bumpers attached to the bottom of the organizer protect your desk surface and give the piece a more finished, intentional appearance.
Setting Up Your System and Maintaining It Long-Term
A beautifully built organizer is only as valuable as the system you build around it. Before you load up the trays with paper, take a moment to define what each tier is for and stick to those categories consistently. Write the categories down somewhere if that helps, or add the labels mentioned earlier so the purpose of each tray is visible at a glance. The most effective paper tray systems follow a simple flow: incoming at the top, active in the middle, and outgoing or to-be-filed at the bottom, though you should feel free to reverse or adapt this order based on what feels most natural to you.
One of the most common reasons paper organizers fail is that people treat them as a place to store paper indefinitely rather than as a temporary holding area. Each tray should be processed regularly, ideally at the end of each workday or at least once a week. Incoming mail should be opened, sorted, and either acted on, filed, or discarded. Active project documents should move to the outgoing tray or be filed once the project is complete. When you treat your organizer as a flow-through system rather than a storage solution, it stays functional and prevents the trays from overflowing.
To keep your organizer looking as good as it works, wipe it down occasionally with a lightly damp cloth to remove dust and fingerprints. If you used a painted finish, touch up any chips or scratches with a small brush and matching paint. Over time, you may find that your workflow changes and the system needs adjusting. The beauty of building your own organizer is that you understand exactly how it is constructed, so modifying it, adding a tier, changing the spacing, or refinishing it in a new color is entirely within your capabilities. Your DIY paper tray organizer is not just a desk accessory; it is the foundation of a calmer, more productive workspace.

Troubleshooting Common Problems and Variations to Try
Even carefully built organizers occasionally present small challenges. If your finished piece wobbles on the desk, check whether the bottom edges of the side panels are perfectly flat and parallel. A small amount of sanding on the high side is usually all that is needed to correct minor rocking. If joints feel weak or begin to separate after use, apply fresh wood glue into the gap, clamp the joint closed, wipe away excess glue, and allow it to cure fully before using the organizer again. For a more permanent fix, reinforce the joint from inside the tray with a small corner bracket available at any hardware store.
If you find the trays too shallow after living with the organizer for a few weeks, you can attach taller front lips to give the visual impression of deeper trays and also to better contain thicker stacks of paper. Alternatively, if papers are difficult to grab because the trays are spaced too closely, consider cutting a small semicircular notch in the front lip of each tray to create a finger pull, which makes lifting papers out far more comfortable. These kinds of small refinements are easy to make and make a genuine difference in day-to-day usability.
Once you have mastered the basic rectangular organizer, there are many creative variations worth exploring. A wall-mounted version using the same basic structure but with added hanging brackets keeps the desk surface completely clear and turns your organization system into a design feature on the wall. An angled tray design, where the bottoms are tilted slightly forward so papers are always visible and easy to grab, adds a professional touch inspired by commercial office supply products. You might also consider building matching accessories like a pen holder, a small drawer unit, or a mail slot to sit alongside your tray organizer and create a cohesive, fully custom desk organization system that is entirely your own creation.








What do you think?
It is nice to know your opinion. Leave a comment.