










“`html
DIY Mini Sofa Craft: Create Adorable Handmade Decor for Your Home
There’s something genuinely magical about turning a few everyday materials into a tiny piece of furniture that looks like it belongs in a dollhouse or a beautifully curated miniature display. The DIY mini sofa craft has completely taken over the handmade decor world, and honestly, it’s easy to see why — crafters of all ages and skill levels are falling in love with it. Whether you’ve been hot-gluing things together for years or you’re just getting started, this project strikes such a satisfying balance of creativity and craftsmanship that it’s hard not to get hooked.
Mini furniture crafts have a long and beloved history in the handmade world. From dedicated dollhouse enthusiasts to contemporary miniature artists, people have always been drawn to the idea of recreating the warmth and beauty of full-sized furniture at a tiny, charming scale. The mini sofa holds a special place in all of this because it just radiates coziness and home. Set one on a shelf, a desk, or a mantelpiece and it instantly gives the whole space more character — and you can guarantee someone’s going to ask about it.
In this guide, we’ll walk you through everything you need to make your very own mini sofa from scratch. From gathering your supplies to adding those final little decorative touches, every step is meant to feel accessible and genuinely enjoyable. By the time you’re done, you’ll have a beautiful handmade piece that’s completely your own — and a great excuse to show off your creative side.
Materials and Tools You Will Need
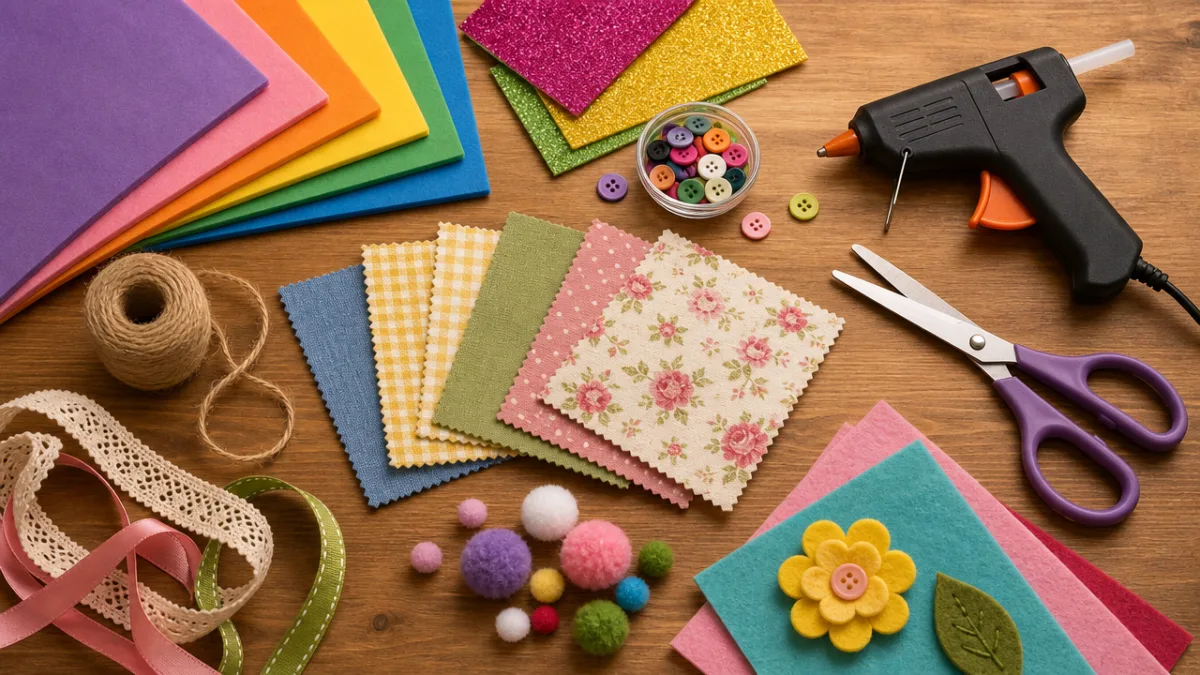
With any craft project, getting your materials together before you start makes the whole experience so much smoother and more fun. For the DIY mini sofa, you’ll need a handful of basic supplies that are probably already in your craft stash — and anything you’re missing is easy to find at a local craft store or online. One of the best things about this project is that it doesn’t call for anything expensive or hard to track down, so it’s genuinely accessible to pretty much everyone.
The main materials are thick foam or sponge pieces, which form the cushions and structural base of your tiny couch, plus cardboard or foam board for the frame and backrest. Fabric is where things get really fun, because your choice of material shapes the whole look and feel of the finished piece. Go with a cozy velvet, a crisp linen, a playful patterned cotton — even faux leather if you’re after something with a more modern edge. There’s no wrong answer here; just pick something you love.
On the tools side, sharp scissors or a craft knife are essential for clean cuts through foam and cardboard. A hot glue gun is basically the workhorse of this entire project, so make sure you’ve got plenty of glue sticks on hand. A ruler, a pencil for marking measurements, and a cutting mat to protect your work surface are all worth having nearby too. And if you want to go the extra mile, small decorative touches like miniature throw pillows, tiny buttons for a tufted effect, ribbon for trim, or craft paint for any exposed cardboard sections can really elevate the final result.
- Thick foam or sponge sheets (at least two different thicknesses for seat and back cushions)
- Cardboard or foam board for the structural frame
- Fabric of your choice (approximately half a meter is more than enough)
- Hot glue gun and glue sticks
- Sharp scissors or a craft knife and cutting mat
- Ruler and pencil for accurate measurements
- Optional: ribbon, buttons, craft paint, and decorative trim
Taking a few extra minutes to choose quality materials really does pay off. Denser foam holds its shape much better over time and gives your sofa that satisfying, plump look. When it comes to fabric, thin to medium-weight options are your best friend here — thick or stiff fabrics can be a real pain to wrap neatly around small shapes. A little thoughtfulness at the materials stage goes a long way once you actually start building.
Building the Frame and Structure
A solid frame is everything when it comes to a mini sofa that actually looks the part. Just like a full-sized couch, your miniature version needs a sturdy base to hold its shape and support the cushions. Start by sketching out your dimensions on paper — a typical decorative mini sofa works well at around 10 to 15 centimeters wide, 5 to 7 centimeters deep, and roughly 8 to 10 centimeters tall including the backrest. These proportions tend to produce a realistic, pleasing result, but feel free to adjust them to fit your vision or wherever you’re planning to display it.
Once you’ve settled on your measurements, transfer them onto your cardboard or foam board and cut out the individual pieces: a base, two side arm pieces, and a back panel. The base is the platform your seat cushion sits on, the arms give the sofa its recognizable silhouette and keep everything stable, and the back panel — which should be taller than the arms — rounds out the classic sofa shape. For the cleanest cuts, especially with foam board, a craft knife really is the way to go; scissors can leave a ragged edge that makes assembly trickier.
To assemble, start by hot-gluing the back panel perpendicular to the base, making sure it’s straight and centered. Then attach the two arm pieces to either side, pressing them firmly against both the base and the back panel for a solid connection. Hold each join for at least thirty seconds while the glue sets before moving on. Once everything’s together, give each joint a gentle press to test for wobbles — if anything feels less than solid, run a small bead of glue along the inside seam to reinforce it before you go any further.
Adding Foam Cushions for Comfort and Realism
The cushions are what really bring a mini sofa to life — they’re what give it that irresistibly plush, sink-right-in look, even if it’s only a few centimeters tall. Cutting the foam to the right size is one of the most satisfying steps in the whole process. For the seat cushion, measure the interior base of your frame and cut a piece of thick foam to fit snugly inside it. Ideally it should sit flush with the top of the arm pieces for the most realistic effect, so take your time with the measurements before you cut.
For the backrest, cut a slightly thinner piece of foam to fit against the back panel. Real sofa backrests tend to be a bit flatter and firmer than the seat, so you don’t need as much depth here. You can also cut a few smaller squares to sit as accent cushions on the sofa, which adds dimension and a lovely layered look to the finished piece — and is a great excuse to use a contrasting fabric or pattern, just like actual throw pillows.
Once your foam pieces are cut, cover each one with fabric before gluing anything into place. Cut your fabric a bit larger than each piece, then wrap it around the foam and secure the edges with hot glue on the underside, like wrapping a gift. Pull it tight as you go so there are no wrinkles on the visible surfaces. Taking the time to miter your corners neatly — folding them flat rather than bunching them — makes a huge difference to how polished the finished cushions look.
If you want to take your cushions from cute to genuinely impressive, a few small details go a long way. Try sewing a simple cross-stitch or stitching on a tiny button at the center of each cushion to create a tufted effect — it’s a classic sofa detail that looks fantastic in miniature. A thin strip of ribbon or lace glued along the edges also adds a beautiful finishing touch. These little extras take some patience and a steady hand, but the results are absolutely worth it.
Upholstering the Frame for a Polished Finish
With your cushions done, it’s time to cover the frame itself so the whole sofa looks cohesive and finished rather than like a cardboard construction project. This step is honestly what separates a mini sofa that looks truly beautiful from one that looks a bit rough around the edges. Start by cutting strips of fabric to cover the outer surfaces of the arm pieces and the visible sides of the back panel, working slowly and gluing one section at a time, smoothing the fabric down firmly as you go.
The arms deserve a little extra care because they have multiple surfaces to cover — the outer side, the inner side, and the top. You can either wrap a single piece of fabric around all three surfaces or cut separate pieces for each and butt them neatly together. Both approaches can look great, but a single wrap tends to produce fewer visible seams and a cleaner, more professional result. Just make sure you cut generously so you have enough material to fold and glue neatly underneath.
For the back of the sofa, you can stick with the same fabric as the rest for a uniform look, or use a complementary fabric for a little visual interest. It’s actually a nice detail — real sofas often have simpler fabric on the back since it’s less visible, and replicating that in miniature gives your piece a lovely touch of authenticity. Once all the upholstery is in place, run your fingertips over every surface and press down any loose edges or corners with a bit of extra glue. The more careful you are here, the more beautiful the final result.
Decorating and Styling Your Mini Sofa
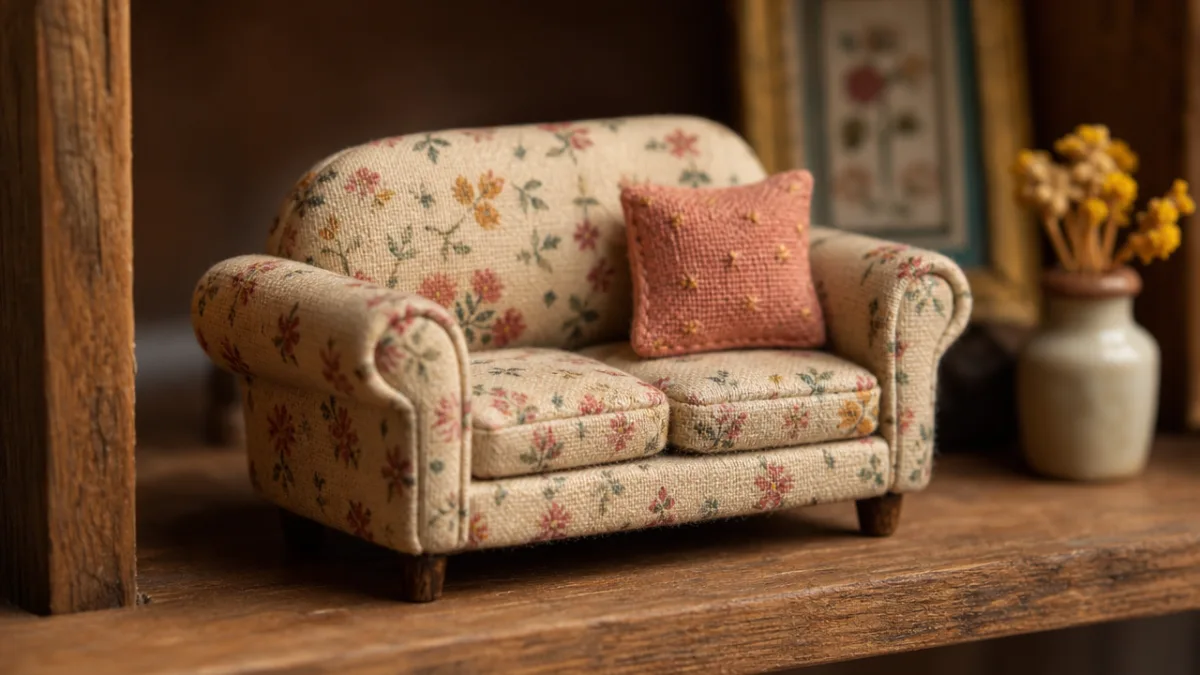
Here’s the really fun part — decorating and styling your finished mini sofa so it becomes a genuine statement piece. The construction is done, but this is where your personality gets to come through. Start by arranging your accent cushions on the sofa in a way that feels natural and inviting. If you’ve made a couple of different sizes, try placing a larger one at the back with a smaller one leaning against it for that effortlessly layered, styled look.
A tiny throw blanket draped casually over one arm is such a lovely touch — it adds coziness and a surprising amount of realism. You can make one from a small scrap of soft fabric, a piece of felt, or a miniature knitted or crocheted square if that’s in your skillset. Fraying the edges slightly creates a nice fringe effect, or you can fold it neatly for something more tailored. Other accessories that look wonderful around a mini sofa include tiny books made from folded paper, miniature potted plants sculpted from clay, and tiny trays with little decorative objects arranged just so.
The mini sofa is also a fantastic base for themed displays. For an autumn feel, surround it with tiny pumpkins, dried leaves, and warm-toned accents. For the holidays, pair it with a miniature Christmas tree, tiny wrapped gifts, and a small string of LED fairy lights. For a year-round setup, place it on a small wooden tray alongside a mini coffee table and some tiny framed art leaning against the back panel. The styling possibilities are genuinely endless, and the mini sofa slots into almost any decorative theme you can dream up.
- Arrange accent cushions in varying sizes for a layered, styled effect on the sofa seat.
- Drape a tiny fabric throw over one arm to add coziness and realistic detail.
- Create a themed vignette around the sofa to suit the season or your interior decor style.
- Add miniature accessories such as tiny books, plants, or trays to complete the scene.
- Photograph your finished display in natural light to capture and share your creation.
Tips, Variations, and Display Ideas
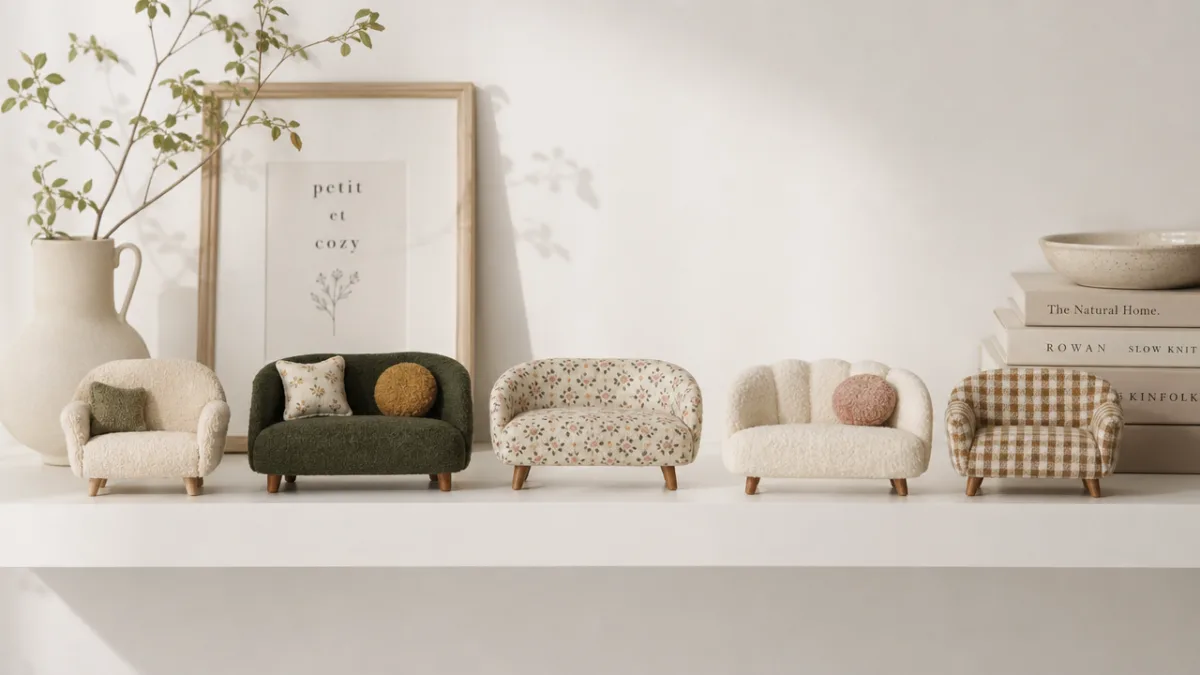
Fair warning: once you’ve finished your first mini sofa, you’re probably going to want to make another one immediately. That’s just how this craft works. Each new version is a chance to play with different fabrics, shapes, color palettes, and styles, and the results always feel fresh. Try recreating iconic sofa styles — a tufted Chesterfield in deep burgundy velvet, a sleek mid-century modern piece in mustard yellow, a contemporary sectional in soft grey linen. Each one needs only minor tweaks to the basic technique but looks completely different from the last.
If you want to go even further, consider building out a whole miniature living room vignette. A mini coffee table is easy to make from a small piece of wood or a stack of thick cardboard covered in paper or paint. Tiny armchairs use the same basic construction as the sofa, just scaled down and shaped differently. Add a miniature rug cut from felt, tiny wall art made from printed images glued onto cardboard, and a miniature lamp made from a small bead and a piece of wire. Put it all together and you’ve got a breathtakingly detailed little scene that’s hard not to stop and stare at.
When it comes to displaying your mini sofa, placement really does matter. A floating wall shelf at eye level is ideal — it lets the piece be admired without getting bumped or disturbed. A bookshelf nook, a sunny windowsill, or a glass-door display cabinet all work beautifully too. Group several mini furniture pieces together for a gallery-style arrangement, or let a single mini sofa hold its own as an accent piece among books, plants, and candles on a styled shelf. Wherever you put it, it’s going to get noticed.
Sharing your mini sofa on Pinterest or Instagram is a great way to connect with a whole community of people who are just as enthusiastic about miniature crafts as you are. Good lighting and a mix of wide and close-up shots really let your craftsmanship shine. A lot of people find that sharing their work is its own kind of motivation — it keeps the ideas coming and makes the whole creative process feel even more rewarding. This little project has a way of opening a door into a wonderfully absorbing world of miniature handmade decor that’s surprisingly hard to step back out of.
“`








What do you think?
It is nice to know your opinion. Leave a comment.