










How to Crochet Ribbing for Cardigans and Sweaters
Understanding Crochet Ribbing and Why It Matters
Crochet ribbing is one of those techniques that really makes a difference — it’s what separates a garment that looks thoughtfully made from one that looks a little rough around the edges. Those distinctive vertical lines of alternating texture aren’t just decorative; they let the fabric stretch and bounce back, hugging the body in all the right places without feeling tight or restrictive. Whether you’re working on a cozy cardigan, a fitted pullover, or even a simple hat, getting comfortable with ribbing will genuinely level up your finished pieces.
What makes ribbing special is its elasticity. Regular crochet fabric doesn’t have a ton of horizontal stretch, but well-done ribbing can expand quite a bit and then snap right back. That’s exactly what you want for cuffs, waistbands, neckbands, and button bands — all the spots on a sweater where the fabric needs to hold without gripping too tightly. A lot of crocheters shy away from ribbing because it sounds intimidating, but once you learn the right stitches, it really does become second nature.
There are actually several different ways to create ribbing in crochet, and they each have their own strengths depending on your project, your yarn, and what you personally enjoy working with. Some people love the simplicity of working in back loops only, while others prefer the structure of post stitches, the stretch of slip stitch ribbing, or working a sideways band and seaming it on. We’ll walk through all of these methods so you can find what clicks for your cardigan or sweater.
The Back Loop Only Method for Simple Ribbing
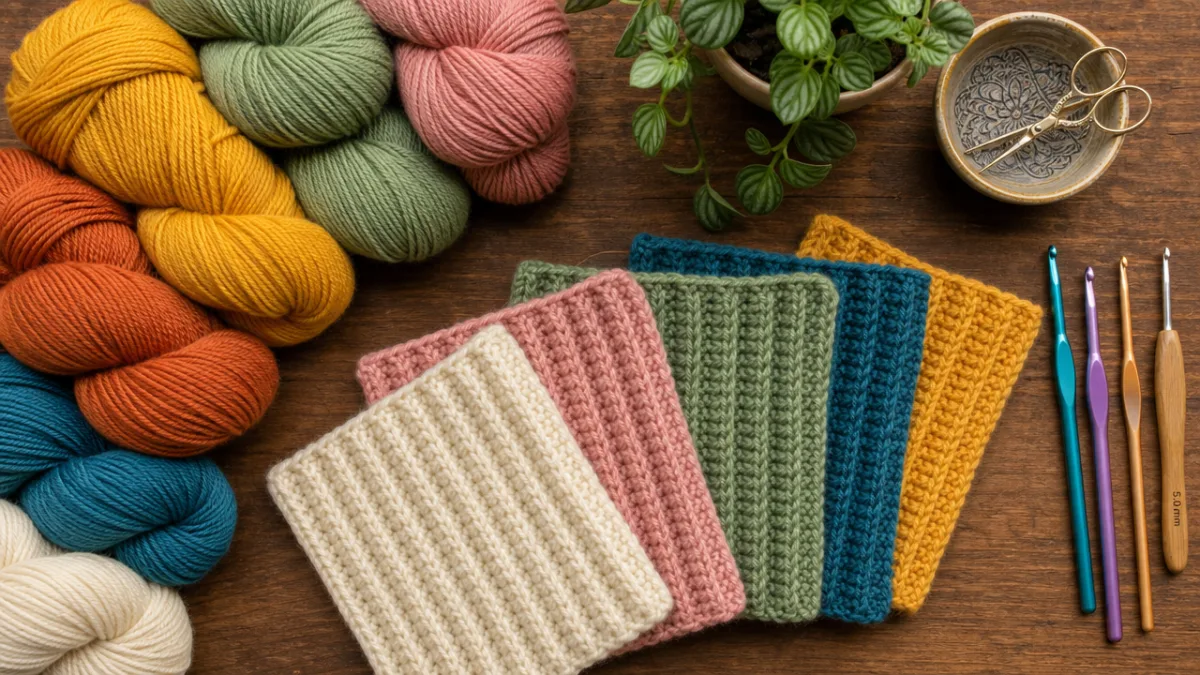
If you’re looking for the most beginner-friendly way to add ribbing to your crochet projects, working into the back loops only (BLO) is a great place to start. When you skip the front loop and only insert your hook into the back loop of each stitch, that unworked front loop pops up as a raised ridge on the surface of your fabric. Stack enough of those ridges together and you get a texture that looks a lot like knitted ribbing — plus a satisfying amount of stretch.
For BLO ribbing, single crochet is the go-to stitch, though half double crochet BLO is also worth trying if you want something a bit softer and loftier. Start with a foundation chain as wide as you need your ribbing band to be — for a cardigan cuff, that’s usually somewhere between ten and twenty stitches, depending on your yarn weight and gauge. Work your first row normally through both loops, then switch to back loops only for every row after that. Keep your turning chains to just one, turn after every row, and you’ll see the ribbing texture develop pretty quickly.
The result has a nice vertical stripe effect and noticeably more stretch than plain crochet. That said, it’s really worth swatching first, because BLO ribbing can behave quite differently depending on your yarn. Wool and alpaca tend to give you that lovely elastic quality that blocks up beautifully, while acrylic can feel a bit stiffer. It’s also worth trying a hook half a size larger than what you’re using for the main body of your garment — it can help the ribbing stay stretchy without getting floppy.
Post Stitch Ribbing for a Knit-Like Finish
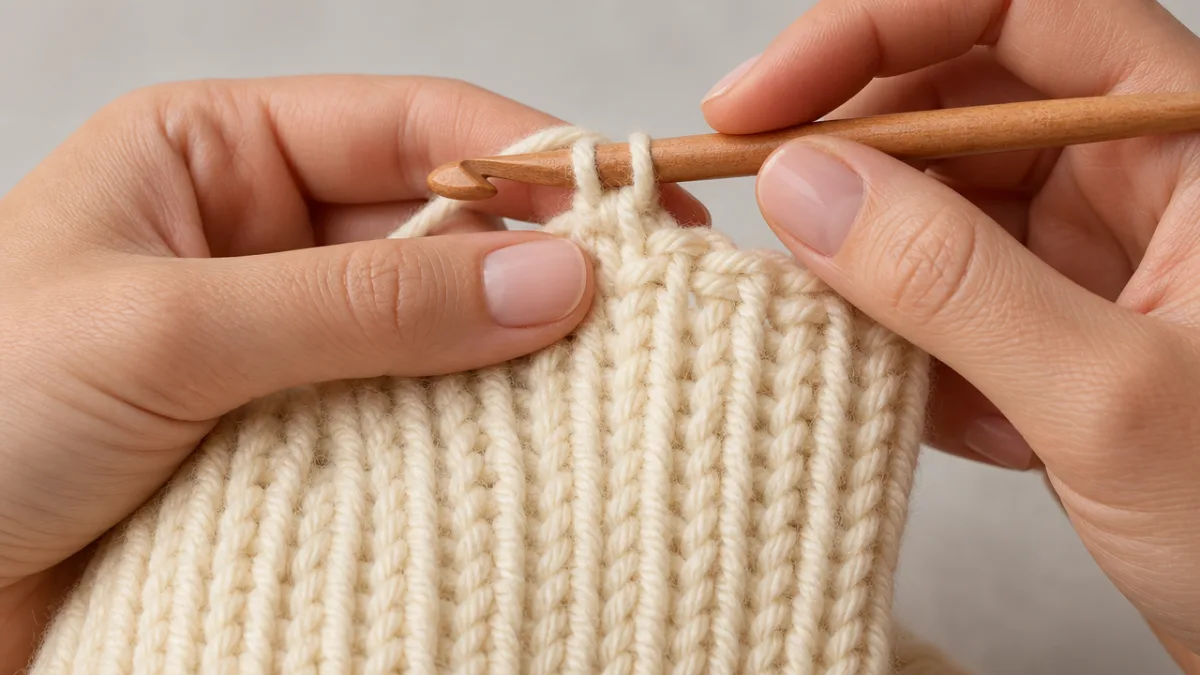
If your goal is ribbing that could genuinely be mistaken for knitting, post stitches are the way to go. Front post and back post double crochet (FPDC and BPDC) work around the vertical post of the stitch below rather than into the top loops, which pushes stitches alternately toward and away from you. The result is deeply textured, wonderfully three-dimensional, and has a really impressive amount of stretch to it.
To get started, work a foundation row of regular double crochet. On the next row, you’ll alternate between FPDC and BPDC all the way across. For a front post stitch, insert your hook from front to back to front around the post of the stitch below; for a back post stitch, go from back to front to back. Tension is really important here — if you work the post stitches too tightly, you’ll lose a lot of the stretch. A lot of crocheters find it helpful to go up a hook size from their usual to keep things nice and flexible.
What I love about post stitch ribbing is that it creates real structural elasticity rather than just looking like ribbing from a distance. Those alternating raised and recessed columns actually give the fabric the ability to stretch and recover, which makes it a great choice for fitted sweater cuffs and waistbands where you need the garment to stay put. You can also play around with a 2×2 rib (two front post, two back post repeating) versus a 1×1 rib — each gives a slightly different look and feel, so it’s fun to experiment.
Slip Stitch Ribbing for Maximum Stretch
Slip stitch ribbing might be the most underrated technique in crochet, and honestly, once you try it, it’s hard to go back. Working slip stitches through the back loop only produces a dense, incredibly stretchy fabric that can genuinely hold its own against knitted ribbing. You’ll see it used a lot on sock cuffs and hat bands, but it works just as well on the edges of cardigans and sweaters where you want a firm, elastic border that really grips.
The technique couldn’t be simpler: chain your foundation, then work slip stitches through the back loop only, row after row. Because slip stitches are the shortest stitch in crochet, the fabric comes out compact and dense — which is exactly what you want here. The catch is tension. Slip stitch ribbing worked too tightly is nearly impossible to work with, so most crocheters go up one or even two hook sizes from what they’d normally use for their yarn. It feels a little strange at first, but practice a swatch before adding it to your garment and you’ll get the hang of it quickly.
One of the best things about slip stitch ribbing is how well it holds up over time. It keeps its shape through washing and wearing far better than some other ribbing methods, especially in wool or wool-blend yarns. That makes it a really practical choice for kids’ garments or anything that’s going to get heavy everyday use. It also seams onto garment edges beautifully — flat, clean, no bunching or puckering.
Working Ribbing Sideways and Attaching It to Your Garment
A lot of experienced crocheters will tell you that their favorite approach is making the ribbing as a separate piece — worked sideways in short rows — and then attaching it to the garment body afterward. It takes a bit more steps, but the payoff is a lot of control. You can block the ribbing on its own to get it exactly how you want it before it ever touches the rest of the sweater, and it tends to produce especially clean, even edges. It’s particularly popular for sweater hems and cardigan button bands.
To work it this way, chain the number of stitches equal to the depth you want your ribbing band to be — maybe eight to twelve stitches for a cuff, or four to six for a hat brim. Then work your chosen ribbing stitch back and forth in short rows until the band is long enough to go all the way around the relevant part of your garment. Here the stitch count determines the depth while the row count determines the length, which gives you a lot of flexibility when you’re sizing or adjusting the fit.
Once the band is done, you have a few options for attaching it. Sewing it on with a yarn needle using a whip stitch or mattress stitch gives you a tidy seam on the inside. You can also crochet the ribbing directly onto the garment edge by working slip stitches or single crochet through both pieces at the same time. And some patterns will have you pick up stitches along the edge of the finished ribbing and continue working the garment body directly from there — which is a really satisfying all-in-one approach.
Tips, Yarn Choices, and Finishing Your Ribbing Beautifully
Yarn choice matters just as much as stitch choice when it comes to ribbing. Fibers with natural elasticity — wools, wool blends, some cotton-nylon blends — will spring back after stretching in a way that purely plant-based fibers like cotton or linen simply won’t. If you’re set on using cotton for a summer cardigan, look for a cotton-acrylic blend, or try carrying a thin strand of elastic thread alongside your yarn in the ribbing sections to add some recovery that the fiber alone can’t provide.
Gauge really is everything with ribbing. Even a small mismatch between your ribbing gauge and your main fabric gauge can cause edges to flare out or pucker, and that undoes all the careful work you put into the rest of the garment. Swatch your ribbing separately using the exact stitch pattern and hook size you plan to use, then wash and block it before you measure. Compare it to your main fabric swatch too — you want them to feel compatible in terms of drape and weight.
Here are some additional practical tips to keep in mind when adding ribbing to your crochet garments:
- As a general rule, use a slightly smaller hook for ribbing than for your main fabric — it keeps the edges firm without being stiff. The exception is slip stitch ribbing, which usually needs a larger hook to stay workable.
- When you block your finished garment, stretch the ribbing out to its intended wearing dimensions. This helps it remember its shape rather than staying compressed from storage or shipping.
- If you’re picking up stitches along a finished garment edge to work the ribbing directly, aim for roughly one stitch for every two rows. This helps prevent the join from fanning out or puckering.
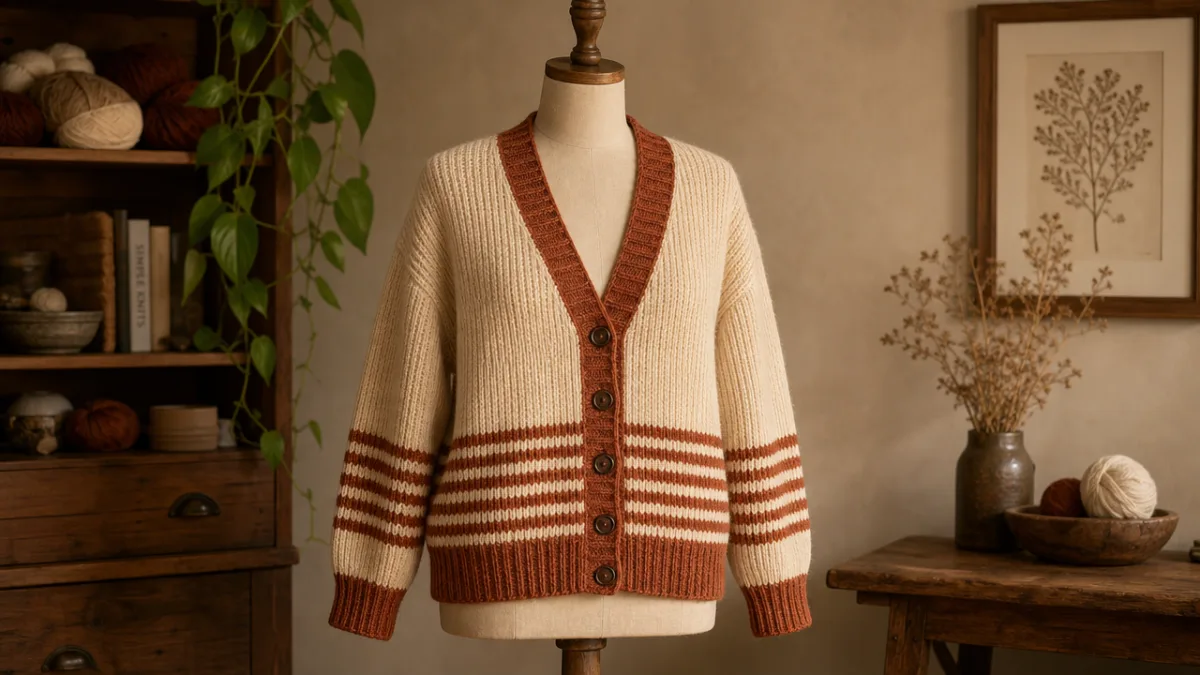
- For cardigan button bands, make the ribbing a touch shorter than the garment edge and stretch it slightly as you attach it — that keeps the band lying flat and prevents it from rolling forward when worn.
- Weave in your ends within the ribbing itself rather than crossing them into the main body. Ends that cross the join between ribbing and body can peek through on the right side.
The last step — and one that’s easy to skip when you’re excited to be done — is properly finishing the ribbing. After weaving in your ends, steam block or wet block the ribbing according to your yarn’s care instructions. For wool and wool blends, wet blocking is really worth it; the fibers relax beautifully and the ribbing develops an even, polished texture that looks like it belongs on something from a proper knitwear shop. Acrylic responds better to steam blocking with a damp cloth, which softens the fibers without doing any damage.
Once you get comfortable with crochet ribbing, it becomes one of those skills you’ll find yourself reaching for constantly. Whether you’re working on your very first cardigan or a more complex fitted sweater with multiple ribbed sections, knowing these techniques gives you real options for how your garment fits, feels, and holds up over time. Try different methods on different projects — they each have their own personality, and figuring out what works best for your hands, your yarn, and your pattern is genuinely one of the best parts of making things by hand.








What do you think?
It is nice to know your opinion. Leave a comment.