










Charming Easy Garden Crafts for Beginners: Transform Your Outdoor Space with Creative Projects
Getting Started: Why Garden Crafting Is Perfect for Beginners
Garden crafting might just be one of the most satisfying hobbies you can pick up, especially when you’re new to both gardening and DIY. The best part? You don’t need years of experience, a shed full of expensive tools, or even a large outdoor space to get going. All it really takes is a bit of curiosity, some basic supplies, and the desire to make something beautiful with your own hands.
A lot of beginners assume you need some kind of artistic talent to make garden crafts worth looking at. Honestly, that couldn’t be further from the truth. Some of the most charming outdoor decorations are also the simplest — a hand-painted terracotta pot, an old wooden pallet turned into a vertical planter, or a handful of painted river rocks used as herb markers. None of those require any formal training. If anything, the little imperfections in handmade pieces are exactly what makes them so appealing.
When you’re just starting out, keep things small. Pick one or two projects that actually excite you and only gather what you need for those. As your confidence builds, you can branch out into more involved crafts — things like mosaic work, decoupage, or basic woodworking. The garden is a wonderfully forgiving space to experiment in, and there’s really no wrong way to put your own stamp on it. Most beginners find their style through trial and error, and that’s half the fun.
Essential Tools and Materials Every Beginner Should Have
Before you dive into your first project, it’s worth putting together a small but reliable stash of tools and materials. You definitely don’t need to spend a lot — in fact, many of the best supplies for garden crafting are things you might already have at home, find cheaply at a thrift store, or even pick up on a walk through your local park or woods.
For most beginner projects, a core set of supplies will take you surprisingly far. Weatherproof paint — outdoor acrylic or chalk paint both work well — is probably the most important thing to have, since it holds up against rain, sun, and shifting temperatures. A good sealant or varnish spray is just as essential for making sure your finished pieces actually last. Beyond that, you’ll want a basic brush set in a few sizes, a strong outdoor-suitable adhesive, a couple of grits of sandpaper, and a pair of sturdy gardening gloves.
Some of the most useful craft materials cost almost nothing. Pick up smooth river rocks from a riverbank or garden centre for painting projects. Hold onto wine corks, tin cans, old wooden spoons, and chipped tiles for mosaic and repurposing ideas. Swing by a charity shop or car boot sale and keep an eye out for terracotta pots, old colanders, vintage watering cans, and wooden crates — all of which can be completely transformed with a bit of effort. Building up a little stockpile like this over time means you’ll always have something to work with when an idea strikes.
- Outdoor acrylic or chalk paint in a variety of colors
- Weatherproof sealant or varnish spray
- Assorted paintbrushes including fine-tip brushes for detail work
- Strong waterproof adhesive or exterior-grade glue
- Sandpaper in medium and fine grits
- Terracotta pots in various sizes
- Smooth river rocks and pebbles
- Recycled tin cans, wooden crates, and vintage containers
- Garden twine, wire, and basic hand tools
- Stencils for patterns and lettering
Painted Rock Projects: Simple, Stunning, and Endlessly Customizable
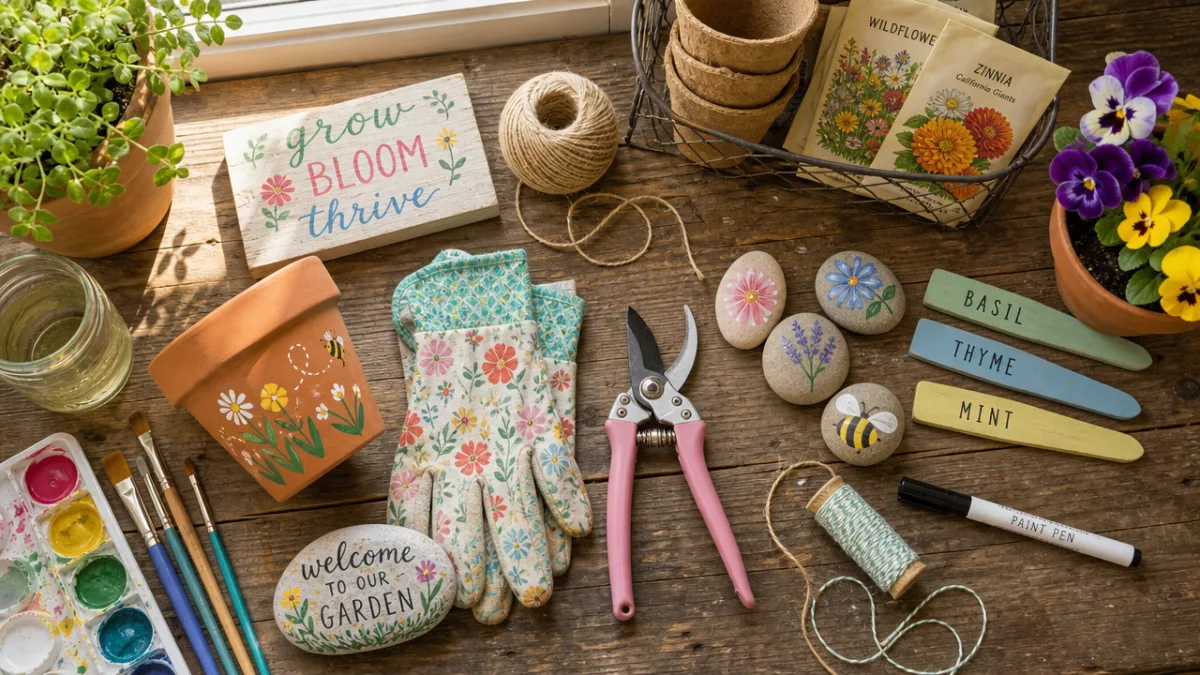
If there’s one garden craft project that’s perfect for absolute beginners, it’s painted rocks. All you need is a handful of smooth, clean stones, some outdoor paint, a few brushes, and a sealant to finish. Depending on your confidence level, you can go as simple as bold color blocks or as detailed as illustrated scenes — there’s genuinely something here for everyone. And since rocks cost next to nothing and last for years when properly sealed, this is one of the most accessible crafts you can start with.
For plant and herb markers, painted rocks are both practical and genuinely pretty. Write the name of each plant in bold letters using a fine-tip outdoor paint marker or a thin brush, and you’ve got a set of garden labels that look miles better than anything from a garden centre. Add a tiny illustration alongside the name — a little basil leaf, a strawberry, a sprig of rosemary — and you’ll be able to tell what’s growing where even before the seedlings have had a chance to come up properly.
But painted rocks aren’t just for labelling things. Dotted throughout your flower beds and along pathways, they can become little decorative moments in their own right. A cluster of rocks painted with ladybirds, bumblebees, and butterflies nestled among your flowers gives the whole garden a playful, storybook feel that visitors always comment on. You can also tie a whole collection together by sticking to a single color palette — mandalas, geometric patterns, simple florals, or loose washes of color all look brilliant when grouped along a border or tucked beneath a favourite tree.
Upcycled Planter Ideas: Giving New Life to Old Objects
Upcycling sits right at the heart of creative garden crafting, and it’s an approach that’s as good for the environment as it is for your wallet. The concept is wonderfully simple: look at things that might otherwise get thrown out and imagine what they could become. Old rain boots, chipped teacups, battered tin watering cans, wooden wine boxes, even a rusty old bicycle — with a little attention and care, any of these can become a real focal point in your garden. The trick is just learning to look at everyday objects with fresh eyes.
Tin cans are one of the easiest upcycling materials to work with. Give them a thorough wash, punch a few drainage holes in the bottom with a hammer and nail, then either paint them in coordinating colors or wrap them in twine for a more rustic look. Grouped together on a windowsill, fence, or tiered shelf, they make an eye-catching display that looks genuinely intentional rather than thrown together. They’re especially good for herbs, succulents, and anything that trails — plants that spill beautifully over the edges as they grow.
Wooden pallets, though, might offer the most dramatic transformation of any common material. Lean a single pallet against a fence or wall, add small planting pots or stuff compost between the slats, and you suddenly have a stunning vertical garden that’s ideal for small spaces. Stain or paint the wood to match your existing scheme, then fill the pockets with colourful flowers, trailing herbs, or even strawberry plants. The vertical element draws the eye upward, making even a tiny courtyard or balcony feel far more lush and planted than it actually is.
- Clean the container thoroughly and allow it to dry completely before beginning any painting or decoration.
- Create drainage holes in the base of any container that will hold soil and living plants.
- Apply a coat of primer if painting metal or smooth surfaces to help the paint adhere properly.
- Decorate with paint, twine, mosaic tiles, or other embellishments according to your chosen design.
- Seal with a weatherproof varnish to protect against rain and UV damage.
- Fill with appropriate potting compost and plant your chosen herbs, flowers, or vegetables.

Fairy Gardens and Miniature Landscapes: Magical Worlds in Small Spaces
Fairy gardens have been capturing people’s imaginations for years now — and it’s not hard to see why. These tiny landscapes pack all the magic and detail of a full garden into a container, a corner of a flower bed, or even a hollowed-out log. They let you get wonderfully creative and whimsical in a very concentrated way, and even the simplest ones built in a single afternoon have a way of delighting visitors of every age. There’s something about a miniature world that makes people stop and look properly.
The starting point for any fairy garden is finding the right container or patch of ground. Large terracotta saucers, old wheelbarrows, wooden wine barrels cut in half, or simply a quiet corner of a border all work beautifully. Fill your chosen space with a mix of potting compost and fine gravel or sand, then sculpt small hills and flat areas to give the landscape some depth and character. Once that’s done, you can start adding plants to bring the whole thing to life. Low-growing moss, baby’s tears, creeping thyme, and tiny sedums are all perfect — they stay small and create that lush, overgrown miniature feel.
This is where things really get fun. Miniature wooden doors attached to little logs or stones hint at hidden homes tucked away inside the garden. Tiny bridges made from popsicle sticks or twigs cross pebble streams. Acorn caps become drinking vessels, walnut shells become rustic boats, and a small mirror laid flat on the ground becomes a shimmering fairy pond. You can buy miniature accessories from craft shops, of course, but making your own from natural and recycled materials is so much more rewarding — and it means your garden has a character that’s entirely its own.
Garden Signs and Typography Projects: Adding Words to Your Outdoor Space
There’s something about adding words to a garden that shifts it from a purely visual space into something that feels like it has a personality. Hand-lettered signs made from wood, slate, or painted stones bring real warmth and character to any outdoor area. Whether it’s an inspiring quote by the gate, a tongue-in-cheek warning sign near the vegetable patch, or a simple welcome sign by the front door, typography-based garden crafts are endlessly versatile — and they always feel personal to the person who made them.
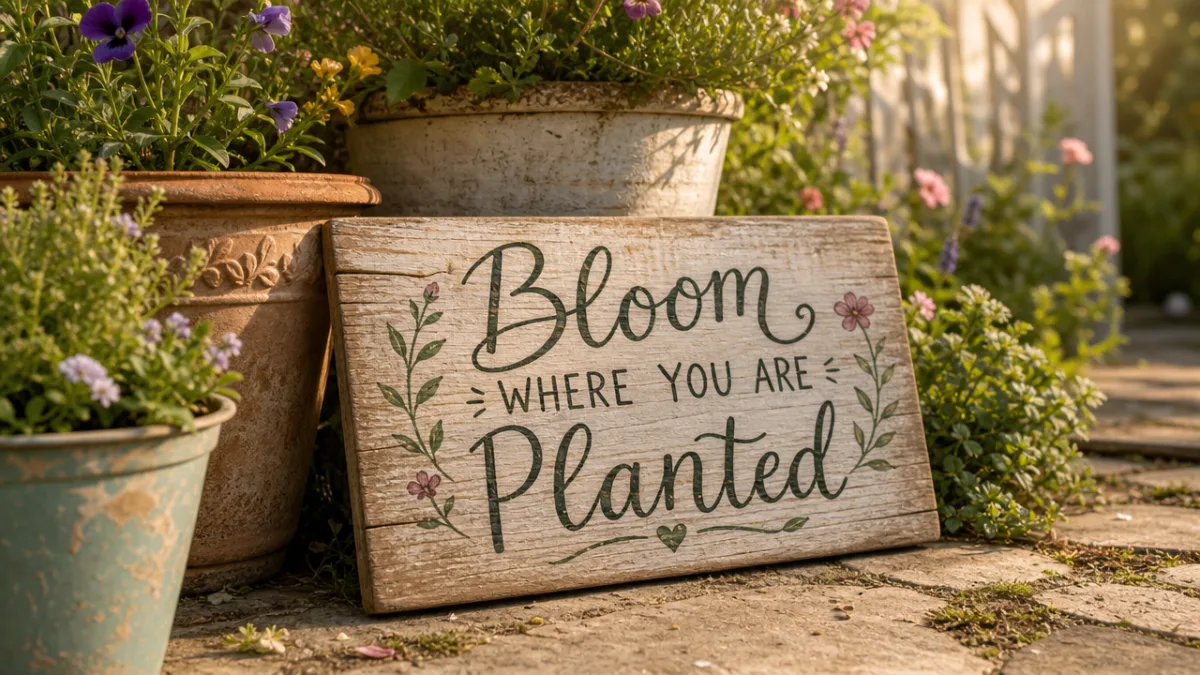
Wooden signs are probably the most popular starting point for beginners, and for good reason. Salvaged driftwood, old fence planks, or a fresh timber board all make great canvases. Sand the surface smooth, apply a base coat of outdoor paint in your chosen color, and once it’s dry, add your lettering using a stencil and small brush, or a paint marker made for outdoor use. If your handwriting is confident, go freehand for a more artisan feel. Finish with a weatherproof sealant and hang it with garden twine, wire, or a couple of simple hooks.
Slate tiles are a more formal and long-lasting alternative, and they tend to suit house name plates, memorial stones, and plant markers in more traditional garden settings particularly well. Chalk markers write beautifully on natural slate and can be sealed permanently with a fixative spray, while paint markers give an even tougher finish that holds up for years without noticeably fading. The natural grey of slate also happens to complement almost every garden style — whether you’re going for a clean, contemporary look or a rambling cottage garden full of roses and lavender.
If you’d rather skip the painting and lettering altogether, pyrography is worth looking into. It’s the art of burning designs and text into wood using a heated tool, and the results have a beautifully rustic, almost timeless quality. Beginner kits are widely available and won’t break the bank, and with a bit of practice on scrap wood, most people are surprised by how quickly they can produce something they’re genuinely pleased with. Burned wood signs need very little maintenance beyond the occasional coat of outdoor varnish to keep them looking good through the seasons.
Seasonal Garden Crafts: Keeping Your Outdoor Space Fresh All Year Round
One of the best things about garden crafting as a hobby is that there’s truly no off-season. Every time of year brings its own natural materials, its own occasions worth celebrating, and its own opportunities to do something new outdoors. Thinking seasonally keeps your garden feeling alive and interesting all year round — rather than settling into a display that looks exactly the same in January as it does in July.
Spring is a brilliant time to make fresh plant markers for newly sown seeds, craft willow or twig wreaths for fences and gates, and paint up new terracotta pots ahead of the growing season. Summer calls for bright, bold touches — sunflower-shaped stepping stones, painted pebble ladybirds in the flower beds, hand-decorated lanterns that cast a warm glow on long evenings. The sheer abundance of flowers in summer also opens the door to pressed flower art, botanical prints, and wreaths made from freshly gathered blooms and foliage.
Autumn is when nature practically does the shopping for you. Conkers, acorns, pine cones, seed heads, and fallen leaves all become raw material for gorgeous seasonal displays. Dried hydrangea heads, rosehip stems, and seed pods sprayed with metallic paint look stunning arranged in weatherproof containers beside a front door or garden entrance. Then winter brings its own possibilities — bird feeders made from recycled containers, simple evergreen wreaths, and ice lanterns that glow beautifully on frosty nights with a small candle or battery-operated tea light inside.
What’s lovely about working this way is that it draws you much closer to the natural world and the rhythm of the year. You start noticing things you’d previously walked right past — when the pine cones appear, when the rosehips reach their deepest red, when the first catkins signal it’s time to start gathering for spring. That kind of attentiveness quietly deepens your relationship with your garden and with the seasons themselves, and it gives your crafting a sense of purpose and momentum that carries you through the whole year.








What do you think?
It is nice to know your opinion. Leave a comment.