










10 DIY Wood Arbors You Can Build for a Beautiful Garden Entry
There is something undeniably magical about walking through an arbor into a garden. That simple threshold transforms an ordinary backyard into a destination, a place with intention and beauty. A well-crafted wood arbor signals to every visitor that what lies beyond is worth entering, worth exploring, and worth tending. Whether draped in climbing roses, wisteria, or left bare to show off the natural grain of the timber, a garden arbor is one of the most rewarding DIY projects a homeowner can undertake.
Why a Wood Arbor Is the Perfect Garden Project
Building a wood arbor combines the satisfaction of craftsmanship with the lasting reward of a living, growing landscape feature. Unlike many home improvement projects that stay static once completed, an arbor evolves over the years as climbing plants weave through its lattice and the wood itself takes on the silver-grey patina of weathered timber. It becomes part of the garden’s history, a structure that looks better with every passing season rather than worse.
From a practical standpoint, a DIY wood arbor is well within reach for anyone with intermediate carpentry skills and a few weekends to spare. Most designs require only basic tools — a circular saw, drill, level, post hole digger, and measuring tape — along with dimensional lumber that is readily available at any home improvement store. Cedar, redwood, and pressure-treated pine are the most popular choices because they resist rot and insect damage naturally, making them ideal for structures that will live outdoors year-round.
Beyond aesthetics, an arbor serves real functional purposes in the garden. It can define the entrance to a vegetable garden, keeping the space organized and giving it a sense of enclosure. It can create a shaded seating area when positioned over a bench or bistro table. It can even act as a privacy screen when planted with dense climbers like climbing hydrangea or passionflower. The versatility of the structure means that no matter the size or style of your garden, there is an arbor design that will enhance it beautifully.
The cost savings of building your own arbor versus purchasing a pre-made kit or hiring a contractor are considerable. A comparable cedar arbor purchased from a retailer can cost anywhere from $500 to over $2,000 depending on size and complexity, while building one yourself with quality lumber typically runs between $150 and $400. That savings, combined with the pride of craftsmanship and the ability to customize dimensions and details to your exact space, makes the DIY route a genuinely compelling choice for garden enthusiasts at every level.
Choosing the Right Wood for Your Arbor
The species of wood you choose for your arbor will determine not only how long the structure lasts but also how much maintenance it requires over its lifetime. Cedar is widely considered the gold standard for outdoor garden structures. It contains natural oils that repel insects and resist moisture absorption, which means it is far less prone to warping, splitting, or rotting than untreated softwoods. Western red cedar in particular has a beautiful reddish hue when freshly cut that mellows to an elegant silver-grey if left untreated, or can be preserved with a clear sealant or semi-transparent stain if you prefer to maintain the warm color.
Redwood shares many of cedar’s desirable qualities — natural rot resistance, dimensional stability, and a rich, attractive color — but it is less widely available outside of the western United States and tends to be more expensive where it can be found. If you live in a region where redwood is accessible and affordable, it is an outstanding choice. Its tight grain makes it exceptionally resistant to checking and cracking, and it takes paint and stain beautifully when you want a more polished, painted finish rather than the rustic natural look.
Pressure-treated pine is the most budget-friendly option and is available everywhere lumber is sold. Modern pressure-treated wood uses safer preservative treatments than the chromated copper arsenate formulas of the past, making it safe for use in garden settings. It is heavier and more prone to warping as it dries out after purchase, so it helps to let pressure-treated lumber acclimate for a few days before building. For a finished look, pressure-treated arbors should be primed and painted or stained, as the greenish tint of the preservative treatment is not particularly attractive on its own.
Whatever wood you choose, investing in quality hardware is equally important. Galvanized or stainless steel screws, bolts, and post anchors will resist rust and staining that can streak and damage the wood over time. Hot-dipped galvanized hardware offers the best corrosion resistance for the price, while stainless steel is the premium choice for coastal environments where salt air accelerates corrosion. Using the right fasteners is one of those details that separates a structure that looks great for twenty years from one that looks shabby after five.
Classic Designs You Can Build This Weekend
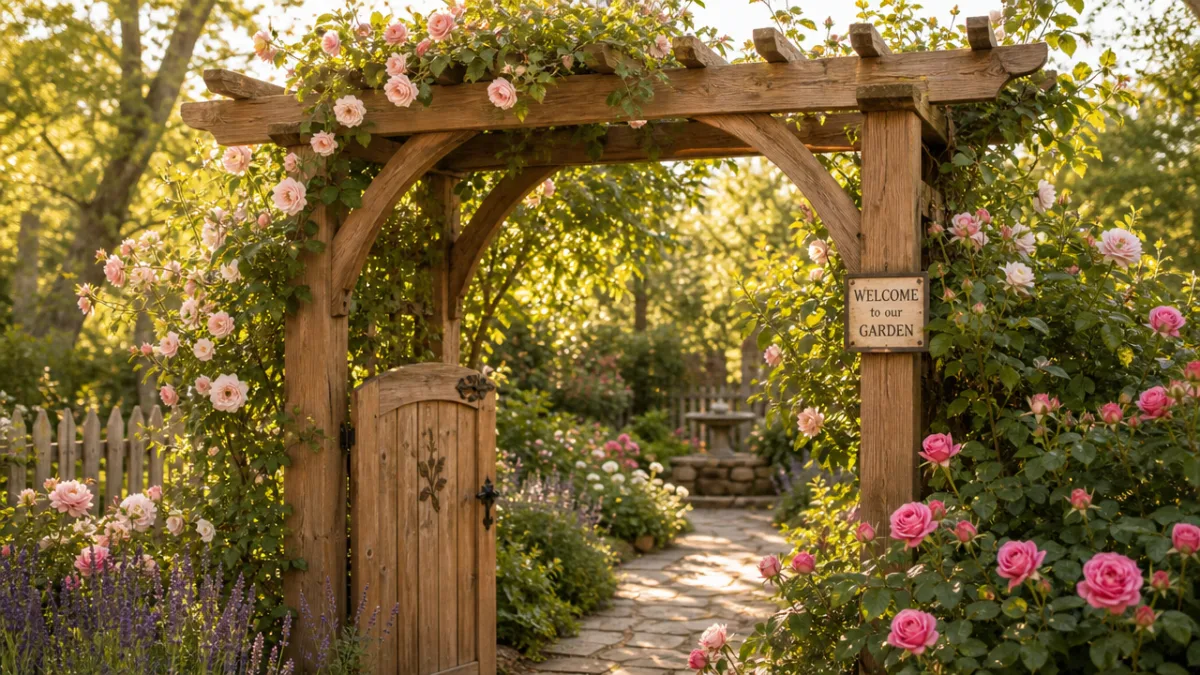
The simplest and most approachable arbor design is the classic A-frame or tunnel arch. This consists of two side frames — each made from two vertical posts connected by a horizontal crossbeam — joined at the top by a series of curved or straight arching boards. The entire structure can be built from standard 4×4 posts and 2×4 or 2×6 framing lumber, with lattice panels or simple crosshatched boards filling in the sides for a traditional look. An entry-level builder can complete this style of arbor in a single weekend, and the result is immediately charming even before a single vine is planted.
For those who want something with a little more visual interest, a pergola-style arbor adds a sense of depth and grandeur that the basic arch does not quite achieve. Rather than a simple tunnel, the pergola arbor extends the overhead structure with a series of evenly spaced rafters that create a striped shadow pattern on the ground below. This style works especially well over a garden path that leads to a seating area, as the extended overhead creates a sense of journey and arrival. The extra lumber required is modest, and the construction technique is a natural next step for anyone who has already tackled the basic arch design.
Rustic arbors built from peeled or unpeeled branches and logs have a wildly different aesthetic that suits cottage gardens, woodland gardens, and naturalistic landscape designs. While this style requires access to suitable branches — birch, willow, and cedar are all popular choices — it requires less precision cutting and no specialty hardware, making it arguably the most accessible design for complete beginners. The organic irregularity of the branches is the whole point, and no two rustic arbors ever look exactly alike. Lashing joints with natural twine or using black iron screws adds to the handcrafted charm of the finished piece.
Consider these popular classic arbor styles when planning your build:
- Simple arch arbor — Two mirrored side frames with a curved or flat-topped arch; ideal for small garden entries and beginner builders.
- Pergola arbor — Extended overhead rafters create depth and shade; perfect over a path or seating area.
- Rustic branch arbor — Built from natural logs or branches; suits cottage and woodland gardens beautifully.
- Gothic arch arbor — Features pointed arch tops for a dramatic, romantic silhouette; works well with roses and clematis.
- Japanese torii gate arbor — Inspired by traditional Japanese architecture; clean lines and bold proportions create a striking statement.
Step-by-Step Building Tips for a Lasting Structure
Before you cut a single board, spend time planning your arbor carefully on paper or using a simple free design tool online. Measure the path or entryway where the arbor will stand, noting the width you need for comfortable passage — typically at least 36 inches and ideally 48 to 60 inches for a welcoming feel. Decide on the height based on how much clearance you want overhead and whether climbing plants will hang down into the opening over time. Drawing out your design with actual dimensions will help you calculate your materials list accurately and avoid costly mistakes at the lumber yard.
Setting the posts correctly is the most critical step in building an arbor that stands strong for decades. Posts should be set in concrete-filled holes dug at least 18 inches deep, and ideally 24 inches deep in regions with frost heave. A post hole depth of one-third the total post length is a reliable rule of thumb. Use a level religiously as you set each post, checking for plumb from two perpendicular directions before the concrete sets. Bracing the posts temporarily with scrap lumber while the concrete cures ensures they do not shift out of position overnight.
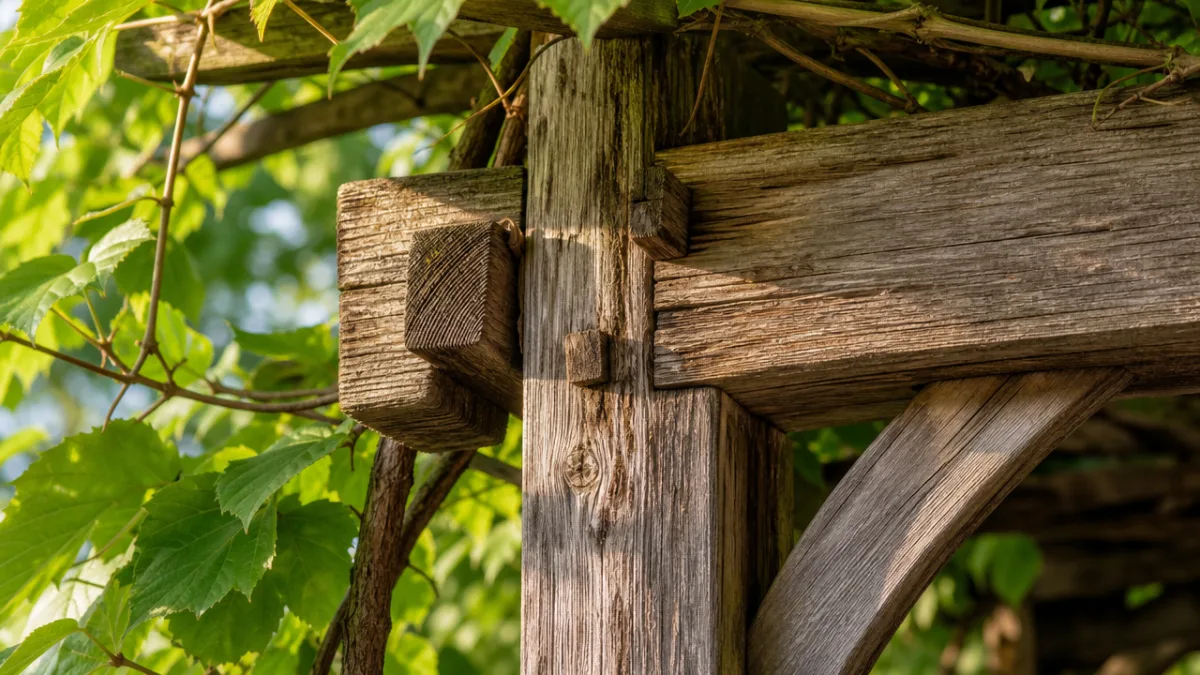
The assembly process goes most smoothly when you build the side frames flat on the ground before raising them into position. Cut all your pieces to length, lay them out on a flat surface, and fasten the joints with structural screws or carriage bolts before standing each frame upright. This approach gives you far more control over squareness and alignment than trying to hold pieces in the air while driving fasteners. Once both side frames are set in their post holes and plumbed, connecting them with the overhead crossbeams and top rafters becomes a straightforward process of measuring, cutting, and fastening.
Here are some key tips to keep in mind throughout your build:
- Always pre-drill screw holes near the ends of boards to prevent splitting, especially in cedar and redwood.
- Use exterior-grade construction adhesive in addition to screws at critical joints for added strength.
- Apply a wood preservative or sealant to all cut ends before assembly to prevent moisture infiltration at the most vulnerable points.
- Check diagonal measurements across the frame to confirm it is perfectly square before the concrete sets.
- Let concrete cure for a full 24 to 48 hours before applying any lateral load or attaching overhead framing.
- Sand all surfaces before applying finish to open the wood grain and ensure the stain or sealant penetrates deeply.
Climbing Plants That Transform a Wood Arbor
An arbor without plants is like a picture frame without a painting — structurally complete but somehow unfinished. The right climbing plants elevate a wood arbor from a simple garden structure into a living, breathing feature that changes with the seasons and rewards you with color, fragrance, and wildlife habitat year after year. Choosing plants that are well-suited to your climate and the structural capacity of your arbor is the key to a combination that looks lush and intentional rather than scraggly or overwhelmed.
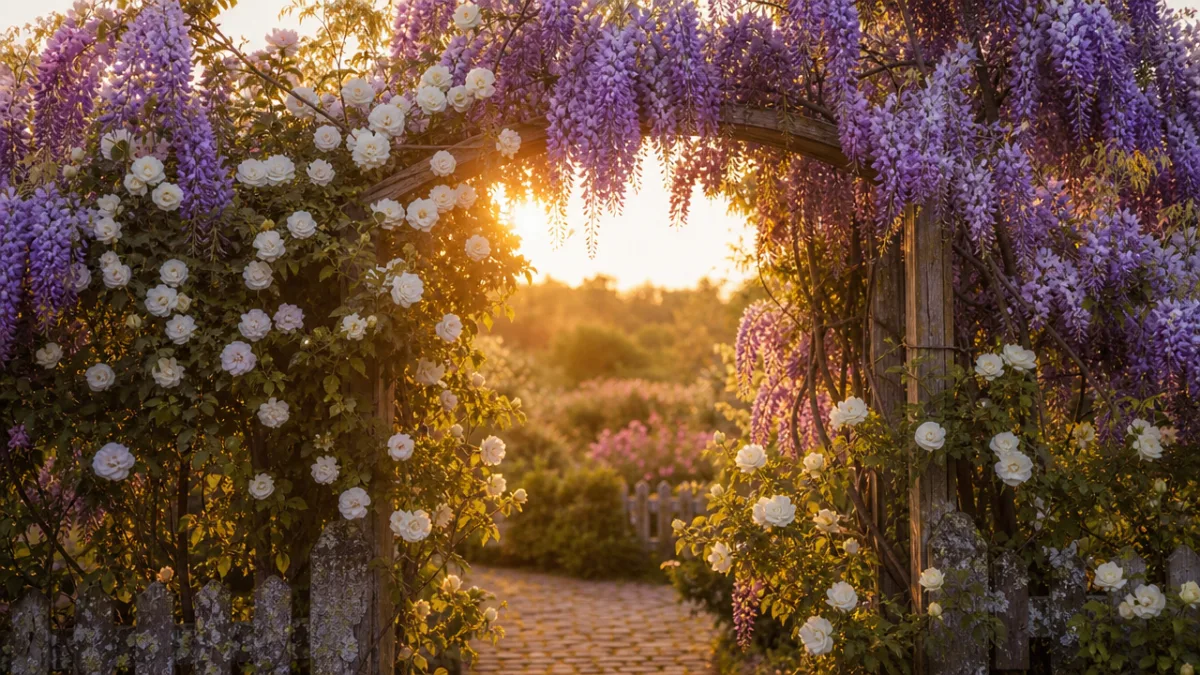
Climbing roses are the quintessential arbor plant, and for good reason. A mature climbing rose in full bloom, draped over a classic cedar arch with blooms of deep pink or ivory white, is one of the most beautiful sights in any garden. Modern climbing rose varieties like ‘New Dawn,’ ‘Fourth of July,’ and ‘Don Juan’ are relatively disease-resistant and repeat-blooming, meaning you get multiple flushes of flowers throughout the growing season rather than just one. They do require annual pruning and training to keep them tidy and encourage flowering, but the effort is well rewarded by the spectacular display.
Clematis is another beloved arbor climber, and its variety is almost overwhelming in the best possible way. From the large-flowered hybrids in shades of purple, blue, and magenta to the small-flowered species types like sweet autumn clematis with its clouds of tiny white blooms and intoxicating fragrance, there is a clematis for nearly every garden situation. Many gardeners combine clematis with climbing roses, planting them to grow through each other so that the clematis blooms cover the rose canes before and after the rose’s own flowering period, extending the season of color considerably.
Beyond roses and clematis, consider these outstanding climbing plants for arbors:
- Wisteria — Spectacular drooping flower clusters in lavender, purple, or white; highly fragrant but vigorous, so choose a sturdy arbor.
- Honeysuckle — Fast-growing with tubular flowers beloved by hummingbirds; excellent for quick coverage in the first season.
- Climbing hydrangea — Thrives in partial shade; produces lacecap flowers and beautiful exfoliating bark for year-round interest.
- Passionflower — Exotic-looking blooms in purple and white; produces edible fruit in warmer climates and has exceptional decorative foliage.
- Trumpet vine — Bold orange or red trumpet-shaped flowers attract hummingbirds all summer; extremely vigorous in warm climates.
Finishing, Maintaining, and Personalizing Your Arbor
The finishing touches you apply to your wood arbor will define its style in the garden and determine how well the wood holds up over time. For a natural, rustic look that blends seamlessly into a cottage or woodland garden, applying a clear penetrating oil finish allows the wood’s natural color and grain to show while providing meaningful protection against moisture. For a more formal, polished garden aesthetic, a coat of exterior paint in white, black, or soft grey gives the arbor a crisp architectural quality that contrasts beautifully with lush green foliage and colorful blooms.
Maintenance is straightforward but should not be neglected. Inspect your arbor annually for signs of rot, particularly at the base of the posts where they enter the ground or the concrete, and at any horizontal surfaces where water can pool. Reapply your chosen finish every two to three years, or as soon as you notice the wood beginning to look dry, grey, or weathered beyond the point you find attractive. Keep climbing plants pruned so they do not exert excessive weight on the structure, and check that all fasteners remain tight as seasonal wood movement can loosen screws over time.
Personalizing your arbor is where the real creative fun begins. Adding a simple garden gate hung between the posts immediately elevates the structure from a decorative feature to a functional one, and a gate adds an element of ceremony to entering the garden that is deeply satisfying. Lattice side panels provide purchase for climbing plants and create enclosure without blocking light entirely. Hanging a small lantern or solar-powered light from the overhead crossbeam transforms the arbor into an enchanting evening feature, glowing warmly as dusk settles over the garden.
Consider adding these details to make your arbor uniquely your own:
- A matching garden gate — Choose a design that echoes the style of the arbor, whether simple board-and-batten, decorative picket, or wrought iron for a contrasting material accent.
- Carved or routed details — Simple decorative cuts on the ends of overhead rafters add a craftsman or Victorian quality to even a basic design.
- Built-in bench seating — Adding benches to the interior of a wider arbor creates an intimate garden room for reading or conversation.
- Planters at the base — Built-in or freestanding planters at the foot of each post frame the entry beautifully and make it easy to grow annual climbers like sweet peas and black-eyed Susan vine.
A wood arbor is one of those rare garden investments that pays dividends from the very first day it stands in your yard. Before the first plant has twined a tendril around its post, an arbor changes the way the garden feels — it creates a sense of arrival, of intention, of a space that has been thought about and cared for. As the seasons turn and the climbing plants fill in, that first impression only deepens. What began as a weekend project of lumber and hardware becomes, over time, the defining element of the garden: the threshold through which every visitor passes, and through which you pass every day into the place that is most fully yours.








What do you think?
It is nice to know your opinion. Leave a comment.