










Beginner DIY Woodworking Projects For Home Improvement
Why Woodworking Is the Perfect Skill for Home Improvement
Woodworking has always been one of those hobbies that just sticks with people — and honestly, it makes a lot of sense why. There’s something deeply satisfying about building something with your own hands that you simply can’t get from picking up a finished piece at a furniture store. Whether you want to freshen up your living space, squeeze more storage out of a room, or just try something new and creative, woodworking is surprisingly easy to get into without needing years of experience or a garage full of expensive equipment.
What I really love about picking up woodworking as a beginner is how quickly the skills you learn start showing up as real, tangible improvements around your home. This isn’t like some hobbies where you end up with a shelf full of things you made but have no idea what to do with. The stuff you build — shelves, benches, organizers — actually gets used every day. And every time you finish a project, you come away a little sharper and more confident going into the next one.
The money side of things is hard to ignore too. Custom furniture and built-in storage can run you hundreds, sometimes thousands of dollars when you go through a professional or a high-end retailer. A beginner woodworker can put together many of those same pieces for a fraction of the price using basic lumber, a few affordable tools, and a free weekend afternoon. Over time the savings really add up — and as a bonus, you can repair, tweak, or expand anything you’ve built yourself without having to call anyone or spend more money.
Essential Tools Every Beginner Woodworker Needs
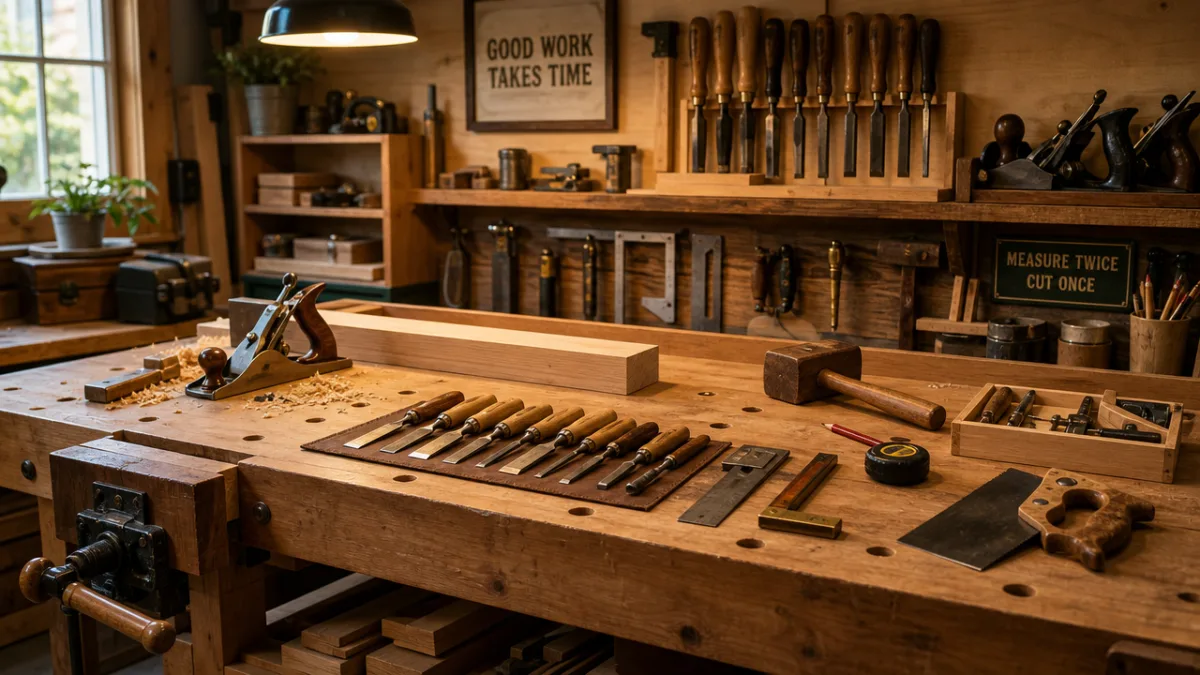
Before you jump into your first project, it’s worth taking a moment to separate the tools you actually need from the ones that are just nice to have. A lot of beginners fall into the trap of thinking they need a fully stocked workshop before they can even start — but that’s really not the case. A small, well-chosen set of tools is all you need to knock out a wide range of beginner-friendly projects, and buying quality over quantity from the start will save you a lot of headaches down the road.
Your starter toolkit should cover the basics: a reliable measuring tape, a carpenter’s square, a hand saw or circular saw, a power drill with a set of bits, sandpaper in a few different grits, and a couple of wood clamps. With just those tools, you can measure, cut, join, and finish wood accurately and safely. As your skills develop and your projects get more ambitious, you can start adding things like a jigsaw, an orbital sander, or a router — but those should come naturally as you need them, not all at once before you’ve even made your first cut.
Safety is something you want to think about before anything else when you’re setting up your workspace. Wear safety glasses whenever you’re cutting or drilling, use hearing protection around loud power tools, and keep your workspace clean and organized so nothing becomes a tripping hazard. Keeping a basic first aid kit nearby is also just a smart call. And honestly, taking the time to read the manual and watch a few tutorial videos before you use a new tool is just as important as having the right tool to begin with.
- Measuring tape and carpenter’s square for accurate layouts
- Circular saw or hand saw for straight cuts
- Power drill and assorted drill bits for fastening
- Wood clamps to hold pieces securely while glue dries
- Sandpaper in 80, 120, and 220 grit for finishing
- Safety glasses and hearing protection for personal safety
- Wood glue and exterior or interior screws appropriate for your project
Simple Weekend Projects That Make a Big Difference
One of the things that surprises most beginners is just how much of a difference a small woodworking project can make in a room. Take a floating wall shelf — it’s about as simple as it gets, just a few pieces of lumber, some wall anchors, and a level, but it completely transforms a bare wall into something useful and intentional. Projects like that are perfect for beginners because they’re forgiving if your measurements aren’t perfectly precise, and you can realistically go from raw lumber to a finished shelf in a single afternoon.
A simple wooden plant stand or side table is another great early project. Four legs and a flat top sounds almost too basic, but the end result is genuinely attractive and useful. You can size it to fit any corner of your home, finish it with whatever stain or paint matches your existing décor, and even add a lower shelf if you want a little extra storage. That’s the real joy of building your own furniture — it fits your actual space instead of making you work around whatever dimensions happened to be available at the store.
Entryway organizers and coat racks are also perennial favorites, and it’s easy to see why. A board mounted to the wall with a row of hooks instantly solves one of the most common frustrations in any home — that pile of coats and bags and keys that ends up on the floor by the door. Add some small cubbies or a lower bench with shoe storage underneath, and you’ve turned a five-dollar board into a complete entryway solution that would easily run a few hundred dollars at a furniture store. A couple of hours and some basic tools, and you’ve got something sturdier, more personal, and more satisfying than anything you’d find on a shelf.
Building a Basic Bookshelf: A Step-by-Step Guide
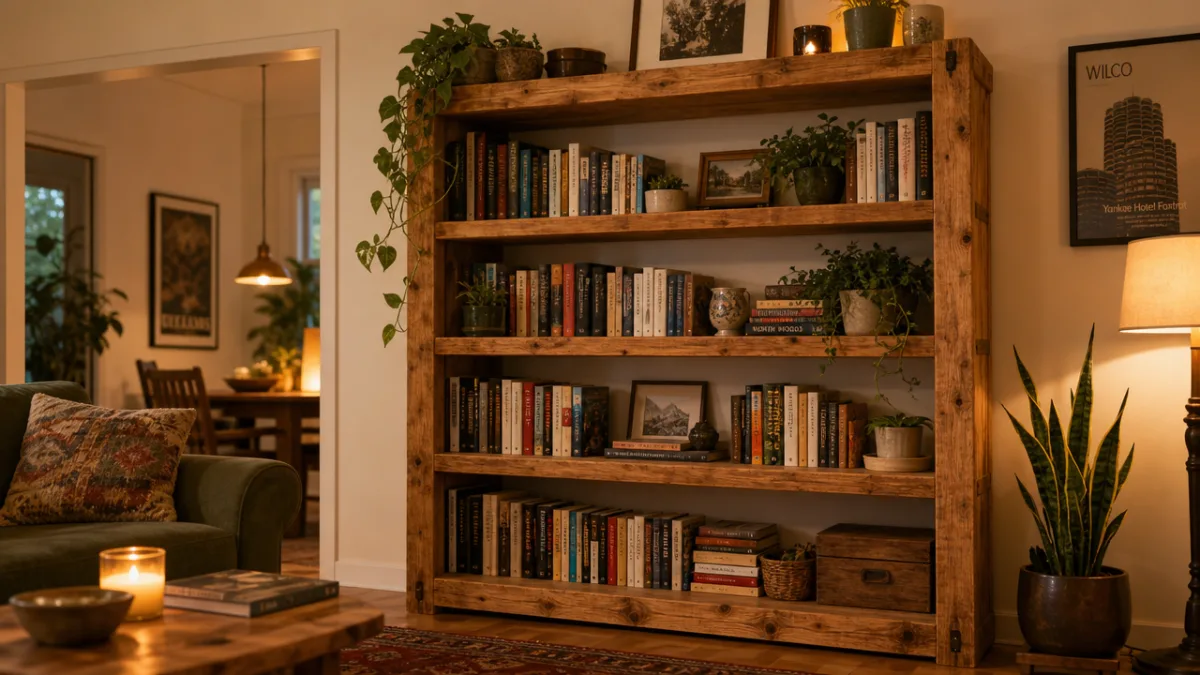
A freestanding bookshelf is one of those projects that pretty much every beginner woodworker tackles at some point, and for good reason — it teaches you nearly everything you need to know about basic furniture construction. You’ll practice measuring, cutting consistent lengths, squaring corners, and applying a finish, and you’ll walk away with something genuinely useful. Before you start cutting anything, sketch out your design on paper. Note the overall height, width, and depth, how many shelves you want, and roughly how far apart you’d like them spaced.
Head to your local hardware store for lumber and don’t be shy about asking staff to make the big cuts if you don’t have a saw that can handle long boards at home. For a first bookshelf, pine is a great choice — it’s affordable, easy to work with, and widely available. Plywood is another solid option if you want extra stability and a clean look (just finish the edges properly). Cut your side panels, top and bottom pieces, and shelves to size, then spend a little time sanding everything smooth before you start assembling. It sounds like an easy step to skip, but prepping your pieces well at this stage makes a noticeable difference in how the finished product looks.
For assembly, work in a logical order: attach the bottom shelf to the two side panels first using wood glue and screws, then add the top piece, and finally drop in your middle shelves at whatever spacing you planned. Pull out the carpenter’s square at each step to make sure your corners are at a true 90 degrees — even a small angle will make the whole unit lean once it’s standing up. Once everything is dry and solid, apply your finish of choice, whether that’s a wood stain, a painted color, or a clear protective coat, and give it plenty of time to dry before you start loading it up.
- Sketch your design with dimensions and shelf spacing noted
- Purchase and cut your lumber to the required lengths
- Sand all pieces smooth before beginning assembly
- Attach side panels to bottom and top pieces using glue and screws
- Install interior shelves at your desired heights
- Check for square at every step with a carpenter’s square
- Apply stain, paint, or sealant and allow full drying time
Outdoor Woodworking Projects to Enhance Your Yard and Garden
Woodworking projects don’t have to stop at the back door. Your outdoor spaces are full of opportunities for builds that are both practical and genuinely satisfying to complete. Beginner-friendly outdoor projects run the range from simple garden planter boxes all the way up to a picnic table or a porch bench, and most of them use the same basic tools and techniques you’d use on any indoor project. The main thing to keep in mind when building for outdoors is choosing wood that can handle the elements — naturally rot-resistant species like cedar, or lumber that’s been pressure-treated for exterior use.
A raised garden bed might be the single most popular outdoor woodworking project for beginners, and it’s not hard to see why. At its core, it’s just a big open-topped box made from cedar or pressure-treated lumber — straight cuts, corner joints, and a handful of screws. But beyond looking great, a raised bed actually makes gardening easier and more productive. The soil drains better, warms up faster in spring, and you’re not kneeling on the ground every time you tend to your plants. Building your own means you can size it exactly to your yard and your gardening goals, and it’ll cost a fraction of what comparable garden bed kits run at the garden center.
A garden potting bench is another outdoor project that beginners are often surprised to find within reach. It’s basically a sturdy work table with a lower shelf for pots, soil bags, and tools — but you can really make it your own by adding hooks for small tools, a rail to prop bags open, or even a built-in bin for compost. Once you’ve finished a project or two at this level, something interesting happens: you start to see how the same core skills — measuring, cutting, joining — show up across completely different kinds of builds. That’s when your confidence as a woodworker really starts to take off.
Finishing Techniques That Give Your Projects a Professional Look
A really common frustration for beginner woodworkers is building something that’s structurally solid and well put together, but looks a little rough compared to furniture from a store. Almost always, the gap comes down to finishing technique rather than anything wrong with the construction. Learning to properly sand, fill, prime, and finish your work will take even the most basic project to a level that genuinely looks professional — and these techniques are not complicated once you understand what you’re trying to achieve.
Sanding is the foundation of everything else, and it works best as a multi-step process rather than one quick pass. Start with a coarser grit, somewhere around 80 to 100, to knock down any rough spots, mill marks, or surface imperfections. Then work your way through 120 grit and up to 220 grit, always moving in the direction of the wood grain so you don’t leave visible scratches. Between each grit, wipe the surface down with a tack cloth or slightly damp rag to clear away the dust before moving on. It takes a little more time, but the surface you end up with is genuinely smooth and absorbs stain or paint in a way that a rushed sanding job just won’t.
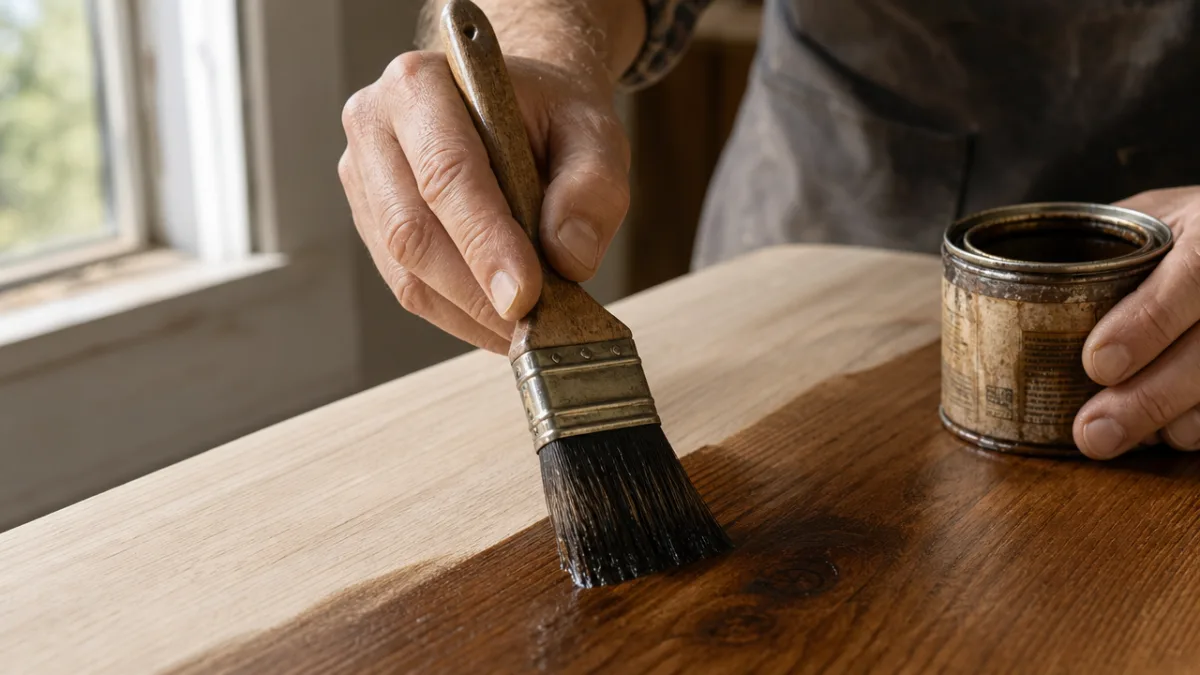
When it comes to applying stain or paint, two principles will take you far: patience and thin coats. Slapping on too much in one go leads to drips, blotchy absorption, and finish that takes forever to dry. Instead, apply thin, even coats with a good brush or foam roller and give each one full drying time before you add the next. For an even more polished result, give each dried coat a light once-over with 220-grit sandpaper to knock down any raised grain or dust that landed in the wet finish. Finish the whole thing off with a coat of clear polyurethane or wax and you’ll get that smooth, furniture-quality sheen that makes all the work feel completely worth it.
Growing Your Skills and Taking on Bigger Challenges
The best thing about learning woodworking from scratch is that every single project builds directly on the one before it. Techniques that felt confusing or tricky during your first shelf build will feel completely natural by the time you’ve finished a few more projects. That’s one of the things that makes woodworking so compelling as a craft — there’s always a next level to reach, a new joinery method to figure out, a more complex build waiting to put your skills to the test. The progression never really stops, which means the hobby never gets stale.
Once you’ve got the fundamentals down, it’s worth exploring some more sophisticated joinery options. Pocket hole joinery using a Kreg jig is a great next step — it lets you create strong, nearly invisible joints without needing years of carpentry experience. From there, dowel joinery, biscuit joinery, and eventually mortise-and-tenon joints will gradually open up a whole new range of project possibilities. Each technique you add to your toolkit makes plans that once seemed intimidating suddenly feel doable, and that feeling of expanding capability is one of the most motivating parts of growing in this craft.
And above all else — don’t let mistakes derail you. Every woodworker you’ve ever admired has a pile of stories about measurements that were off, joints that didn’t quite seat right, or finishes that had to be sanded back and redone. Mistakes aren’t failures; they’re the fastest kind of education there is. Keep a notebook, jot down what worked and what didn’t on each project, and gradually push yourself toward builds that are just a little outside your comfort zone. That’s how beginners become confident, capable craftspeople who can walk through their home and point to something they built themselves in nearly every room.








What do you think?
It is nice to know your opinion. Leave a comment.