










2xEDGE Landscape Edging & Garden Border Staples: The Complete Guide to a Perfectly Defined Garden
Introduction to Landscape Edging and Why It Matters
A well-maintained garden is often defined not just by the plants within it, but by the crisp, clean lines that separate different zones of your outdoor space. Landscape edging is one of the most transformative improvements any homeowner or professional landscaper can make, instantly elevating the aesthetic of any yard from ordinary to polished and intentional. Without proper edging, even the most carefully planted flower beds can look unkempt as grass creeps inward and mulch spills outward over time.
Garden border staples play a critical but often overlooked role in this process. When you install flexible edging materials — whether rubber, plastic, or metal — those materials are only as effective as the fasteners holding them in place. Poorly secured edging shifts with ground movement, frost heave, and foot traffic, creating gaps and waves that undermine the entire purpose of having a defined border. This is precisely where high-quality staples like those from the 2xEDGE system make all the difference in the longevity and appearance of your installation.
The 2xEDGE Landscape Edging & Garden Border Staples system has gained significant attention among both DIY enthusiasts and professional landscaping crews for its robust design and ease of use. Built to hold edging materials firmly in place across a variety of soil types and conditions, these staples eliminate the frustration of repeatedly repositioning borders after every significant rainfall or seasonal temperature change. Understanding how to choose, install, and maintain your garden edging with the right staples is the foundation of any lasting landscape design.
Understanding the 2xEDGE System: Design and Construction
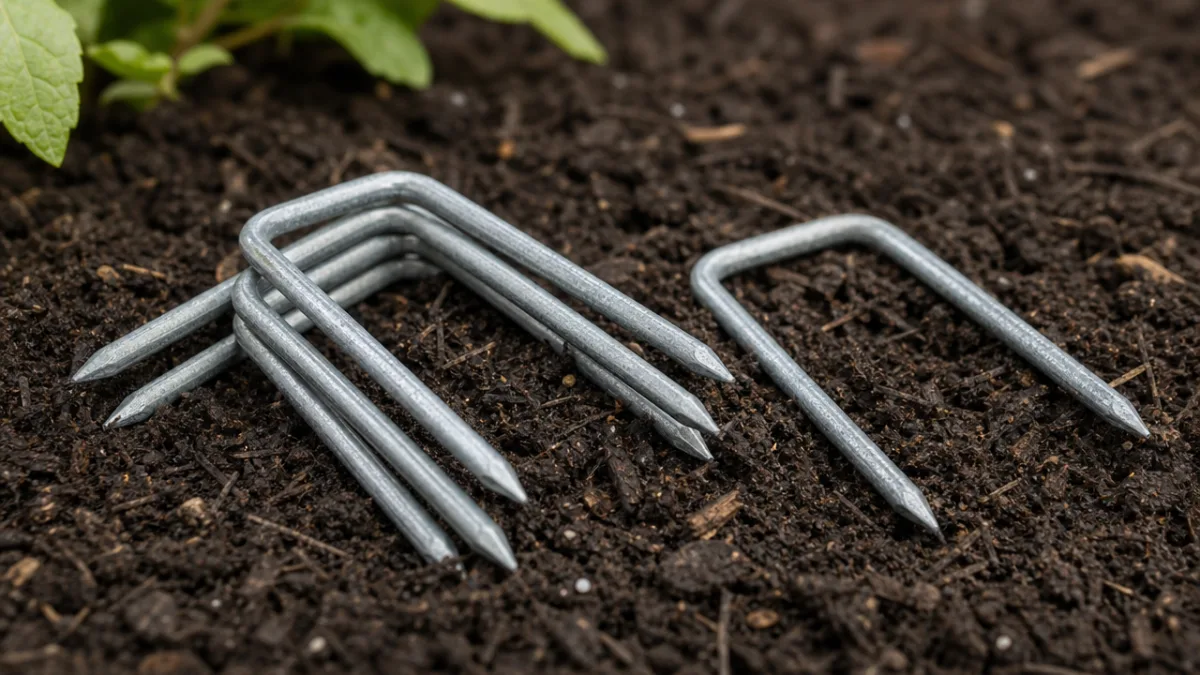
The 2xEDGE staple system is engineered with a focus on holding power and durability. Constructed from heavy-gauge galvanized steel, these staples resist rust and corrosion even in consistently moist soil environments. The galvanization process creates a protective zinc coating that prevents oxidation, which is essential for any fastener buried underground and exposed to the constant moisture present in irrigated gardens or areas with high annual rainfall. This material choice reflects a thoughtful engineering decision that extends the functional lifespan of the product significantly beyond standard alternatives.
The geometry of the 2xEDGE staple is specifically designed to maximize grip. Unlike basic U-shaped pins that simply press into the soil, the 2xEDGE design incorporates wider legs that anchor into a broader column of earth, resisting uplift from all directions. This wide-stance configuration distributes the load across more soil particles, making the staple far more resistant to being pulled out by frost heave in winter or shifting ground during dry spells when soil contracts and pulls away from installed edging. The result is an edging system that stays put season after season with minimal maintenance intervention.
These staples are compatible with a wide range of commonly available edging materials, including flexible black plastic landscape edging, thin aluminum borders, rubber edging rolls, and even certain woven fabric borders used for decorative garden beds. This versatility makes the 2xEDGE system an excellent choice for homeowners who may be working with different edging materials in different parts of their yard, allowing them to standardize on a single fastener type across all their landscaping projects rather than purchasing multiple specialty products.
Planning Your Garden Edging Project
Before purchasing staples or edging materials, the most important step is careful planning. Walk the perimeter of each bed or zone you intend to edge and take accurate measurements. Add approximately ten percent to your total linear footage to account for curves, corners, and any mistakes during installation. Curves in particular require more staples per linear foot than straight runs, since the edging material needs to be held at more frequent intervals to maintain a smooth, flowing arc rather than snapping back to its natural straight position.
Consider the purpose of each edging installation as you plan. Are you primarily containing mulch within a flower bed, preventing grass from encroaching into a planting area, separating a lawn from a gravel pathway, or defining the border between two different ground cover materials? Each purpose may call for a slightly different depth of installation and staple spacing. For applications where grass rhizomes are aggressively spreading, for example, you may want to drive your edging deeper and use more staples to ensure there are no gaps that creeping grass can exploit over time.
Soil type is another critical planning factor that many first-time installers overlook. Sandy or loose soils require more staples and possibly longer staple legs to achieve adequate holding power, since the soil particles do not grip the staple shanks as firmly as denser clay-based soils. Conversely, hard clay soils may require pre-wetting the ground before installation to allow the staples to be driven to full depth without bending. Rocky or root-filled soil may require a hammer and a driving tool to ensure straight, full-depth penetration of each staple.
Think about the visual outcome you want from your edging project as well. Clean geometric lines create a formal, structured appearance well-suited to traditional garden designs, while sweeping organic curves lend a more naturalistic feel to cottage gardens or woodland-inspired landscaping. Sketch your planned edging lines on a simple yard diagram before purchasing materials to confirm the design looks balanced and proportionate from multiple vantage points around your property.
Step-by-Step Installation Guide
Begin your installation by clearing the intended edging line of any debris, rocks, or root obstructions. Use a flat spade or a dedicated edging tool to cut a crisp, straight or curved trench along your planned line, digging to the appropriate depth for your chosen edging material — typically four to six inches for standard plastic landscape edging. A clean-cut trench makes it far easier to set the edging at a consistent height and ensures the final result looks professional rather than haphazard. Take your time on this step, as the quality of your trench directly determines the quality of your finished edge.
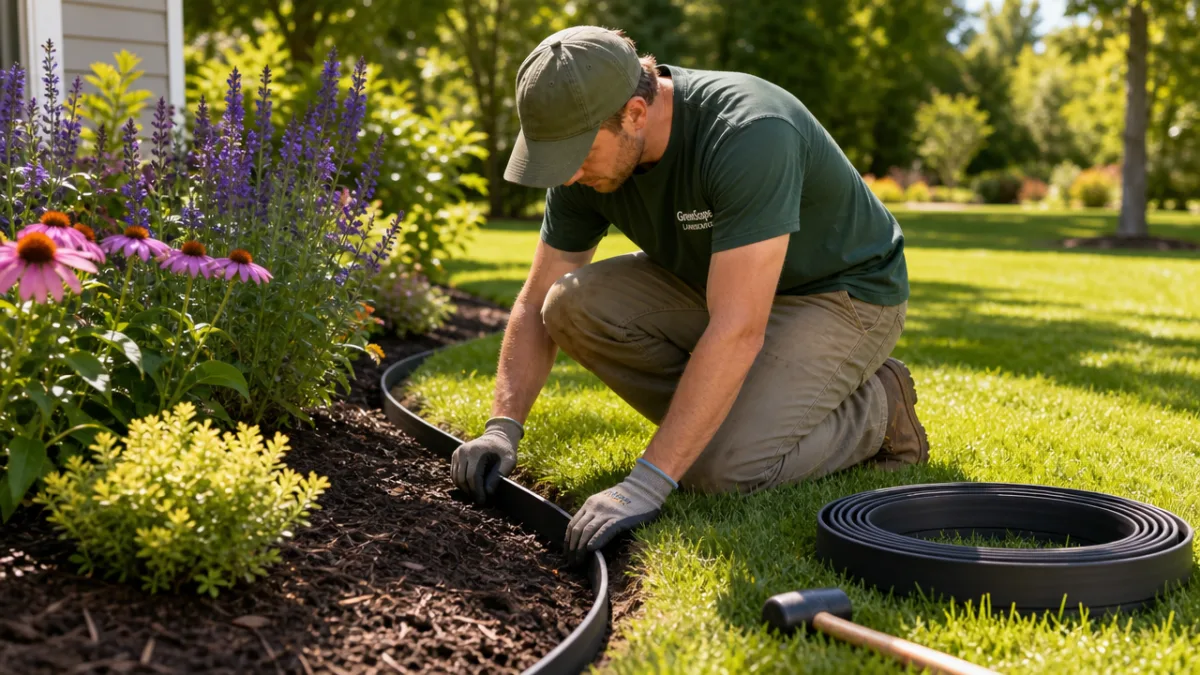
Once your trench is ready, lay the edging material along the trench and gently press it into position. For long straight runs, use stakes or temporary pins to hold the edging upright while you work your way along the line. For curves, take extra care to ensure the top of the edging maintains a consistent height relative to the surrounding lawn or path surface throughout the entire curve. Many installers find it helpful to have a second person hold the edging in position while the first person begins driving staples, particularly on longer installations.
Drive 2xEDGE staples at the manufacturer-recommended spacing, which is typically every eighteen to twenty-four inches for standard applications and every twelve inches for curves or areas with aggressive grass. Position each staple so that it straddles the top lip of the edging material and drives cleanly through it into the soil below. Use a rubber mallet or a dedicated staple-driving tool to seat each staple fully flush with or just below the top of the edging. Staples that protrude above the surface create a tripping hazard and are also susceptible to being caught by lawnmower blades.
- Clear and trench the edging line to the proper depth before laying any materials
- Pre-soak hard clay soils for easier staple penetration and to prevent bending
- Space staples every 12 inches on curves and every 18–24 inches on straight runs
- Drive each staple fully flush to eliminate tripping hazards and mower contact risks
- Backfill and tamp soil on both sides of the edging once all staples are placed
- Check the entire installation from a standing position to identify any uneven sections before finishing
After all staples are placed, backfill the trench on both sides of the edging with the excavated soil and tamp it firmly with your foot or a hand tamper. This step is critical because it locks the edging and staples into a unified, stable assembly. Loose backfill will settle unevenly with rain and foot traffic, causing the edging to shift before the staples have had time to fully anchor in the surrounding soil. A well-tamped installation will remain level and aligned through its first full season without any further adjustment.
Maintenance and Long-Term Care of Your Garden Borders
One of the great advantages of using quality staples like the 2xEDGE system is that your maintenance requirements are dramatically reduced compared to installations using inferior fasteners. However, no edging installation is entirely maintenance-free over the long term. After the first winter season, walk the entire perimeter of your installed edging and check for any sections that may have been displaced by frost heave, which occurs when freezing water in the soil expands and lifts objects buried within it. This is especially common in northern climates where the ground freezes deeply and repeatedly throughout the winter months.
Where minor frost heave displacement is detected, use your foot or a hand tool to press the edging back down to grade and drive one or two additional staples to re-anchor it. In most cases, this is a quick five-minute repair that restores the edging to its original appearance. If you find that a particular section heaves repeatedly every season, consider adding more staples along that section or using longer staples with deeper penetration to anchor below the typical frost depth for your region. This proactive approach prevents repeated seasonal maintenance from becoming a frustrating annual chore.
Periodically re-cut the soil edge along the exterior face of your edging material using a flat spade or rotary edger. Over time, grass and soil will naturally creep toward the edging from the lawn side, softening the visual definition of your border even when the edging itself remains perfectly in place. A quick annual or semi-annual re-cutting restores the crisp visual line that makes edged garden beds so attractive. This is also a good time to add fresh mulch to your beds, as the defined border makes mulch application clean and contained.
Inspect the condition of your staples and edging material every two to three years. Galvanized steel staples like those in the 2xEDGE system typically last many years without significant degradation, but plastic edging materials may become brittle and crack over time, particularly in climates with extreme temperature fluctuations or intense UV exposure. When you notice sections of edging becoming brittle or cracked, replace those sections promptly before they fail entirely. Replacing small sections is far less work and expense than replacing an entire border installation that has deteriorated to the point of complete failure.
Creative Applications and Design Ideas for Garden Edging
While landscape edging is fundamentally a practical solution, its applications extend well beyond simple lawn containment. Thoughtful use of edging can dramatically improve the organization and visual coherence of any outdoor space, large or small. Consider using edging to create distinct garden rooms within a larger yard, separating a vegetable garden from an ornamental border, or defining a children’s play area from a formal planting zone. Each defined space feels more intentional and finished when bounded by a clean, crisp edge, and visitors to your garden will immediately sense the care and planning that went into its design.
Edging can also be used creatively in combination with different ground surface materials to create attractive transitions and pathways. A gently curving path of pea gravel flanked by edging on both sides, leading through a planting area to a garden bench or water feature, creates a strong visual axis that draws the eye and invites exploration. The edging holds the gravel cleanly within the path boundary while keeping neighboring lawn or planting areas from encroaching on the walking surface. This technique is widely used in professional landscape design and is entirely achievable as a weekend DIY project with the right materials and fasteners.
Raised bed framing represents another creative application for the 2xEDGE staple system. While traditional raised beds use rigid timber or stone materials, flexible edging staked firmly in place with quality staples can create low-profile raised areas that gently mound soil above surrounding grade. This is particularly useful for creating defined display areas for spring bulb plantings or annual color beds, where you want visual elevation without the expense or permanence of a traditional raised bed structure. The flexibility of the edging material allows you to change the shape of these defined areas from season to season as your planting plans evolve.
- Use curving edging lines to create a sense of movement and organic flow in naturalistic garden designs
- Define gravel or decomposed granite pathways on both sides for a clean, professional finish
- Separate lawn zones from water-conserving mulched areas in drought-tolerant landscape designs
- Create low-profile mounded planting areas for seasonal bulb and annual color displays
- Frame vegetable garden beds to keep grass and competing plants from invading growing areas
- Define the perimeter of children’s play areas with mulch, rubber surfacing, or sand for clear visual boundaries
The combination of versatile edging materials and reliable fasteners like the 2xEDGE staple system essentially removes the limits on what you can design and execute in your own outdoor space. As you grow more confident in working with these materials, you will find yourself looking at your entire property through a design lens, identifying opportunities to add definition, structure, and visual polish that transform your yard into a cohesive, intentional landscape that reflects your personal style and enhances your daily enjoyment of your outdoor environment.
Comparing 2xEDGE to Alternative Fastening Solutions
The landscape edging fastener market includes a range of products at various price points and quality levels, and understanding how the 2xEDGE system compares to its alternatives helps justify the investment in a premium product. The most basic alternative is the simple wire landscape pin, a thin U-shaped wire pin commonly sold in large quantities at very low cost. While these pins are inexpensive and easy to install, they provide minimal holding power, particularly in loose or sandy soils, and the thin wire is prone to bending during installation and corrosion over time. Many homeowners who begin with wire pins find themselves replacing them within two to three seasons.
Step-in plastic anchor spikes represent a mid-range alternative that improves on wire pins in terms of ease of installation but still falls short of the holding power provided by a wide-stance galvanized steel staple. Plastic components are inherently susceptible to UV degradation and can become brittle in cold weather, sometimes snapping during installation in hard soils or during removal if edging needs to be repositioned. The 2xEDGE galvanized steel construction eliminates both of these failure modes, providing a fastener that remains flexible and strong across a wide range of installation conditions and temperatures.
Professional-grade landscape spikes and anchors used in commercial installations are typically more comparable to the 2xEDGE system in terms of holding power, but they are often sold only in large commercial quantities and at price points intended for professional purchasing budgets rather than individual homeowners. The 2xEDGE system strikes a practical balance by offering commercial-grade holding performance in packaging and quantities appropriate for residential use, making genuine quality accessible to the DIY market without requiring the purchase of quantities far beyond what a typical homeowner would ever use in a single property.
When evaluating total cost of ownership rather than just purchase price, the premium product consistently outperforms cheap alternatives. Wire pins that need replacement every two to three seasons, combined with the labor of removing and reinstalling edging, quickly add up to a cost far exceeding what a quality staple system requires over the same period. Investing in the right fastener from the beginning is one of those landscaping decisions that pays consistent dividends in reduced maintenance time and consistently better visual results throughout the life of your garden borders.
Final Thoughts: Investing in Your Landscape with Confidence
The 2xEDGE Landscape Edging & Garden Border Staples system represents the kind of straightforward, well-engineered product that makes ambitious landscaping projects achievable for homeowners at every skill level. By solving the most common failure point in edging installations — inadequate fastening — this system allows gardeners to focus their energy on the creative and horticultural aspects of their projects rather than spending time troubleshooting and repairing edging that has shifted out of position. When the functional infrastructure of a garden is reliable and low-maintenance, the entire experience of gardening becomes more rewarding.
Whether you are tackling a simple flower bed border in a small suburban yard or undertaking a comprehensive landscape redesign across multiple acres, the principles of proper edging installation remain the same. Plan carefully, choose quality materials, install them correctly, and maintain them with periodic attention. The 2xEDGE staple system fits naturally into this approach, offering the holding strength and durability that professional landscapers depend on and bringing that same level of performance within reach of any dedicated home gardener willing to invest a weekend in their outdoor space.
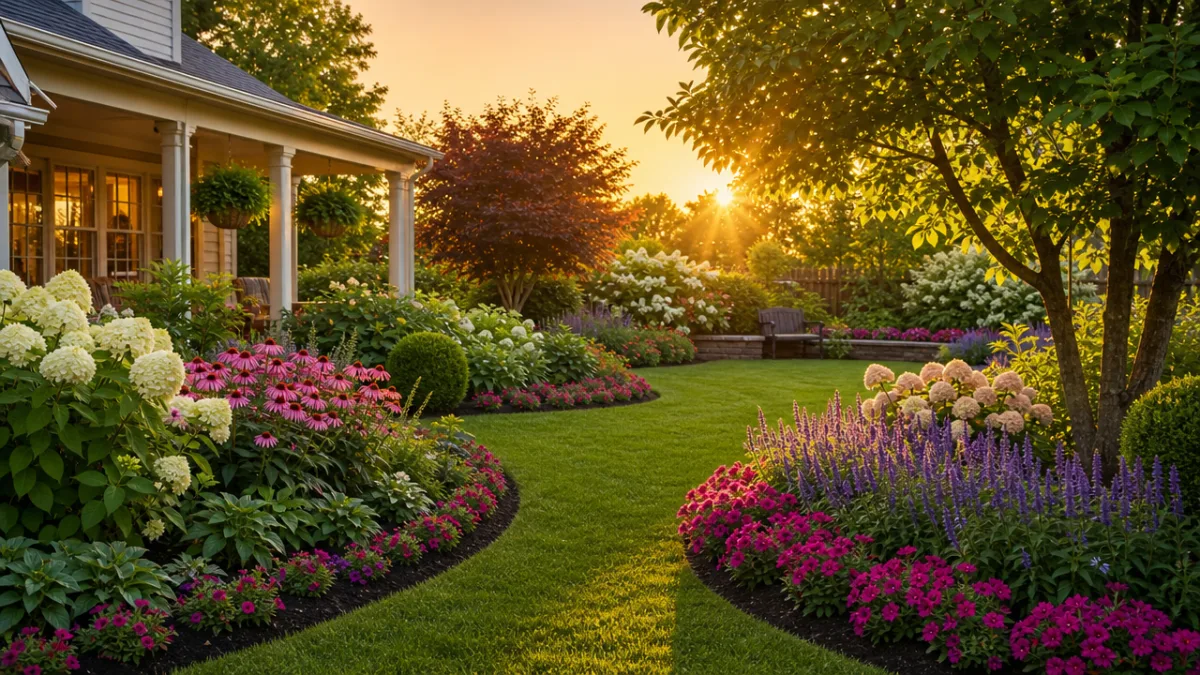
A beautifully edged garden is one of the most visible and impactful improvements you can make to your property’s curb appeal and your personal enjoyment of your outdoor environment. Clean, defined borders signal care and intentionality, framing your plantings in a way that makes every season’s display look its best. With the right tools, quality fasteners, and a clear plan in hand, you have everything you need to create garden borders that will remain sharp, stable, and attractive for years to come — a lasting investment in the beauty and organization of your outdoor home.








What do you think?
It is nice to know your opinion. Leave a comment.