










Woodworking for Gardeners: Make a Handmade Flower Press
The Timeless Art of Flower Pressing: Where Gardening Meets Craftsmanship
There’s something quietly magical about holding onto a flower that would otherwise be gone in a week. A peony at full bloom, a sweet pea just before it fades — these things don’t last, and that’s exactly what makes pressing them feel so worthwhile. People have been doing this for centuries: botanists, artists, collectors, anyone who wanted to keep a little piece of the living world past its season. What comes out of a press is flat and papery, yes, but there’s still something of the original flower in it — the color, the shape, a kind of ghost of what it was.
Sliding a flower between encyclopedia pages works fine, but building your own press is a different thing entirely. It’s intentional. It has personality. A handmade press sits on a shelf and tells you something about the person who made it — you can size it exactly how you want, finish it to match your taste, and add whatever personal touches feel right, whether that’s a burned floral border, your initials, or a simple carved detail. It stops being just a tool and starts being an object you actually care about.
For gardeners who are curious about woodworking — or who want an easy, satisfying way into it — a flower press might be the perfect first project. You’re measuring, cutting, drilling, and sanding. That’s basically it. The wood is cheap, the whole thing comes together in an afternoon, and then you get to use it every single time something beautiful comes into bloom in your garden. Not many projects pay off that reliably.
Choosing Your Wood: Materials That Will Serve You for Decades
Wood choice matters more than you might think at first — and it’s not just about looks. The top and bottom boards of the press need to be flat, strong, and able to handle the pressure you’ll put on them when you tighten the bolts. They also need to hold up to the moisture that fresh flowers naturally release as they dry. Hardwoods are the most durable option, but some softwoods work perfectly well and are easier to cut and shape by hand, which is a real advantage if you’re newer to all this.
Birch plywood is a favorite for good reason — it’s stable, meaning it doesn’t warp easily when humidity changes, and it sands to a smooth, clean finish that looks genuinely polished when it’s done. If you’d rather use solid wood, cherry, maple, walnut, and oak are all great options. Cherry is especially nice: it starts out light and slowly deepens to a warm amber as it ages in the light, and it’s easy enough to work with hand tools if you want to carve or plane any details into the surface.
Don’t overlook the internal layers, either. Corrugated cardboard creates little air channels that let moisture escape from the flowers as they dry, while blotting paper or newspaper actively pulls that moisture out. Some experienced pressers use acid-free watercolor paper directly against the flowers, because regular paper can discolor delicate petals over time. Whatever you go with, stock up — you’ll be swapping these layers out regularly through a full garden season, and running out mid-project is frustrating.
Tools and Hardware: What You Will Need to Get Started
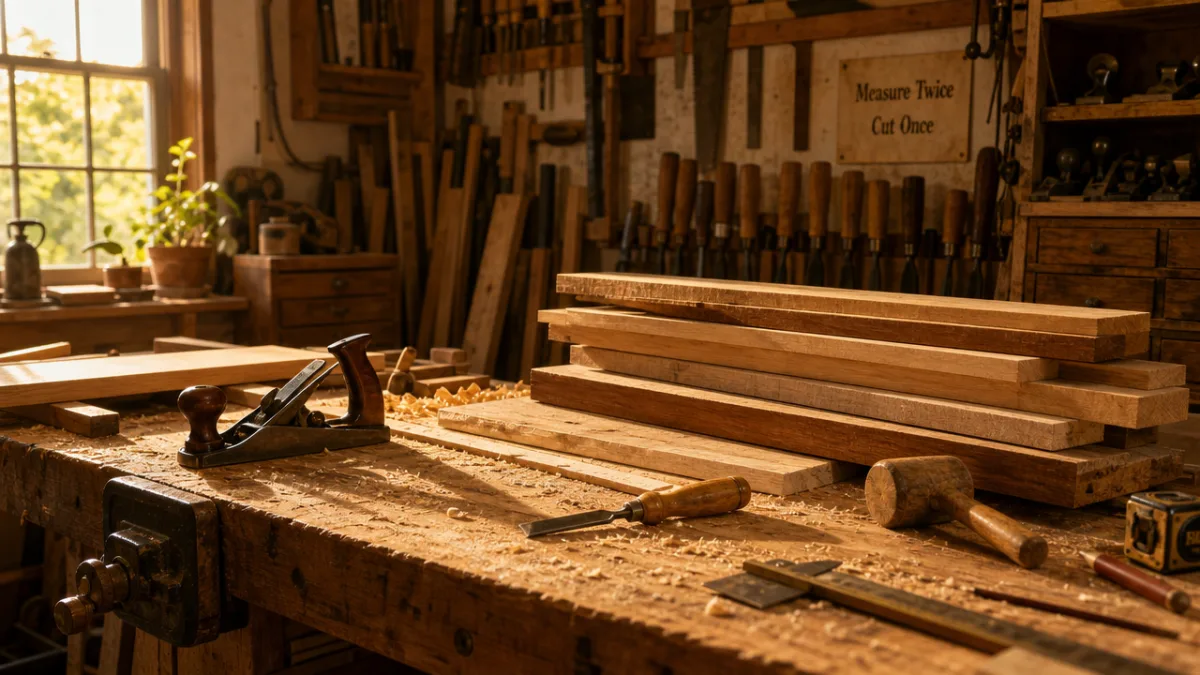
One of the best things about this project is how little you actually need to pull it off. No dedicated woodworking shop, no table saw, no specialized machinery. You can build a perfectly good flower press with hand tools in a garage, on a back porch, or really anywhere you have a bit of space. Power tools will speed things up if you have them, but for a press this size they’re never strictly necessary.
For cutting the boards, a basic handsaw does the job on plywood and softwood without any trouble. A circular saw or miter saw makes the cuts faster and more precise, but again — not required. You’ll also need a drill with a quarter-inch bit for the bolt holes, and sandpaper in a few different grits: something around 80 grit to start, working up to 220 for the final surface before you apply a finish.
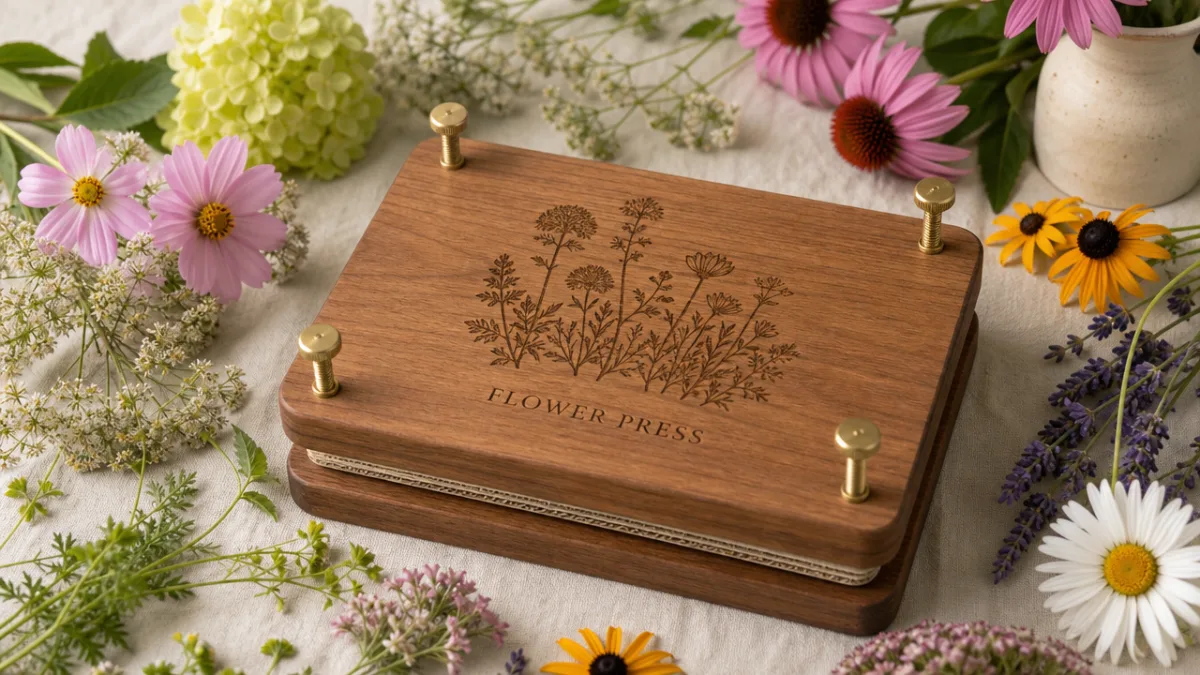
For the hardware, the traditional approach is four carriage bolts with wing nuts, and there’s a good reason wing nuts are standard here. You’ll be tightening and re-tightening the press frequently — especially in the first day or two after loading it, as the flowers compress — and being able to do that by hand without hunting for a wrench every time makes a real difference. Here’s everything you’ll want to gather before you start:
- Two pieces of hardwood or birch plywood, cut to your chosen size (common sizes include 6×6 inches, 8×8 inches, or 9×12 inches for larger blooms)
- Four carriage bolts, approximately 3 to 4 inches long, with a diameter of one quarter inch
- Four wing nuts and four flat washers to match your bolt diameter
- Drill and quarter-inch drill bit
- Sandpaper in 80, 120, and 220 grits
- Wood finish of your choice: linseed oil, tung oil, beeswax, or a light stain
- Corrugated cardboard, cut to fit inside the bolt holes
- Blotting paper, newsprint, or watercolor paper for the pressing layers
- Pencil, ruler, and a carpenter’s square for marking
A few optional extras worth considering: a wood-burning tool if you want to add lettering or botanical designs to the surface, a clamp or two to hold things steady while you drill, and a small block plane for cleaning up rough edges on solid wood. Getting everything together before you start is worth the effort — stopping mid-project to track down a missing piece of hardware is one of those small things that kills momentum faster than you’d expect.
Step-by-Step Building Instructions: Constructing Your Press
Start by cutting both boards to exactly the same dimensions. This part genuinely matters — if one board is even slightly larger than the other, the press won’t sit flat, which means uneven pressure across your flowers and potentially crushed or bent petals at the edges. Mark your cut lines carefully with a ruler and carpenter’s square, and take your time with the saw. If you’re cutting plywood, cut with the good face up when using a handsaw, and face down with a circular saw, to keep the finished surface from splintering.
Once both boards are cut and you’ve confirmed they match, stack them together and mark the four bolt hole positions on both at the same time. The standard placement is one hole in each corner, set in about three quarters of an inch from each edge. Marking — and ideally drilling — both boards while they’re stacked means your holes will line up perfectly when the press goes together. Misaligned holes are the most common headache on this project, and marking carefully for a couple of extra minutes is all it takes to avoid it completely.
After drilling, spend some real time sanding. Start with your coarser grit and work your way up, always going with the grain rather than across it. Knock the sharp corners and edges down slightly with sandpaper — this is called breaking the edges, and it’s what separates a press that feels finished from one that feels raw and rough. Wipe everything down with a slightly damp cloth to remove dust, let it dry fully, and then this is your moment for any decorative work: a wood-burned design, your initials, the year, a botanical motif on the top face.
Finishing the wood does two things — it protects the surface from the moisture the press will encounter in use, and it brings out the warmth and character of the grain. For something like this, where the press is both a working tool and a display object, a penetrating oil finish is a great choice. Raw linseed oil or tung oil soaks into the wood rather than sitting on top of it, curing to a matte, natural-feeling surface that lets the grain show through without any plasticky shine. Apply it with a cloth, let it sit for fifteen minutes or so, wipe away the excess, and give it at least twenty-four hours to cure before you assemble. Two or three coats with a light sand between them will give you a surface that actually looks like something you made on purpose.
Pressing Techniques: Getting the Best Results From Your Garden Flowers
Building the press is the easy half. The other half is knowing which flowers to pick, when to pick them, and how to set them up inside the press before you close everything up. Most people figure this out through trial and error — losing a few good specimens to rookie mistakes before landing on techniques that actually work. But a little upfront knowledge goes a long way, and most of those early disappointments are easily avoidable.
When you harvest makes a bigger difference than you might expect. Flowers pressed at their peak — not starting to go over, not still opening up — hold the best color and the most defined petal structure. Early morning is generally ideal: the dew has dried off but the midday heat hasn’t started drawing moisture from the plant. Flowers that have been stressed by drought or heat tend to press poorly, with muddy colors and uneven texture. Cut cleanly with sharp scissors or secateurs and get the flowers into the press quickly — within a couple of hours is ideal.
Different flowers call for slightly different approaches. Flat, single-layer blooms like pansies, violas, cosmos, and borage are as close to foolproof as it gets, because their natural shape is already nearly two-dimensional. More complex flowers with layered petals or deep centers — roses, dahlias — work better cut in half and pressed as side profiles, or with the petals separated and pressed individually. These are some of the most reliable choices if you’re just getting started:
- Pansies and violas, which press quickly and hold vibrant color exceptionally well
- Larkspur and delphinium florets, which produce striking blues and purples that few other pressed flowers can match
- Queen Anne’s lace and other umbellifers, which create delicate lacework patterns ideal for decorative use
- Ferns and small-leaved foliage, which press flat naturally and provide beautiful structural contrast to blooms
- Forget-me-nots, pressed in small clusters, which retain their characteristic sky blue and add fine detail to compositions
- Calendula petals pressed individually, then reassembled for a warm, sun-colored accent
When you’re loading the press, lay the flowers face-down on your blotting or watercolor paper, making sure no petals are overlapping or folded under themselves. Add another sheet of absorbent paper on top, then a layer of corrugated cardboard for airflow, then another paper layer for your next set of flowers. Keep layering until the press is full, then set the top board in place and tighten the wing nuts firmly and evenly — work diagonally, one corner then its opposite, rather than going around in order. Check back after twenty-four hours and tighten again, because the flowers will have compressed and the tension will have dropped off a bit.
Creative Uses for Your Pressed Flowers: From the Press to Lasting Art
The press is just the starting point. What comes out of it — flat, dried flowers and foliage in all kinds of shapes and colors — is raw material for an enormous range of projects. Many gardeners find that pressing becomes part of the seasonal rhythm of the garden itself, with the press sitting alongside the trowel and the watering can as a natural part of how they move through the growing year.
One of the simplest and most satisfying things you can do is make botanical cards or small handmade books with pressed flowers sealed under a coat of decoupage medium or resin. A single pressed viola on a handmade card carries a kind of care and personal attention that nothing printed can replicate. Pressed flowers also do something lovely on handmade candles — embedded near the surface of the wax, they glow softly from within when the candle is lit.
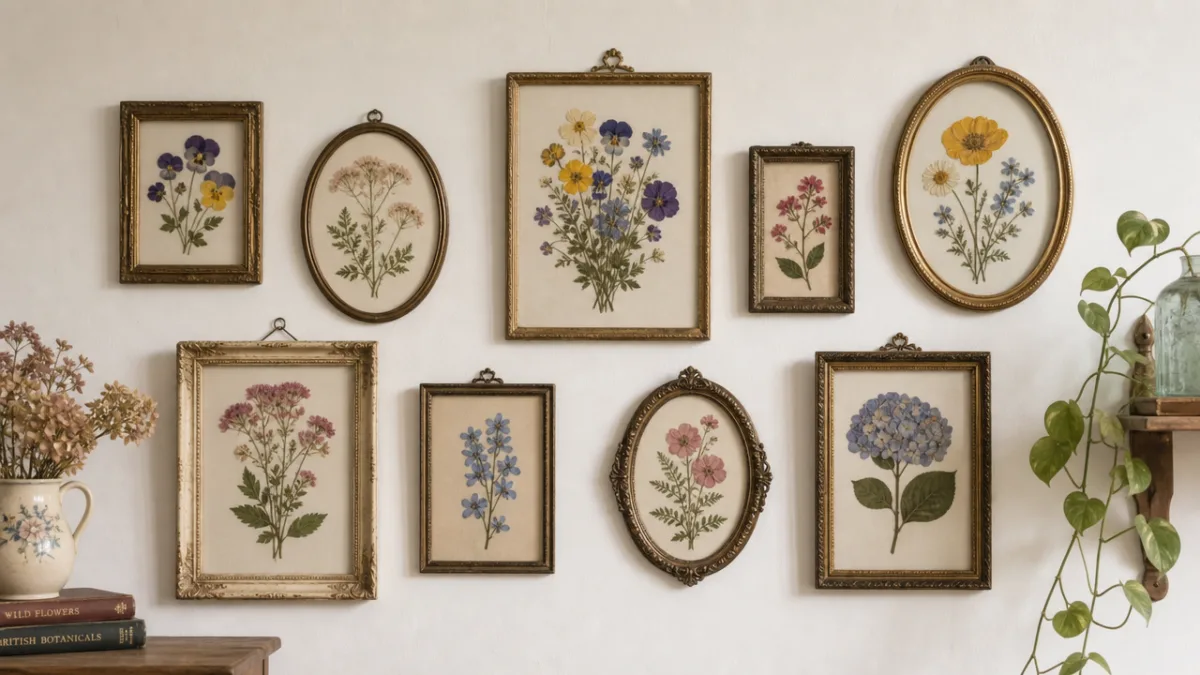
For more involved work, framed botanical compositions are genuinely beautiful objects when they’re put together thoughtfully. Arranging pressed specimens on acid-free paper, labeling them by hand with their Latin names, and framing them under glass produces pieces that feel like they belong in the botanical illustration tradition of the 18th and 19th centuries. As gifts, they’re particularly meaningful — a pressed flower arrangement from someone’s own garden is a kind of portrait — and they age well, the colors softening gradually into something quieter and equally lovely.
Resin casting has also become much more accessible for home crafters in recent years, and pressed flowers embedded in clear resin make striking jewelry, coasters, paperweights, and decorative panels. Unlike a framed pressing where everything is flat against a single surface, resin suspends the flowers in three dimensions, visible from any angle — a completely different effect, and just as worth exploring. Wherever you end up taking your pressed flowers, it all starts with the press you built yourself: a simple tool made from wood and hardware and one good afternoon, connecting your garden to your workshop in the most direct and satisfying way possible.








What do you think?
It is nice to know your opinion. Leave a comment.