










How To Build a Cedar Garden Hose Holder: A Complete Guide
Why Cedar Is the Perfect Wood for Outdoor Projects
If you’re picking lumber for anything that lives outside, the choice really does matter. Cedar has been a go-to for outdoor projects for good reason — it’s loaded with natural oils that fend off moisture, bugs, and the rot that chews through less hardy wood in just a few seasons. For a garden hose holder that’s going to sit outside through rain, blazing sun, and hard freezes year after year, cedar is honestly just the smart pick.
It looks great, too. Cedar’s reddish-brown grain ages beautifully — left untreated, it mellows into that classic silvery-gray patina; hit it with a coat of oil or sealant and it holds that warm, rich tone. And unlike pressure-treated lumber, which is laced with chemical preservatives that can leach into the soil, cedar is completely natural. You can use it anywhere in your yard, including near edible gardens, without a second thought.
Cedar is also surprisingly light for how tough it is. It cuts cleanly, grips screws without splitting, and sands down to a finish that feels genuinely handcrafted. Whether you’re just getting into woodworking or you’ve got a full shop setup, cedar hits a sweet spot between easy to work with and built to last that most other lumber just can’t touch.
Tools and Materials You Will Need
Before you touch a saw, do yourself a favor and get everything together first. Running to the hardware store mid-project because you forgot a box of screws or grabbed the wrong drill bit is one of those small annoyances that can completely kill your momentum. A little prep goes a long way here.
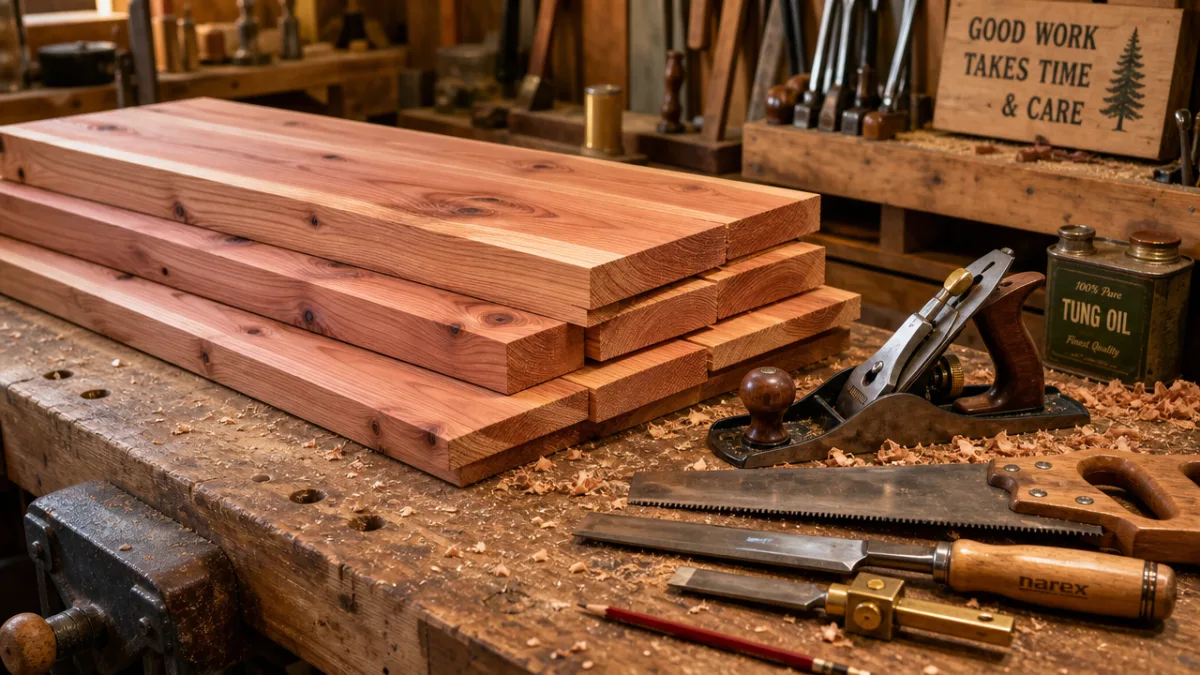
For lumber, you’re looking for Western red cedar boards — most home improvement stores carry them without any trouble. This project works well with 1×6 and 1×4 cedar boards, and how much you need depends on the size holder you’re building. A setup sized for a standard 50-foot hose needs a lot less material than one meant to handle a 100-footer. Think about what you actually use before you buy, and grab a little extra to cover any mistakes at the saw.
Here’s everything you’ll need for a complete build:
- Miter saw or circular saw for clean, accurate cuts
- Power drill with assorted bits and a countersink bit
- Tape measure, speed square, and pencil for marking
- Sandpaper in 80-grit and 120-grit for smoothing surfaces
- Exterior-rated wood screws in 1.5-inch and 2.5-inch lengths
- Wood glue rated for exterior use
- Clamps for holding pieces during assembly
- Cedar-compatible wood stain, sealant, or teak oil for finishing
- Mounting hardware including lag bolts or fence brackets if wall-mounting
Don’t skip the safety gear — it deserves just as much attention as your tools. Safety glasses are a must any time you’re running a saw, since sawdust and chips move fast. A dust mask matters when you’re sanding cedar specifically; the smell is great, but breathing that fine dust for any length of time irritates your lungs. Gloves help during assembly and finishing, and if you’re planning a long power-tool session, ear protection is worth throwing on too. Five minutes of gear-up is nothing compared to what happens when you skip it.
Measuring, Planning, and Cutting Your Cedar Pieces
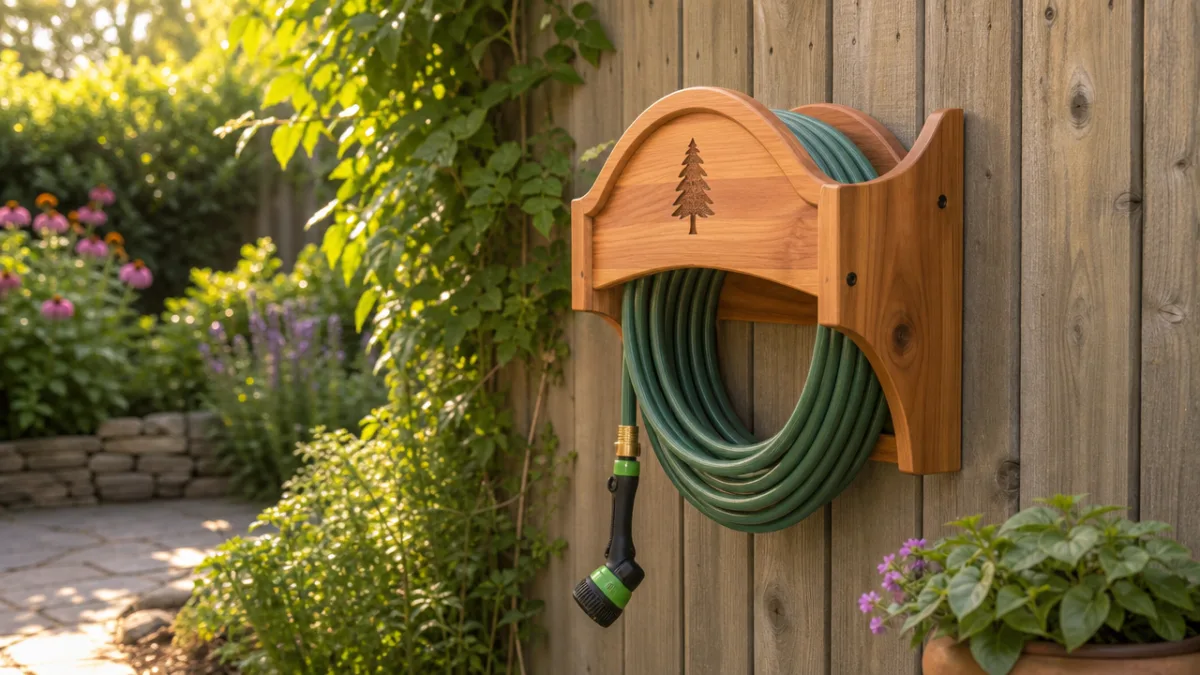
Good measuring and a solid plan are what separate a project that comes together cleanly from one that has you constantly fudging and adjusting. Before you cut anything, sketch the design out on paper — nothing fancy, just something with all the dimensions written down. A basic cedar hose holder has a back panel, two side arms that reach out to cradle the coiled hose, a base plate, and a central dowel or post that the hose wraps around. Getting a clear picture of how those pieces fit together before you start will save you a lot of headaches and wasted lumber.
For a wall- or fence-mounted holder sized for a typical garden hose, a good starting point is a back panel around 18 inches tall by 10 inches wide, cut from 1×10 cedar or pieced together from narrower boards joined edge to edge. The side arms that extend forward should run about 10 to 12 inches, which gives the hose enough room to coil up without dragging on the ground. If you want a base shelf for stashing nozzles or small accessories, 10 inches wide by 8 inches deep gives you useful space without making the whole thing awkward and oversized.
When you’re ready to cut, measure twice and cut once — yes, it’s a cliché, but it’s a cliché because people keep learning it the hard way. Set your miter saw square to 90 degrees for your crosscuts, and double-check each mark with a speed square before you run the blade. Cedar cuts easily, but if you rush or push the board unevenly, the blade will wander on you. Let the saw do its job at its own pace, guide the board steadily, and your cuts will come out straight every time.
Assembling the Cedar Hose Holder Step by Step
Assembly is the best part — this is where a pile of boards starts looking like an actual thing. Lay the back panel flat on your workbench and hold the two side arms up against it to make sure everything lines up the way you planned. Mark the attachment points lightly with a pencil, then use a countersink bit to pre-drill your screw holes on the face of the back panel. Pre-drilling isn’t optional with cedar — even though it’s a cooperative wood, driving screws straight into end grain without pilot holes is a good way to split it.
Before you bring the pieces together, run a thin, even bead of exterior wood glue along the mating surfaces. Glue plus screws creates a joint that’s significantly stronger than either one alone, and it also helps cut down on the small shifting that wood naturally does as humidity changes through the seasons. Drive your screws until the heads sit just below the surface in those countersunk recesses — flush and clean-looking. Wipe off any glue squeeze-out right away with a damp cloth. Once it dries, glue resists stain and shows up as a blotchy mess, especially in those countersunk holes where it tends to pool.
Once the main body is together, attach the base shelf using the same process — pre-drill, glue, screw. If your design includes a central wooden post or dowel for the hose to wrap around (which makes coiling and uncoiling way easier), now’s the time to bore the receiving holes in the base shelf and top cross member. A 1.5-inch forstner bit makes a flat-bottomed hole that grips a cedar dowel snugly. Cut the dowel to about 10 to 12 inches so there’s enough post to guide a few loops of hose without stacking them so high they become a pain to deal with.
Before you move on to finishing, hold the assembled unit up against wherever you’re planning to mount it and take a good look. Is it level? Do the arms clear the ground at a comfortable height? Does it feel proportionate to the space? It’s much easier to trim an arm or shift a screw hole right now than after you’ve stained and sealed everything. Spend a few minutes here — you’ll be glad you did.
Sanding, Finishing, and Protecting Your Cedar Project
A good finish is what takes a project from “shop build” to “I made that.” Start with 80-grit sandpaper to knock out any mill marks, rough patches, or slight ridges where two pieces meet at a joint. Always sand with the grain — long, even strokes following the direction of the wood fibers. Cedar is soft, so 80-grit moves material fast. Don’t linger too long in one spot or you’ll sand in subtle low spots that show up when light hits the finished piece at an angle.
Follow that up with a pass of 120-grit over everything. This smooths out the scratches left by the coarser paper and gets the surface ready to take stain or oil evenly. Once you’re happy with how it feels, wipe every surface down with a tack cloth or a lightly damp rag before you open any finish. Sanding dust trapped under a finish coat creates a gritty surface and messes with adhesion — it’s especially sneaky in those countersunk holes where dust likes to hide.
For the actual finish, you’ve got a few solid options. Penetrating teak oil or danish oil soaks into the wood rather than sitting on top of it, bringing out the grain with a warm glow and providing good moisture resistance. It needs refreshing every year or two, but touching it up is easy — no stripping, no sanding back to bare wood. Exterior wood stain gives you more color choices and typically lasts longer between coats. A clear exterior sealant is the way to go if you want to preserve that natural cedar color as faithfully as possible. Whatever you pick, apply it in thin, even coats with a natural bristle brush and let each coat dry fully before adding the next.
Mounting Your Hose Holder and Practical Tips for Long-Term Use
A beautiful holder that falls off the fence the first time you load it with a heavy hose is just a beautiful disappointment. Don’t cut corners on the mounting hardware. For a wooden fence or exterior wall stud, 3-inch lag bolts are your best bet — they pull threads deep into solid wood and can handle 30 or 40 pounds of loaded hose without budging. Always use a stud finder to locate solid framing before you drill, and don’t trust drywall anchors or hollow-wall fasteners to carry any meaningful outdoor load.
Mounting to masonry or vinyl changes things a little but the principle stays the same: anchor it solidly. For brick or concrete, masonry anchors rated for exterior use work great when you follow the manufacturer’s depth specs. For vinyl fencing, through-bolting with a backing plate on the inside face of the panel is the way to go — it spreads the load over a wider area, since vinyl can crack or deform under the concentrated point loads that wood handles without issue. Taking a few extra minutes to think through your specific mounting surface pays off in years of trouble-free use.
Once it’s up, a few simple habits will keep both the holder and your hose in good shape for a long time. Drain the hose completely before you hang it — water sitting inside a coiled hose adds unnecessary weight and wears out both the hose and the holder faster than you’d expect. Once a year, check the mounting hardware and tighten anything that’s worked loose from seasonal wood movement. Reapply your finish every year or two, or whenever the wood starts looking dry or chalky. And store metal fittings, nozzles, and spray wands somewhere covered rather than leaving them outside through winter — freeze-thaw cycles are hard on the rubber seals inside.
Customizing Your Cedar Hose Holder for Added Functionality
One of the best things about building your own stuff instead of buying it is that you can make it exactly what you need. The basic design in this guide works great as-is, but there’s plenty of room to build on it. A small shelf at the base — big enough for a spray nozzle, a bottle of hose-end fertilizer, or a pair of lightweight garden gloves — turns a single-purpose hose holder into a proper little garden station.
A couple of hooks on the side panels can do a lot of work too. A pair of sturdy exterior cup hooks driven into pre-drilled pilot holes will hold a trowel, pruners, a coil of twine, or a small watering can — suddenly all the things that usually end up scattered around the yard have one home. If you’d rather have a freestanding version instead of mounting to a wall or fence, widening the base into a platform and adding a pair of vertical posts gives you a self-supporting structure you can set up anywhere in the yard.
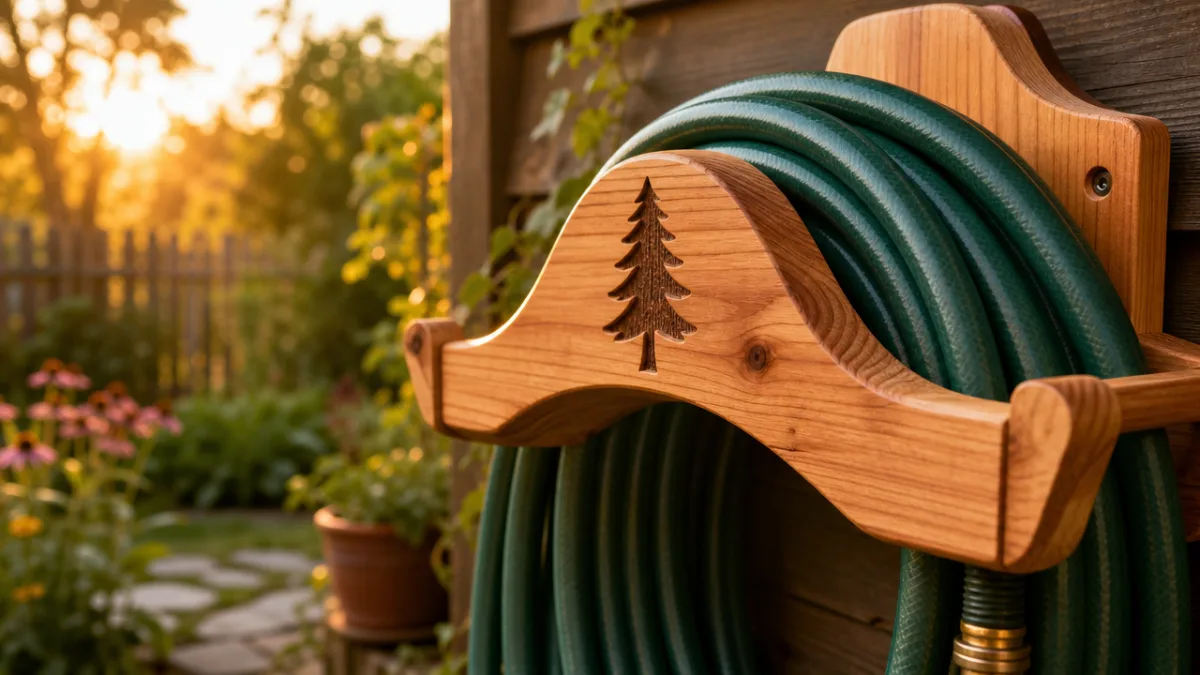
If you want to take the finished look up a notch, small decorative touches make a real difference. Chamfering the exposed edges with a router or a hand plane — just a simple 45-degree pass — removes that sharp factory edge, gives the piece a polished custom feel, and actually helps the wood hold up better over time by reducing the tendency of exposed cedar corners to check and split with weather changes. Whether you keep it simple and functional or put in extra hours on the details, a cedar hose holder you built yourself will outlast any plastic one from the store many times over, and it’ll look a lot better doing it.








What do you think?
It is nice to know your opinion. Leave a comment.