










Recycled Book Page Apple Craft: A Creative Journey Through Upcycled Art
The Art of Upcycling: Giving Old Books New Life
We’re all thinking a little more carefully about what we throw away these days, and that shift has turned upcycling from a quirky hobby into something people genuinely get excited about. Old books, especially, have become a favorite material for crafters who’d rather see worn-out pages turned into something beautiful than tossed in the bin. That’s exactly the spirit behind this recycled book page apple — a project that’s as satisfying to make as it is to look at.
What makes book pages such a special craft material is hard to pin down, but you feel it the moment you pick one up. The slightly yellowed paper, the faint shadow of printed text, that familiar crinkle — none of that can be faked with something from a craft store. There’s a texture and a history to old pages that makes them genuinely beautiful to work with, and folding them into something new feels a little like poetry.
And the apple shape? It’s just a perfect fit. Everyone recognizes it, and it carries so much meaning — education, harvest, home, a little nostalgia. It translates surprisingly well into paper, and whether you plan to set it on a shelf, use it as fall décor, or give it to a teacher who deserves something thoughtful, a book page apple has a warmth to it that store-bought decorations just don’t.
Gathering Your Materials: Everything You Need Before You Begin
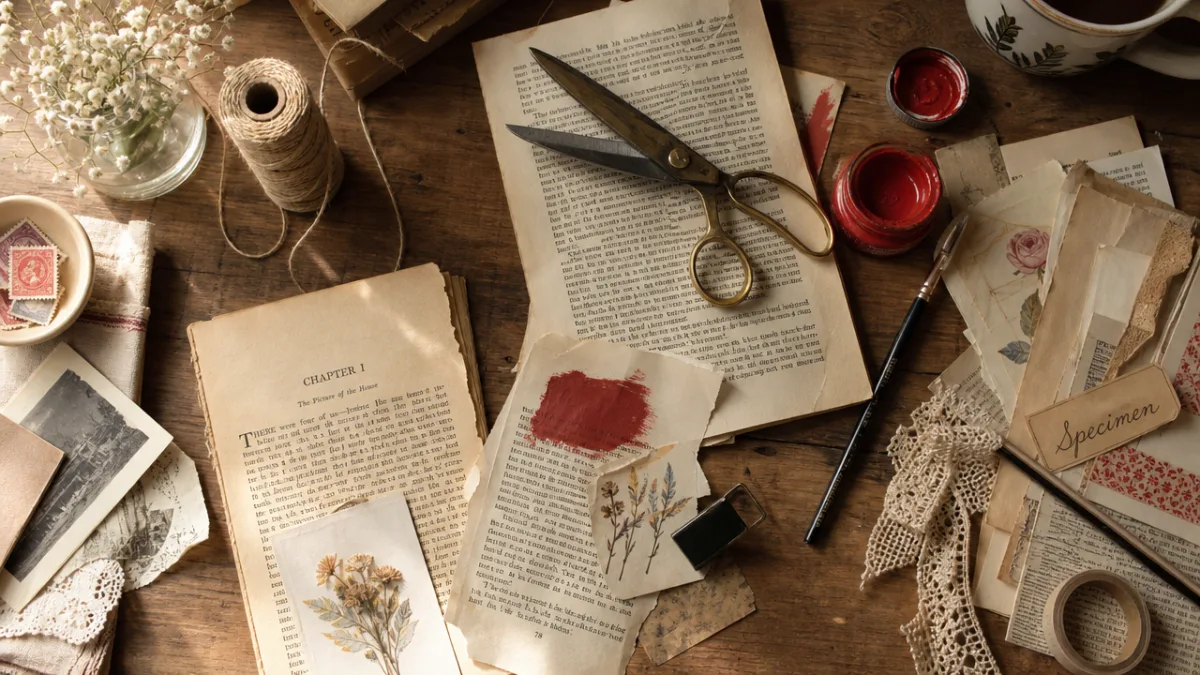
Here’s the good news: you probably already have most of what you need. That’s kind of the whole point of upcycled crafting — the materials are already out there, just waiting to be looked at differently. The star of this project is obviously old book pages. Paperback novels, encyclopedias, vintage dictionaries, old sheet music — they all work beautifully. Try to pick pages that feel interesting or meaningful to you, since bits of them will still be visible in the finished piece.
Beyond the pages, you’ll need a few basic supplies. A piece of cardstock or thin cardboard gives your apple its structure. Paint is optional — red, green, or earthy brown acrylics all look lovely — but plenty of crafters skip it entirely and let the natural paper tones do the work. You’ll need a hot glue gun or strong craft glue to hold everything together, scissors or a craft knife for trimming, and something for the stem: a small twig, a pipe cleaner, or a bit of craft wire all work well. A little paper or fabric leaf ties the whole thing together.
Before you dive in, take a few minutes to lay everything out on a clean, well-lit surface. Craft projects go so much more smoothly when you’re not constantly getting up to hunt for the scissors. If you’re doing this with kids, the setup stage is actually a great moment to have a conversation about where old books come from, what it means to give things a second life, and why we don’t just throw everything away — turning the whole project into something a little more meaningful before the glue gun even comes out.
- Old book pages (at least 20–30 pages per apple, depending on size)
- Cardstock or thin cardboard for the apple template
- Scissors or a craft knife with cutting mat
- Hot glue gun and glue sticks, or strong PVA craft glue
- Acrylic paint in red, green, or your chosen apple color (optional)
- A small twig, pipe cleaner, or rolled paper tube for the stem
- Green paper or felt for a leaf
- Pencil and ruler for measuring and marking
Step-by-Step Instructions: Crafting Your Book Page Apple
Start by cutting your apple template out of cardstock. You can draw one freehand — apple shapes are naturally a little irregular, so there’s no pressure to be perfect — or find a printable template online if you’d prefer. Cut out two identical shapes; these will become the front and back of your apple, with the folded pages sandwiched in between to give it a nice three-dimensional look. If you’d rather keep things flat and silhouette-style, one base piece works fine too. This is also the moment to paint your cardstock if you’re going that route — the color will peek through the gaps between pages later and add some lovely depth.
Next, get your book pages ready to fold. Tear or cut them down to a workable size — about half a standard paperback page is a good starting point for a medium apple. The folding itself is simple and pretty satisfying once you get into a rhythm: fold each piece in half lengthwise, then fold the bottom corners up toward the center crease to form a point at the bottom. That little cone-like shape is what creates all that wonderful texture when it’s glued down in rows. Play around with how tightly you fold — tighter folds look neat and structured, looser ones feel more organic and wild, and honestly both are great.
Once you’ve got a good pile of folded pages ready — and you will need more than you expect — start gluing them onto your cardstock base with the glue gun. Begin at the bottom of the apple shape and work your way up, overlapping each row slightly over the one below it, like shingles on a roof. Each pointed tip should fan upward, and each new row hides the glued base of the row before it. Keep going until the whole front surface is covered. If you made two base pieces, glue them back to back with your stem tucked firmly between them. Add your leaf, and then just… take a moment to appreciate what you made.
- Trace and cut two apple shapes from cardstock and paint if desired.
- Tear book pages to size and fold each one into a cone or triangular shape.
- Begin gluing folded pages at the bottom of the apple, working upward in rows.
- Overlap each row slightly to cover the glue points below.
- Sandwich your stem between the two cardstock pieces and glue firmly.
- Attach a paper or felt leaf to the stem.
- Allow everything to dry completely before displaying.
From start to finish, expect to spend somewhere between one and two hours if you’re working at a relaxed pace. Kids will likely take a bit longer, especially during the folding stage, which does take a little hand coordination to get right. That’s totally fine — don’t rush it. This is exactly the kind of project that rewards slowing down. Every single folded page is a small act of care, and when you step back and see dozens of them together, you’ll understand why people fall in love with this craft.
Creative Variations: Making the Craft Your Own
The basic book page apple is genuinely beautiful as-is, but there’s so much room to make it your own. One of the most personal variations is choosing pages that actually mean something to you. Pages from a favorite novel, a beloved poetry collection, or a book tied to a specific memory add a whole layer of meaning that you just can’t get any other way. When the apple is finished and you can spot a familiar line or phrase peeking out from between the folds, it feels like a little secret hidden in plain sight.
Color is another fun direction to explore. Instead of leaving your pages in their natural creamy or aged state, try lightly misting them with watercolor or watered-down acrylic before you start folding. The results can be genuinely stunning — a gradient that shifts from pale blush at the bottom to deep red at the top, or a soft green apple with a wash of sage and moss running through it. Another trick worth trying is painting just the edges of each folded page before gluing them down. It creates a tipped effect that looks almost gilded and gives the whole piece a surprisingly sophisticated finish.
Scale is worth playing with too. One large apple made from a hardcover book with broadly folded pages can make a dramatic centerpiece all on its own. A cluster of smaller ones in different sizes, nestled in a bowl or wired to a branch, becomes a whole autumn scene. You could even build a wreath out of multiple apple shapes with paper leaves and little acorn accents woven in. Because this craft is so modular, it also works beautifully as a group project — imagine a whole classroom or community each making one apple, then combining them into something much bigger. The individual pieces tell one story; together they tell another.
Incorporating This Craft Into Seasonal and Educational Contexts
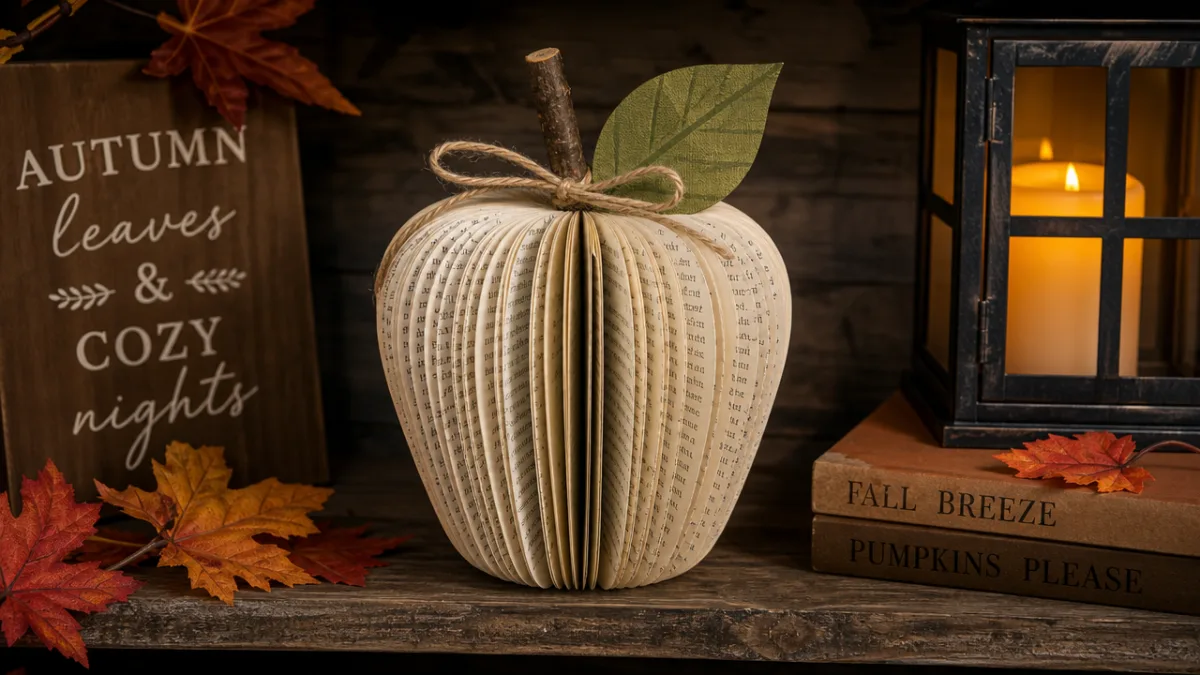
If there’s a perfect time of year for this project, it’s autumn. Apple imagery is everywhere in September and October — classrooms, harvest festivals, front porches — and the warm, natural tones of aged book pages fit right in with the season’s burnt oranges and deep reds. The apple-and-education connection makes it especially fitting for back-to-school season, and a few of these displayed in a classroom say something genuinely lovely about the relationship between books, learning, and making things with your hands.
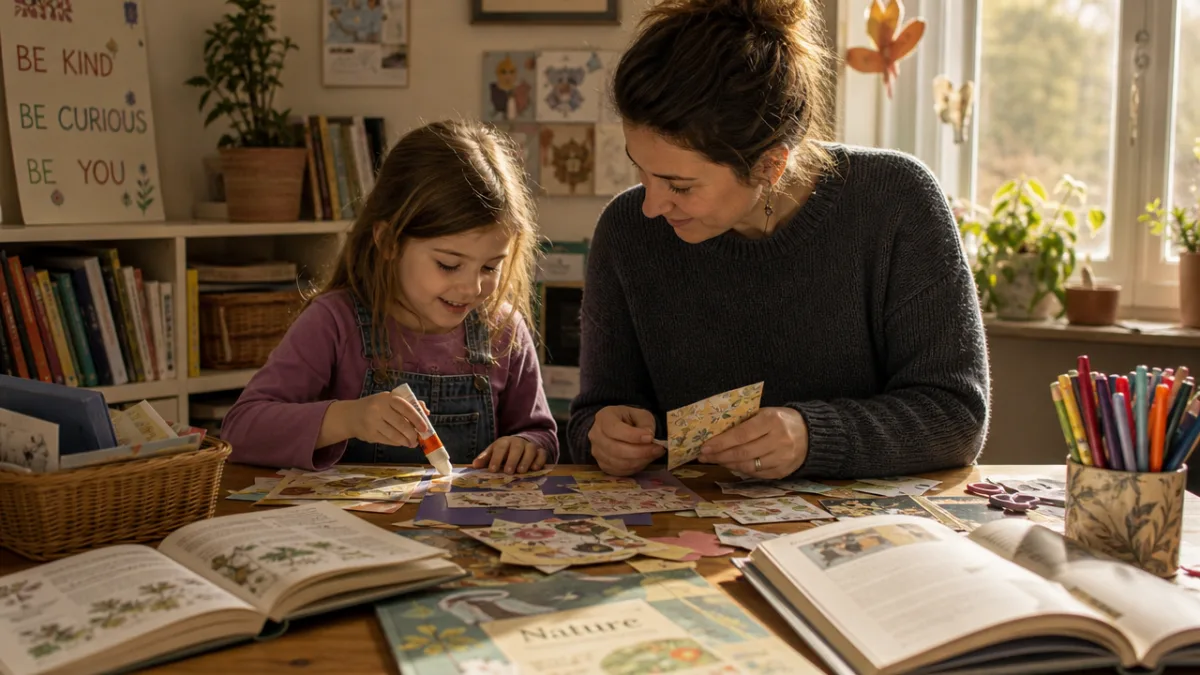
But it’s more than just a seasonal decoration — it actually works as a teaching tool. The process of measuring, cutting, folding, and sequencing steps builds fine motor skills and spatial thinking, and it requires kids to follow multi-step instructions, which is its own valuable skill. For younger children, the folding technique is a gentle, low-pressure introduction to origami. For older students, the project opens natural doors to conversations about environmental stewardship, the history of bookmaking and printing, or even literary themes if you’re working with pages from a text they know.
It’s also, quietly, one of the most thoughtful gifts you can make for a teacher, a librarian, or any book lover in your life. A handmade book page apple just carries a different weight than something pulled off a shelf — it took time, thought, and care. Tuck it in a small box with tissue paper, attach it to a gift bag in place of a tag, or pair it with a handwritten note. In a world full of mass-produced things, something made slowly and carefully from materials that were on their way to the trash really does stand out.
Sustainability and the Bigger Picture: Why Upcycled Crafts Matter
This apple craft is charming and fun, but it’s also pointing at something bigger. Every year, an enormous number of books get discarded — outdated, damaged, or simply unwanted. Libraries and thrift stores deal with more donated and rejected printed material than most people realize. Recycling that paper is better than landfill, sure, but upcycling — actually making something new and loved from it — goes a step further. It gets the most possible value out of something that already exists, which is kind of the whole point.
And once you start looking at old book pages as potential art supplies, something shifts. You start noticing cardboard tubes and thinking about what they could become. You look at wine corks differently, and fabric scraps, and things you’d normally drop straight in the recycling bin. That mental shift — sometimes called a “maker’s mindset” — is genuinely useful, not just environmentally but creatively. It builds resourcefulness and a healthy skepticism toward the idea that something used-up has no more value. One apple made from old book pages can quietly set all of that in motion.
There’s also something that feels right about working with books specifically. Books hold cultural memory. They’re records of thought and imagination and effort. Choosing to transform a damaged or obsolete one into a new object rather than just throwing it away is a small act of respect — for the material, for whoever wrote it, for the long human tradition of putting ideas on paper. When you pause to notice a particular sentence on the page you’re folding, or when you choose a book because it meant something to you, the craft becomes a kind of quiet conversation with the past. That’s not a small thing. It’s what makes this more than just a fun afternoon project.
Displaying and Preserving Your Finished Apple
Once your apple is finished, it’s worth thinking a little about where it lives, because where you put it will affect how long it lasts. Paper crafts don’t love humidity or direct sunlight, so a spot on a bookshelf, mantelpiece, or windowsill out of the glare is ideal. If you’re putting it away between seasons, wrap it gently in acid-free tissue paper and store it in a lidded box to protect it from being crushed or yellowing faster than it naturally would.
To help the piece hold up over time, consider brushing on a light coat of decoupage medium or matte craft varnish once everything is fully dry. It seals the paper just enough to make it more resistant to dust and small humidity changes, and it gives the whole surface a unified, deliberate finish that genuinely elevates the piece — it starts to look less like a craft project and more like something you’d find at an artisan market. Apply it with a soft brush in thin, even layers and let each one dry fully before adding another.
If the process hooks you — and it very well might — think about building up a collection over time. Apples in different sizes, with different color treatments and page sources, look wonderful grouped together on a wooden board or tucked into a basket with some dried fall foliage. You could even make it an annual tradition, inviting friends or family to each contribute one apple made from a book that mattered to them. The result is a collective piece full of different stories and different hands, which is maybe the most fitting thing a craft made from books could ever be.








What do you think?
It is nice to know your opinion. Leave a comment.