










Corner to Corner Moss Stitch: A Complete Free Crochet Tutorial
Introduction to the Corner to Corner Moss Stitch Technique
The corner to corner moss stitch is one of the most elegant and versatile techniques in the world of crochet. Whether you are a seasoned crocheter or someone who has recently picked up a hook for the first time, this method offers a beautifully textured fabric that works up quickly and produces stunning results. The combination of the classic corner to corner construction with the delicate, lace-like quality of the moss stitch creates a finished piece that looks far more complex than it actually is to make.
What makes this technique so appealing to crafters of all skill levels is its rhythmic, repetitive nature. Once you understand the basic pattern repeat, your hands begin to move almost automatically, allowing you to enjoy the meditative quality of crochet while watching a gorgeous diagonal design emerge row by row. The moss stitch, also known as the granite stitch or the linen stitch in some crochet communities, creates a beautiful, airy texture that drapes beautifully in finished projects like blankets, shawls, and scarves.
Throughout this tutorial, we will walk you through everything you need to know to complete your very first corner to corner moss stitch project. From understanding the materials you will need, to mastering the increase and decrease rows, to finishing your work with a clean and polished edge, this guide covers it all. By the time you finish reading and practicing, you will have a skill set that opens the door to an entire world of diagonal crochet creativity that you can carry with you for years to come.
Why the Moss Stitch Pairs Perfectly with C2C Construction
The corner to corner method works by building squares diagonally across your project, starting from one corner and expanding outward until you reach the midpoint, then gradually decreasing back down to the opposite corner. This construction naturally suits the moss stitch because the alternating chain spaces and single crochets create a consistent, balanced texture regardless of the angle at which the fabric is worked. The result is a unified, cohesive surface that looks intentional and polished from every direction.
Another reason these two techniques complement each other so well is their shared quality of lightness. Traditional corner to corner crochet using double crochets can sometimes feel heavy or stiff, particularly in thicker yarns. The moss stitch introduces a network of small open spaces that allow air to flow through the fabric, making it ideal for projects that need drape and softness. Blankets made with this combination are breathable enough for warmer seasons yet cozy enough for cooler evenings, giving your finished pieces year-round versatility.
Materials and Tools You Will Need
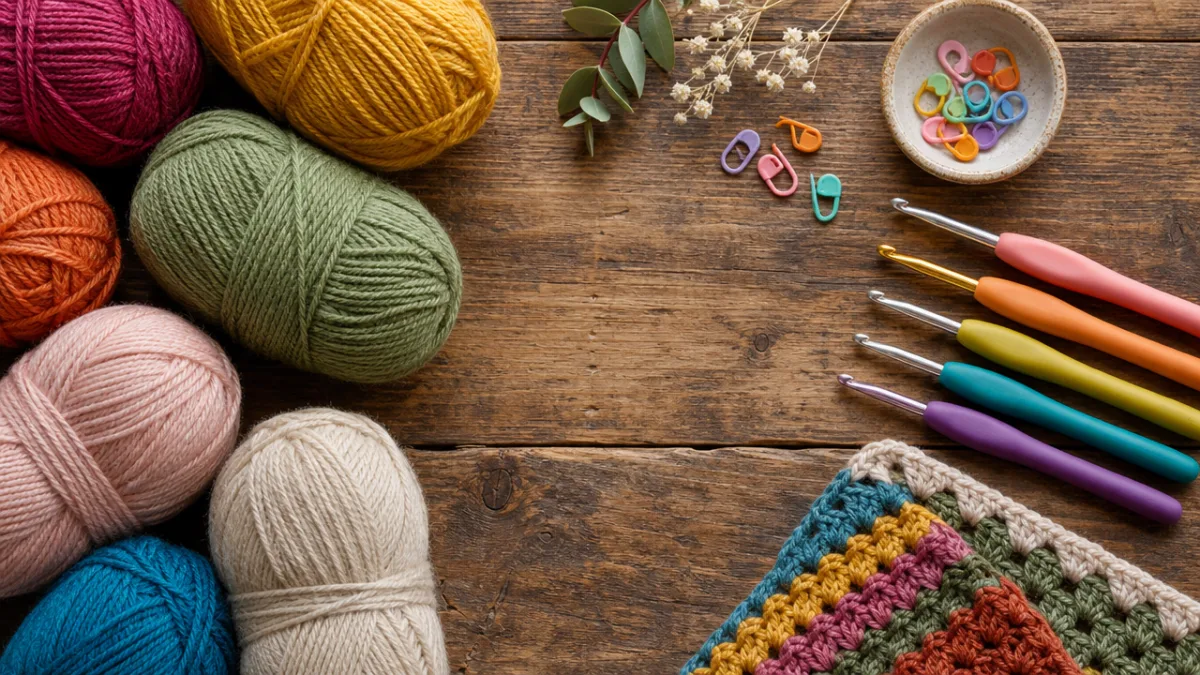
Before diving into the stitches themselves, it is important to gather the right materials for your project. The beauty of the corner to corner moss stitch is that it can be worked in almost any weight of yarn, though certain weights will produce distinctly different results. For beginners, a worsted weight yarn is strongly recommended because it is forgiving, easy to see, and works up at a satisfying pace. Choose a smooth, light-colored yarn for your first practice swatch so that you can clearly see each stitch as you work and identify any mistakes before they become difficult to correct.
In terms of hook size, you should generally follow the recommendation on your yarn label as a starting point, though many crocheters find they prefer going up one hook size when working the moss stitch to maintain an open, airy tension. A 5.0mm or 5.5mm hook tends to work beautifully with most worsted weight yarns for this technique. If you find your fabric is too stiff or dense, try going up half a size. If your stitches seem loose and sloppy, try going down half a size until you achieve a fabric you are happy with.
Beyond yarn and hooks, there are a few additional supplies that will make your crafting experience smoother and more enjoyable. Stitch markers are invaluable for keeping track of your place in the pattern, especially when you are first learning the increase and decrease sections. A yarn needle with a large eye will be essential for weaving in ends neatly at the finish. Scissors, a measuring tape, and a project bag to keep everything organized round out your toolkit perfectly. Some crocheters also like to keep a row counter nearby to track their progress through the diagonal construction.
- Worsted weight yarn in your chosen color or colorway (approximately 200-400 yards for a small lap blanket)
- Crochet hook sized 5.0mm to 5.5mm, or as indicated by your yarn label
- Stitch markers in two different colors to distinguish increase from decrease rows
- Blunt-tip yarn needle for finishing and weaving in ends
- Sharp scissors
- Flexible measuring tape
- Row counter or notebook for tracking progress
Color choice plays a significant role in how your finished corner to corner moss stitch project will look. Solid colors allow the beautiful texture of the moss stitch to take center stage, showcasing every chain space and single crochet in clear relief. Variegated or self-striping yarns create a completely different effect, producing gentle color gradients that flow diagonally across the fabric in ways that feel almost magical. Gradient yarn cakes have become especially popular for this technique because the slow color transitions emphasize the diagonal construction beautifully without requiring any yarn changes on your part.
Understanding the Moss Stitch Foundation
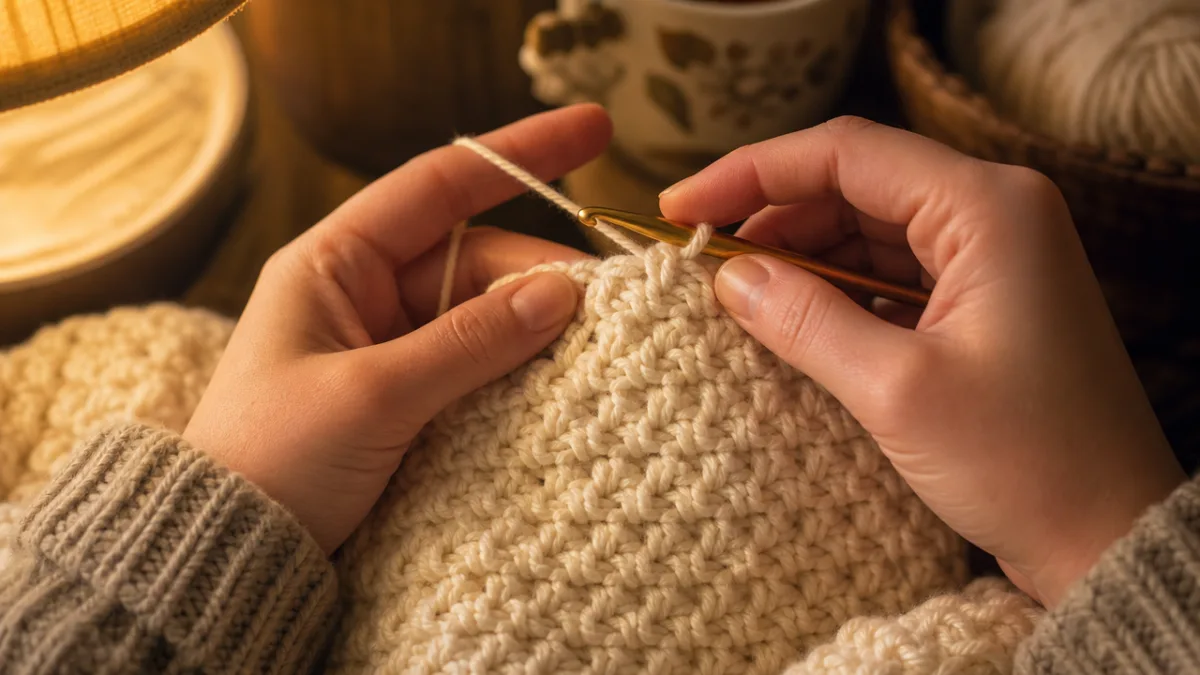
Before you begin working the corner to corner construction, it is worth spending a few minutes practicing the moss stitch itself on a simple foundation chain. The moss stitch is built on a simple two-stitch repeat that alternates between a single crochet and a chain one space. This creates a delicate, open fabric that has a slight diagonal lean, which makes it uniquely suited to the corner to corner method where angles and diagonals are already part of the design language of the project.
To practice the basic moss stitch, begin by creating a foundation chain of any even number of stitches. Row one is worked by placing a single crochet into the second chain from the hook, followed by a chain one, skipping the next chain, then placing another single crochet into the following chain. You continue this sequence of single crochet, chain one, skip one across the entire row until you reach the end. Turn your work and chain two before beginning the next row, treating the chain two as your turning chain throughout the pattern.
On subsequent rows, your single crochets will be placed into the chain one spaces of the previous row rather than into the tops of the stitches themselves. This is a key concept that many beginners initially find confusing, but once it clicks, the pattern becomes wonderfully intuitive. Working into the spaces rather than the stitch tops is what creates the characteristic open, mesh-like quality of the moss stitch fabric. Take your time with your practice swatch and do not rush this step, because establishing correct stitch placement from the beginning will make your corner to corner work much cleaner and more consistent.
The Anatomy of a Corner to Corner Square
In traditional corner to corner crochet, each tile or square is made up of a chain three, followed by three double crochets worked into that chain space. The corner to corner moss stitch adapts this concept by replacing the double crochet tile with a moss stitch repeat, which requires a slightly different approach to the chain foundation of each tile. Instead of working three double crochets into a chain three space, you will be working a combination of single crochets and chain one spaces that mimic the moss stitch texture within the diagonal grid structure.
Each moss stitch tile in the corner to corner construction consists of a chain four foundation, into which you work a specific sequence of single crochets and chain one spaces. The exact sequence may vary slightly depending on the designer whose pattern you are following, but the principle remains consistent: you are creating a small square of moss stitch fabric that joins seamlessly to its neighbors through slip stitches at the corners of each tile. Understanding this structure at a conceptual level will help you troubleshoot your work and adapt the pattern to different project sizes and yarn weights.
One of the most satisfying aspects of corner to corner construction is the way the project grows visibly with every row. During the increase phase, each new row is one tile wider than the last, so you can watch your diagonal square expand rapidly across your work surface. This makes the technique particularly motivating for beginners who sometimes struggle with the slow pace of progress that can accompany other crochet methods. Within just a few hours of practice, most crocheters find themselves with a recognizable and beautiful section of fabric that encourages them to keep going.
Step-by-Step Pattern Instructions
Now that you have a solid understanding of the foundational concepts, it is time to walk through the actual pattern instructions step by step. Begin by creating a slip knot and chaining four. This initial chain four forms the foundation of your very first tile in the bottom left corner of your project. Into the fourth chain from the hook, work a single crochet, chain one, skip one chain, and work another single crochet. You have now completed your first tile, which consists of two single crochets separated by a chain one space, all nestled within that initial chain four foundation.
For the increase rows, you will add one new tile to the right side and one new tile to the top of each existing row, building outward in both directions simultaneously to create the diagonal expansion. To begin a new increase row, chain six and turn your work. The chain six serves as both the turning chain and the foundation for the new tile on the right edge. Work your moss stitch sequence into the appropriate chain spaces, then continue across the row by joining each new tile to the previous one using a slip stitch into the corner chain space of the adjacent tile before chaining and beginning the next tile.
Continue working increase rows until your project reaches the desired width. For a standard baby blanket, most patterns call for approximately twenty to twenty-five tiles across the widest point. For a full-size throw, you may work thirty-five to forty-five tiles depending on your yarn weight and personal gauge. Keep a careful count as you work and use stitch markers to indicate the midpoint row so that you know exactly when to switch from the increase phase to the decrease phase of the project.
- Create your starting slip knot and chain four to form the first tile foundation.
- Work the moss stitch sequence into the fourth chain from the hook to complete tile one.
- For each increase row, chain six, turn, and build outward by adding one tile to each side.
- Join tiles using a slip stitch into the corner chain space of adjacent tiles.
- Place a stitch marker at the widest row to identify the midpoint of your project.
- Switch to decrease rows, working one fewer tile on each side per row.
- Continue decreasing until you return to a single tile in the final corner.
- Fasten off and weave in all ends securely using your yarn needle.
The decrease rows follow a similar logic to the increase rows but in reverse. Instead of adding tiles on both sides, you will simply stop adding a tile on one side and work to the end of the existing tiles. Most patterns have you slip stitch across the first tile rather than working into it, which effectively removes it from the active row count. The other end decreases naturally because you simply do not add a new starting tile on that side. With each decrease row, your project narrows by one tile on each side until you arrive back at a single tile in the final corner, perfectly mirroring your starting point.
Finishing Techniques and Border Options
Once you have completed your final decrease row and fastened off your main yarn, the finishing process begins. Before adding any border, it is essential to weave in all of your yarn ends securely and thoroughly. Because the corner to corner construction involves joining many individual tiles, there can be a surprising number of ends to weave in, particularly if you changed colors throughout your project. Take your time with this step, as properly secured ends are what give a handmade piece a professional, polished quality that will hold up to years of washing and use.
Blocking your finished piece before adding the border can make a significant difference in the final appearance of the project. Wet blocking involves soaking the piece in lukewarm water, gently pressing out the excess moisture, and then pinning the piece to your desired dimensions on a blocking mat or foam puzzle tiles. Allow it to dry completely before unpinning. This process evens out any inconsistencies in tension, opens up the moss stitch chain spaces to their full, airy potential, and gives your diagonal lines a crisp, intentional look that is difficult to achieve without blocking.
For the border, a simple single crochet border worked evenly around all four edges of the piece is always a clean and classic choice that complements the delicate texture of the moss stitch without competing with it. Work one single crochet into each stitch and chain space along the top and bottom edges, and work approximately two to three single crochets per row end along the diagonal side edges to maintain a flat, even tension. At each of the four corners, work three single crochets into the corner stitch to allow the border to turn smoothly without puckering or pulling.
Creative Border Variations to Elevate Your Project
If you want to add a more decorative element to your finished piece, there are many beautiful border options that pair exceptionally well with the corner to corner moss stitch. A shell stitch border, worked by placing five double crochets into a single stitch every few stitches around the perimeter, adds a romantic, feminine touch that works beautifully on baby blankets and shawls. A reverse single crochet border, sometimes called the crab stitch because it is worked backward from left to right, creates a neat, cord-like edge that gives the finished piece a very tidy, professional appearance.
For crocheters who want to lean into the lace-like quality of the moss stitch, a picot border is a wonderful option. Picots are small decorative loops created by chaining three and slip stitching back into the base stitch at regular intervals around the edge. They add a delicate, handmade quality to the border that echoes the airy openness of the moss stitch fabric itself. Alternatively, a scallop border or a chevron edge can introduce movement and energy to the perimeter of the piece while still maintaining harmony with the overall texture.
Color is another powerful tool when it comes to borders. Many crocheters choose to work their border in a contrasting color to frame their project and make the diagonal construction stand out visually. A deep navy border on a soft cream blanket, for example, creates a crisp, graphic quality that feels modern and intentional. You might also consider working multiple rounds of border in alternating colors to create a rainbow frame effect that adds playful energy to the finished piece. The border is truly an opportunity to put your own personal stamp on the project and make it uniquely yours.
Project Ideas and Inspiration for Your New Skill
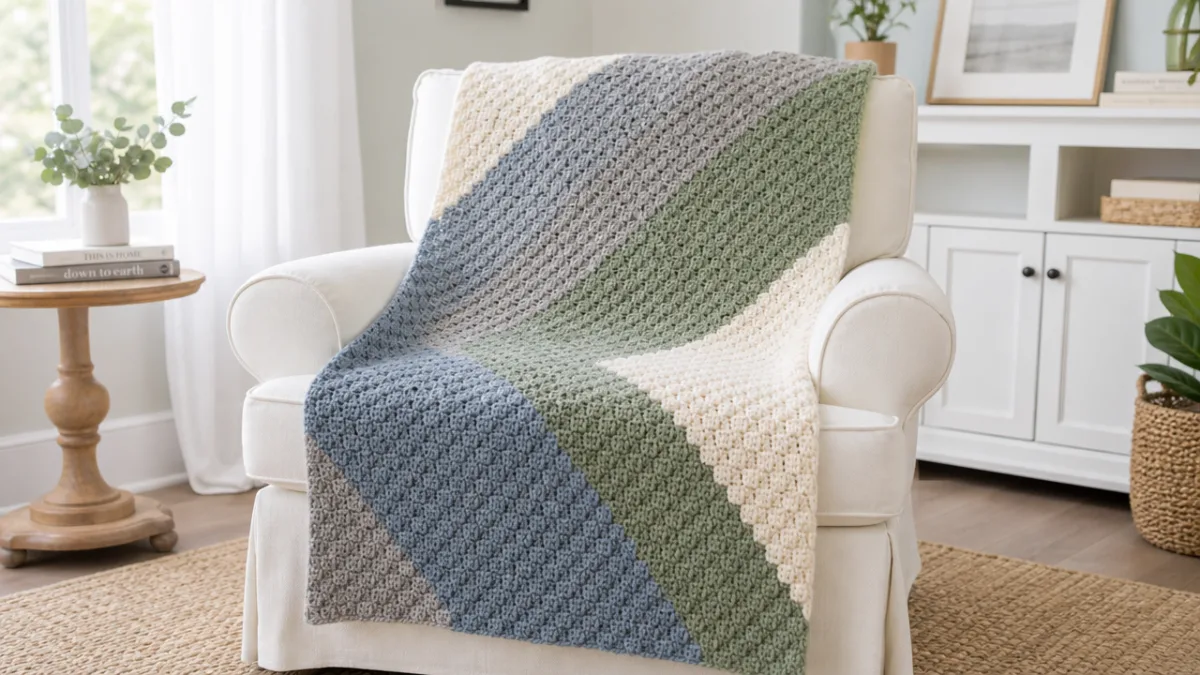
Now that you have mastered the corner to corner moss stitch technique, the possibilities for what you can create are virtually endless. The most obvious application is the classic rectangular blanket or throw, which showcases the diagonal construction beautifully and makes a meaningful, lasting gift for friends and family. A baby blanket worked in soft pastel yarns with a picot border is a perennial favorite that never goes out of style and is always deeply appreciated by new parents who understand the time and love that goes into a handmade piece.
Scarves and cowls are another wonderful way to use this technique, and they work up much more quickly than blankets, making them ideal for crafters who want to practice the pattern before committing to a larger project. A long, rectangular scarf worked in a luxurious merino wool or bamboo blend yarn has a beautiful drape that really showcases the openness of the moss stitch. You can work it as a simple rectangle by continuing the increase phase until one side reaches your desired scarf width, then stopping the increases on one side only while continuing to grow the other, effectively creating a parallelogram shape that resolves into a long, tapered scarf.
Market bags, tote bags, and pouches are also surprisingly achievable using the corner to corner moss stitch, and the open texture of the moss stitch makes it naturally breathable and flexible, which is ideal for bags that need to accommodate a variety of shapes and sizes of contents. Wall hangings and tapestry-style decorative pieces represent yet another creative avenue, particularly when worked in cotton yarn with multiple color changes that create bold graphic patterns across the diagonal grid. The corner to corner structure lends itself beautifully to pixel-art style color work, where each tile represents one square in a grid-based design.
Tips for Adapting the Pattern to Different Sizes
One of the greatest strengths of the corner to corner construction is how easily it scales to different project sizes without requiring complicated math or pattern adjustments. Because you are simply adding or subtracting tiles rather than calculating stitch counts across a traditional flat row, resizing is largely intuitive. To make a larger project, simply work more increase rows before beginning the decrease phase. To make a smaller project, begin the decrease phase earlier. Your project will always be a perfect square or rectangle as long as you manage your increase and decrease rows correctly.
To create a rectangle rather than a square, you need to introduce what is sometimes called the straight rows section, where you work a set number of rows in which one side continues to increase while the other holds steady, then both sides decrease together. This requires a bit more attention and planning, but the principle is straightforward once you try it. Many free patterns available online include specific guidance on creating rectangular dimensions, and working through a few of these can help you develop an intuitive sense of how the math works so that you can eventually design your own proportions from scratch.
Gauge swatching is more important than many beginners realize, especially when scaling the corner to corner moss stitch to a specific size. Because each tile adds a measurable amount of width and height, knowing the exact dimensions of your tiles in your chosen yarn and hook size allows you to calculate precisely how many tiles you need for your desired finished dimensions. Work a swatch of at least four by four tiles, measure it carefully after blocking, and use that measurement to plan your project. This small investment of time at the beginning of a project can save hours of frustration later on when a finished blanket turns out significantly larger or smaller than expected.
As you grow more confident with the technique, do not hesitate to experiment with combining the corner to corner moss stitch with other crochet methods and design elements. Colorwork, surface slip stitch embellishments, fringe, tassels, and mixed stitch textures can all be incorporated into and around a corner to corner moss stitch foundation to create truly one-of-a-kind pieces that express your unique creative vision. The corner to corner moss stitch is not just a single pattern but a fundamental building block of crochet design that, once mastered, becomes a versatile tool you will return to again and again throughout your creative life.








What do you think?
It is nice to know your opinion. Leave a comment.