










Easy Sewing Project: Quilted Coasters For Stylish Table Decor
Why Quilted Coasters Are the Perfect Beginner Sewing Project
If you have ever wanted to dive into the world of quilting but felt intimidated by large, complex projects, quilted coasters are exactly the place to start. These small, satisfying squares require only a modest amount of fabric, minimal equipment, and just a few hours of your time. Unlike a full quilt that might take weeks or months to complete, coasters can be finished in a single afternoon, giving you that wonderful sense of accomplishment that keeps sewists coming back for more.
Beyond being manageable in scale, quilted coasters teach you every fundamental skill you will need for larger quilting projects down the road. You learn to cut fabric accurately, piece together layers, practice straight stitching, and master the art of binding edges neatly. Each coaster is essentially a miniature quilt sandwich, complete with a decorative top, an insulating batting layer, and a backing fabric. By the time you have made a set of four or six, your muscle memory for these techniques will have grown considerably.
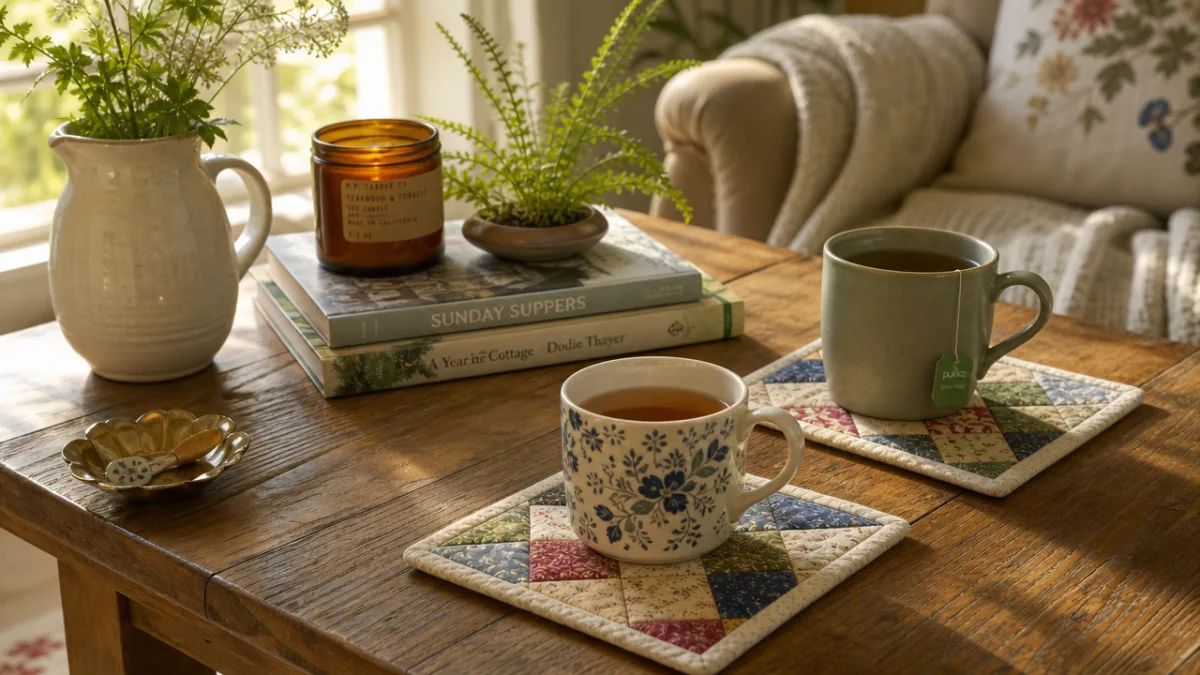
There is also the deeply practical appeal of making something your household will use every single day. Quilted coasters protect your tables and furniture from water rings, coffee stains, and heat damage in a way that feels far more personal and intentional than anything you could buy at a big box store. Guests notice them, compliment them, and inevitably ask where you got them — and nothing feels better than saying you made them yourself.
Gathering Your Materials and Choosing the Right Fabrics
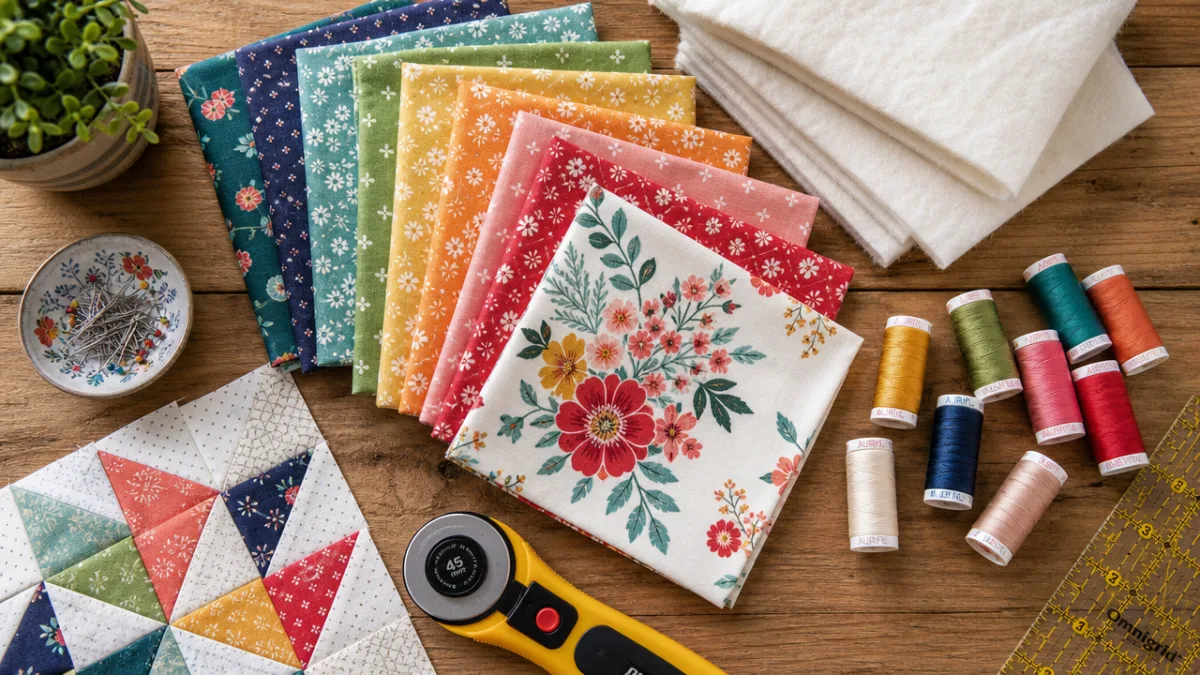
One of the great joys of making quilted coasters is that the materials list is blissfully short and affordable. Because the finished pieces are small — typically around four inches square — you can work entirely from fabric scraps and remnants you may already have sitting in your stash. This is one of the most fabric-efficient projects imaginable, making it an ideal use for those beautiful quarter-yard cuts you bought on impulse but never found a home for.
For the top layer, choose quilting cotton in prints or solids that coordinate with your existing home decor. Fat quarters are perfect for this project since a single fat quarter can yield enough fabric pieces for an entire set of coasters with material to spare. When it comes to the backing fabric, you can use a contrasting print, a coordinating solid, or even the same fabric as the top for a more uniform look. The choice is entirely yours, and part of the fun is playing with color combinations until you find something that makes you smile.
The materials you will need include the following essentials:
- Quilting cotton for the top layer (scraps or fat quarters work perfectly)
- Coordinating fabric for the backing
- Thin cotton batting or Insul-Bright for heat resistance
- Coordinating thread for quilting and finishing
- A rotary cutter, cutting mat, and quilting ruler for accurate cuts
- Sewing machine with a standard presser foot
- Iron and ironing board for pressing seams
- Pins or Wonder Clips to hold layers together
A note about batting deserves special attention. Standard thin cotton batting works wonderfully for decorative coasters, but if you plan to use your coasters primarily for hot mugs or teapots, consider Insul-Bright, a reflective insulating material that provides significantly better heat protection. It is widely available at fabric stores and online, costs very little given how little you need per coaster, and it adds a genuinely functional upgrade that makes the coasters not just beautiful but practically useful for protecting your most cherished furniture surfaces.
Cutting and Piecing Your Coaster Tops
The cutting phase of any quilting project is where precision truly matters, and quilted coasters are no exception. Even small inaccuracies in cutting can compound as you sew, resulting in pieces that do not align correctly or coasters that end up slightly lopsided. Take the time to press your fabric well with a hot iron before cutting — wrinkled fabric leads to inaccurate measurements — and use a sharp rotary cutter with a reliable quilting ruler to get clean, straight edges every time.
For a simple patchwork-style coaster top, you can cut small squares or rectangles and stitch them together into a pleasing arrangement. A classic four-patch design, made from four equal squares sewn together in a two-by-two grid, is one of the most beginner-friendly options available. Cut each square to measure two and a half inches, sew them together in pairs with a quarter-inch seam allowance, press the seams open or to one side, and then join the two pairs together to create your finished four-inch top. It is genuinely that simple, and the results look polished and professional.
If you want to explore beyond the basic four-patch, there are many other simple block designs that scale beautifully to coaster size. Consider these popular options for variety within a matching set:
- Half-Square Triangles: Create a dynamic diagonal design by sewing triangles together in pairs to form squares, then arrange them in a pinwheel or chevron pattern.
- Strip Piecing: Cut long strips of fabric, sew them together lengthwise, and then cut the resulting striped panel into coaster-sized segments for a quick and graphic look.
- Flying Geese: A slightly more advanced but still very achievable block that creates an elegant repeating arrow motif across your coaster surface.
- Solid Center with Border: Use a single bold print in the center surrounded by a narrow strip border in a contrasting fabric for a framed, polished effect.
Once your patchwork tops are assembled and pressed, trim each one to a consistent size — typically four and a half inches square, which accounts for the seam allowance that will be taken up during the quilting and binding process. Use your quilting ruler and rotary cutter to square up each top carefully. Even a millimeter or two of inconsistency will be visible in the finished set, so this step is worth taking slowly and deliberately. A consistent, squared-up set of coasters looks far more intentional and well-crafted than a set where each piece is slightly different.
Assembling the Quilt Sandwich and Quilting Your Coasters
With your coaster tops prepared, it is time to build the quilt sandwich — that essential layered structure that gives quilted items their characteristic substance, softness, and function. For each coaster, you will need three layers: your decorative patchwork top, a piece of batting cut to the same size, and a backing fabric piece that matches. Lay the backing fabric right side down on your work surface, center the batting on top of it, and then place the coaster top right side up on top of the batting. Smooth each layer carefully to eliminate any bubbles or wrinkles before securing the layers together.
Secure the layers using pins placed every inch or so around the perimeter, or use small Wonder Clips at regular intervals if you prefer to avoid pins puncturing your fabric. The goal is to prevent any shifting during the quilting process, which can cause the layers to bunch or pucker. Some quilters also use a small amount of basting spray between the layers for extra security, particularly when working with slippery or loosely woven fabrics. For beginners, this basting spray trick can make the entire process significantly more manageable.
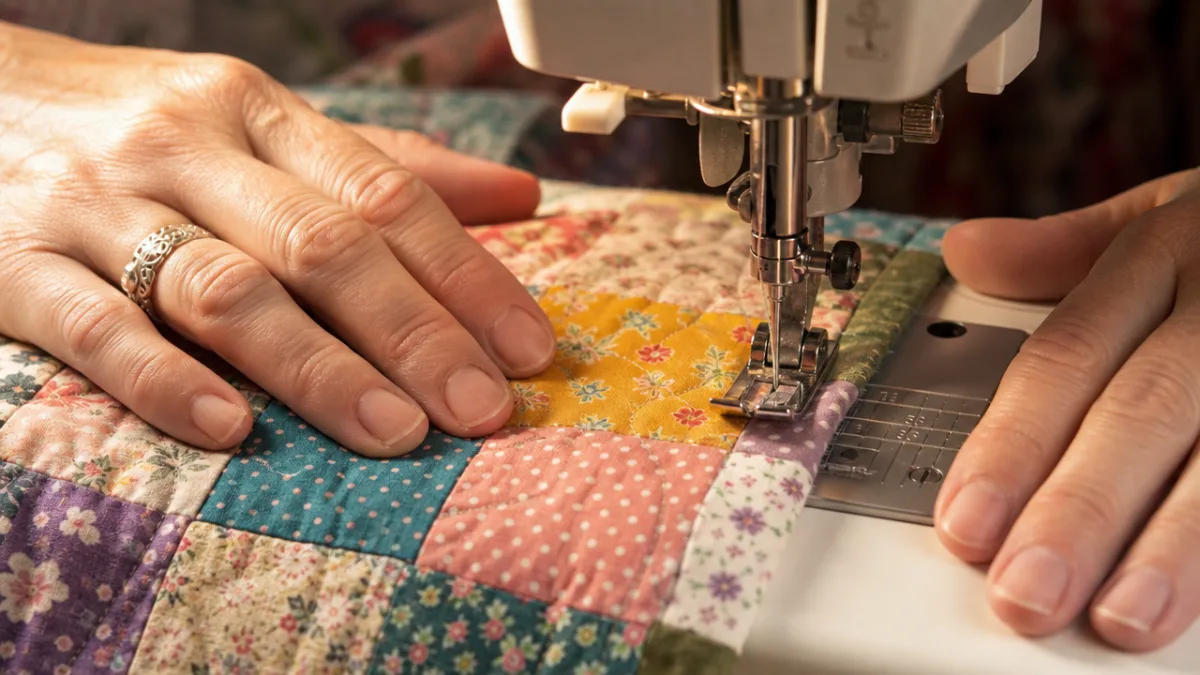
Now comes the most creatively satisfying part of the entire project: the actual quilting. At its most fundamental, quilting simply means stitching through all three layers to hold them together while simultaneously creating a decorative pattern on the surface. For coasters, straight-line quilting is the easiest and most effective approach. You can stitch diagonal lines across the coaster at regular intervals, sew a simple grid pattern, or stitch along the seam lines of your patchwork in a technique called stitching in the ditch. All of these methods create a beautifully textured surface that looks far more complex than it actually is to execute.
Set your stitch length to a slightly longer setting than you might use for piecing — around three to three and a half millimeters works well for quilting — and use a walking foot if your machine has one. A walking foot feeds all layers through the machine at the same rate, preventing the dreaded shifting and puckering that can occur when quilting multiple layers with a standard presser foot. Begin and end each line of quilting with a few backstitches to secure the thread, and take your time working through each coaster methodically. The repetitive rhythm of quilting is meditative and deeply satisfying once you settle into it.
Finishing, Binding, and Caring for Your Quilted Coasters
Once all your quilting lines are complete, it is time to finish the raw edges of your coasters — and the method you choose will significantly impact the final appearance of the finished pieces. The most traditional and polished approach is a sewn binding, where you attach a narrow strip of fabric around the perimeter of the coaster, fold it over the raw edges, and stitch it down. This technique, while requiring a bit of practice to master, produces the clean, professional edge you see on high-quality handmade quilts and craft items.
To create a simple binding, cut strips of fabric two and a half inches wide across the width of your chosen binding fabric. Join the strips end to end at a forty-five-degree angle for a less bulky seam, press the entire strip in half lengthwise with wrong sides together, and you have a double-fold binding ready to apply. Attach it to the right side of the coaster using your quarter-inch seam allowance, mitering the corners neatly for a sharp, tidy finish, then fold the binding to the back side and hand stitch or machine stitch it in place. The mitered corners, though they look complex, become second nature after just a few attempts.
An even simpler finishing method, ideal for absolute beginners, involves what quilters call the pillow case or turn-and-topstitch method. To use this approach, simply layer your coaster top and backing right sides together with the batting on the outside, sew around three and a half sides leaving a small gap for turning, trim the corners diagonally to reduce bulk, and then turn the whole piece right side out through the gap. Push the corners out neatly with a blunt tool, press the entire coaster flat, tuck in the raw edges of the gap, and topstitch around the entire perimeter of the coaster a quarter inch from the edge. This method is fast, beginner-friendly, and produces a genuinely attractive finished edge.
Caring for your finished quilted coasters is simple and straightforward, which is one more reason they make such practical additions to any home. Machine wash them on a gentle cycle in cool or warm water, and tumble dry on a low heat setting. The first wash will cause slight shrinkage that actually enhances the quilted texture, giving the surface a lovely crinkled, cottage-style appearance that many quilters deliberately encourage. If you prefer a crisp, flat look, press the coasters with a medium-hot iron after washing and drying.
Creative Variations and Gift-Giving Ideas
Once you have mastered the basic quilted coaster, a world of creative variations opens up before you. The small scale of the project makes it the ideal testing ground for new techniques, fabric combinations, and quilting patterns you might hesitate to commit to on a larger project. Consider making a set of coasters in each of the four seasons’ color palettes — warm rusts and golds for autumn, cool blues and whites for winter, fresh greens and yellows for spring, and bright corals and aquas for summer — and rotating them throughout the year as a simple, joyful form of seasonal home decor.
Themed coaster sets also make extraordinarily thoughtful and personal gifts for virtually any occasion. A set of coasters in a friend’s kitchen color scheme makes a wonderful housewarming gift. Holiday-themed fabric coasters are a beloved addition to any festive table setting. Baby shower gifts are elevated by a set of soft, charming coasters made from nursery prints. Wedding gifts can include coasters made from fabric that matches the couple’s home aesthetic, particularly if you know their tastes well. The personal effort involved in handmaking a gift communicates genuine care and thoughtfulness in a way that no store-bought item ever quite can.
If you find yourself truly bitten by the coaster-making bug, consider expanding your craft into a small creative business. Quilted coasters sell consistently well at craft fairs, farmers markets, and on platforms like Etsy, where buyers actively seek out handmade, functional home goods with personality and charm. A set of four coasters takes only a few hours to make and requires very little in the way of materials cost, meaning the profit margins can be quite favorable when priced appropriately. Many successful small sewing businesses got their start with exactly this kind of small, giftable, accessible product.
You might also consider using quilted coasters as an opportunity to document fabric memories. The tradition of memory quilts — quilts made from meaningful fabric scraps such as pieces of old clothing, baby blankets, or beloved worn-out linens — translates beautifully to coaster scale. A set of coasters made from fabric cut from a grandmother’s apron, a child’s first outfit, or a beloved old shirt becomes a deeply meaningful keepsake that serves a daily functional purpose while honoring the past. These memory coasters tend to become treasured heirlooms that families keep and use for generations.
Building Your Skills and Moving Forward in Quilting
Quilted coasters may be small and simple, but they are genuinely transformative as a learning tool for anyone new to the craft of quilting. Every skill you develop while making coasters transfers directly to larger projects: the ability to cut accurately, sew consistent quarter-inch seams, press seams properly, layer a quilt sandwich without wrinkles, quilt in straight lines, and apply a clean binding. By the time you have made a dozen or so coasters across a few different sessions, these skills will feel natural and even automatic, giving you the confidence to tackle table runners, placemats, mini quilts, and eventually full bed quilts.
Consider keeping a small project journal as you work through your first set of coasters. Note down the fabrics you used, the techniques you tried, what worked well, and what you would do differently next time. Photograph your finished pieces alongside your notes for a visual record of your progress. Many experienced quilters look back on their early project journals with tremendous fondness, and the practice of reflective note-taking genuinely accelerates skill development by encouraging you to think critically about your process rather than simply moving from one project to the next without reflection.
Most importantly, allow yourself to enjoy the imperfections of your early work rather than being discouraged by them. Seams that do not quite match, binding that puckers slightly at the corners, quilting lines that wander a little — these are not failures but evidence of a craft being genuinely learned. Every expert quilter you have ever admired made crooked coasters and imperfect seams when they first started. The only path from beginner to skilled quilter runs directly through the happy, humble work of making small, imperfect things with your hands, and then making them again, and again, each time a little better than before. Your quilted coasters are the beginning of that journey, and it is a beautiful one.








What do you think?
It is nice to know your opinion. Leave a comment.