










Aesthetic Bedroom Photography: The Complete Guide to Capturing Beautiful Spaces
Understanding the Aesthetic Bedroom Style
Aesthetic bedroom photography has completely taken over Pinterest and Instagram — and honestly, it’s not hard to see why. It’s one of the most searched and saved categories of interior inspiration on the internet right now. When people use the word “aesthetic” here, they’re talking about a very intentional visual vibe: dreamy and soft, dark and moody, clean and minimalist, or warm with a vintage feel. Before you even pick up a camera, getting a feel for what makes a bedroom “aesthetic” is really where everything starts.
At its heart, an aesthetic bedroom strikes this balance between looking intentional and still feeling like somewhere a real person actually lives. Every single thing in the frame — the slightly rumpled linen duvet, the stack of books on the nightstand — is doing some kind of work to tell a cohesive visual story. The photographers who really nail this genre understand they’re not just documenting a room. They’re building a little world that makes viewers want to climb inside it, to feel something when they look at it.
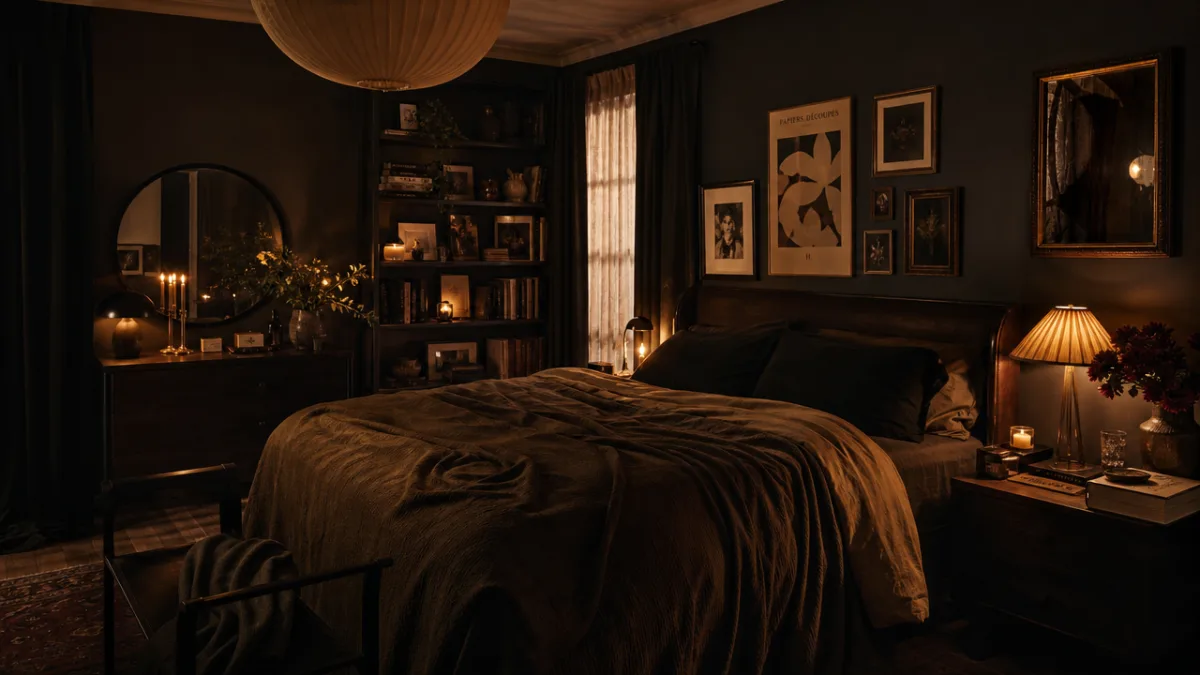
Right now the most popular bedroom aesthetics include cottagecore (think soft florals, natural textures, warm candlelight), dark academia (rich wood tones, moody lighting, leather-bound books), Scandinavian minimalism (neutral palettes, clean lines, understated beauty), and the perennial favorite soft girl aesthetic (pastels, fairy lights, everything plush and cozy). Each of these calls for a slightly different approach when you’re shooting, but they all share the same commitment to deliberate composition and emotional atmosphere — and that’s exactly what separates a compelling bedroom photo from a quick snapshot.
Mastering Natural Light for Bedroom Shots
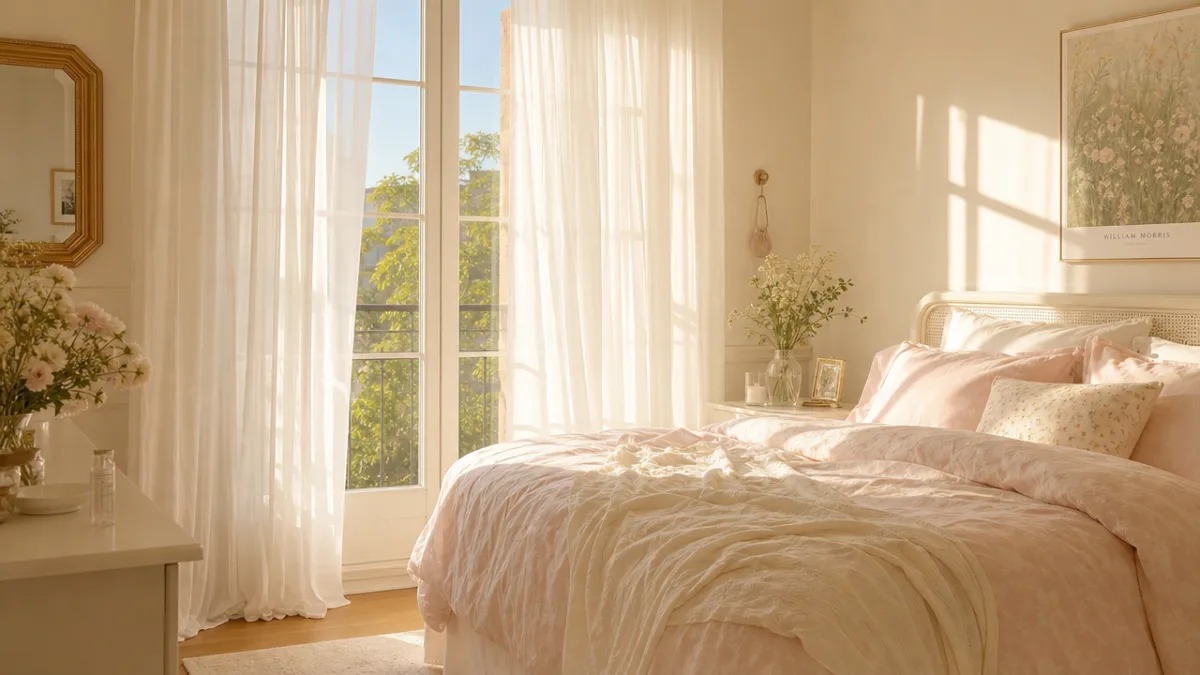
If there’s one thing that makes or breaks a bedroom photo, it’s light. Natural light coming through a window has a warmth and softness that artificial sources just can’t fully replicate. Golden hour — that first hour after sunrise and the last one before sunset — gives you this honey-toned, directional glow that wraps around pillows, bounces off mirrors, and lays down long gentle shadows that add so much depth to an image. It almost feels like cheating when you shoot in it.
Learning to actually read the light in your space takes some practice, but it’s worth it. North-facing rooms get consistent, cool, indirect light all day long, which is great for detail shots and keeping your colors accurate throughout a shoot. South-facing rooms get bright, warm, intense light that shifts a lot over the day — which actually gives you a ton of variety if you lean into it. East-facing rooms are a morning photographer’s dream, while west-facing windows deliver that gorgeous late-afternoon warmth that practically shoots itself.
The good news is you can shape and control natural light with really simple, inexpensive tools. Sheer white curtains diffuse harsh midday sun into something soft and luminous — essentially turning your window into a giant softbox. Pulling a blackout curtain to different positions lets you sculpt narrow beams of light through a room, catching floating dust particles in a way that looks genuinely cinematic. And a basic white foam core board or reflector propped up opposite your window bounces fill light into shadowy corners, so you don’t lose texture detail in darker bedding or wooden furniture.
Composition Techniques That Elevate Bedroom Photography
Composition is where your technical skills and your eye meet — and in bedroom photography, it’s often what decides whether someone scrolls past your image or stops to save it. The rule of thirds is a solid place to start: divide your frame into a nine-square grid and put your key subjects along those lines or where they intersect. Placing a reading lamp along the left vertical third while a nightstand arrangement sits on the right, for example, creates a natural tension that pulls the eye around the frame in a satisfying way.
Leading lines are another tool worth getting comfortable with. The horizontal lines of a bed frame, a row of gallery wall prints, or the clean edge where wall meets floor can all direct a viewer’s gaze right toward your focal point. Diagonal lines — from an angled throw blanket or the converging perspective of a wide-angle shot down the length of a bed — add dynamic energy that keeps people looking. Even something as subtle as a shaft of light falling across a pillow can guide attention with surprising precision.
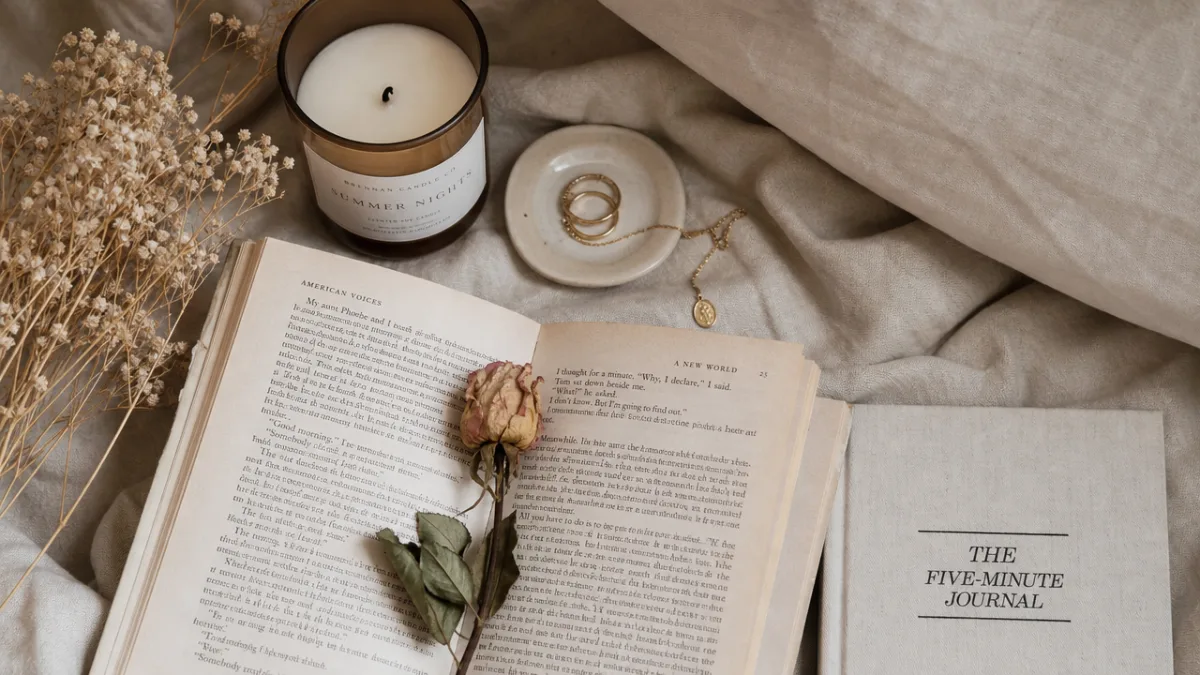
Flat lay photography — shooting straight down from directly overhead — is its own special kind of magic in the bedroom space. Arranging pillows, books, candles, jewelry, and flowers on a bed and photographing them from above creates images that feel curated, intimate, and deeply pleasing. The key is thinking about hierarchy: one dominant object, a few secondary elements that support it, and small filler details that add richness without creating chaos. And don’t underestimate the power of negative space — the empty stretches of bedding or floor around your arrangement. That breathing room isn’t nothing; it’s an active part of the composition.
Styling Props and Details That Tell a Story
The bedroom photos that really stick with you are the ones full of carefully chosen details — objects that transform a space into a narrative and make you feel like a real person lives there. A well-worn paperback left open on a nightstand, a half-empty coffee mug still steaming in morning light, a single stem of eucalyptus in a small ceramic vase. Each of these little details adds a line to the story you’re telling through your image.
Choosing props thoughtfully means thinking about texture, scale, color, and meaning all at once. Texture contrast is especially important in bedroom settings, because tactile richness translates so beautifully on camera: the rough weave of a linen pillowcase against the smooth ceramic of a lamp base, or a chunky knit throw laid next to the cool glass of a perfume bottle. Varying the scale of your props — mixing a tall floor plant with medium-height candles and small crystals or coins — creates a sense of depth and discovery that keeps viewers studying an image even after their first glance.
Color is what ties it all together into something that feels cohesive rather than cluttered. The most successful aesthetic bedroom photographers usually work with a pretty limited palette — two or three closely related color families with maybe one accent hue for visual pop. A room built around warm neutrals like cream, caramel, and warm white might use dusty rose as its accent, appearing in a single candle, a book spine, and a small dish on the dresser. That kind of color discipline is what makes a photo feel professionally styled rather than just randomly thrown together — and it’s genuinely one of the most learnable skills in this whole genre.
Some of the most effective props for aesthetic bedroom photography include:
- Books and journals with interesting spines or handwritten notes visible on open pages
- Botanicals including fresh flowers, dried pampas grass, eucalyptus, and small potted plants
- Candles in various heights, particularly when slightly used to suggest a life being lived
- Textiles such as throws, extra pillows in varying textures, and layered bedding
- Ceramic and glass vessels including vases, bowls, perfume bottles, and small sculptures
- Personal items like jewelry, vintage cameras, film rolls, or musical instruments
- Seasonal elements — autumn leaves, pinecones, or spring blossoms — to anchor the image in time
Camera Settings and Equipment for Beautiful Results
The best camera really is the one you have with you — but understanding a few key settings will make a noticeable difference no matter what you’re shooting on. Aperture is probably the most important variable in aesthetic bedroom photography. A wide aperture (a low f-number like f/1.4, f/1.8, or f/2.8) gives you a shallow depth of field, where your subject stays sharp while the background melts into that soft, blurry bokeh that’s almost synonymous with a polished, professional look.
Shutter speed needs a bit of balancing in the lower light conditions you’ll often deal with indoors. A good rule of thumb when shooting handheld is to keep your shutter speed no slower than the reciprocal of your focal length — so at 50mm, aim for at least 1/50th of a second to avoid camera shake. When the light gets dim enough that you need to go slower than that, a tripod stops being optional. Even a basic entry-level one will immediately improve your sharpness and give you much more control over your framing.
ISO amplifies your camera’s sensitivity to light, but push it too high and you’ll get digital noise — that grainy, speckled quality that works against the clean, smooth look most aesthetic bedroom photography is going for. Modern sensors handle high ISO a lot better than they used to, but as a general habit, keep it as low as you can while still getting a proper exposure. On a smartphone, that means shooting in good light or using night mode thoughtfully rather than as a default. The equipment that consistently delivers strong results includes:
- A 35mm or 50mm prime lens for its natural perspective and wide maximum aperture
- A sturdy tripod with a ball head for flexible positioning
- A remote shutter release or self-timer function to eliminate camera shake
- A circular polarizing filter to manage reflections from windows and glossy surfaces
- A basic reflector kit (white, silver, and gold surfaces) for light control
Editing Your Aesthetic Bedroom Photos to Perfection
Post-processing is where a good photo becomes a great one, and in aesthetic bedroom photography, editing is genuinely part of the creative process — not just a finishing step. Developing a consistent editing style that runs through all your work, across different rooms and lighting conditions, is one of the most valuable things you can invest in as a photographer or content creator. The edit should enhance what was already there in the original image, though, not rescue something that wasn’t working to begin with.
Start with the basics: exposure and white balance corrections to get your tones clean and your colors feeling right for the mood you’re after. From there, working your highlights and shadows separately gives you much more nuanced control — pulling highlights down a touch to recover detail near bright windows, lifting shadows gently to bring out texture in darker corners. The clarity and texture sliders, used with a light hand, do a wonderful job of bringing out the tactile richness of linens, wood grain, and botanicals that make bedroom images so satisfying to look at.
Color grading is where your editing develops into something that’s really yours. A lot of bedroom photographers love that slightly faded, film-inspired look you get by lifting the black point in the tone curve — it creates that dreamy, airy quality people associate with analog photography. Warm, golden-amber presets work beautifully for cottagecore and soft girl aesthetics, while cooler, desaturated edits feel right at home in dark academia or Scandinavian minimalist spaces. Adobe Lightroom, VSCO, and Snapseed all have solid color grading tools at different price points, and spending real time learning one of them deeply will improve every single image you make.
Retouching bedroom images is generally lighter work than portrait editing, but a few cleanup habits make a consistent difference. Removing distracting elements that sneaked into frame — electrical cords, stray clothing, a dusty surface — using the healing or clone stamp tool keeps the viewer’s eye where you want it. Straightening horizontals and verticals (bed frames, window frames, door edges) gives the image a composed, deliberate quality. And exporting at the right resolution for your platform — higher for print or editorial, optimized for web and social — makes sure your image looks its best wherever it ends up.
Building a Consistent Aesthetic for Social Media and Portfolio
A single beautiful image is meaningful, but a cohesive body of work is what builds a recognizable visual identity. Whether you’re curating your personal Pinterest boards, putting together a portfolio for interior design clients, or growing yourself as a lifestyle content creator, consistency is what makes a grid or portfolio feel intentional. That consistency lives in your color palette, your lighting quality, your compositional habits, and the props you reach for — and it’s what makes someone recognize your work before they even see your name on it.
Planning your content with real intentionality means thinking about seasonal shifts, editorial themes, and the emotional journey you want to take your audience on over time. A thoughtful content calendar for bedroom photography might move from airy, bright spring mornings through lush summer botanicals into cozy, candlelit autumn warmth and finally into deep, moody winter hygge. Each season brings not just different props and color palettes but genuinely different light — and leaning into those shifts keeps both you and your audience engaged and excited about what’s coming next.
Spending time in the aesthetic bedroom photography community on platforms like Pinterest is both a great source of ongoing inspiration and a practical way to understand what actually resonates with people. Save the images that stop you in your tracks, then actually study them — look at the composition, the light, the color, the props, and ask yourself why it works. Then take those lessons and experiment with them in your own way. The goal is never to copy what you see, but to absorb from many sources until something genuinely your own starts to emerge — a photographic voice that’s unmistakably yours and immediately recognizable to anyone who comes across your work.








What do you think?
It is nice to know your opinion. Leave a comment.