










“`html
How to Make a Beaded Plant: Easy & Cute DIY Decor for Your Home
Beaded plants have honestly taken the DIY world by storm lately, and it’s easy to see why. They’re a charming, low-maintenance alternative to real succulents and houseplants — no wilting, no watering, no faded colors. There’s something really satisfying about the whole process too, that tactile bead-by-bead rhythm that results in something genuinely beautiful you made yourself. Whether you’ve been crafting for years or you’ve never picked up a needle and thread in your life, beaded plants are one of those projects that’s surprisingly approachable and incredibly rewarding.
What I love most about beaded plants goes beyond the fact that they’re basically maintenance-free. Every finished piece has that unmistakable handmade quality that you just can’t get from something mass-produced. The way seed beads catch the afternoon light, the satisfying weight of a finished stem in your hand, the quiet pride of looking at something you built one tiny bead at a time — it all adds up to a crafting experience that’s just as enjoyable as the result. And honestly? A lot of people who never thought of themselves as creative discover something new about themselves through projects like this.
In recent years, beaded plants have found their way into handmade gift guides, home decor spreads, and even small businesses selling at craft fairs and on Etsy. The versatility alone is pretty remarkable — you can recreate succulents, trailing pothos, wispy ferns, or spiky cacti using nothing but wire, beads, and a bit of patience. This guide covers everything you need to know, from picking up your first supplies to proudly displaying your finished creation at home.
Gathering Your Materials and Tools
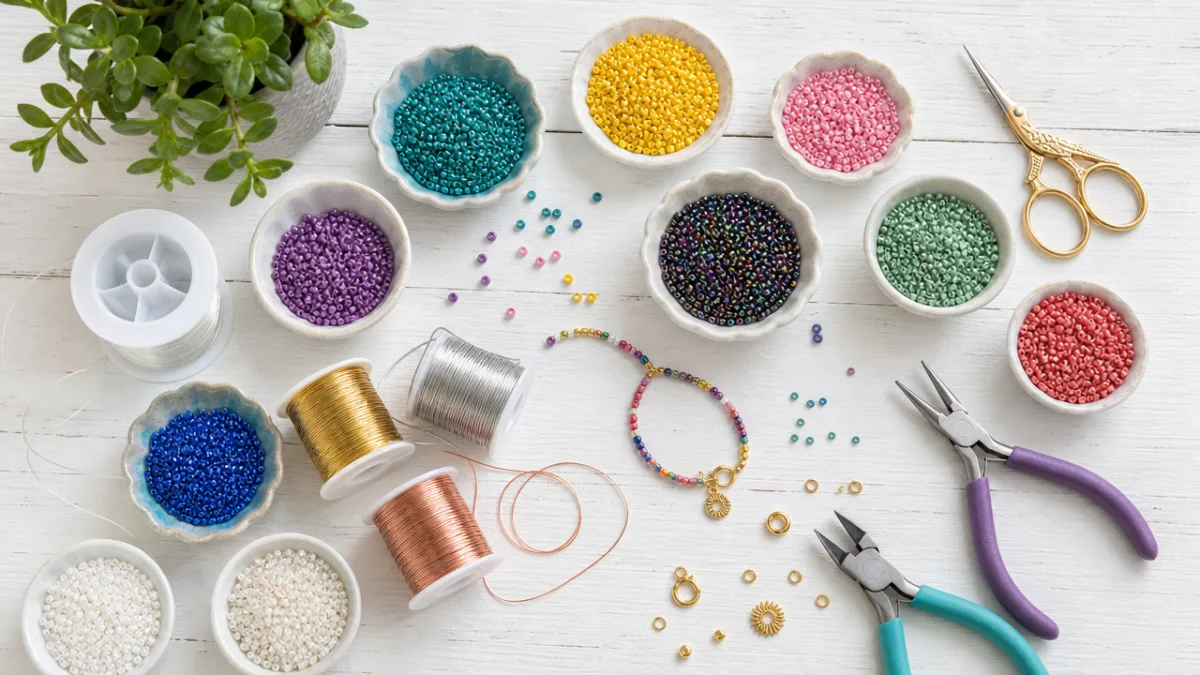
Before you dive in, you’ll want to get your materials sorted. The good news is that beaded plant projects are pretty budget-friendly to get started with — most of what you need is available at craft stores, online, or even dollar stores. That said, the quality of your materials does show in the finished product, so it’s worth spending a few extra minutes choosing thoughtfully rather than just grabbing the first thing you see.
Wire is your most important material. Florist wire or jewelry wire in gauges between 24 and 28 works well for most beaded plant projects. Thinner wire is easier to thread beads onto, while thicker wire gives your stems more structure so they hold their shape over time. If you’re not sure where to start, 26-gauge wire is a great middle ground — flexible enough for beginners to work with, but sturdy enough that your finished leaves won’t droop. You’ll also want wire cutters and a pair of round-nose pliers to shape stems and secure everything in place.
For beads, size 11/0 seed beads are the go-to choice for detailed leaf and petal work, and larger beads can work beautifully as decorative accents or individual flower petals. It’s worth building up a small stash across a few different categories so you have creative options to play with:
- Multiple shades of green for realistic foliage and leaf gradients
- White, cream, and pastel tones for delicate floral accents
- Earthy browns and tans for soil texture in your pot or planter
- Metallic or iridescent beads to add shimmer and visual interest
- Specialty beads such as bugle beads for elongated leaf shapes
Besides wire and beads, you’ll need something to display your finished plant in. Terra cotta pots, ceramic planters, and repurposed glass jars all look great. Floral foam, air-dry clay, or decorative stones work well for anchoring your beaded stems inside the pot. One more thing worth having on hand: a beading mat or a piece of felt on your work surface. It keeps beads from rolling everywhere and gives you a comfortable, non-slip surface to work on.
Understanding Basic Beading Techniques
Getting familiar with a couple of core techniques will make the whole process feel a lot more manageable and enjoyable. The two methods you’ll see most often for beaded plants are the French beading technique and the wire-looping method. Both involve threading beads onto wire and shaping that wire into leaves or petals, but they go about it differently. Knowing both gives you the flexibility to pick whichever one clicks for you.
The French beading technique — sometimes called the French flower method — works by building individual rows of beads along a central wire axis. You start with a base row of beads, then wrap additional bead-covered rows around that central axis in a figure-eight motion, gradually building up the full width of a leaf or petal. The results are beautifully tapered and surprisingly realistic-looking, with a lovely dimensional quality to them. It does take a little practice to keep your tension consistent, but once you find the rhythm, it becomes almost meditative — genuinely one of those crafts where you look up and an hour has passed.
The wire-looping method tends to feel more approachable if you’re just starting out. You create loops of beads on wire, twist the wire at the base of each loop to lock it in place, then twist multiple loops together to build a leaf or stem. It’s faster than French beading and produces a more graphic, stylized look that’s every bit as appealing in its own way. If you’re making a succulent with those rounded, chunky leaves, the wire-looping method is especially well-suited and satisfying to work with.
Step-by-Step Instructions for a Beaded Succulent
The beaded succulent is the perfect first project, and there’s a good reason it’s where most people start. Those simple, rounded leaf shapes are forgiving, relatively quick to make, and the finished rosette shape is just really satisfying. A typical succulent uses somewhere between sixty and a hundred individual beaded leaves, though you can absolutely make a smaller version with around thirty leaves if you want a quick win for your first attempt. Fair warning: once you’ve finished one, you’ll almost certainly want to make a whole collection.
Start by cutting a piece of wire about twelve inches long. Thread enough green seed beads to form a loop roughly one inch across — usually around fifteen to twenty beads, depending on size. Bring the two wire ends together and twist them tightly at the base of the loop to secure it. That twisted section becomes part of your leaf’s stem. Make ten to fifteen leaves this way before you start assembling anything — it’s much easier to work in batches than to stop and make leaves one at a time mid-assembly.
To put your succulent together, group three to five small leaves and twist their wire stems tightly around each other to form the center bud. Keep this cluster tight and upright, the way a real succulent’s innermost leaves grow. Then continue adding leaves in rings around that center, with each ring using slightly larger loops and angling a bit more outward to build that open, rosette shape succulents are known for. Here’s the assembly process broken down:
- Create the inner bud cluster using three to five small, tightly coiled leaves
- Add a second ring of five to seven medium-sized leaves, angling them slightly outward
- Add a third ring of seven to ten larger leaves at a more pronounced outward angle
- Twist all wire stems together firmly at the base and trim any excess
- Bend the twisted wire stem to create a natural, slightly curved base
- Insert the completed succulent into your prepared pot or planter
Once your succulent is in its pot, take a few minutes to gently adjust each leaf until you’re happy with how it sits. One of the great things about beaded plants is that they’re forgiving even after you’re done — you can always nudge a leaf or two to improve the overall shape. If anything feels loose, a tiny dab of clear-drying craft glue at the wire junction will hold it in place without affecting how the finished piece looks.
Exploring Creative Variations and Plant Types
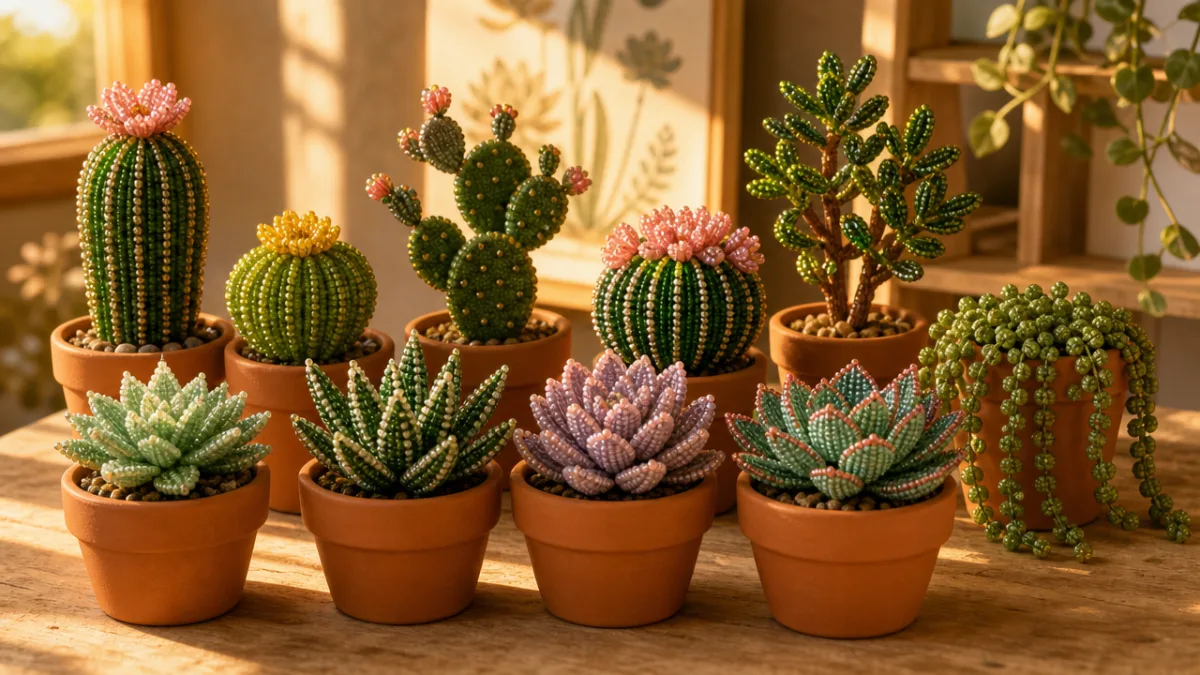
Once you’ve got your first succulent under your belt, a whole world of creative possibilities opens up. The same core techniques translate surprisingly well to all kinds of plant types — spiky cacti, trailing vines, lush tropical flowers. Each one brings slightly different challenges in terms of leaf shape, color choices, and structure, which keeps things interesting even after you’ve made dozens of projects.
Beaded cacti are a favorite next step for a lot of crafters. The trick to making them look convincing is going up a wire gauge — cacti need to hold their upright, geometric shape, so a little extra stiffness in the wire really helps. You can suggest that characteristic ridged texture by alternating bead colors in vertical columns, and tucking in small pieces of white or cream-colored wire at intervals does a surprisingly good job of mimicking cactus spines. Barrel cacti, tall columnar shapes, and paddle-style prickly pear varieties are all very achievable once you’ve got the basic technique down.
Trailing plants like beaded pothos or string-of-pearls are a completely different kind of challenge and a lot of fun to work with. The goal here is long, flexible strands that can cascade naturally over the edge of a pot or shelf. String-of-pearls is especially popular because the technique is about as simple as it gets — just threading round beads at intervals along a wire — yet the finished result looks genuinely elegant. A pot of beaded string-of-pearls trailing over a bookshelf edge or hanging planter makes a stunning statement that’s almost impossible to believe is handmade.
For crafters who want to push things further, beaded flowers are where it really gets exciting. Roses, dahlias, chrysanthemums — all of these can be recreated using French beading to build individual petals, which then get assembled around a beaded center. You can go totally naturalistic with your colors, or get bold and unexpected for a more artistic effect. A pot that mixes leafy stems with blooming flowers is genuinely one of the most impressive things you can make, and every single person who sees it will ask how you did it.
Displaying and Caring for Your Beaded Plants
One of the best things about beaded plants is how much freedom they give you when it comes to where you put them. No sunlight requirements, no humidity preferences, no need to be near a window. That means you can place them in spots that would defeat any real plant — dark hallways, windowless bathrooms, deep shelves, the top of a tall bookcase where watering would be a disaster. They go wherever you want them and look great doing it.
This makes them incredibly useful for livening up spaces that real plants just can’t survive in. A windowless bathroom shelf becomes instantly cozier with a small cluster of beaded succulents in coordinating pots. A home office desk gets an infusion of cheerful, creative energy from a beaded cactus or trailing vine. Bookshelves benefit enormously from small potted beaded plants tucked between books or perched on the edges — they add that organic, lived-in quality that breaks up the rigid geometry of book spines in a way that’s really hard to achieve otherwise.
Caring for your beaded plants is genuinely low-effort. A gentle dusting every now and then with a soft brush or a quick blast of canned air keeps them looking fresh. If a bead ever comes loose or a wire bends where you don’t want it, both are easy fixes with a small pair of pliers and a dab of craft glue. It’s worth holding onto any leftover beads and wire from your original project so you’re always ready for a quick repair. Treat them reasonably well and a beaded plant can be part of your home for years.
Tips for Gifting and Selling Your Beaded Plants
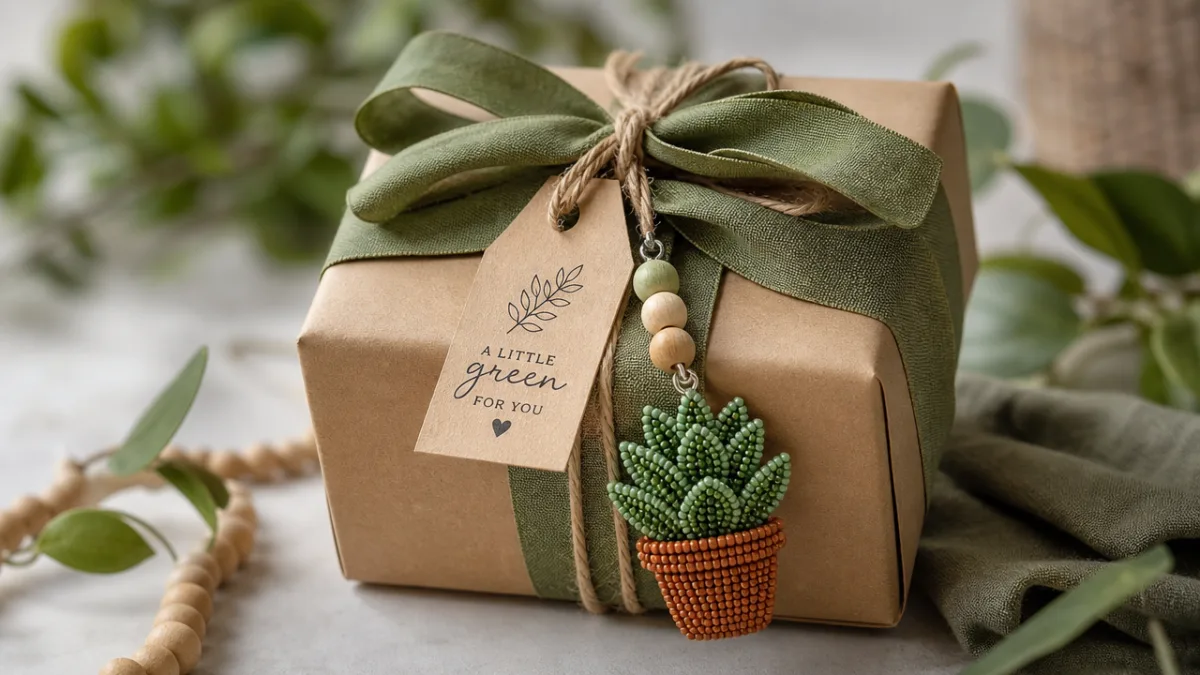
Beaded plants make genuinely wonderful handmade gifts, and they work for almost any occasion. Because they need zero care and last indefinitely, they’re perfect for people who love the look of plants but somehow manage to kill every one they own — and let’s be honest, most of us know at least one person like that. They also travel really well, far better than real plants, so you don’t have to worry about them suffering in transit. Picking colors that match the recipient’s home or their personal style takes the gift from thoughtful to truly special.
If you’re thinking about turning your beaded plant hobby into something more, the market for handmade decor is healthy and still growing. Etsy, local craft fairs, and artisan markets are all solid options for finding customers who genuinely appreciate what goes into a handmade piece. Pricing is where a lot of crafters undervalue themselves, so be intentional about it — factor in the cost of materials, the time you spent making it, and any packaging and shipping costs. You’ll often find that curated collections of coordinating plants in matching pots sell particularly well, since customers love a cohesive aesthetic they can drop straight into their home.
Thoughtful packaging makes a bigger difference than you might expect. A small beaded succulent nestled in a kraft paper box with tissue paper and a handwritten care card creates an unboxing moment that people remember and tell their friends about. A little card explaining the techniques used and the time that went into creating the piece helps buyers truly understand what they’re holding. Building a consistent visual identity around your work — cohesive packaging, a signature color palette, quality photos — helps you stand out in a marketplace full of talented makers.
Social media — Pinterest, Instagram, TikTok especially — has been a genuine game-changer for beaded plant makers who want to grow an audience. Process videos and step-by-step photo series consistently get great engagement because people are just captivated by watching raw beads and wire transform into something plant-like and beautiful. Engaging genuinely with other beaders, responding to comments, and being part of the wider community builds relationships that often turn into loyal customers and enthusiastic word-of-mouth. The online beading community is warm, generous, and really enthusiastic — honestly one of the nicer corners of the crafting internet.
“`








What do you think?
It is nice to know your opinion. Leave a comment.