










“`html
Home Photoshoot Ideas: How to Create Stunning Photos Without Leaving Your House
Here’s the truth: you don’t need a professional studio, pricey gear, or a whole creative team to take photos that actually stop people in their tracks. Your home is already packed with potential — interesting light, textures, colors, and backdrops that can honestly hold their own against any rented space. The trick is learning to look at your surroundings through a photographer’s eyes instead of a homeowner’s. Once that shift happens, the possibilities really do open up in ways you wouldn’t expect.
Home photoshoots have taken off lately, and it makes total sense why. You get complete creative control, no commute, and a level of comfort and authenticity that’s hard to fake anywhere else. Whether you’re a content creator building your presence online, a parent chasing candid family moments, or just someone curious about self-portraiture, your home can be the perfect backdrop. And the best part? You already have the location.
This guide covers everything you need to pull off a home photoshoot you’re actually proud of — from planning and lighting to props, composition, and editing. By the end, you’ll have a solid roadmap for creating images that look polished, intentional, and genuinely interesting. Grab whatever you shoot with — camera, phone, doesn’t matter — and let’s turn your living space into something special.
Choosing the Right Space in Your Home
Before you even pick up a camera, take a slow walk through your home and actually look at each room. Notice where light gathers in the morning versus the afternoon. Notice which walls give you a clean, uncluttered backdrop. Look for corners, doorways, windows, and little architectural details that could add something interesting to a frame. Every home has these hidden gems — you just have to start looking for them before the shoot, not during it.
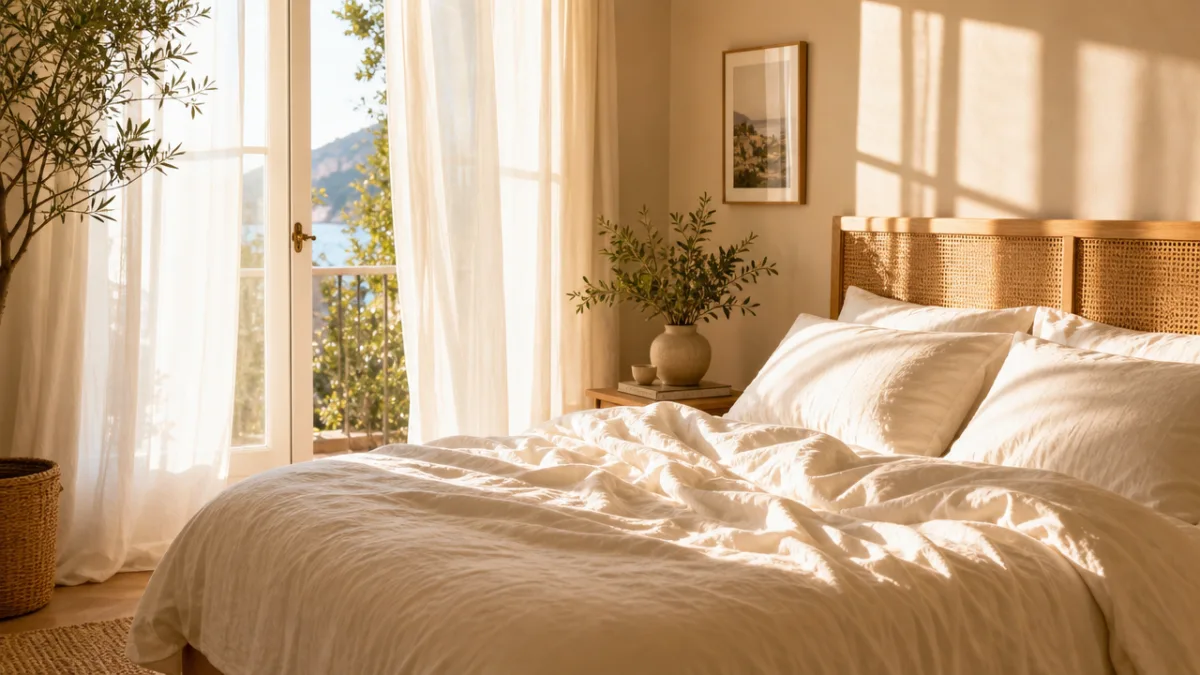
Living rooms and bedrooms tend to photograph best in most homes, mostly because they have bigger windows and more intentionally arranged furniture. A bed with neutral or textured bedding can be surprisingly versatile — great for lifestyle flat lays or a cozy portrait session. A large sectional near a window becomes a natural posing spot with soft, wrapping light. Even a plain wall, when the right light hits it, can feel like a proper studio backdrop.
Don’t write off the less obvious spots, though. Hallways, staircases, bathrooms, and kitchen counters all have real photographic potential. A tiled bathroom with warm lighting can produce spa-like, editorial images. A kitchen counter with fresh produce, ceramics, and morning light streaming in? That’s exactly the kind of content that performs well on Pinterest and Instagram. The goal is to match the mood you’re going for with a space that naturally supports it, rather than trying to force a look somewhere it just doesn’t fit.
Mastering Natural Light at Home
Light is the single most important thing in any photo, and natural light is the most flattering, dynamic, and accessible option available to anyone shooting at home. The quality of it shifts dramatically throughout the day, and understanding those shifts gives you a real creative edge. Golden hour — that first hour after sunrise and the last one before sunset — fills rooms with warm, directional light that makes almost everything look good. East-facing windows are your best friend in the morning; west-facing ones give you that same quality of light late in the afternoon.
Overcast days get underestimated all the time, but experienced photographers actually love them. A cloudy sky works like a giant softbox, spreading light evenly and wiping out harsh shadows. That makes it ideal for portraits, flat lays, and product photography where you want clean, even illumination without a lot of drama. On bright sunny days, skip shooting in direct sunlight — it creates unflattering shadows and blows out highlights fast. Instead, position your subject just inside a window so the light wraps around them softly from the side.
You can also shape and control natural light using things you already have around the house. A white sheet hung in front of a window softens harsh light beautifully. A piece of white foam board or a large mirror can bounce light back to fill in shadows. Dark fabric or cardboard can flag light to add a bit of drama or depth. These DIY modifiers cost next to nothing and can make a noticeable difference in how your light looks and feels. Honestly, experimenting with them is one of the fastest ways to improve your home photography.
Setting Up Your Background and Props
A cluttered or distracting background can undermine even a technically great photo. Before you start shooting, take a few minutes to simplify and style the area you’re working in. Pull out anything that doesn’t serve the image — stray cords, random objects, anything that pulls the eye away from your subject. What’s left should either add texture and context or quietly recede into the background. Think of it this way: if an element isn’t adding something, it’s taking something away.
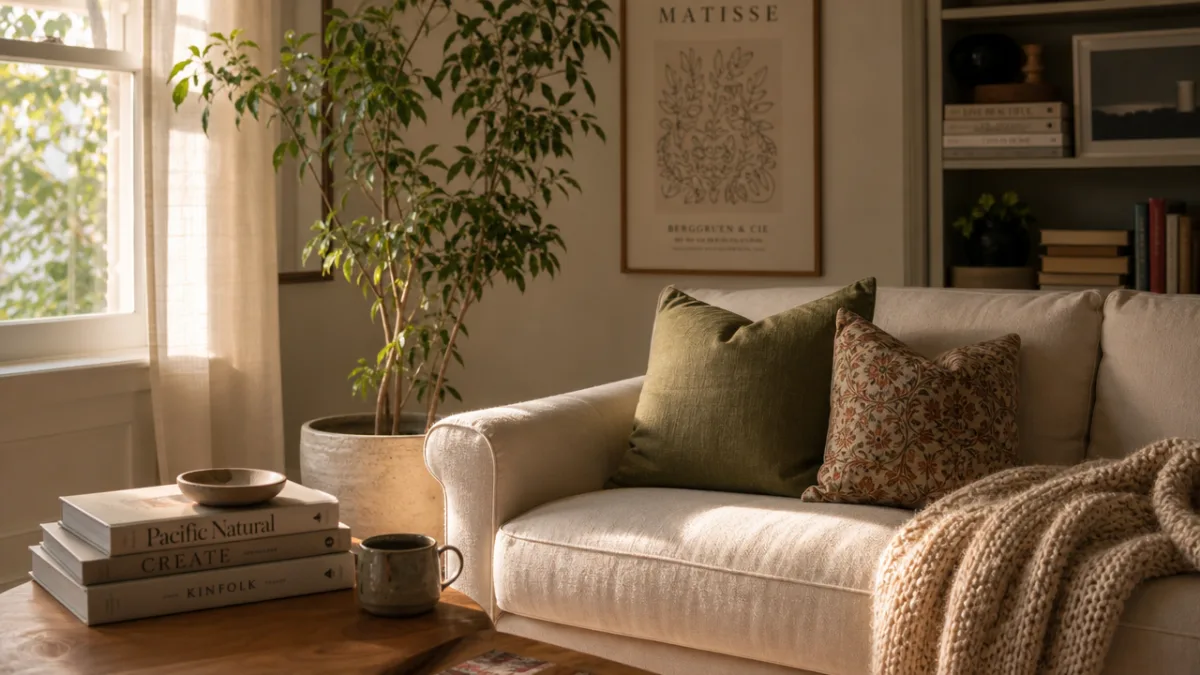
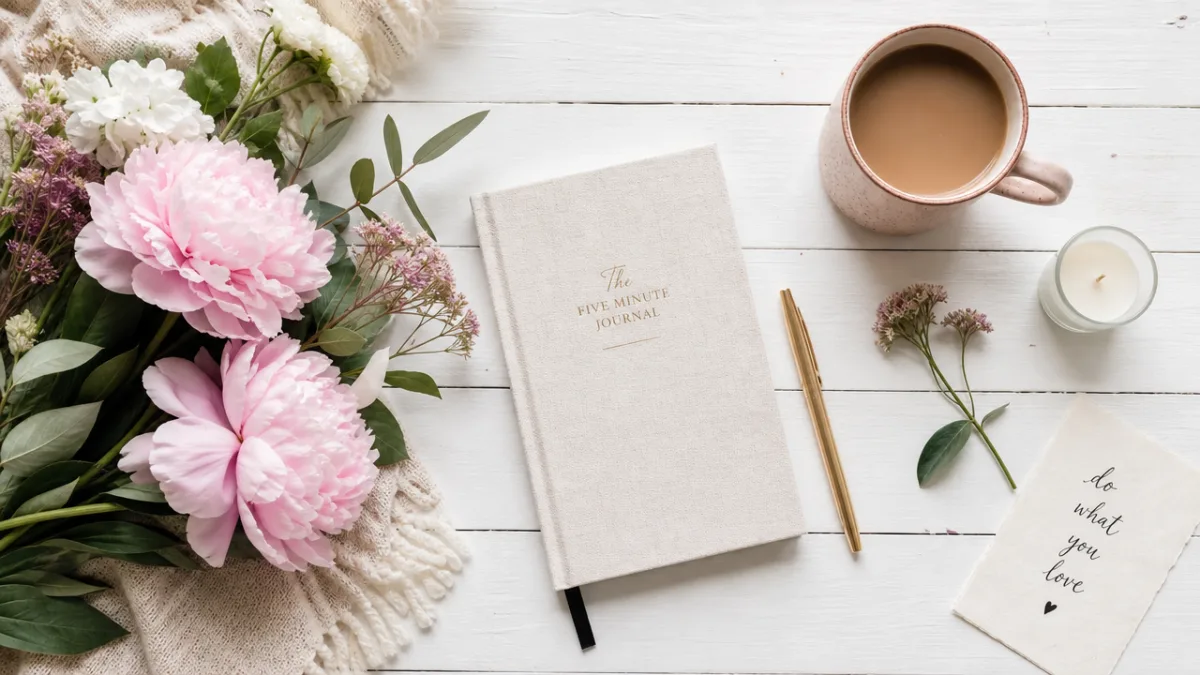
Props are one of the most powerful tools a home photographer has, because they add narrative, texture, and visual interest without requiring any permanent changes to your space. A stack of books, a ceramic mug, fresh flowers in a simple vase, a throw blanket, a candle — these things show up constantly in beautiful lifestyle photography because they communicate comfort and intentionality. When you’re choosing props, think about color palette first. Pick items that complement your background rather than compete with it, and try to stick to two or three colors that work together.
Your backdrop doesn’t always have to be a wall, either. A wooden floor shot from above makes a gorgeous surface for flat lay photography. A rumpled linen sheet hung from a curtain rod or draped over a chair becomes an instant studio backdrop. Large pieces of foam board from any craft store can be painted or covered in contact paper to create custom backgrounds for product or food shots. The more you experiment with different surfaces and backdrops, the more variety you can squeeze out of the same physical space.
Posing and Composition Techniques That Actually Work
One of the biggest challenges in a home photoshoot — especially when you’re shooting yourself — is figuring out what to do with your body. Posing doesn’t feel natural to most people, and the result of standing stiffly in front of a camera with no direction is usually pretty obvious. The most reliable way to get poses that actually look natural is to give yourself or your subject something to do. Hold something, look at something, interact with the space around you. Action-based poses almost always read as more authentic than static ones.
Composition is what separates a snapshot from a real photograph. A few basic principles applied consistently will lift every image you take at home. The rule of thirds suggests placing your subject off-center, at one of the intersecting points of an imaginary grid divided into thirds both horizontally and vertically. Leading lines — the edge of a bed frame, a windowsill, a staircase railing — pull the viewer’s eye through the frame and toward your subject. Framing within frames, like shooting through a doorway or window, adds depth and a sense of intention to a shot.
Changing your angle can completely transform how a photo feels, even when you’re shooting in the exact same spot. A low angle looking up through a bed frame creates something dramatic and intimate. A bird’s-eye view straight down is perfect for flat lays and overhead shots of food, books, or accessories. Eye-level shots feel candid and relatable, while slightly elevated angles tend to be the most flattering for portrait work. Make a habit of moving your camera and your body rather than always shooting from the same standing position — it adds enormous variety to your images without changing a single thing about your setup.
Editing Your Home Photoshoot Images
Even great photos benefit from thoughtful editing, and developing a consistent editing style is one of the best ways to build a recognizable look for your content or portfolio. You don’t need expensive software to edit well — apps like Lightroom Mobile, VSCO, and Snapseed are either free or very affordable and available right on your phone. The key is restraint: good editing makes an image better without making the editing itself noticeable.
Always start with the basics before you reach for anything creative. Fix your exposure first — if the image is too dark or too bright overall, sort that out before touching anything else. Then check your white balance, which controls the overall warmth or coolness of the image. White balance really matters for home photography because different light sources — window light, warm lamps, overhead fluorescents — all have different color temperatures that can make skin tones and whites look a little off. Once your exposure and white balance are in a good place, the image often already looks dramatically better.
From there, start building a signature look through consistent stylistic choices. A lot of lifestyle and home photographers go for a light, airy feel — lifted shadows, reduced contrast, slightly muted greens and blues, warm and creamy highlights. Others lean into a moodier look with deeper shadows, higher contrast, and richer colors. Neither is wrong. What matters is consistency. When your images share a cohesive visual language, they feel intentional and curated rather than all over the place. Save your editing settings as presets or recipes so you can apply them quickly and keep that consistency going from one shoot to the next.
Planning Your Shoot for Maximum Results
The difference between a productive home photoshoot and a frustrating one usually comes down to preparation. Spending thirty minutes planning before you start can save you hours of wasted effort — and the results will be noticeably better. Start by getting clear on what you actually want to create: a mood board, a content theme, a specific color palette. Having a real creative direction before you pick up your camera means every decision you make during the shoot serves a purpose, rather than being improvised on the fly.
Make a shot list. It’s a simple list of the specific images you want to walk away with — and it’s honestly one of the most useful habits you can develop as a home photographer. Your shot list might include a wide establishing shot of the space, a close-up detail of your props, a mid-range portrait by the window, and an overhead flat lay on the floor. When you’re in the middle of a shoot it’s really easy to lose track of what you still need. A shot list keeps you focused and makes sure you don’t get to the end of your session only to realize you missed something important.
Think through the logistics in advance, too. Charge your batteries, or make sure your phone is fully charged. Clear space on your memory card or camera roll. If you’re shooting solo and need to trigger the camera remotely, get your timer or remote shutter set up before you’re dressed and ready to go. Lay out your props, style your background, and take a few test shots to check your light and composition before the real session starts. It might not sound glamorous, but this kind of preparation is exactly what separates people who consistently produce work they’re proud of from people who only occasionally luck into a good image.
- Define your creative concept and mood before anything else — look at Pinterest boards, magazine editorials, or accounts you love for inspiration, then pick two or three specific visual elements you actually want to bring into your own shoot.
- Scout your location in advance at the same time of day you plan to shoot, and pay close attention to how the light behaves and which angles give you the most to work with.
- Get your props, outfits, and backgrounds sorted beforehand so you spend your actual shooting time shooting, not searching for things or rearranging furniture mid-session.
- Take test shots before committing to a full session — a few frames at the start let you dial in exposure, white balance, and composition before you’re counting on the results.
- Look back at your images critically after each shoot and make note of what worked and what didn’t, so every session builds on what you learned from the last one.
A home photoshoot is really just creative problem-solving — making the most of the space, light, and resources you already have. The photographers whose home content looks effortless have simply practiced long enough that their instincts have taken over. Every shoot teaches you something new about your space, your light, your eye, and your style. The most important thing is to start, shoot often, and treat each session as both a creative opportunity and a chance to get better. Your home has more photographic potential than you think — now go find it.
“`








What do you think?
It is nice to know your opinion. Leave a comment.