










Lutyens DIY Garden Bench: Build a Classic with Your Own Hands
The Enduring Legacy of the Lutyens Garden Bench
There aren’t many pieces of garden furniture that have genuinely stood the test of time the way the Lutyens bench has. Designed in the early twentieth century by the celebrated British architect Sir Edwin Lutyens, this iconic seat has been gracing gardens — from grand stately homes to quiet private retreats — for well over a hundred years. That distinctive lattice back, those sweeping curved arms, the solid no-nonsense construction: it all adds up to something that just doesn’t go out of style, no matter what garden trends come and go.
Lutyens worked closely with the garden designer Gertrude Jekyll, and together they really defined what people picture when they imagine a great English country garden. The bench he left behind was always meant to be more than somewhere to sit down. It was conceived as a piece of functional art — something strong enough visually to hold its own against herbaceous borders and climbing roses, almost like a well-placed sculpture or a beautiful urn placed at just the right point in the garden.
What’s particularly exciting for anyone with a DIY streak is that this bench, despite looking so intricate, is genuinely achievable with intermediate woodworking skills and the right guidance. Building one yourself connects you to a long tradition of real craftsmanship, and you end up with a piece of outdoor furniture that will outlast anything cheap by decades. A well-built Lutyens bench, properly looked after, can realistically last fifty years or more — which makes the time and effort you put in very much worth it.
Understanding the Design: Key Features and Proportions
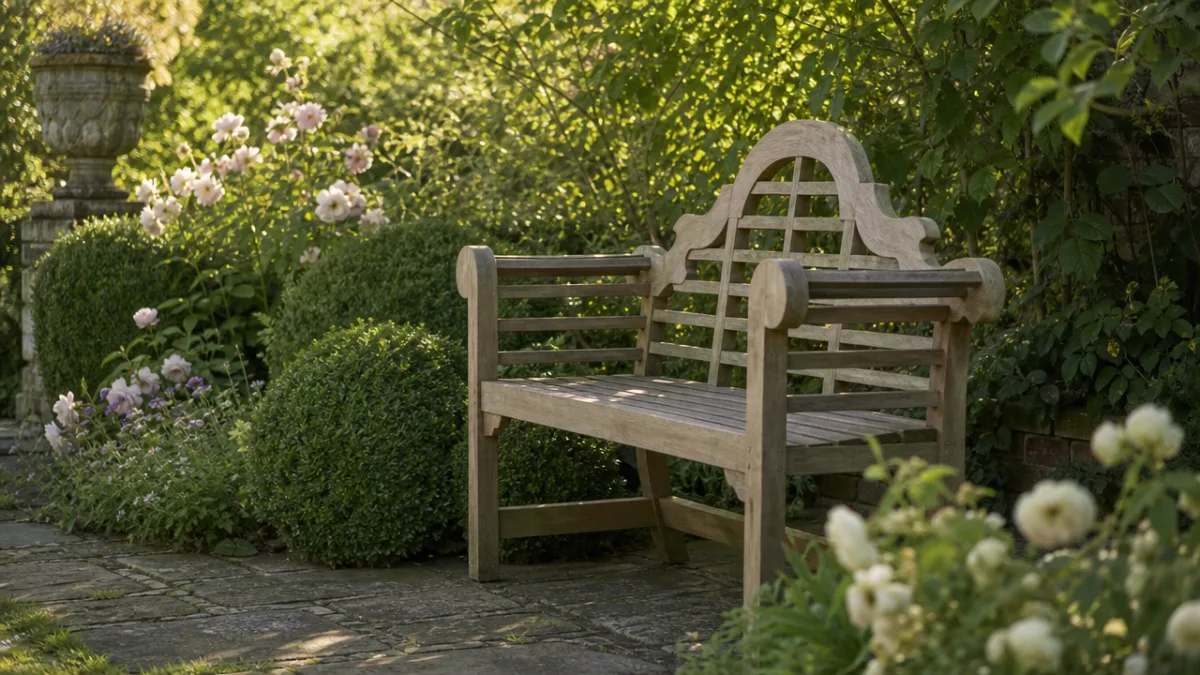
Before you cut a single piece of timber, it’s worth getting to know what actually makes a Lutyens bench a Lutyens bench, rather than just a vague imitation. The thing most people clock straight away is that distinctive back: a series of vertical slats arranged in a fan or arch pattern, sitting beneath an upper rail that curves gently upward at each end. It gives the bench a real sense of lightness and movement, even though the thing itself is solid and substantial. The rhythm of those repeating slats is oddly satisfying to look at.
The arms are just as recognisable. They’re wide and generous, curving outward and downward from the back posts in a bold sweep that’s as comfortable to rest an arm on as it looks. The front legs usually have a shaped or turned profile, joining the arms at an angled joint that takes some care to cut well, but when you get it right the finish looks genuinely professional. The seat itself is made up of parallel slats with small gaps between them — practical as much as anything, since it lets rainwater drain away freely rather than sitting and causing problems.
Proportions really do matter here. A standard Lutyens bench seats two to three adults and typically comes in at around 152 centimetres long, 66 centimetres deep, and 90 centimetres high to the top of the back. The seat sits at about 43 centimetres off the ground — a touch lower than a standard indoor chair, which gives it that relaxed, unhurried feel that suits garden life perfectly. Work from accurate plans rather than guessing any of this; it’ll save you a lot of head-scratching further down the line.
Choosing the Right Timber for Your Lutyens Bench
Of all the decisions you’ll make on this project, timber choice is probably the most important one. A garden bench lives outside all year round, dealing with rain, frost, summer heat, and everything in between, so you need a wood that’s genuinely strong and naturally resistant to moisture and rot. Get this wrong and you could end up with a beautiful bench that quietly rots from within after just a few seasons — a real shame after all that work, and an expensive lesson.
Teak has long been considered the gold standard for outdoor furniture, and there are good reasons for that reputation. It’s packed with natural oils that repel water and resist fungal decay without needing any chemical treatment, and its high silica content makes it remarkably hard-wearing. The downside is the price — responsibly sourced teak doesn’t come cheap. But if the budget stretches that far and you want the best possible result, teak is genuinely hard to beat. It machines well, takes a finish nicely, and if you leave it untreated outdoors it develops a lovely dignified silver-grey over time.
If teak is beyond what you want to spend, there are some solid alternatives worth a serious look. Iroko offers similar natural durability at a lower price, though the interlocked grain can make it a bit more challenging to work with. European oak is another good option — warm-looking, widely available, and perfectly durable, though it needs more regular sealing and oiling than teak does. Accoya, a modified pine product, has become increasingly popular for outdoor projects thanks to its excellent dimensional stability and eco-friendly credentials. Whatever you go with, make sure you buy kiln-dried stock to reduce the chances of warping once the bench is built.
- Teak: Best natural durability, premium cost, develops attractive silver patina over time
- Iroko: Good durability, lower cost than teak, slightly more demanding to machine
- European Oak: Warm appearance, widely available, requires regular sealing and oiling
- Accoya: Modified softwood, excellent stability, eco-friendly credentials, mid-range price
- Western Red Cedar: Lightweight, naturally resistant to decay, beautiful reddish tone
Tools, Materials, and Preparation
Getting your tools together before you start will make the whole process considerably smoother. This isn’t a project you can comfortably tackle with just a basic kit — the curved parts and angled joints require a level of precision that hand tools alone can’t reliably deliver. That said, you don’t need a professional workshop setup. A home woodworker with a jigsaw or bandsaw, a router, and a decent set of chisels has everything they really need to produce a great result.
The cutting list for a standard two-seater is fairly substantial, covering back legs, front legs, arms, seat rails, back rails, seat slats, and all those back slats that make up the signature fan design. Making accurate templates from your plans before you cut any timber is absolutely essential — especially for the curved arms and shaped back slats, where a carefully made MDF or plywood template you can draw around repeatedly is the only reliable way to ensure matching components are actually identical. This extra step at the beginning pays for itself many times over by preventing the kind of mismatches that derail rushed projects.
Traditional Lutyens joinery relies on mortise and tenon joints, which give the bench the strength and rigidity it needs. Many home builders supplement or replace these with quality outdoor-rated dowels and adhesive, which works perfectly well. Whatever approach you take, using a waterproof exterior wood glue is non-negotiable. Standard interior PVA will give up within a single wet season, and the structural damage that follows is genuinely difficult to fix.
- Download or purchase accurate scaled plans and check all dimensions before ordering timber
- Make MDF templates for all curved and shaped components
- Order timber with approximately ten percent extra to account for waste and any mistakes
- Allow timber to acclimatise in your workshop for at least a week before cutting
- Mark and cut all components, labelling each piece clearly as you go
- Dry-fit the entire bench before applying any glue to identify and resolve fit issues
- Assemble in stages, allowing glue to cure fully between stages
- Sand progressively through the grits, finishing at 180 grit for outdoor timber
- Apply your chosen finish and allow to cure before placing the bench outdoors
Step-by-Step Assembly Guide
With everything cut, shaped, and dry-fitted, you’re ready to move into final assembly. Set yourself up in a clean, flat space that’s large enough to lay the bench on its side when needed, and get your clamps out and within reach before you open the glue. Having a second pair of hands for the main assembly stages is genuinely helpful — holding large components in alignment while trying to apply clamps solo is awkward work, and it’s easy for joints to close out of square when you’re juggling too much at once.
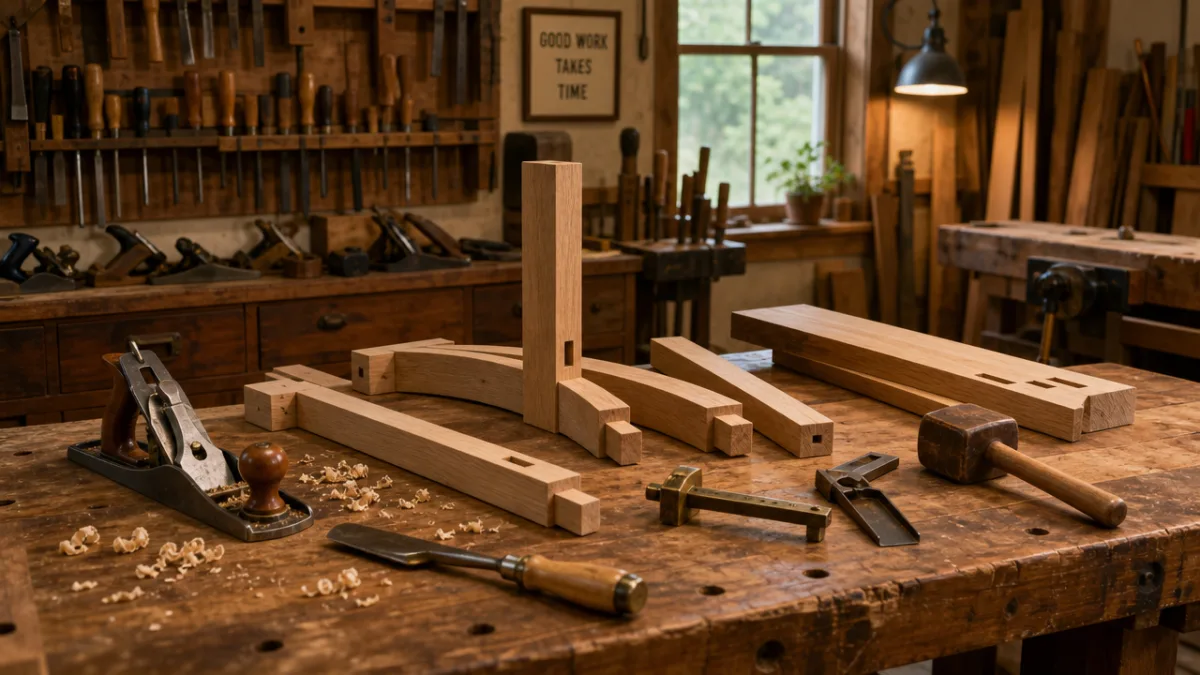
Start by assembling the two end frames, each made up of a back leg, a front leg, a side seat rail, and an arm. Glue all the mortise and tenon joints, bring everything together carefully, and clamp firmly while checking for square with a reliable try square. Pay particular attention to the arm joint — it’s worth checking in multiple planes, because a subtle twist introduced here can make the finished bench look subtly off even when you can’t immediately put your finger on why. Let each end frame cure fully before you move on.
Once both end frames are done, connect them with the front and back seat rails and the lower back rail. This is the moment the bench starts to look like itself, and it’s genuinely satisfying to watch it take shape. Fit the seat slats next, spacing them evenly and securing with stainless steel or silicon bronze screws countersunk neatly below the surface. Then comes the back — fit the slats in their fan arrangement, working outward from the centre to keep the pattern symmetrical. Take your time here. The back is the first thing anyone looks at, and it’s worth getting it right.
Finishing, Sealing, and Long-Term Maintenance
The finishing stage deserves just as much care as everything that came before it. A poor finish lets moisture in, and once that process starts it doesn’t matter how well the bench was built — decay will follow. Start by sanding the whole assembled bench carefully, giving extra attention to end grain, which soaks up water far more readily than face grain and is the most vulnerable spot on any outdoor piece. Work through the grits progressively, aiming for 180 grit at the end — smooth enough to take a finish well, but not so polished that it won’t absorb it properly.
For teak and iroko, a traditional teak oil or Danish oil applied in several thin coats works beautifully, protecting the timber while letting the natural character of the grain come through. Apply the first coat generously, give it about fifteen minutes to soak in, then wipe away any excess before it goes tacky. Follow-up coats should be thinner, with full curing time in between. For oak and similar timbers, a penetrating exterior hardwax oil or a good exterior varnish does a reliable job, though varnished surfaces will eventually need stripping back and recoating as the years and weather take their toll.
Once the bench is out in the garden and being used, keeping it in good shape doesn’t require much — just a bit of consistency. An annual scrub with a soft brush and mild soapy water, followed by a fresh coat of oil or preservative, covers most of what’s needed. Each autumn, have a good look at all the joints for any early signs of movement, and re-tighten or re-glue anything that’s showing the first hints of loosening. Slipping a quality breathable cover over the bench during the worst of winter, or bringing it into a shed or garage if you can, will noticeably extend its life and keep the maintenance load lighter over the years.
Personalising Your Lutyens Bench
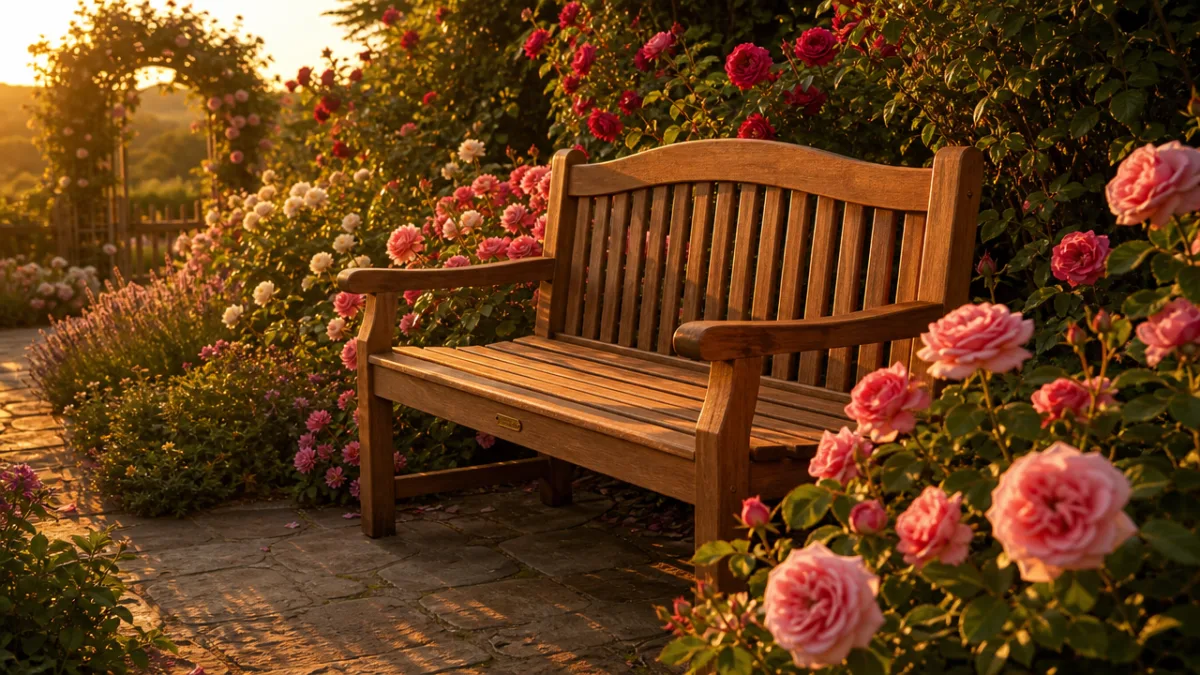
One of the real pleasures of building something yourself rather than buying it is the freedom to make it your own in ways a mass-produced piece simply can’t offer. The traditional Lutyens bench tends to appear in either natural-weathered teak or painted white, but there’s absolutely no rule that says you have to stick to that. A soft sage green or a deep charcoal paint finish over a good exterior primer can look extraordinary in the right garden setting, and either would sit beautifully alongside a contemporary planting scheme without looking out of place.
The dimensions are yours to play with too. A longer three-seater needs only modest changes to the cutting list and seat rail lengths, while a scaled-down loveseat version can work really well in a more intimate corner of the garden. Some builders add a small armrest tablet at one end to create a built-in side table for a cup of tea or a book — it’s a practical and attractive modification that feels entirely in keeping with the spirit of the original design.
You might also think about adding something more personal: a carved detail, a painted motif, or a small engraved plaque set into the back rail. A bench built to mark an anniversary, a milestone birthday, or the memory of someone you loved carries a meaning that goes far beyond its function. Gardens have always been places of memory and reflection as much as beauty, and a handmade bench with a personal inscription becomes something genuinely worth passing on — a proper heirloom that future generations might treasure long after you’re gone.








What do you think?
It is nice to know your opinion. Leave a comment.