










Steampunk Photo Frames: A Complete Guide to Victorian-Industrial Art
The Origins and Aesthetic Philosophy of Steampunk Design
Steampunk emerged as a distinct aesthetic movement in the 1980s, drawing deeply from the imaginative world of Victorian-era science fiction writers like Jules Verne and H.G. Wells. The style blends the romantic elegance of the 19th century with the raw, functional beauty of industrial machinery, creating a visual language that feels simultaneously nostalgic and fantastical. At its core, steampunk celebrates craftsmanship, ingenuity, and the visible mechanics of how things work, making every creation feel like a piece of functional art straight out of an alternative timeline.
What makes steampunk such a compelling design philosophy is its embrace of visible complexity. Unlike modern minimalist design, which hides its inner workings behind clean surfaces, steampunk proudly displays gears, pipes, rivets, and mechanisms as decorative elements in their own right. This celebration of machinery as beauty has made steampunk a beloved aesthetic in home décor, cosplay, jewelry, and fine art. Photo frames designed in this tradition become more than simple borders for photographs — they transform into conversation pieces and miniature sculptures.
The color palette of steampunk is as distinctive as its mechanical vocabulary. Warm coppers, aged bronzes, oxidized greens, deep mahogany browns, and burnished golds dominate the visual landscape. These tones evoke the materials that defined the Industrial Revolution: worked metal, oiled leather, polished wood, and antique glass. A steampunk photo frame does not merely hold a memory — it transports that memory into a richly imagined world where steam-powered airships sail above cobblestone streets and inventors work by the light of gas lamps.
Key Visual Elements That Define Steampunk Style
Understanding the core visual vocabulary of steampunk is essential before attempting to create or purchase a steampunk photo frame. Several recurring motifs appear across virtually every authentic steampunk design, and knowing how to combine them effectively is what separates a truly evocative piece from a collection of random metal trinkets glued together. The most successful steampunk artists understand that restraint and intention matter as much as abundance and detail.
Gears and cogs are perhaps the most iconic steampunk symbols, representing the mechanical ingenuity of the era. However, a skilled designer knows that randomly scattering gears across a surface does not automatically create a steampunk aesthetic — the gears should appear purposeful, as though they actually perform some mechanical function. Pairing interlocking cogs of different sizes, showing gear trains that lead somewhere, or combining them with axles and shafts creates a far more convincing and beautiful result than simple surface decoration.
Other essential visual elements include clock faces and watch parts, which introduce themes of time and precision. Pressure gauges, pipes, bolts, and rivets add industrial authenticity. Lenses, monocles, and optical components suggest scientific inquiry and discovery. Wings — whether from birds or fantastical machines — bring in themes of flight and exploration. Together, these elements form a rich visual grammar that steampunk designers draw from constantly, mixing and matching to create pieces that feel uniquely personal while remaining instantly recognizable as part of the broader tradition.
Materials and Tools for Crafting Steampunk Photo Frames
Creating a steampunk photo frame at home is a deeply satisfying craft project that requires only modest investment in materials and tools. The foundation of most steampunk frames begins with a simple wooden or MDF picture frame, which serves as the substrate upon which all the decorative elements are arranged and attached. These base frames are widely available at craft stores, thrift shops, and dollar stores, making them an affordable starting point for both beginners and experienced crafters looking to experiment with new compositions.
The decorative hardware that defines the steampunk look can be sourced from a surprisingly wide range of places. Hardware stores carry an excellent selection of metal fittings, nuts, bolts, washers, and small pipes. Jewelry supply shops offer tiny gears, watch parts, and clock faces specifically designed for craft use. Thrift stores and flea markets are treasure troves of old clocks, broken electronics, and antique hardware that can be disassembled and repurposed. Online marketplaces have also made it easier than ever to purchase large quantities of mixed steampunk embellishments at reasonable prices.
Essential tools for the project include a strong adhesive such as E6000 craft glue or a two-part epoxy for securing heavier metal pieces, as well as a hot glue gun for lighter embellishments and quick positioning tests. Spray paint in metallic finishes — particularly copper, bronze, gold, and gunmetal — is invaluable for creating a unified color scheme across mixed materials. Fine-grit sandpaper helps distress and age surfaces. Acrylic paints in brown, black, and green can be used for antiquing techniques that add depth and authenticity to the finished piece.
Sourcing Authentic Vintage Hardware and Components
One of the most enjoyable aspects of building a steampunk photo frame is the treasure-hunting process of sourcing authentic vintage hardware. Estate sales, antique markets, and flea markets offer genuine aged metal pieces that carry real history and patina — qualities that are extremely difficult to replicate artificially. A single afternoon of browsing through bins of old clock parts, brass fittings, and mechanical odds and ends can yield enough material for several ambitious frame projects, often at very low cost.
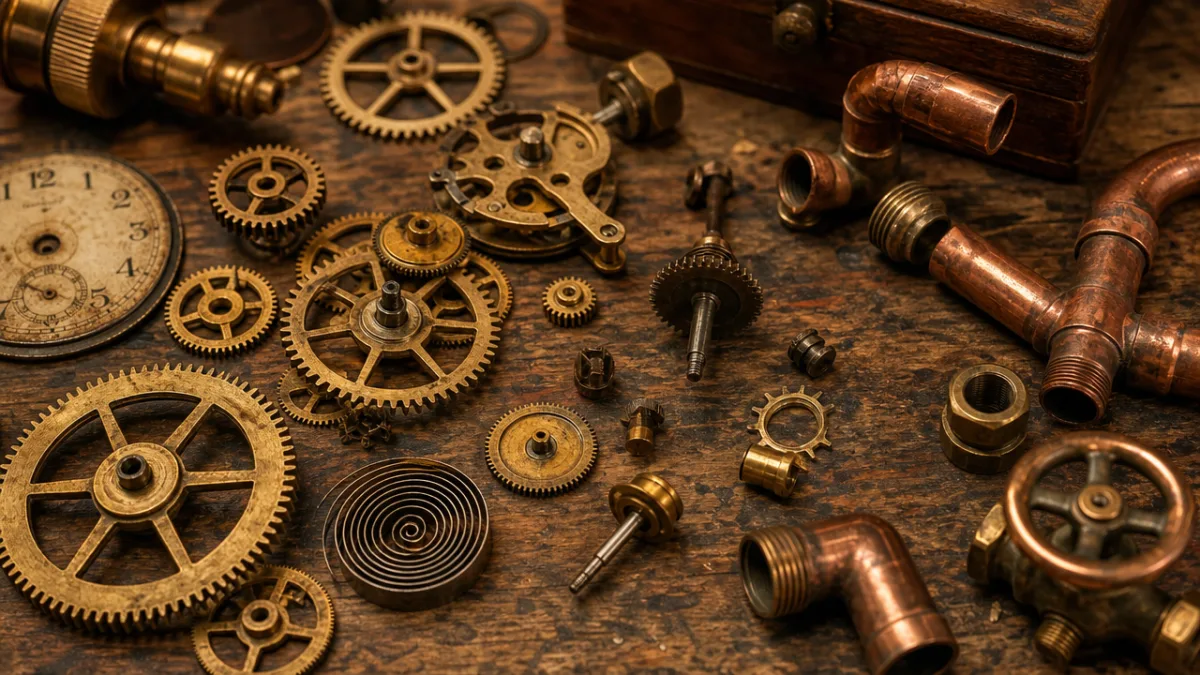
Watch repair shops and clockmakers occasionally have bins of broken or unusable parts that they sell inexpensively or even give away to crafters. These genuine timepiece components — tiny gears, balance wheels, mainsprings, and jewels — add an authenticity to steampunk work that purchased craft embellishments simply cannot match. The variety of sizes and shapes found within a single clock movement is remarkable, providing a diverse palette of mechanical elements to work with. Many experienced steampunk crafters consider the acquisition of real watch and clock parts to be the most important factor in elevating their work above the amateur level.
Plumbing supply stores are another underutilized resource for steampunk crafters. Small copper pipe fittings, valves, and connectors translate beautifully into decorative frame elements, suggesting the complex networks of pipes and conduits that would be found aboard a Victorian steam-powered vessel. When combined with pressure gauges sourced from old boilers or industrial equipment, these plumbing components create an intensely convincing industrial atmosphere. The key is to look beyond the intended function of each component and see only its shape, texture, and material quality.
Step-by-Step Construction of Your Steampunk Frame
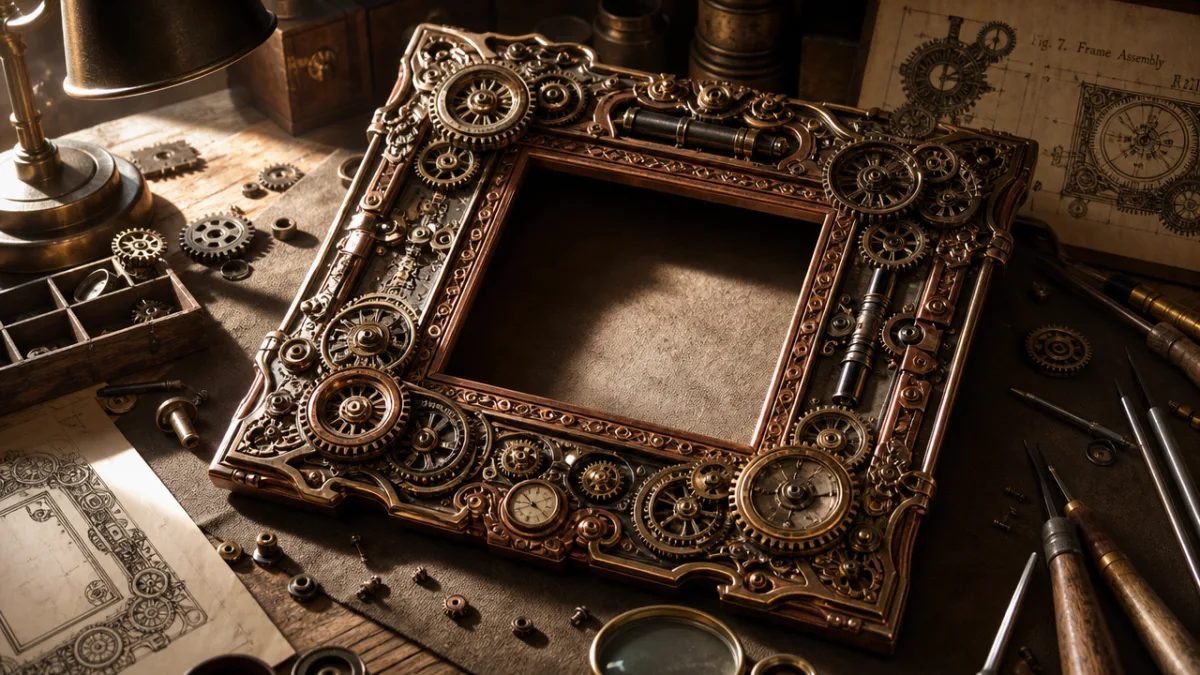
Beginning your steampunk photo frame project requires careful planning before any glue touches any surface. Start by laying out all your collected components on the base frame without attaching anything, experimenting with different arrangements until you find a composition that feels balanced and purposeful. Photograph this dry run from multiple angles so you have a reference to work from. The planning stage is also the time to identify any gaps in your composition where additional elements might be needed, and to make sure you have enough variety in scale — mixing very small details with larger focal pieces creates visual depth and interest.
Once you are satisfied with your planned layout, begin applying your base paint or primer coat to the bare frame. Most crafters choose to prime the frame in flat black or dark brown before applying metallic finishes, as this creates shadows in recessed areas that give the final piece a much more three-dimensional appearance. After the base coat dries, apply metallic spray paints in light, overlapping passes, allowing some of the darker undercoat to show through for an aged, weathered effect. Multiple thin coats always produce better results than a single heavy application, which can obscure fine details and create drips.
Begin attaching your embellishments starting with the largest pieces, which will anchor the composition and define its overall structure. Use your strongest adhesive for heavy metal components, pressing them firmly and allowing adequate curing time before adding surrounding elements. Work outward from these focal points, filling in with medium-sized pieces and then smaller details. Save the tiniest elements — individual watch gears, small nuts and bolts, decorative rivets — for the very end, using them to fill gaps and create visual continuity across the surface. These finishing touches often make the difference between a good frame and an exceptional one.
Applying Aging and Patina Techniques
The aging and patina process is what truly brings a steampunk photo frame to life, transforming a collection of painted and assembled components into something that appears to have genuine history. The most widely used technique is a dry-brushing method in which a small amount of metallic acrylic paint — copper, gold, or silver — is loaded onto a stiff brush and then almost completely wiped off before being lightly dragged across raised surfaces. This highlights the texture and detail of your embellishments while leaving recessed areas dark, dramatically increasing the perception of depth and dimension.
Antiquing washes are another powerful tool for creating realistic age. A thin mixture of raw umber or burnt sienna acrylic paint diluted in water is applied liberally over the entire frame and then quickly wiped back with a damp cloth, leaving the darker color settled into recessed areas, crevices, and around the bases of embellishments. This technique mimics the natural accumulation of grime and oxidation that genuine antiques develop over decades of use. Multiple wash layers, each in a slightly different tone, produce particularly convincing results that are difficult to achieve with any single technique.
For copper and brass elements, you can create a convincing verdigris effect using a mixture of green and blue acrylic paints stippled lightly onto surfaces with a sponge or crumpled plastic wrap. Real copper develops this blue-green patina through oxidation, and suggesting it on your frame adds an authentic aged quality that is immediately recognizable. Some crafters also use actual chemical patina solutions, available from jewelry supply companies, which react with metal components to create genuine surface aging. These chemical methods require proper ventilation and safety precautions but produce results that no paint technique can fully replicate.
Design Variations and Stylistic Approaches
The steampunk aesthetic is broad and flexible enough to accommodate a wide range of design approaches, from the highly ornate and complex to the more restrained and architectural. Understanding these different stylistic directions allows you to create frames that complement different types of photographs and different interior design contexts. A heavily embellished frame covered in gears, pipes, and clock faces makes a powerful statement when displayed alone, while a more subtly treated frame might integrate better into a larger gallery wall arrangement alongside other decorative elements.
The Victorian parlor approach emphasizes elegance and decorative richness, combining steampunk mechanical elements with more traditional Victorian ornamental motifs such as scrollwork, filigree, and cameos. This style works beautifully for portrait photographs, particularly those with a formal or historical quality. The industrial workshop approach takes a rougher, more utilitarian direction, emphasizing raw metal textures, functional-looking hardware, and a more masculine aesthetic that suits landscape photography, architectural images, or photographs of machinery and craft. The nautical steampunk direction incorporates elements suggesting undersea exploration — portholes, diving apparatus, anchor imagery, and maritime instruments.
For those who prefer a more accessible entry point into the style, a minimalist steampunk approach focuses on one or two carefully chosen statement embellishments — perhaps a single large gear in one corner paired with a small cluster of tiny watch parts in the opposite corner — rather than covering the entire frame surface. This restrained approach can be just as effective as a densely decorated frame and has the advantage of being much less time-consuming to create. It also photographs very well in home décor contexts, where an overly busy frame might compete with other design elements in the room.
Customizing Frames for Different Photograph Types
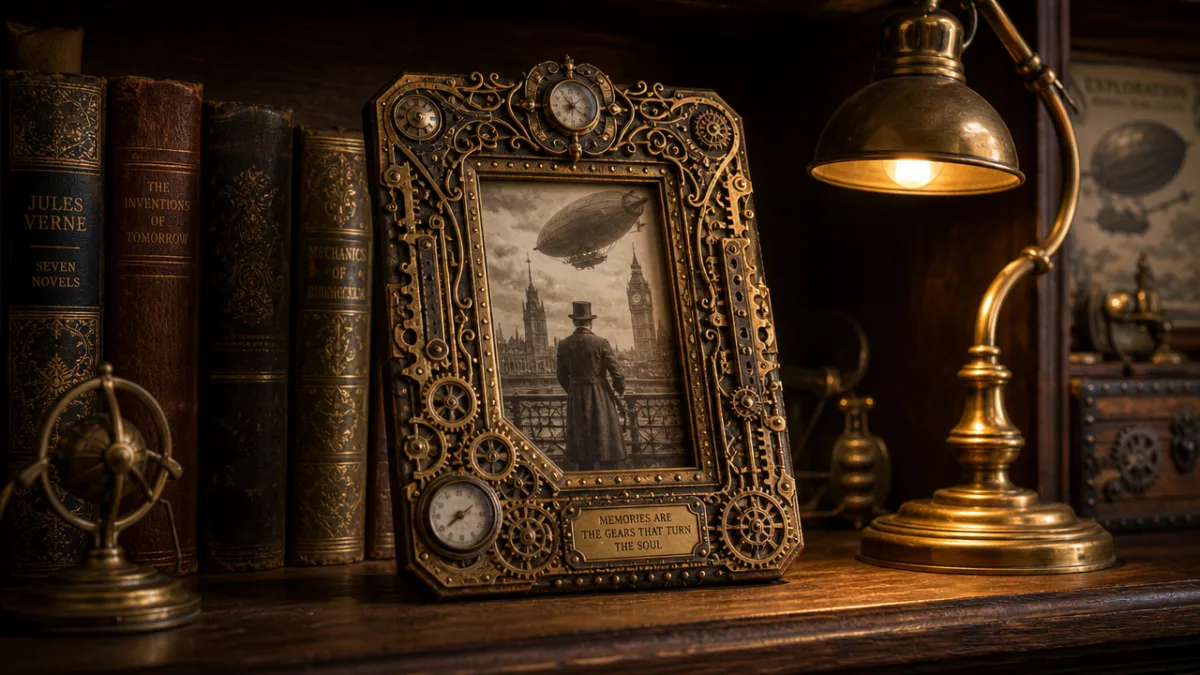
The relationship between the photograph being displayed and the frame surrounding it deserves careful consideration in steampunk design. A frame is not a neutral container — it makes a statement about the image it holds and shapes how viewers interpret and respond to that image. For vintage family photographs with genuine historical character, a steampunk frame can amplify the sense of time and memory, creating a beautiful bridge between past and present. The warm metallic tones of the frame complement the sepia or black-and-white tones of old photographs in a particularly harmonious way.
Contemporary color photographs require a slightly different framing approach. The rich, warm palette of a typical steampunk frame can overwhelm or clash with brightly colored modern photographs, so consider either choosing photographs with warm or muted tones, or adapting your frame’s color scheme to incorporate cooler silver and gunmetal tones that offer more visual neutrality. Adventure photography — images of travel, exploration, machinery, or dramatic landscapes — pairs naturally with steampunk framing because the subject matter resonates thematically with the aesthetic’s underlying spirit of discovery and ingenuity.
Portrait photographs present a particularly interesting challenge and opportunity. A steampunk-framed portrait, especially one where the subject is wearing period-appropriate clothing or steampunk-themed accessories, creates a wonderfully cohesive visual narrative. For such compositions, consider incorporating elements that reflect the subject’s personality or interests into the frame design — musical instruments rendered in miniature for a musician, scientific instruments for an engineer or scientist, books and writing implements for a writer. This level of personalization transforms the frame from a decorative object into a meaningful biographical statement about the person depicted within it.
Displaying and Incorporating Steampunk Frames into Your Home Décor
A beautifully crafted steampunk photo frame deserves thoughtful placement within a home environment that allows it to be fully appreciated. Steampunk frames work best in spaces that already carry some warmth and character — rooms with exposed brick or dark wood paneling, libraries lined with leather-bound books, studies furnished with vintage leather armchairs and brass desk lamps. In these environments, the frame feels like a natural extension of the room’s existing vocabulary rather than an incongruous intrusion of a different aesthetic.
Gallery walls offer one of the most exciting opportunities to display steampunk frames, particularly when multiple frames of different sizes are grouped together to create a cohesive collection. When curating a steampunk gallery wall, maintain visual unity through consistent use of the core color palette — copper, bronze, and gold — while allowing variation in the specific embellishments and arrangements. Mixing frame sizes, from small intimate portraits to larger statement pieces, creates a dynamic arrangement that draws the eye around the wall. Incorporating other steampunk objects — small sculptures, antique instruments, vintage maps — into the gallery wall composition deepens the overall effect considerably.
Lighting plays a crucial role in how steampunk frames read in a space. The metallic surfaces of copper, bronze, and gold are inherently reflective, and the right lighting transforms them from static objects into living, dynamic surfaces that shift and shimmer as the light changes throughout the day. Edison bulb fixtures, with their warm amber glow, are particularly flattering to steampunk aesthetics, as are candlelight and firelight. Avoid harsh, cool overhead fluorescent lighting, which flattens metallic surfaces and strips them of their warmth. A small, dedicated picture light mounted above a particularly special steampunk frame can elevate it to gallery status within your home.
Caring for and Maintaining Your Steampunk Frames
The longevity of a steampunk photo frame depends largely on the quality of the adhesives and finishes used in its construction, as well as the care taken in its maintenance and display. Frames displayed in environments with high humidity — bathrooms, kitchens, or poorly ventilated spaces — may experience adhesive failure over time, as some glues are susceptible to moisture degradation. If you intend to display frames in these environments, use moisture-resistant adhesives and apply a protective clear coat sealant over the entire finished surface to help preserve the metallic finishes and protect against humidity damage.
Dust is the primary maintenance challenge for densely embellished steampunk frames, as the many small crevices between gears, bolts, and other embellishments tend to accumulate dust quickly. A soft artist’s brush or a makeup brush with natural bristles is ideal for gently dislodging dust from these recessed areas. Compressed air, available in cans from photography and electronics stores, is excellent for reaching areas that brushes cannot access. Avoid damp cleaning cloths on metallic surfaces, as moisture can cause certain metallic paints to lift or oxidize in unwanted ways.
Over time, the metallic finishes on steampunk frames may develop additional patina and aging that was not present when the piece was originally created. In most cases, this natural aging actually enhances the steampunk aesthetic, deepening the visual richness of the piece and adding genuine character that cannot be artificially replicated. However, if areas of the frame begin to look merely dirty rather than authentically aged, a light touch-up with the original metallic paints and a fresh application of antiquing wash can restore the frame to its intended appearance. Keeping a small amount of the original paints used in construction allows for these maintenance touch-ups to remain seamlessly matched to the existing finish.
- Use genuine vintage clock and watch parts whenever possible, as their authentic patina is difficult to replicate with craft store substitutes and significantly elevates the quality of the finished piece.
- Always plan your composition before gluing anything — create a dry layout, photograph it, and live with it for a day or two before committing, as this allows you to spot imbalances or opportunities you might miss in the excitement of the moment.
- Invest in quality metallic spray paints from automotive or specialty craft suppliers rather than basic hardware store varieties, as the pigment density and finish quality are noticeably superior.
- Apply multiple thin layers of clear sealant to the finished frame, allowing each coat to cure fully before applying the next, to protect your work from dust, humidity, and handling.
- Consider the weight of your embellishments carefully — very heavy metal components may require mechanical fasteners such as small screws in addition to adhesive, particularly on vertical surfaces where gravity will work against even the strongest glues over time.
- Photograph your finished frame under multiple lighting conditions before hanging it, as this will help you identify the ideal position in your home where its metallic surfaces will catch the light most beautifully.
The steampunk photo frame represents one of the most accessible and personally expressive entry points into the broader steampunk craft tradition. Unlike more technically demanding steampunk projects such as wearable costume pieces or functional mechanical devices, a photo frame requires no specialized tools, no advanced technical skills, and no particular prior experience with craft or art. The basic techniques of painting, gluing, and arranging decorative elements are within the reach of virtually anyone willing to invest a few hours and modest materials budget into a creative project. Yet the results, when thoughtfully executed, can be genuinely stunning — pieces of functional decorative art that transform simple photographs into richly layered objects worthy of display in any home.








What do you think?
It is nice to know your opinion. Leave a comment.