










“`html
Door Makeover DIY: Transform Your Entryway on a Budget
Your front door is the first thing anyone sees when they pull up to your house, and it sets the mood before they even knock. A scuffed, dated, or just plain tired door can make the whole property look neglected — even if the rest of it is immaculate. But a freshly updated one? It can make your whole home feel like you just moved in. The best part is you don’t need a contractor or a big budget to pull it off. With a little creativity, the right supplies, and a free weekend, you can completely transform your entryway yourself.
DIY door makeovers have taken off in a big way over the past few years, and honestly, it makes total sense. Homeowners are figuring out that a can of paint, some new hardware, and a few decorative touches can produce results that look genuinely custom — without the custom price tag. Whether you’re working with a hollow-core interior door, a solid wood exterior door, or one of those flat panel doors that screams “1985,” there’s a makeover approach that’ll breathe new life into it and give your home a look that actually feels like you.
This guide walks you through the whole process from start to finish — assessing your door, picking a style direction, prepping the surface, painting or staining, swapping out hardware, and adding those finishing touches that tie everything together. By the end, you’ll have everything you need to pull off a transformation you’ll actually be proud of. You might even fall in love with your front door for the very first time.
Assessing Your Door and Choosing a Style Direction
Before you even think about picking up a paintbrush, take a few minutes to give your door an honest once-over. Run your hands across the surface and look for deep scratches, dents, peeling paint, or spots where the wood has started to swell or warp. Minor surface imperfections are almost always fixable with some wood filler and sandpaper, but bigger structural issues — like a door that doesn’t sit right in its frame or has rotting wood at the base — need to be sorted out before any cosmetic work begins. There’s no point painting over a problem.
Once you know what you’re working with, the fun part starts: picking a style direction. This is where your home’s architectural personality comes in. A craftsman bungalow looks gorgeous with warm earthy tones, simple panel details, and oil-rubbed bronze hardware. A modern farmhouse calls for something crisper — think charcoal or black with clean lines and matte black fixtures. A coastal cottage practically begs for soft blues, whites, or sage green paired with brushed nickel or weathered brass. Take a look at your siding, trim color, roof, and landscaping, and let those guide you toward a palette that feels like it belongs rather than one that fights with everything around it.
Before you commit to anything, spend some time gathering inspiration. Save images that catch your eye and start paying attention to what they have in common — is it the bold color, the decorative molding, the hardware, or some combination of all three? Even a simple collection of photos on your phone can act as a mood board and make your shopping trips way more focused. When you have a clear picture of where you’re headed, standing in the paint aisle staring at a hundred shades of navy is a lot less overwhelming.
Gathering Materials and Preparing Your Workspace
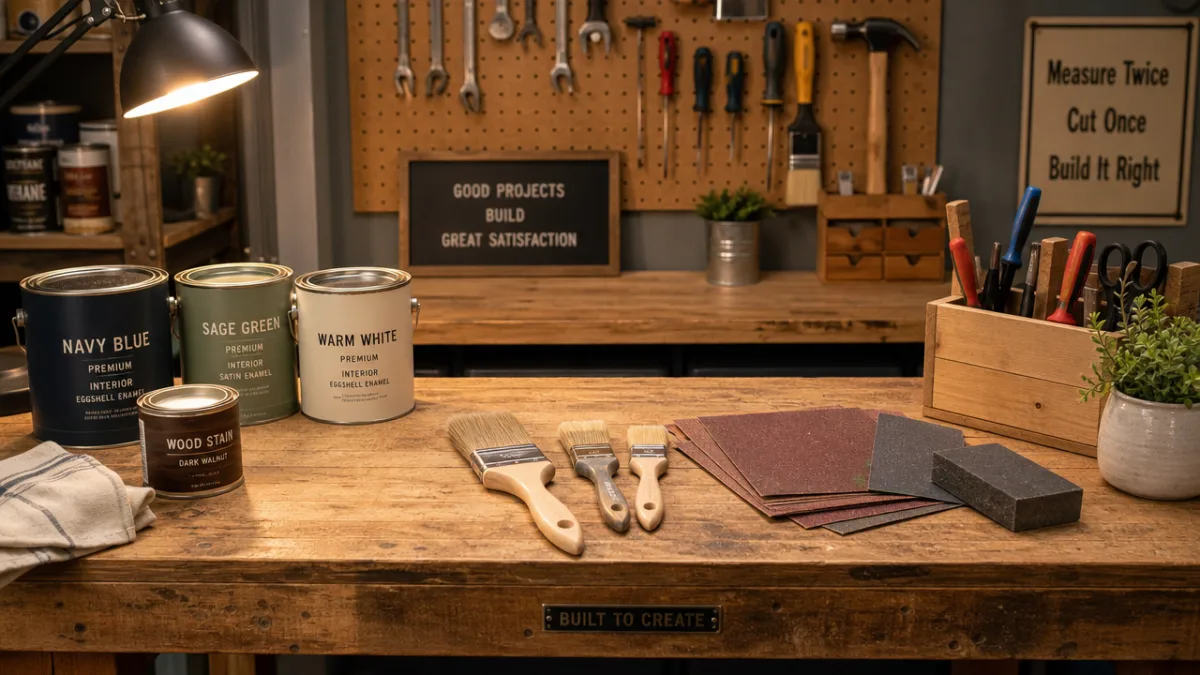
One of the easiest ways to derail a DIY project is to start it without everything you need. Running back to the hardware store because you forgot painter’s tape kills your momentum and your afternoon. So do yourself a favor and build a complete shopping list before your first trip. It’s also worth spending a little more on quality materials — budget primer and paint might look like a deal upfront, but they usually need more coats and don’t hold up nearly as well over time.
Here’s a general list of what you’ll likely need for a full door makeover:
- 120-grit and 220-grit sandpaper or a sanding block
- TSP cleaner or a degreasing spray for surface prep
- Wood filler and a putty knife for repairing imperfections
- High-quality bonding primer appropriate for your door material
- Exterior-grade paint in your chosen color (semi-gloss or gloss finish is recommended for durability)
- A high-density foam roller for flat panels and a quality angled brush for molding details
- Painter’s tape and drop cloths
- New hardware including handle set, hinges, and any decorative knockers or house numbers
- A screwdriver set and a drill with appropriate bits
- Optional: decorative molding strips and construction adhesive for adding panel details
Put the same thought into your workspace that you give to gathering your materials. If you’re working on an exterior door, pick a day with mild temperatures — most paints and primers are happiest between 50 and 90 degrees Fahrenheit, and high humidity can seriously mess with how well everything adheres and dries. If you can, take the door off its hinges and lay it flat on sawhorses or a work table. Painting a door flat is a game changer — you get a much smoother, drip-free finish compared to painting it while it’s still hanging. Lay down drop cloths to protect your floor, and keep the kids and pets well clear while everything’s drying.
Surface Preparation: The Step That Makes or Breaks Your Finish
Ask any experienced painter or DIYer and they’ll tell you the same thing: the quality of your final paint job comes down almost entirely to how well you prepped. Skipping or rushing through surface prep is the number one reason DIY paint projects end up looking rough or start peeling within a few months. Even if your door is structurally solid, old layers of paint, grease from years of hands grabbing near the handle, and fine surface dust all have to go before a single drop of fresh paint touches the surface.
Start by washing the whole door with a TSP solution or a strong degreasing cleaner. This lifts oils, grime, and chalky residue from old paint that would otherwise stop your primer from sticking properly. Wipe it down thoroughly and let it dry completely. Once it’s clean and dry, go over the entire surface with 120-grit sandpaper — you’re not trying to strip it down to bare wood, just roughing it up enough to give the primer something to grab onto. Pay extra attention to any spots where the old paint is flaking or bubbling, and sand those areas until the edges blend smoothly into the surrounding surface.
Fill any dings, holes, or gouges with a quality wood filler, pressing it firmly into the damaged area with a putty knife and packing in a little extra so you can sand it flush later. Once it’s fully dry, sand it down with 120-grit, then finish with 220-grit for a smooth result. After all your repairs are done and the whole surface has been sanded, wipe everything down with a tack cloth or a damp rag to clear away any dust. Now you’re actually ready for primer — and honestly, a good primer is one of the best investments you can make in how long your finished door holds up.
Painting, Adding Molding Details, and Hardware Upgrades
Apply your bonding primer in thin, even coats, working from the top of the door down. If your door has recessed panels, start there — brush into the corners and along the edges, then go over the flat panel faces with a foam roller to smooth out any brush marks. Let the primer dry completely (don’t rush it), then lightly sand with 220-grit to knock down any raised grain or dust nibs. Wipe clean with a tack cloth before you move on to your topcoat.
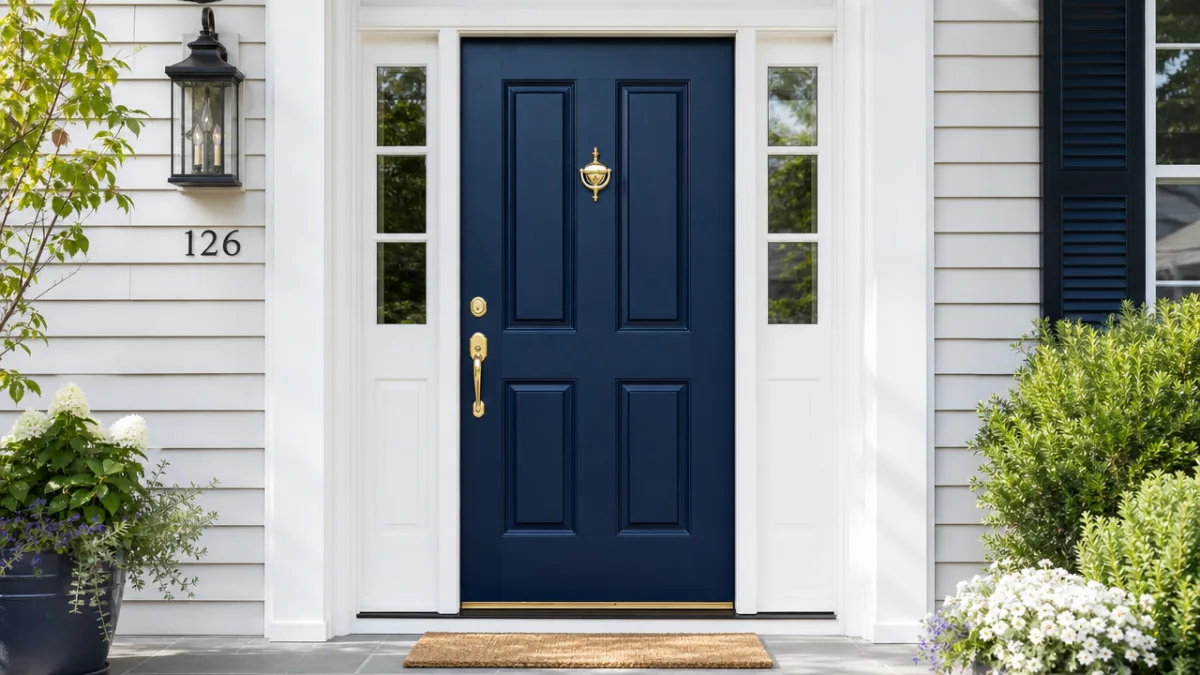
The same panels-first approach applies when you’re laying down your finish paint. Use a high-density foam roller on the flat areas — it gives you a smooth, almost spray-like finish that’s a dead giveaway for a paint job done right. Two to three thin coats with proper drying time between each will get you there, and a light sand with very fine sandpaper between coats will give you that glass-smooth result if that’s what you’re after. Bold colors like navy, forest green, black, and deep red are huge right now for front doors, and there’s a practical bonus: their depth of color is genuinely forgiving of small imperfections that a lighter shade would put on full display.
If your door is flat and a little boring, adding decorative molding strips is one of the best tricks in the book. You can buy standard door casing or panel molding at any home improvement store, cut pieces to length with a miter saw, and attach them with construction adhesive and finish nails. Once they’re primed and painted, the door looks like something custom-built — and nobody has to know how simple it actually was. Then there’s the hardware, which is really the jewelry of the whole project. A beautiful handle set, fresh hinges in a coordinating finish, and maybe a stylish house number or door knocker turn a nice paint job into a finished look that feels completely intentional.
Finishing Touches That Elevate the Entire Entryway
A great door doesn’t exist in a vacuum — the space around it matters just as much as the door itself. Once your paint is fully cured, step back and look at the whole entryway as a complete picture. Does the door color work with your trim, your siding, your landscaping? Now look for the things that are pulling focus away from your beautiful new door — an outdated light fixture, worn house numbers, a deflated doormat, or a sad-looking potted plant can undercut everything you just worked hard to create.
Swapping out your exterior light fixture is one of the highest-impact, lowest-effort upgrades you can pair with a door makeover. A clean, modern wall lantern in a finish that matches your door hardware — brushed nickel, oil-rubbed bronze, matte black — adds a layer of cohesion that makes the whole entry feel designed rather than pieced together. New house numbers in a clean font, mounted neatly to the siding or door surround, are another one of those small details that punch way above their weight. Either of these updates typically runs between twenty and sixty dollars and takes an hour or two to install.
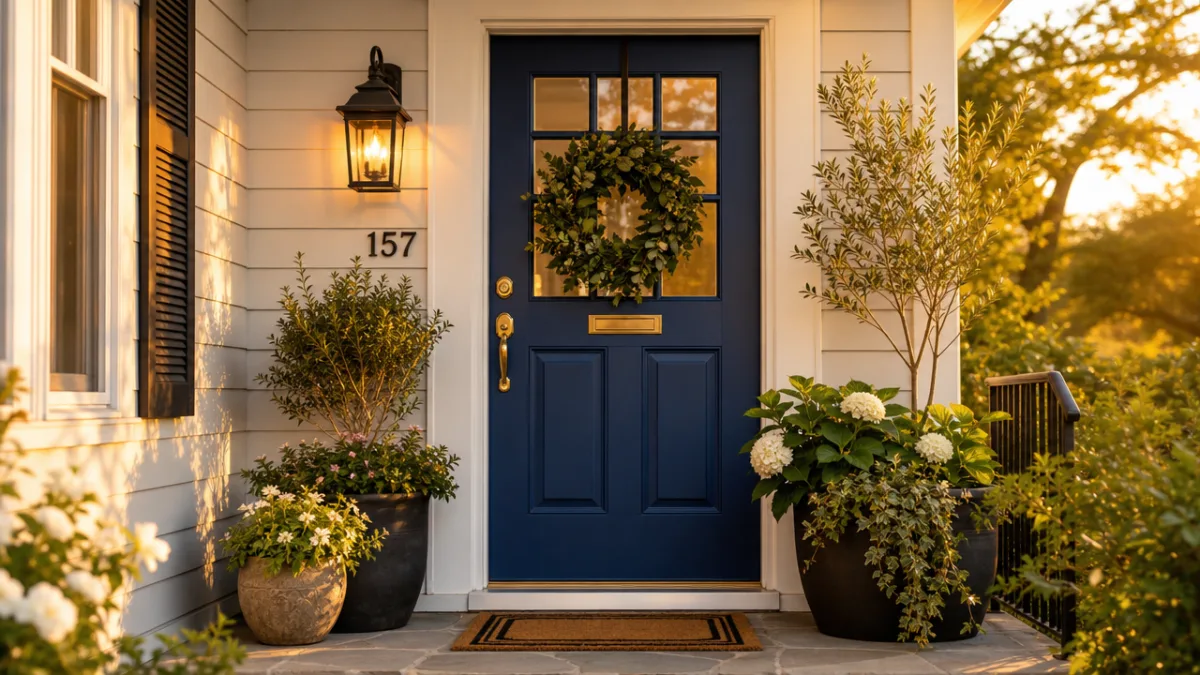
Plants and soft landscaping bring the whole picture together in a way that paint and hardware simply can’t replicate on their own. A pair of matching planters flanking your door — filled with seasonal blooms or something lush and evergreen — frames the entry and naturally draws the eye straight to your newly transformed door. A good doormat adds a welcoming layer right at the threshold: a natural jute style for a warm, organic feel, or a graphic geometric pattern for something more modern. These finishing details are what tell visitors that your home is cared for, thought through, and worth a second look.
Maintaining Your Door Makeover for Long-Lasting Results
All that work deserves to be protected, and the good news is that keeping a freshly painted door looking great is way easier than doing the makeover in the first place. Exterior doors take a beating every single day — UV exposure, rain, temperature swings, and constant physical contact all add up. Even the best exterior paint will start to show its age eventually without a little periodic attention, so it’s worth building some simple habits now.
Make a habit of cleaning your door every few weeks, especially if it gets a lot of direct sun or rain. A gentle wipe-down with mild soap and a soft cloth removes dirt, pollen, and grime before they have a chance to bond to the paint and cause staining. Pay special attention to the bottom edge and the area around the handle, where moisture and gunk tend to build up fastest. And if you spot a small chip or scratch starting to develop — particularly around the handle or along the bottom where the door meets the threshold — touch it up with leftover paint right away. Letting moisture sneak under the paint is how small problems become big ones.
Plan on giving your exterior door a fresh coat of paint every three to five years, or whenever the finish starts looking dull or chalky. Here’s the upside: because you did the hard prep work the first time, future repaints are much quicker. A light sanding, a wipe-down, and two fresh coats are usually all it takes to get it looking brand new again. And instead of dreading that maintenance, think of it as an opportunity — a chance to reassess your color choice or try something completely different. That’s one of the best things about a door makeover. It’s one of the most affordable, reversible home updates out there, and there’s something genuinely satisfying about knowing you can reinvent your whole entryway in a single weekend, whenever the mood strikes.
“`








What do you think?
It is nice to know your opinion. Leave a comment.