










How To Paint Old Furniture Without Sanding: The Complete Guide to a Flawless Finish
Why Skipping Sanding Is More Than Just a Shortcut
For as long as anyone can remember, the standard advice for refinishing furniture has been the same: sand it first, no exceptions. The thinking makes sense on paper — rough up the old finish so the new paint has something to grab onto. But if you’ve ever hauled a heavy dresser out to the garage, spent half a day breathing in dust, and then watched the paint peel off anyway a few months later, you start to wonder if sanding is really doing what everyone says it does. Spoiler: it’s not always the answer. There are modern products and techniques that can give you results just as durable — and honestly, often more beautiful — without ever picking up a piece of sandpaper.
Wanting to skip sanding isn’t laziness — it’s just practical thinking. A lot of older furniture has intricate carvings, spindles, or molding details that you simply cannot sand properly no matter how hard you try. Jamming a sanding block into tight crevices either chips away at the detail or misses it entirely, leaving a patchy surface that takes paint unevenly. And beyond the technical headaches, sanding kicks up fine dust that’s genuinely not great to breathe, especially if the piece was made before 1978 and might have lead-based paint on it.
The good news is that the paint and primer industry has come a long way. Chalk paint, mineral paint, and bonding primers are all specifically designed to stick to glossy, slick, and previously finished surfaces with no sanding required. Once you understand why they work and how to use them right, the difference between a flaking disaster and a gorgeous, long-lasting transformation becomes a lot clearer.
Gathering the Right Supplies Before You Begin
A good furniture painting project is won or lost before you ever open a can of paint. Getting the right materials together is honestly the most important decision you’ll make in the whole process. The wrong paint on an unprepped surface — even with perfect technique — almost always ends in peeling, chipping, or a finish that looks worse than what you started with. Good supplies are worth the investment.
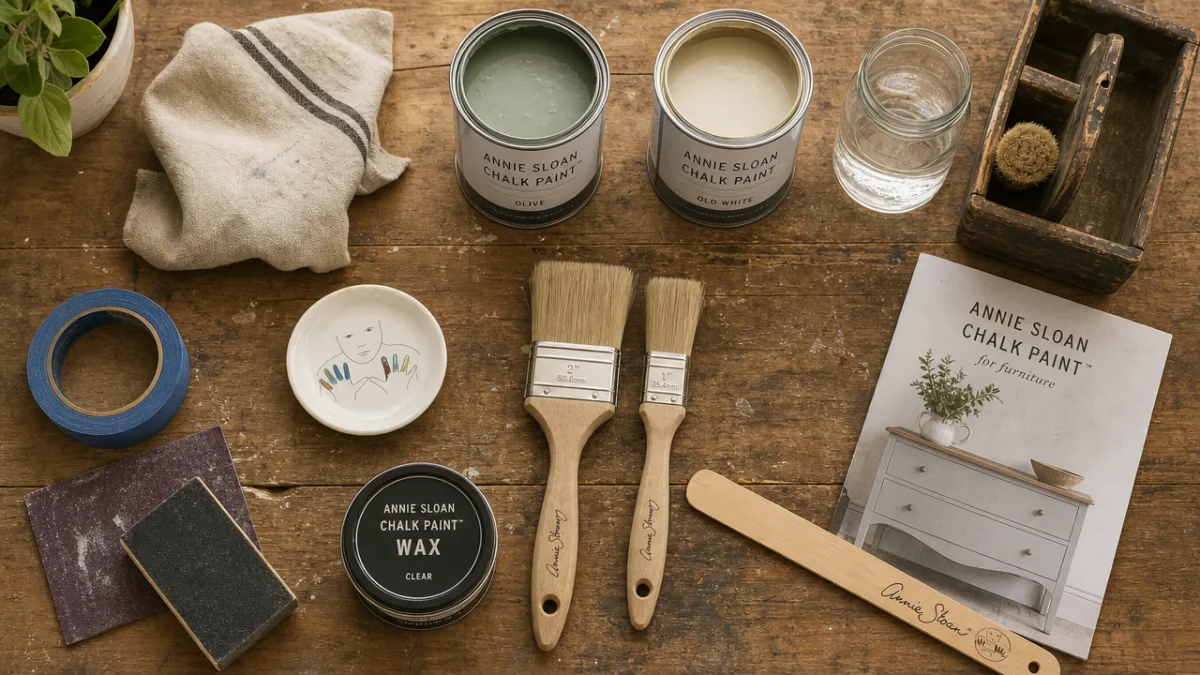
Here’s what you’ll want to have on hand: a quality degreaser or TSP substitute cleaner, a bonding primer or chalk paint for your base coat, your topcoat color, a few good synthetic brushes in different sizes, a small foam roller for flat sections, painter’s tape, drop cloths, and a clear sealer — either a polycrylic or a furniture wax. Every one of these has a specific job to do, and skimping on any of them can throw off the whole thing.
For the paint itself, you’ve got some great no-sand options to choose from. Chalk paint — made popular by brands like Annie Sloan — sticks to almost anything without primer and gives you a lovely matte finish. Mineral paint from companies like Fusion Mineral Paint has a self-leveling formula with a built-in topcoat, which is pretty handy. Milk paint leans into that authentically aged look and bonds well to both raw wood and previously painted surfaces. Each one has its own character, so the best pick really depends on the look you’re going for, what condition the piece is in, and how much everyday wear it’ll need to hold up to.
Cleaning and Preparing the Surface — The Real Secret to Adhesion
This is where no-sand projects either come together or fall apart, and it has nothing to do with the paint itself. When you take sanding out of the picture, cleaning becomes your main tool for getting the surface ready to hold paint. Old furniture collects layers of grease, wax, silicone polish, grime, and oxidized finish over the years — and all of it acts like a barrier between your paint and the wood underneath. It doesn’t matter how good your paint is; if those layers are still there, the paint won’t bond.
Start with a damp cloth to knock off any loose dust and surface debris, then follow up with a good wash using a TSP substitute or something like Krud Kutter diluted in warm water. Work it in with a scrub brush or coarse sponge, getting into any carved details, joints, and the spots around hardware mounting areas. You’re not just going for something that looks clean — you’re chemically cutting through the contaminating layers that would otherwise stop your paint from sticking. Rinse everything well and let the piece dry completely, ideally for a full 24 hours somewhere with decent airflow.
If the piece has been waxed or polished over the years, a standard degreaser might not cut it on its own. In that case, wipe it down with denatured alcohol or mineral spirits on a clean cloth to break through the wax layer. You’ll probably see the cloth coming away yellow or brown — that’s the wax lifting off, which is exactly what you want. Keep going until the cloth stays clean. Once it does, you know the surface is genuinely ready for the next step. Don’t rush this part. A properly cleaned surface is the foundation everything else is built on.
Applying Bonding Primer — Your Insurance Policy for a Lasting Finish
Even if you’re using chalk paint or mineral paint that says primer isn’t necessary, adding a coat of bonding primer first is one of those best practices that really pays off — especially on furniture that gets used every day. Bonding primers have specialized adhesion promoters in them that chemically grip slick surfaces: glossy lacquer, polyurethane, laminate, even some metals. They create a micro-textured surface at a molecular level that your topcoat can lock into, all without any sanding.
Good options to look for include Zinsser BIN Shellac-Based Primer, Zinsser Bulls Eye 1-2-3, or INSL-X Stix Waterborne Bonding Primer — all widely available at hardware stores and all formulated for tough, slick surfaces. Apply in thin, even coats with a quality synthetic brush or a small foam roller on larger flat areas. Thin coats are really important here. Thick applications take forever to dry, tend to drip, and can actually shrink and crack as they cure, which defeats the whole purpose.
Let the primer dry fully before you move on — usually at least an hour for water-based primers, though shellac-based ones like Zinsser BIN can be ready in about 45 minutes. Once it’s dry, lightly mist the surface with water and run your fingertips across it. It should feel a little chalky and matte, not slick. If any spot still feels slick, give it another thin coat before you continue. That small extra step is genuinely what separates a finish that lasts years from one that starts flaking before the season changes.

Painting Techniques That Maximize Coverage and Minimize Brush Strokes
Now for the part everyone’s been waiting for — the actual painting. And here’s the thing: technique matters a lot more than most people expect. The most common beginner mistake is loading on thick coats of paint to try to get full coverage in one shot. What actually happens is the outside dries while the inside is still wet, leading to wrinkling, cracking, and adhesion problems as everything cures. Every experienced painter will tell you the same thing: multiple thin coats, always.
On flat surfaces like tabletops, drawer fronts, and cabinet doors, a small foam roller is your best friend. It gives you an almost brush-stroke-free finish that comes surprisingly close to a sprayed look when done right. Load the roller lightly, roll off the excess on a tray liner, and apply with light overlapping passes going in one direction. Use a quality angled brush to cut in on edges, corners, and carved areas — do those before or after rolling, whichever feels more natural to you. Work in sections and keep a wet edge going so you don’t end up with lap marks where wet paint meets paint that’s already started to set.
For pieces with a lot of detail work — spindles, turned legs, decorative carvings — a good chip brush or a round artist’s brush will help you get paint into every nook. Paint the fiddly areas first, then move to the larger flat sections. That way you’re not smearing freshly painted details as your hand sweeps across them. Plan on two to three coats total, letting each one dry completely before adding the next. Once your final coat is dry, look at the piece in strong natural light or hold a raking light across it — that’ll show up any thin spots or uneven patches that could use one more quick pass before you seal.
Sealing and Protecting Your Finished Piece for Long-Term Durability
Painting is only half the job when it comes to refinishing furniture. The sealer you put over your painted surface is really what determines how well it holds up to real life — coffee mug rings, scratches, the daily friction of drawer pulls being grabbed dozens of times. Skipping this step, or reaching for the wrong product, is one of the main reasons beautifully painted furniture starts looking tired and beat up within a few months.
What sealer you choose comes down to the finish you want and how hard the piece will work. For things that take a beating daily — dining tables, kitchen chairs, bathroom vanities — a water-based polycrylic is a solid choice. It’s durable, comes in flat, satin, semi-gloss, and gloss sheens, and won’t yellow over light-colored paint the way oil-based polyurethane can. Apply it with a good synthetic brush in thin, smooth coats, working with the wood grain if it’s visible through your paint.
For chalk-painted or milk-painted pieces with a more vintage, casual feel, paste wax is the classic choice. Apply it with a lint-free cloth in small circular sections, let it haze for a few minutes, then buff it out with a clean cloth to a soft sheen. The result is a gorgeous, hand-rubbed look and feel — the downside is that it needs reapplication every year or two and isn’t great for surfaces that sit in standing water. Whatever sealer you go with, put on at least two coats. If you want to lightly scuff between coats with 320-grit sandpaper, this is actually the one moment in a no-sand project where a little sanding makes real sense — you’re smoothing the sealer itself, not the paint underneath.
Troubleshooting Common Problems and Achieving a Professional Result
Even when you do everything right, furniture painting projects can throw surprises at you. Knowing how to read what’s going wrong and fix it calmly — instead of panicking or just painting over it and hoping for the best — is really what separates someone with experience from someone on their first project. The most common headache is paint that won’t stick and starts peeling or lifting as it dries. That’s almost always a sign the surface wasn’t cleaned thoroughly enough, or that wax or silicone-based product didn’t get fully removed before you started. The fix: let it dry completely, strip the affected area back to bare substrate if you need to, and redo the cleaning process with something more aggressive.
Visible brush strokes in the dried finish are another frustration that comes up a lot. Usually that means the paint dried too fast — hot temperatures, low humidity, or both will do it. Adding a paint conditioner like Floetrol to water-based paints gives the paint more time to self-level before it sets, which helps a lot. Working in a cooler spot or lightly misting the workspace can also buy you a bit more open time. If you’ve already got coats down with visible brush strokes, let the paint cure for 48 hours, sand lightly with 400-grit, and come back with a foam roller for a much smoother result.
Bleed-through — that yellowish or pinkish discoloration that seeps up through your paint from the wood or old stain beneath — tends to show up most with mahogany, walnut, and some pine pieces. The fix is pretty simple: seal the surface with a shellac-based primer like Zinsser BIN before your color coat goes on. The shellac creates a barrier that stops those compounds from migrating up to the surface. This is especially worth doing when you’re painting anything a light color — white, cream, pale gray — where even subtle discoloration will jump out at you immediately.
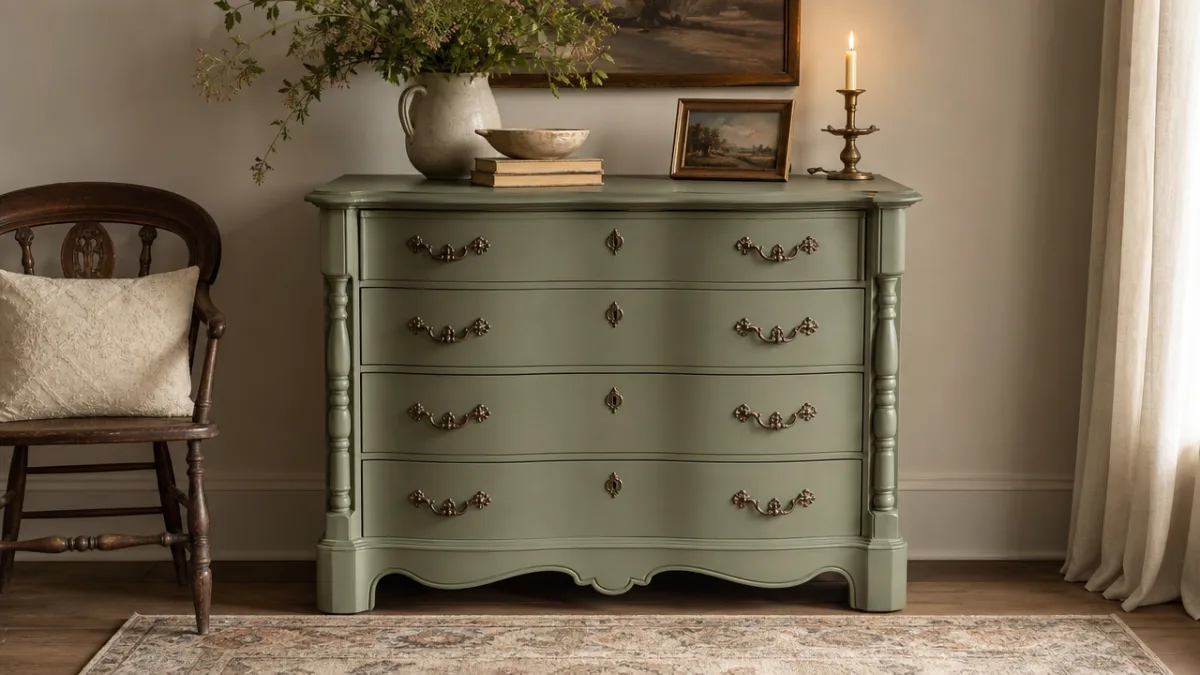
And honestly, the most powerful tool in your refinishing toolkit is just patience. Rushing dry times, skipping coats, or sealing before the paint has actually cured are all habits that lead to results you won’t be happy with. Most projects really benefit from a full 24 hours between painting and sealing, and the finished piece should rest for at least 48 to 72 hours before going back into regular use. For the first couple of weeks, treat it gently while the paint finishes hardening. That window of patience is what turns a decent paint job into something that genuinely looks professional and holds up for years.








What do you think?
It is nice to know your opinion. Leave a comment.