










DIY Milk Paint for Kids: Easy, Safe, and Fun for the Whole Family
What Is Milk Paint and Why Is It Perfect for Kids?
Milk paint has been around for thousands of years — we’re talking ancient cave paintings and colonial furniture kind of old — and honestly, it’s one of those things that was ahead of its time. Unlike the acrylic and oil-based paints you find at the craft store, milk paint is made from simple ingredients you probably already have in your kitchen. That’s what makes it such a great fit for families with young kids, especially the ones who treat every art session like an all-you-can-eat buffet.
The basic recipe comes down to just a handful of ingredients: milk (or powdered casein if you want to get a little more technical), an acid like vinegar or lemon juice to curdle it, and a natural pigment for color. Some recipes add a pinch of lime or chalk for better coverage and a smoother finish. The best part for parents? Every single ingredient is non-toxic, biodegradable, and safe for little hands — and yes, the occasional little mouth that wanders over for a taste.
On top of being safe, milk paint has this lovely matte finish that gives artwork a soft, slightly chalky look — almost like something out of a storybook. Kids love how easily it glides on with a brush or their fingers, and parents love that cleanup is just warm water and soap. It also dries pretty fast, which is a huge win when you’re working with kids who consider a painting finished the second the last brushstroke hits the paper.
Gathering Your Ingredients and Supplies
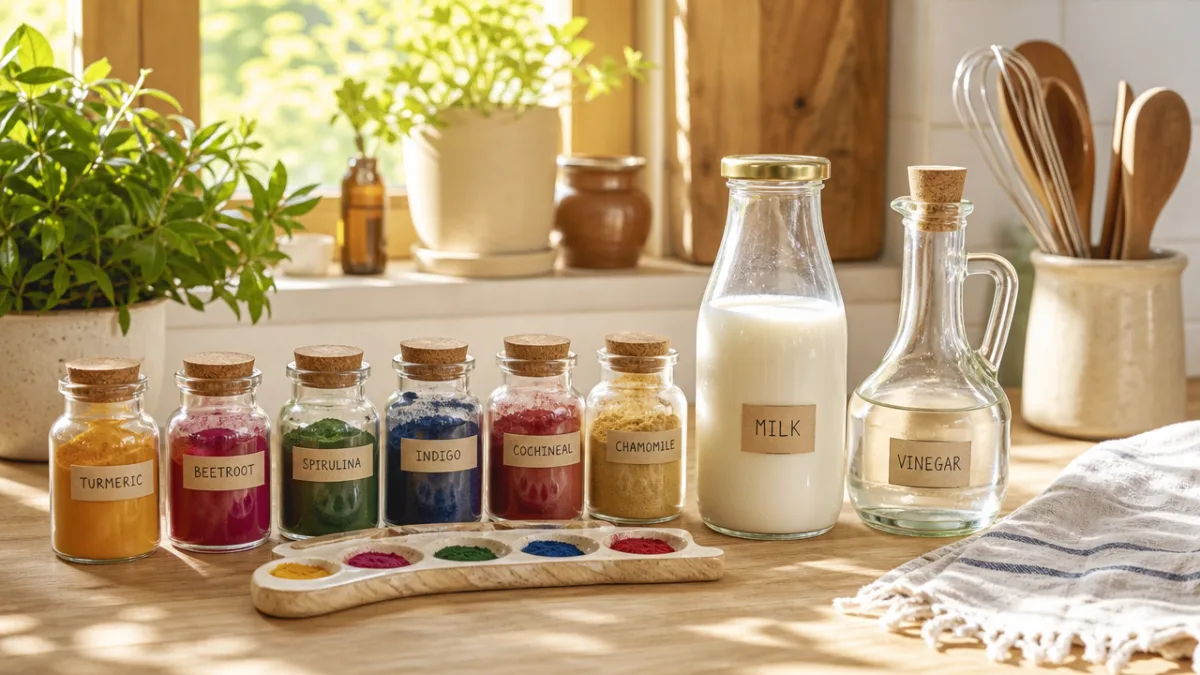
Getting everything together before you sit down with your little artists makes the whole thing go a lot more smoothly. The good news is the shopping list is tiny and cheap. You’ll need whole or skim milk (whole tends to give a creamier result), white distilled vinegar, and your natural pigments of choice. For color, turmeric gives you a warm yellow, beet juice goes pink to red, spinach or matcha makes green, blueberry juice lands somewhere in the blue-purple range, and cocoa powder or activated charcoal handles the darker shades.
The equipment side is just as simple — most of it is already in your kitchen. You’ll want a small saucepan for warming the milk, a fine mesh strainer or cheesecloth for separating the curds, a few small jars for mixing and holding your colors, and brushes in a couple of different sizes. If you want to level things up a bit, sponges, silicone molds, and even old toothbrushes open up a whole new world of techniques for the kids to play around with.
One thing people often forget — and then regret — is protecting the workspace and the kids’ clothes. Milk paint itself isn’t too bad, but natural pigments like turmeric and beet juice will absolutely find their way onto fabric and surfaces if you’re not careful. Lay down a plastic tablecloth or some old newspaper, get the kids into art smocks or clothes you don’t mind sacrificing, and keep a roll of paper towels and a bowl of warm soapy water close by. Catching spills fast makes a real difference.
Step-by-Step Instructions for Making Milk Paint
This is genuinely one of the easiest DIY projects you can do at home, even with a toddler circling your ankles. Start by pouring one cup of whole milk into a small saucepan and warming it gently over low to medium heat. You’re not trying to boil it — you just want it warm enough to react with the vinegar. Keep the heat low and stir slowly, because overheating the milk can mess with the texture and weaken how well the paint sticks to your surface.
Once the milk is warm, add one tablespoon of white distilled vinegar and stir gently. Almost right away, you’ll see the milk start to curdle — it’ll separate into white lumpy solids (the curds) and a thin yellowish liquid (the whey). That’s exactly what you want. The curds contain the casein protein that holds the paint together and makes it stick. Keep stirring for about a minute or two until the separation looks clear and obvious, then take the pan off the heat and let it cool for a few minutes.
Pour the cooled mixture through your strainer or cheesecloth into a bowl to separate out the curds, pressing them gently to get rid of as much liquid as possible. Then scoop the curds into a clean jar or bowl — that’s your paint base. Now comes the fun part. Add your natural pigment a little at a time, stirring well between each addition until you hit the color intensity you’re going for. If the paint feels too thick to brush on easily, just add water a teaspoon at a time until it flows nicely.
Here’s a quick summary to keep handy while you’re crafting with the kids:
- Warm one cup of milk over low heat until it just starts to steam — don’t let it boil.
- Add one tablespoon of white vinegar and stir slowly for one to two minutes until the curds form.
- Take it off the heat and let it cool for about five minutes.
- Strain through cheesecloth, pressing the curds to squeeze out as much liquid as you can.
- Transfer the curds to a clean jar and stir in your natural pigments a little at a time.
- Add small amounts of water as needed until the paint brushes on smoothly.
- Use it right away or seal it up and pop it in the fridge — it’ll keep for up to three days.
Fun Projects and Creative Ideas to Try with Milk Paint
Once you’ve got your little jars of color lined up and ready to go, the options are pretty much endless. One of the easiest starting points is just letting kids paint freely on watercolor paper or cardstock using brushes, sponges, or their hands. Milk paint works really well on porous surfaces — the paint soaks in just enough to give finished pieces that soft, chalky look that makes even a preschooler’s abstract masterpiece look genuinely charming.
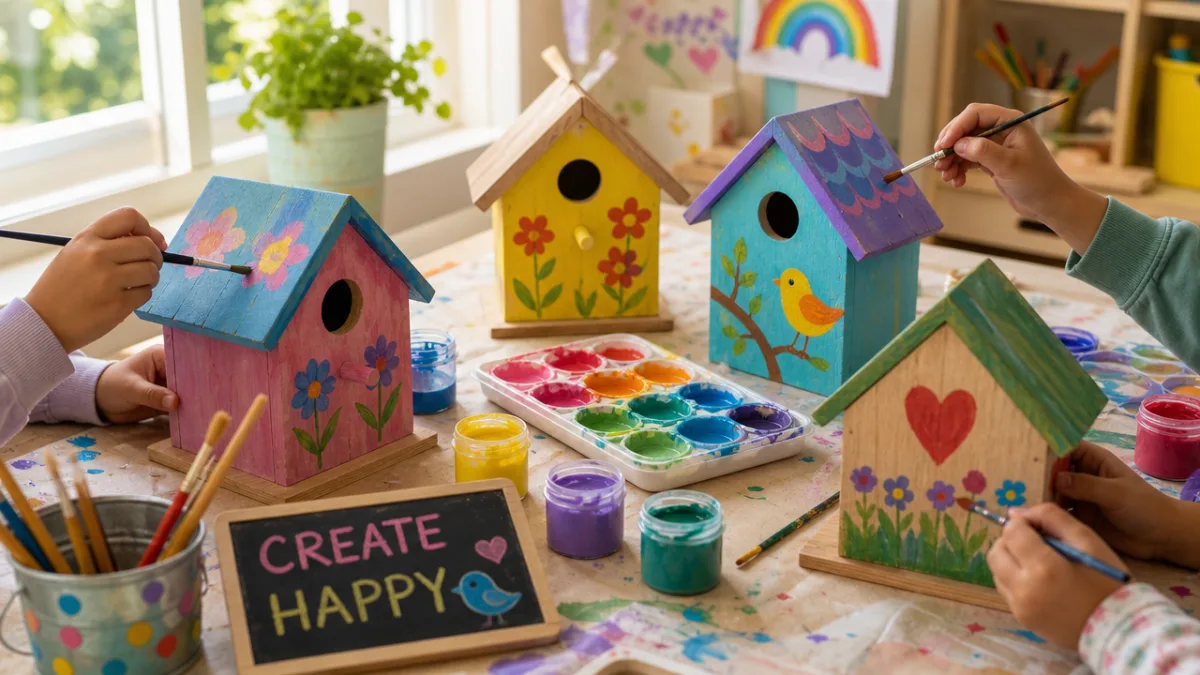
Wood projects are another great direction to explore, especially for older kids who enjoy working toward something they can actually keep and use. Small wooden pieces from the craft store — birdhouses, picture frames, plant pots, letter cutouts — all take milk paint beautifully, and the results honestly look pretty polished. No primer needed on raw wood, and once dry, pieces can be lightly sanded for a worn, distressed look or sealed with beeswax or a child-safe finish to make them more durable.
For the younger crowd who are really in it for the sensory experience, consider setting up a full painting station with big sheets of butcher paper on the floor and colors in wide shallow dishes. Let toddlers and preschoolers go wild with their hands, feet, or whatever they can find — forks, crumpled paper, leaves, celery stalks. Since the paint is completely non-toxic, you can actually relax and enjoy watching them explore without hovering anxiously every time a painted hand moves toward a face.
A few project ideas to spark some inspiration for your next session:
- Nature stamps: Press leaves, flowers, or cut vegetables like celery and bell pepper into the paint and stamp them onto paper for beautiful organic prints.
- Rock painting: Use milk paint on smooth stones collected from the garden to create decorative garden markers or painted pet rocks.
- Fabric painting: Apply milk paint to natural fabric like cotton for wearable art, though note it may fade after washing.
- Cardboard castles: Paint large cardboard boxes to build imaginative playhouses, castles, or spaceships that are fully safe for little hands.
- Seasonal art projects: Use seasonal pigments and shapes to create holiday cards, wrapping paper, or decorations throughout the year.
Safety Tips and Important Precautions for Parents
Milk paint is about as safe as it gets compared to any commercial paint you’d find on a shelf, but there are still a couple of things worth knowing before you dive in. The biggest one: if your child has a dairy allergy or sensitivity to milk protein, this recipe isn’t right for them. Casein — the protein that makes the whole thing work — is the same protein that triggers dairy allergies, and skin contact or accidentally swallowing some could cause a reaction. In that case, look into plant-based versions using oat milk or almond milk with flour or cornstarch as a binder instead.
Something else to keep in mind is that homemade milk paint doesn’t last long. Without any preservatives, it’ll start to go off within a few days even in the fridge. Before each use, give it a sniff — if it smells more sour than just the mild tang of vinegar, or if there’s any mold showing up, toss it and make a fresh batch. Honestly, making a small amount for each session is the way to go anyway. Kids love the ritual of making their paint fresh every time, and it eliminates the guesswork around whether last week’s batch is still good.
When it comes to the natural pigments, most are completely harmless but some can temporarily stain skin, especially lighter tones. Turmeric is the main culprit — it can leave a yellow tinge that might hang around for a day or two. It’s harmless, but it’s the kind of thing worth mentioning to kids and other family members beforehand so no one panics when bath time reveals a slightly yellow toddler. If your child has particularly sensitive skin, a quick patch test on the inside of the wrist before a full session is a smart move, especially with pigments from citrus or spicy plants.
The Educational and Developmental Benefits of Milk Paint Activities
Making milk paint with kids isn’t just a way to fill a rainy afternoon — there’s a surprising amount of real learning packed into the process. When children watch milk curdle after you add vinegar, they’re actually seeing a chemical reaction happen right in front of them. The acid from the vinegar disrupts the milk’s protein structure, causing it to clump up in a way that’s easy to observe and hard to forget. It’s a natural jumping-off point for conversations about chemistry, cooking science, and the way everyday ingredients can behave in unexpected ways.
From a developmental angle, painting itself gives kids a chance to express themselves in ways that don’t always come easily through words. Art therapists have recognized this for a long time — open-ended creative play helps children work through emotions, build confidence, and develop a sense of pride in what they make. Milk paint is particularly good in this regard because its forgiving matte finish doesn’t look “wrong” the way shinier paints can. Kids who are a little hesitant or perfectionistic tend to loosen up with it, which is lovely to watch.
There’s also a real environmental lesson built into the whole thing. When you choose to make paint from kitchen staples instead of buying plastic-packaged commercial versions, you’re making a tangible choice that kids can understand and feel good about. Talking about that at an age-appropriate level — why you’re making your own, what you’re avoiding, what that means for the planet — plants seeds that tend to stick as kids grow up. It turns a fun craft session into something with a little more meaning behind it.
Some of the other developmental skills kids build along the way include:
- Fine motor development: Stirring, straining, pouring, and brush control all build the small muscle strength essential for writing and other precision tasks.
- Color theory fundamentals: Mixing pigments together introduces children to primary and secondary colors in a tangible, memorable way.
- Following multi-step instructions: The recipe requires children to follow a sequence, building executive function and attention skills.
- Patience and delayed gratification: Waiting for the milk to warm, for curds to form, and for painted projects to dry all encourage children to practice patience.
- Scientific observation: Watching and describing the changes that occur during the paint-making process builds habits of careful, attentive observation central to scientific thinking.
Storing, Preserving, and Displaying Finished Milk Paint Artwork
One of the nicest surprises about milk paint is how well the finished pieces hold up. Once fully dry — usually somewhere between one and three hours depending on how thickly it was applied and how humid your space is — the paint forms a hard, durable surface that bonds well to paper and raw wood. On paper especially, it won’t crack or peel the way some water-based paints do over time, and the colors keep a nice depth to them that makes kids’ artwork genuinely display-worthy.
For anything painted on wood, adding a finish coat makes a big difference in how long the piece lasts. A light application of raw linseed oil, beeswax, or a child-safe water-based sealant — rubbed in gently with a soft cloth — protects against moisture and wear while actually making the colors look richer. This is also a lovely step to do together with older kids, because it shifts the focus from just making something to taking care of what they’ve made. That’s a nice lesson in its own right.
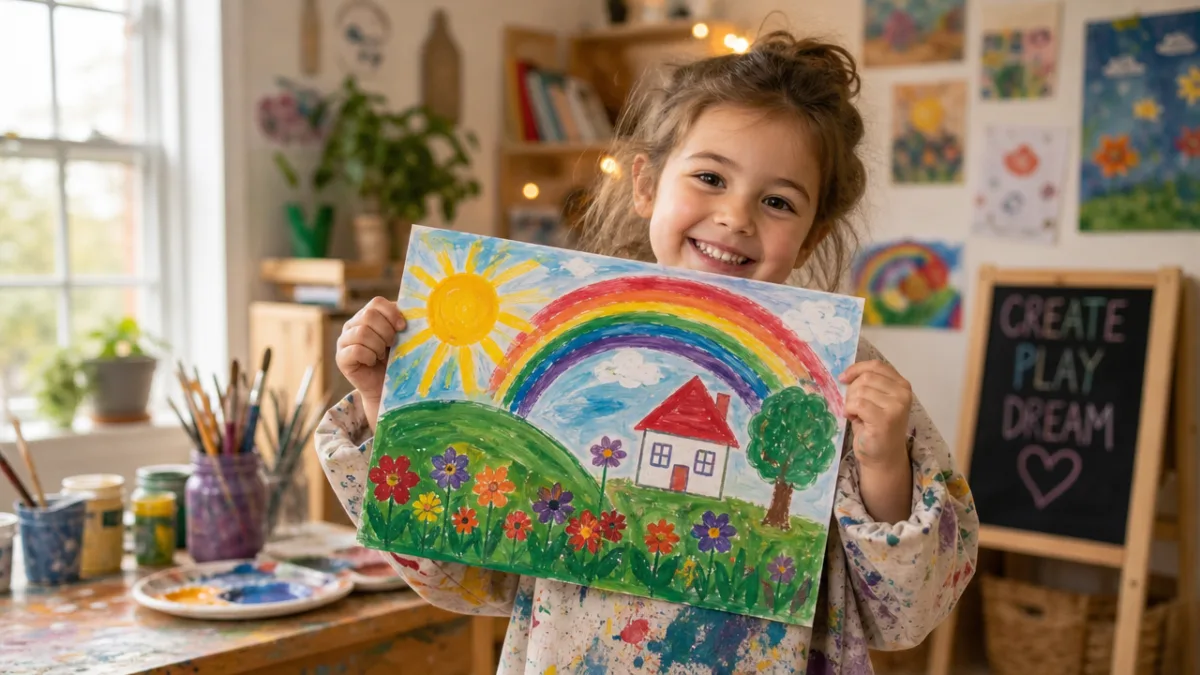
Displaying the finished work at home is one of the best ways to show kids that what they made really matters. A simple rotating gallery wall in the playroom or kitchen, clip frames, a washi tape arrangement, or even a little clothesline strung with clips can turn a stack of paintings into something that feels like a real exhibition. And before pieces eventually get retired, photographing them creates a growing digital archive that kids genuinely love looking back through as they get older — seeing how much their style has changed from one year to the next is something they tend to be quietly proud of.








What do you think?
It is nice to know your opinion. Leave a comment.