










DIY Spray Paint Hacks: Transform Your Home Decor on a Budget
Why Spray Paint Is the Ultimate DIY Secret Weapon
If you’ve ever stood in front of a beat-up piece of furniture wondering whether to toss it or fix it, spray paint might be exactly what you’ve been missing. It’s fast, it’s forgiving, and it delivers a smooth, even finish that would take way longer with a brush. Whether you’re tackling a tired old chair, an outdated light fixture, or some random decorative piece that’s lost its charm, a can of spray paint can genuinely turn things around — and I mean that in the best possible way.
What’s really impressive is how far spray paint formulas have come. You can now find options made specifically for metal, wood, plastic, fabric, glass, ceramic — you name it. A lot of them come with primer already built in, plus UV protection and rust resistance, so one can is doing the job of three. That’s a big deal if you’re trying to keep your project simple and affordable. The barrier to getting a great-looking result at home has never been lower.
And then there’s the speed factor, which honestly shouldn’t be underestimated. A furniture piece that would eat up hours of careful brush work can look completely transformed in under thirty minutes with spray paint. When you factor in that a quality can typically runs between four and twelve dollars, it’s hard to think of a better return on your time and money in the whole world of home improvement. It’s the kind of hack that once you try it, you start eyeing everything in your house as a potential project.
Essential Preparation Steps Before You Spray
Here’s the honest truth: no spray paint project goes well without prep. It’s the step people are most tempted to skip, and it’s almost always the reason things go wrong. Peeling, bubbling, uneven coverage — these aren’t spray paint problems, they’re prep problems. I know it can feel tedious when you just want to get to the fun part, but prep is genuinely half the battle. Experienced DIYers will tell you the same thing every time.
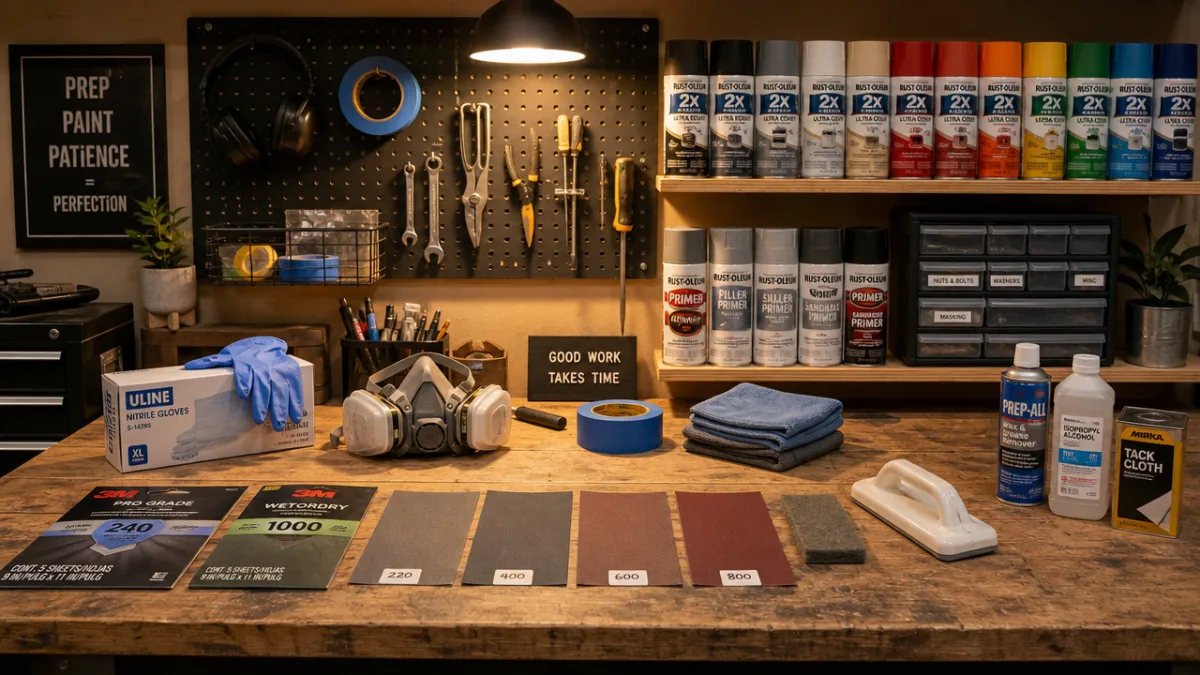
Cleaning comes first, and it’s non-negotiable. Even surfaces that look perfectly clean can have invisible grease, oils, or dust that prevent paint from sticking properly. For metal and plastic, wipe everything down with a degreaser or rubbing alcohol. For wood, a light pass with fine-grit sandpaper — around 220-grit — opens up the grain and gives the paint something to hold onto. If you’re painting over an existing glossy finish, scuff it up a bit so the new paint can grip. Then rinse off any residue and let it dry completely before you even shake the can.
Priming is where a lot of people draw the line, but it really does make a difference. A good primer seals the surface, blocks stains or dark colors from bleeding through, and gives your topcoat an even base to work with. For metal, go with a rust-inhibiting primer. For plastic, find one that’s specifically made to bond with smooth, non-porous surfaces — regular primers just won’t cut it. Paint-and-primer combos work fine for lighter color changes on already-primed surfaces, but if you’re making a dramatic switch or working with a tricky material, a separate primer coat is always going to give you a cleaner result.
- Clean surfaces with degreaser or rubbing alcohol to remove oils and grime
- Sand glossy surfaces lightly with 220-grit sandpaper for better adhesion
- Apply a dedicated primer when switching to dramatically different colors
- Allow full drying time between each coat — never rush this step
- Use painter’s tape and drop cloths to protect surrounding areas
The Best Spray Paint Hacks for Furniture Makeovers
Furniture is where spray paint really gets to show off. A wooden chair that looks like it belongs at a yard sale, a scratched-up metal side table, a faded plastic outdoor bench — all of them can be completely reinvented with a few well-chosen cans. The main thing is matching your formula to the material and how the piece will be used. For indoor wood furniture, a chalk-style paint in a satin or semi-gloss finish gives you that velvety, slightly luxurious look that photographs beautifully. For anything going outside, stick with something explicitly labeled weather-resistant or exterior-grade.
One hack that surprises a lot of people: you can absolutely spray paint laminate. Those flat-pack pieces that look identical in half the homes on your street? With a shellac-based primer underneath, laminate actually takes spray paint really well. That basic bookshelf or builder-grade nightstand can start looking like something custom and intentional. Swap out the hardware afterward and you’ve got a piece that looks like it could cost a hundred dollars, for well under twenty. It’s one of those transformations that feels almost too easy once you’ve done it.
And don’t overlook upholstered pieces either. Fabric-specific spray paint can genuinely refresh a faded or stained chair by actually penetrating the fibers rather than just coating the surface. It works best on natural fabrics like cotton and linen — synthetics don’t respond as well. Use multiple light coats rather than one heavy pass, and yes, the fabric will feel a little stiffer when it’s done, but the color change can be dramatic. Add some new throw pillows in colors that complement the new tone and the whole chair feels like a different piece of furniture entirely.
Spray Paint Hacks for Home Accessories and Décor
Furniture gets most of the attention, but spray paint is just as powerful on the smaller stuff — vases, picture frames, candleholders, ceramic figurines, even faux floral arrangements. Thrift stores and dollar stores are honestly fantastic hunting grounds for this, because you’re not looking for something that looks good as-is. You’re looking for something with an interesting shape. Once you train yourself to evaluate form instead of color or finish, a whole new world of possibilities opens up.
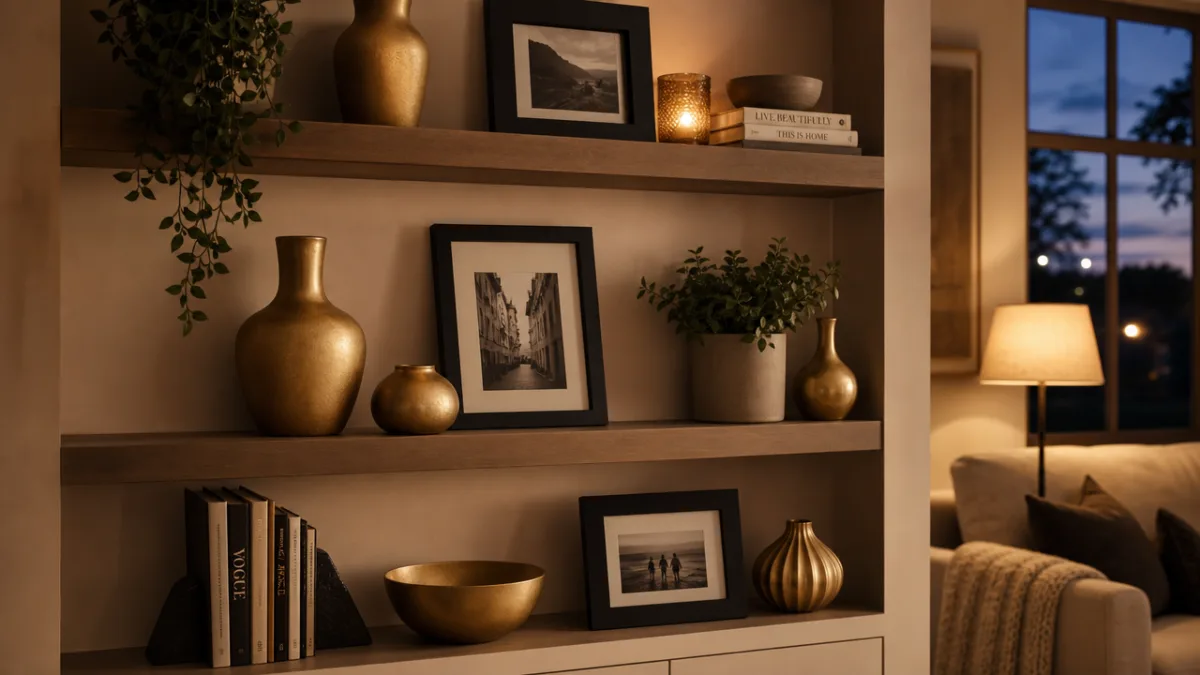
Metallic spray paints deserve their own moment here. A can of gold, bronze, silver, or copper can take a thrift store find and make it look genuinely expensive. Plain ceramic pots become accent pieces. Plastic frames suddenly look like brushed metal. A basic wooden tray picks up this luxurious sheen that makes it look like something you’d find in a boutique. The key with metallics is restraint — two or three very thin coats rather than one heavy one. That’s what lets the metallic particles align the way they need to for real depth and reflectivity. Rush it, and you get drips and a flat look.
Light fixtures are one of the most underrated spray paint opportunities in the whole house. Builder-grade brass fixtures have had a complicated run — in style, out of style, back in again — but either way, you don’t have to spend hundreds replacing them. A can of matte black, oil-rubbed bronze, or brushed nickel spray paint made for metals can completely change the personality of a room. Turn off the power, take the fixture down, tape off the glass and any electrical parts, and apply thin even coats. It’s an afternoon project that can make a room feel like a whole different space.
- Thrift store vases and decorative objects — evaluate shape, not color
- Picture frames — from plastic to metallic gold in under an hour
- Light fixtures — a dramatic room change for under fifteen dollars
- Door hardware — knobs and hinges refreshed without replacement
- Faux plants and florals — update color to match current décor seasons
Mastering Spray Paint Technique for Flawless Results
The gap between a spray paint job that looks professional and one that looks rough almost always comes down to technique, not materials. The most common mistake is putting on too much paint at once. Those drips and runs you see on beginner projects? That’s what happens. The rule that every experienced spray painter lives by is simple: multiple thin coats always beat one thick coat. After your first pass, you should still be able to see the surface underneath, and that’s completely fine. You’re building up color gradually, and that’s exactly right.
Distance and movement are the two things you can control that will have the biggest impact on your results. Keep the can eight to twelve inches from the surface — get too close and you’re dumping too much paint in one spot, go too far and the paint partially dries before it lands, leaving a rough, almost sandy texture. Move your arm in long, smooth sweeps that extend past the edges of your piece on both sides. Start the spray before you reach the object and keep going after you’ve passed it. That prevents the heavy buildup you get when you start or stop directly on the surface.
Temperature and humidity matter more than most people realize. Spray paint works best somewhere between 50 and 90 degrees Fahrenheit, in low humidity. Paint that dries too slowly — which happens in humid conditions — can sag or develop that bumpy “orange peel” texture. Cold weather makes the paint thick and hard to atomize properly. The sweet spot is a dry, mild day with a bit of airflow — enough to move fumes away from you, but not so windy that dust lands in your wet paint or blows the spray off course. When conditions are right, everything just goes more smoothly.
Safety, Ventilation, and Responsible Spray Painting
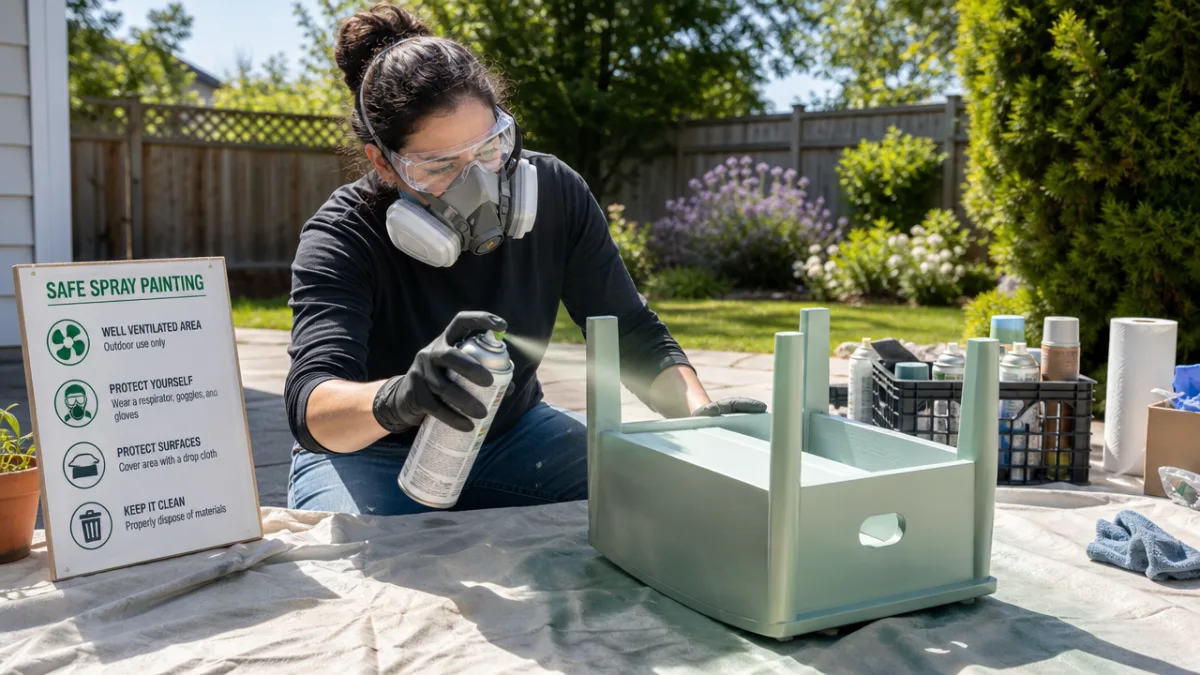
Spray paint contains volatile organic compounds and propellant chemicals that are genuinely harmful when you breathe them in too much. This isn’t being overly cautious — it’s just being sensible about it. Always work somewhere well-ventilated, ideally outside or in a garage with the door fully open. If you have to work indoors, open as many windows as possible and use a fan to push fumes outward rather than letting them linger around you. A basic dust mask isn’t enough here — you want a respirator rated for organic vapors, which actually filters out the chemical compounds rather than just visible particles.
Eye protection matters too, and it’s easy to forget about. Aerosol overspray has a way of drifting even when you think you’re aiming away from your face. Safety glasses with side shields are perfectly adequate and only cost a few dollars at any hardware store. Gloves are worth putting on as well — less because of the cosmetic annoyance of getting paint on your hands, and more because repeated skin contact with paint solvents can cause irritation over time. Nitrile gloves are cheap, disposable, and make cleanup dramatically easier, so there’s really no reason to skip them.
And then there’s disposal, which the DIY community honestly doesn’t talk about enough. Empty cans can usually be recycled as metal once they’re fully depressurized, but partially full cans should never go in the regular trash or get poured down a drain — the chemicals inside are classified as hazardous waste. Most areas have periodic collection events where you can drop off leftover paint and similar products safely. In the meantime, store any partial cans somewhere cool and dry, well away from heat sources. The propellant in aerosol cans is highly flammable, so this isn’t a minor consideration. A little thought about storage and disposal goes a long way.
Inspiring Spray Paint Projects to Try This Weekend
If you want a low-pressure first project, a gallery wall refresh is a great place to start. Gather up mismatched frames from around your home — or pick up a few at a thrift store for next to nothing — and paint them all the same color. Matte black is the classic choice because it works with nearly every interior style, from modern farmhouse to minimalist. What was once a collection of random frames suddenly looks intentional and cohesive. You don’t need any artistic ability for this one. It’s really just patience and a steady hand.
Another satisfying weekend project is updating your kitchen or bathroom cabinet hardware. Individually, a drawer pull doesn’t look like much. But collectively, all that hardware has a huge influence on how a space feels. Pull them off, clean them well, and apply a couple of coats of an updated metallic finish. The kitchen can look noticeably more current without touching the cabinets themselves. Pair it with a new faucet or fresh caulk around the sink and you’ve got a refresh that costs under fifty dollars but reads like something much bigger. It’s one of those small changes with an outsized impact.
If you’re feeling ready to try something more adventurous, an ombre effect on a furniture piece is a genuinely fun challenge. The basic idea is applying one color at the bottom, overlapping it upward with a second color in the middle zone, and finishing at the top with the second color alone. It takes some patience and a willingness to experiment, but the results can be really striking — and since no two ombre pieces ever come out quite the same, you end up with something that’s truly one of a kind. Start with colors that are close to each other on the color wheel rather than stark contrasts, and you’ll have a much easier time getting a result you love on your first try.








What do you think?
It is nice to know your opinion. Leave a comment.