










DIY Decorated Sneakers: The Ultimate Guide to Transforming Your Kicks Into Wearable Art
There is something deeply satisfying about wearing a pair of shoes that nobody else in the world owns. In an era of mass production and fast fashion, decorated sneakers represent a remarkable intersection of self-expression, creativity, and craftsmanship. Whether you are a seasoned artist looking for a new canvas or a complete beginner hoping to breathe new life into an old pair of shoes, the world of DIY sneaker decoration offers something for everyone. The process is more accessible than most people imagine, and the results can be genuinely stunning.
The culture of customizing sneakers has deep roots in street art, hip-hop, and skateboarding communities, where individuality and personal style have always been prized above conformity. What began as a niche hobby practiced by a dedicated few has exploded into a global creative movement, fueled in part by social media platforms like Pinterest and Instagram. Today, custom sneaker artists command impressive prices for their work, and even casual hobbyists find that a well-decorated pair of sneakers draws admiring attention wherever they go. The skills involved are learnable, the materials are affordable, and the creative possibilities are genuinely limitless.
This guide will walk you through everything you need to know to start decorating your own sneakers at home. From choosing the right pair of shoes to work with, through selecting your materials and techniques, all the way to finishing and protecting your completed design, every step of the process will be covered in practical, approachable detail. By the time you reach the end, you will have all the knowledge you need to sit down at your workspace and create something truly your own.
Choosing the Right Sneakers as Your Canvas
Not every sneaker is created equal when it comes to serving as a decorative canvas, and making the right choice at the outset will save you significant frustration down the line. Canvas sneakers, such as classic low-top or high-top styles made from cotton canvas fabric, are by far the most beginner-friendly option. The fabric absorbs paint and ink readily, allows for clean line work, and takes to virtually every decorative medium. Brands that produce simple, unadorned canvas styles are ideal starting points because they offer a clean white or neutral surface without distracting existing patterns or textures.
Leather and synthetic leather sneakers present a different but equally rewarding challenge. These materials require specific types of paint formulated to bond with non-porous surfaces, and they demand a preparation step involving alcohol or acetone to remove any factory finish that might prevent adhesion. However, once properly prepared, leather sneakers accept paint beautifully and the finished designs often appear more polished and professional than those on canvas. The smooth surface also lends itself particularly well to fine detail work and intricate patterns that might bleed or blur on more textured fabrics.
When sourcing your base sneaker, consider both your budget and your attachment to the shoes themselves. Many decorators recommend starting with an inexpensive pair purchased specifically for the project, rather than risking a beloved or expensive shoe while you are still learning. Thrift stores and discount retailers often carry plain white canvas styles at very low prices, making them perfect for experimentation. As your confidence and skills grow, you can graduate to decorating more valued pairs, or even take on commissioned custom work for friends and family who want unique footwear of their own.
Essential Materials and Tools for Sneaker Decoration
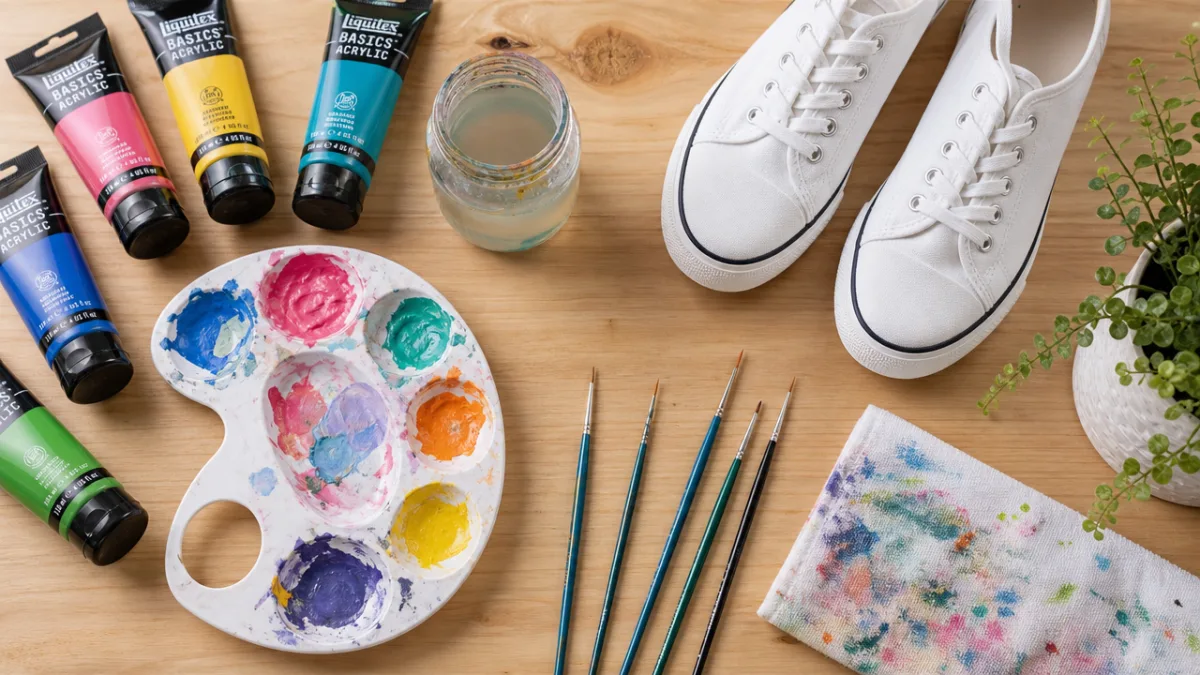
Building a solid toolkit before you begin will make the entire decoration process smoother and more enjoyable. The cornerstone of most sneaker decoration projects is acrylic paint, specifically formulations designed for use on fabric or leather. Standard artist acrylic paint can work on canvas sneakers, but leather-specific acrylic paints offer superior flexibility and durability on smooth surfaces. These paints dry to a finish that moves with the material rather than cracking when the shoe flexes, which is essential for footwear that will actually be worn regularly. Brands specializing in leather and fabric paint are widely available at craft stores and online retailers.
Beyond paint, a well-equipped sneaker decorator should have a selection of fine-tipped brushes in various sizes, painter’s tape for masking clean edges, isopropyl alcohol or acetone for surface preparation, and a pencil or chalk pen for sketching designs before committing to paint. Fabric markers and paint pens offer an alternative to traditional brush painting that many beginners find easier to control, particularly for lettering or very fine line work. Iron-on patches, fabric glue, rhinestones, studs, and embroidery floss open up even more decorative possibilities for those who want to explore mixed-media approaches.
A finishing sealant is one of the most important and sometimes overlooked tools in the sneaker decorator’s arsenal. Once your design is complete and fully dry, applying a clear acrylic finisher or specialized sneaker sealant protects your artwork from scuffs, moisture, and the general wear that comes from everyday use. Finishers are available in matte, satin, and glossy formulations, allowing you to choose a surface quality that complements your design aesthetic. Applying two or three thin coats of sealant, allowing each to dry fully before the next, will give your decorated sneakers the durability they need to last for years rather than weeks.
Design Planning and Preparation Techniques
The difference between a decorated sneaker that looks professionally crafted and one that appears haphazard almost always comes down to the planning stage. Before applying a single drop of paint to your shoes, spend meaningful time developing and refining your design concept. Sketch your ideas on paper first, working out color relationships, the placement of different elements, and how the design will wrap around the three-dimensional form of the shoe. Consider how the design will look from multiple angles, since a sneaker is seen from the side, front, top, and back during the course of normal wear.
Reference imagery is an invaluable planning tool. Collect images that inspire your design, whether they are photographs of nature, architectural patterns, illustrations from your favorite books, or abstract color combinations that appeal to you. Having these references in front of you as you work keeps your design cohesive and gives you something concrete to aim for when making color-mixing decisions. Many decorators find it helpful to trace the outline of their shoe on paper and then sketch the intended design within that outline, giving a reasonably accurate preview of the finished result before any permanent marks are made.
Surface preparation is the crucial final step before painting begins. For canvas shoes, remove the laces and stuff the interior firmly with newspaper or plastic bags to create a smooth, stable working surface. Wipe the exterior clean with a damp cloth and allow it to dry completely. For leather or synthetic shoes, the preparation is more intensive: clean the surface thoroughly, then apply isopropyl alcohol with a cotton ball to remove the factory finish, working in small sections and allowing the surface to dry between passes. This step is non-negotiable for leather work because paint applied to an unprepared leather surface will peel and flake within days of use.
Popular Decoration Techniques and Styles
The sheer variety of decorative approaches available to the sneaker customizer is one of the most exciting aspects of the hobby. Freehand painting is perhaps the most immediately recognizable technique, involving the direct application of acrylic paint to the shoe surface using brushes of various sizes. This approach rewards patience and a steady hand, building up color in thin, even layers rather than attempting to achieve full coverage in a single application. Layering allows for subtle shading, gradients, and depth that give painted designs a luminous, almost three-dimensional quality that flat, single-coat painting cannot achieve.
Stenciling offers a more structured approach that is particularly well-suited to geometric patterns, repeating motifs, and designs that require precise, consistent shapes. Stencils can be purchased pre-made in countless designs or cut from adhesive vinyl, cardstock, or acetate sheets using a craft knife or electronic cutting machine. The technique involves securing the stencil firmly against the shoe surface, then applying paint with a stippling motion using a stiff-bristled brush or a sponge applicator. Multiple stencils can be combined within a single design, and stenciling can be layered over freehand elements to add structure and precision to more organic compositions.
Tie-dye and dip-dye techniques have enjoyed a significant resurgence in popularity and translate beautifully to canvas sneakers. The classic tie-dye process involves folding, twisting, or bunching the canvas fabric and securing it with rubber bands before applying fiber-reactive dyes, resulting in the characteristic swirling, organic patterns that have become iconic. Dip-dyeing produces elegant ombre gradients by partially submerging the shoe in diluted dye and gradually withdrawing it to create a smooth color transition. Both techniques work best on natural cotton canvas and require the use of appropriate fiber-reactive dyes and fixatives rather than standard acrylic paint.
- Freehand painting — Ideal for portraits, landscapes, and illustrative designs; requires patience and layered application for best results.
- Stenciling — Perfect for geometric patterns and repeating motifs; produces clean, precise edges and consistent shapes.
- Tie-dye and dip-dye — Best suited to canvas; creates organic, flowing patterns and colorful ombre gradients.
- Fabric markers and paint pens — Excellent for detailed line work, fine lettering, and adding small accent details to larger painted designs.
- Embroidery and textile embellishment — Adds texture and dimensionality; works beautifully on canvas and creates a handcrafted aesthetic.
- Mixed media collage — Combines paint, printed imagery, fabric scraps, and found materials for a layered, eclectic result.
Step-by-Step Process for a Classic Hand-Painted Design
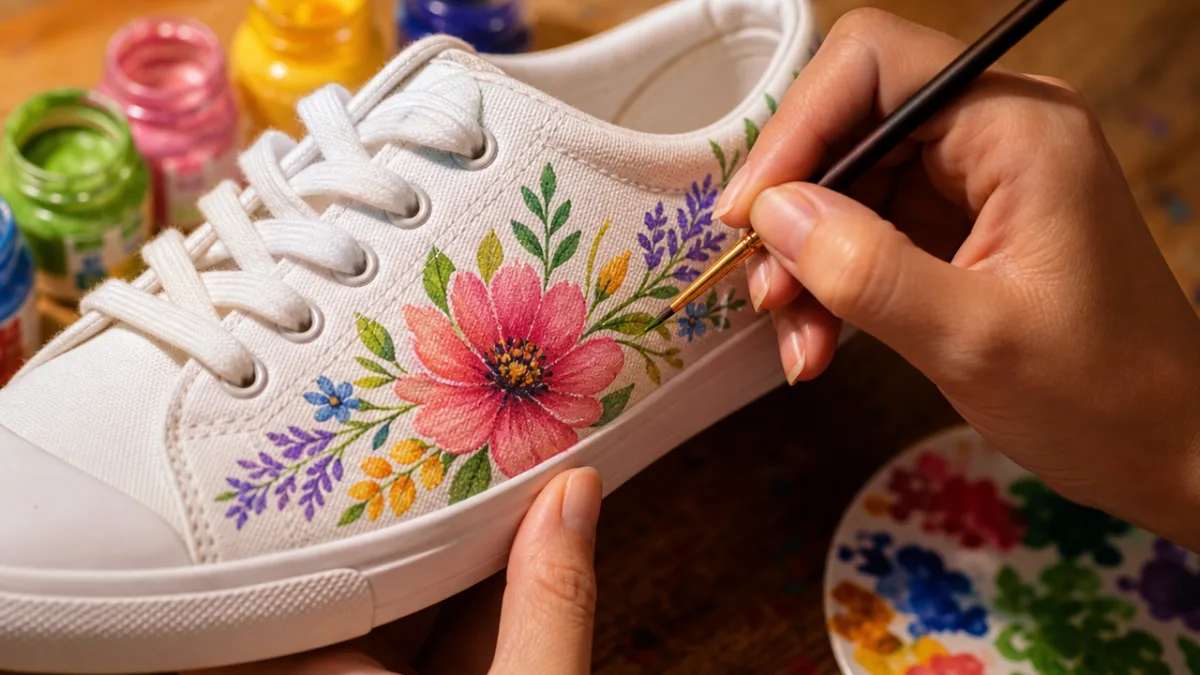
Walking through a complete project from beginning to end helps illustrate how all the individual skills and techniques come together into a coherent, satisfying creative process. Begin by gathering all your materials and setting up a clean, well-lit workspace with newspaper or a silicone mat protecting your surface. Remove the laces from your sneakers, clean and prepare the surface as described earlier, and stuff the shoes firmly so they hold their shape while you work. Mix your first color and thin it very slightly with water or a fabric medium until it reaches a consistency similar to heavy cream — thick enough to cover but fluid enough to move smoothly with the brush.
Apply your base design elements first, working from background to foreground in the same way a traditional painter would approach a canvas. Large color fields and background washes go down before fine details and highlights. Keep your brushstrokes light and deliberate, building up coverage gradually over two or three thin layers rather than attempting to achieve opacity in a single application. Allow each layer to dry completely before adding the next — impatience at this stage is the single most common cause of muddy, overworked areas in beginner paintings. A hairdryer set to low heat can accelerate drying time and keep the project moving at a satisfying pace.
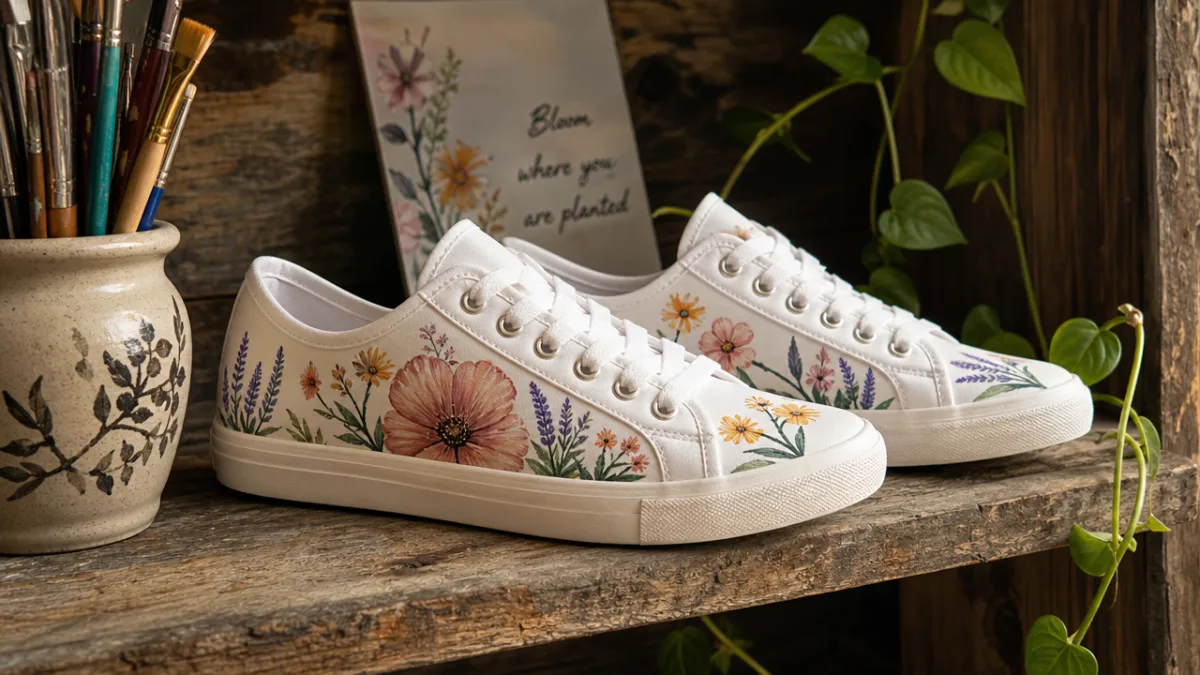
Fine details, outlines, and highlights come last, once the foundation layers are fully established and dry. These finishing touches — the thin black outlines that define shapes, the white highlights that create the illusion of light and dimension, the tiny accent details that reward close inspection — are what elevate a competent sneaker painting to something genuinely impressive. Take your time with these final elements, working with the finest brush you are comfortable controlling and resting your painting hand against a stable surface to minimize wobble. Once the design is complete and fully dry, apply your chosen sealant in thin, even coats, and allow the shoes to cure for at least 24 hours before wearing.
Caring for Your Decorated Sneakers
Even the most expertly executed and thoroughly sealed decorated sneakers require some basic care to maintain their appearance over time. The most important rule is to avoid machine washing, which subjects the shoes to agitation, heat, and chemical detergents that will gradually break down even the most durable acrylic sealant and fade the colors of your design. Instead, clean your decorated sneakers by hand using a soft cloth or sponge dampened with cool water and a small amount of mild soap. Work gently, using circular motions, and avoid scrubbing directly over painted areas with any significant pressure.
Storage matters considerably more for decorated sneakers than for standard footwear. Keep your custom shoes away from direct sunlight when they are not being worn, as prolonged UV exposure will cause even well-sealed acrylic paints to yellow and fade over time. Cedar shoe trees or loosely stuffed tissue paper will help the shoes maintain their shape without creating the moisture buildup that can encourage mildew in canvas shoes. Storing decorated sneakers in breathable cotton bags rather than sealed plastic boxes allows any residual moisture to escape while protecting the surface from dust and accidental abrasion.
Touch-ups are a normal and entirely manageable part of decorated sneaker ownership. High-wear areas like the toe box, the sides of the sole, and anywhere the shoe flexes significantly will show wear before the rest of the design. Keeping a small amount of your original paint colors stored in sealed containers allows you to address these areas promptly before minor scuffs develop into more significant damage. After completing any touch-up work, reapply a fresh coat of sealant to the repaired area and allow it to blend smoothly with the surrounding finish. With this kind of attentive care, a well-made pair of decorated sneakers can remain beautiful for several years of regular wear.
Taking Your Skills Further: Community, Inspiration, and Growth
One of the great pleasures of the decorated sneaker hobby is the vibrant, generous community of fellow enthusiasts who share their work, techniques, and encouragement across social media platforms and dedicated forums. Pinterest, in particular, serves as an extraordinary resource for design inspiration, with millions of images spanning every conceivable style, technique, and skill level. Following boards dedicated to custom sneakers, fabric painting, and wearable art will expose you to approaches and ideas you might never have discovered on your own, and the visual abundance of the platform makes it an almost inexhaustible well of creative fuel.
YouTube offers a wealth of tutorial content from experienced sneaker customizers who document their complete process from start to finish, including all the small decisions and corrections that written instructions often skip over. Watching an experienced hand apply paint, navigate a difficult detail, or recover from a mistake in real time is uniquely instructive in ways that static imagery and text simply cannot replicate. Many established custom sneaker artists also offer online courses that provide structured, progressive instruction covering everything from basic brush technique through advanced color theory and complex design composition.
As your skills develop and your portfolio of completed projects grows, you may find yourself naturally drawn toward sharing your own work with the wider community, taking on commissions from friends and acquaintances, or even exploring the possibility of selling your decorated sneakers through platforms like Etsy or at local craft markets. The market for unique, handcrafted custom footwear is real and active, and while building a customer base takes time and consistent quality, many hobbyists have successfully transitioned their passion project into a meaningful supplementary income stream. Whatever level of engagement you ultimately pursue, the core reward of the decorated sneaker craft remains constant: the joy of making something beautiful, entirely by hand, that reflects your own vision and speaks in your own creative voice.
- Start simple — Choose a straightforward design for your first project to build confidence before tackling complex compositions.
- Invest in quality materials — Good paint, proper sealant, and fine brushes make a measurable difference in the quality of your finished work.
- Plan thoroughly before painting — Time spent sketching and refining your design saves frustration and wasted materials during execution.
- Build up layers patiently — Multiple thin coats always produce better results than a single heavy application.
- Seal and care for your work — Proper finishing and maintenance are what allow your decorated sneakers to be worn and enjoyed, not just displayed.
- Engage with the community — Sharing your work and learning from others accelerates your development faster than working in isolation ever could.








What do you think?
It is nice to know your opinion. Leave a comment.