










The Art of Spiral Button Crafts: A Complete Guide to Creating Stunning Textile Masterpieces
The Timeless Appeal of Button Art and Spiral Design
Button art has been winning over crafters and artists for generations, and it’s easy to see why. There’s something genuinely satisfying about taking an everyday fastener and turning it into something beautiful. When you add spiral patterns into the mix, the whole thing becomes almost hypnotic — your eye just wants to follow those curves inward, taking in all the color, texture, and movement along the way. Whether you’ve been crafting for years or you’re just getting started, spiral button art is one of those hobbies that opens up way more creative territory than you’d expect, from simple home décor pieces to wearable art to truly memorable handmade gifts.
Spirals have shown up in human art and culture forever — Celtic knotwork, the golden ratio, the curl of a nautilus shell. They carry this sense of continuity and growth that feels almost instinctive to us. Bring that into a button arrangement and something interesting happens: you get all that timeless visual pull combined with the warmth and nostalgia that buttons naturally carry. A lot of crafters are especially drawn to working with black buttons, and it makes sense — without color competing for attention, the geometry of the spiral really gets to shine.
One of the best things about spiral button art is how approachable it is. You don’t need specialized training or a studio full of expensive equipment. If you have patience, a decent button collection, and a base to work on, you can make something genuinely stunning. It scales wonderfully too — a small decorative piece might take an afternoon, while a large installation could keep you happily occupied for weeks. And honestly, the process itself is part of the appeal. There’s something meditative about placing buttons one by one, watching a pattern slowly emerge from what started as a pile of miscellaneous fasteners.
Gathering Your Materials: Everything You Need to Begin
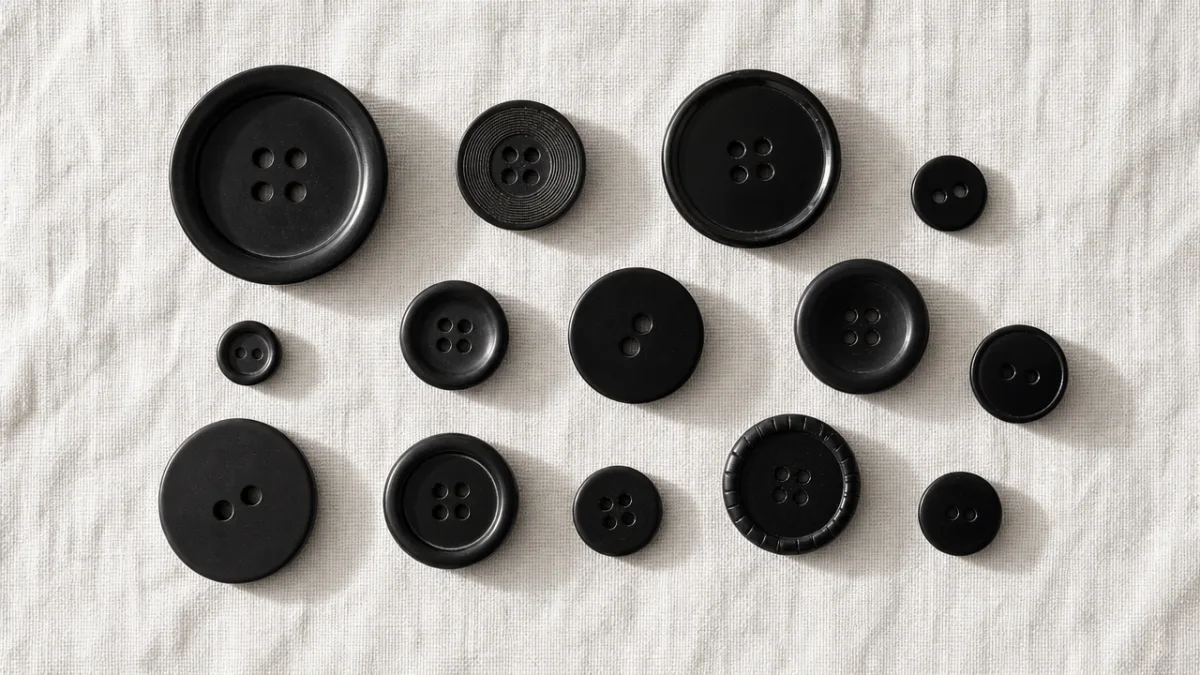
Before you dive in, it’s worth taking a little time to pull together the right materials — it really does make the whole experience smoother and the end result more polished. Obviously, the buttons are the star of the show. For a cohesive spiral, think about your collection with some intention. Black buttons in a range of sizes create bold, sophisticated pieces, while a graduated palette moving from deep charcoal to pale silver can give your finished work a surprisingly dimensional quality, almost like it’s lifting off the surface.
When it comes to sourcing buttons, cast a wide net. Thrift stores and estate sales are goldmines — you’ll stumble across vintage collections with unusual shapes, genuine horn or shell buttons, early plastics, and colors that just aren’t made anymore. Craft stores have reliable modern buttons in consistent sizes, which are great for structured geometric work. Online marketplaces are handy for buying in bulk when you need sheer quantity for a larger piece. And don’t overlook the people around you — friends and family members with old sewing rooms often have button tins they’d happily hand over.
Beyond the buttons themselves, you’ll need a solid base, a good adhesive, and some basic design tools. Canvas panels, wooden boards, heavy cardboard, and stretched fabric all work well depending on what you’re making. Strong craft glue or industrial adhesive gel keeps things firmly in place over time. A compass, ruler, and pencil help you map out your spiral before you commit to anything permanent. A few extras that are worth having on hand: tweezers for tight spots, a lazy Susan to rotate the piece as you work, and a digital scale if you want to get precise about button quantities.
- Buttons in your chosen palette, with a good range of sizes from tiny seed buttons up to larger statement pieces around an inch across
- A rigid base — stretched canvas, a sealed wood panel, or thick foam board cut to size all work great
- High-quality craft adhesive or E6000 industrial glue for a bond that’ll actually last
- Design tools: compass, protractor, pencil, and ruler for laying out your spiral accurately
- Fine-tipped tweezers and toothpicks for detailed placement and getting glue into tight spots
- A protective sealant spray for pieces that’ll live somewhere humid or high-traffic
Understanding Spiral Mathematics and Design Principles
You don’t need to be a mathematician to make beautiful button spirals, but understanding a little of the math behind them can genuinely level up your work. The Fibonacci spiral — built from that famous sequence where each number is the sum of the two before it — produces a curve that people find almost instinctively beautiful. It’s the same pattern behind sunflower seeds, unfurling fern fronds, and nautilus shells. When you base a button layout on this system, viewers respond to it even if they can’t put their finger on why. There’s something satisfying in that.
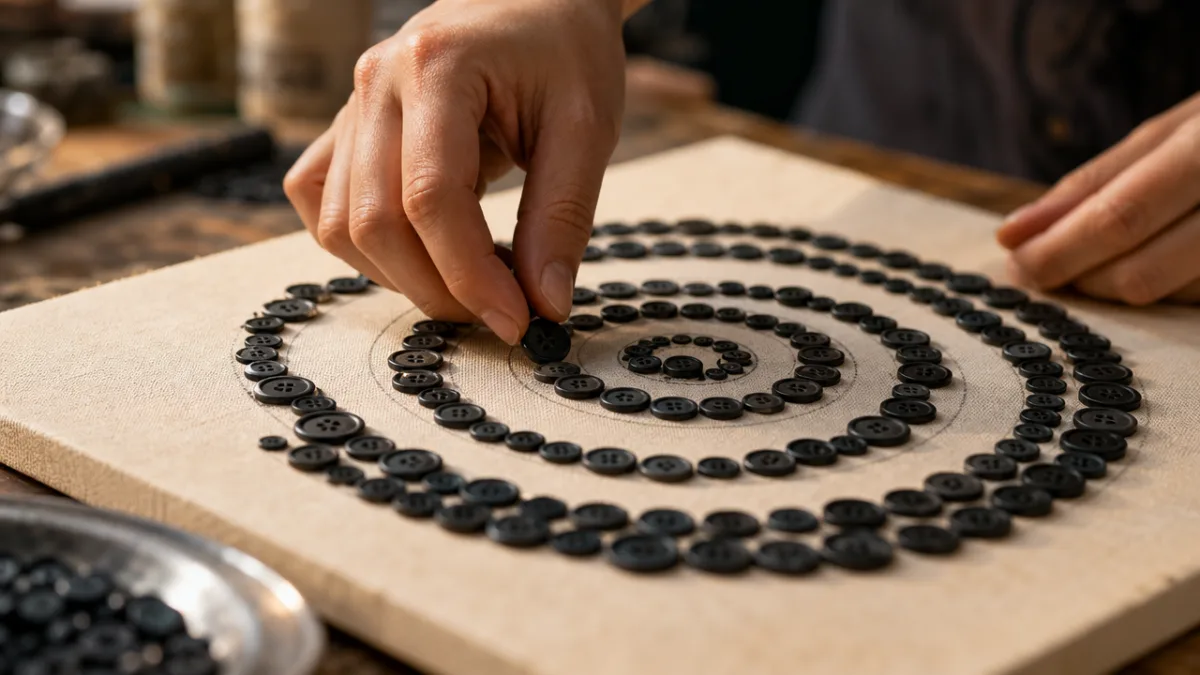
If you’d rather keep things simpler, the Archimedean spiral is a friendlier place to start. Unlike the Fibonacci spiral, which expands at an accelerating rate, the Archimedean version keeps a consistent gap between each turn. That regularity is actually really practical for button art — it lets you predict pretty accurately how many buttons of a given size will fit along each arc. To draw one, pin a piece of string to the center of your base, tie a pencil to the other end, and gradually let out more string as you rotate around the center, marking as you go. It’s low-tech but works beautifully.
How you handle color and size within the spiral makes a huge difference to the final look. If you place your largest buttons at the outer edges and gradually shrink toward the center, you get a natural perspective effect that creates a real sense of depth. Flip that approach and put your most interesting, textured buttons at the heart of the spiral, and the center becomes the natural focal point. For black button spirals in particular, mixing surface finishes — matte jet buttons alongside glossy pieces and subtly iridescent vintage finds — gives you a surprisingly rich range of tonal variation within what looks at first glance like a single color.
Step-by-Step Techniques for Perfect Spiral Button Placement
The single best thing you can do for a satisfying spiral button project is start with a well-drawn template. Before you open a single bottle of glue, use a pencil and your chosen construction method to draw the complete spiral directly onto your base. This stage is completely forgiving — pencil lines will disappear entirely under the buttons. Take your time here, measure carefully, and erase and redo any section that’s not quite right. Experienced button artists often spend just as long on the planning phase as on the actual placement, and it shows in the results.
Once your spiral is drawn, do a full dry layout before any adhesive comes out. Arrange your buttons along the lines without gluing anything, trying out different size combinations, rotations, and groupings until you’re genuinely happy with how it looks. Then photograph the whole thing from directly overhead — you’ll want that reference image once you start the permanent placement and things start moving around. The dry run also tells you whether you actually have enough of each button type to finish the piece, which is much better to discover now than halfway through gluing.
When you’re ready to start gluing, pick a direction and stick with it — center outward, or one end of the spiral to the other — rather than jumping around. Apply adhesive to the base rather than the button, using a toothpick to place a small, precise amount at each marked spot. Press each button firmly and hold it for a few seconds before moving on. Try to work in sessions of no more than an hour to keep your eye fresh and avoid careless placement mistakes, and let each session cure fully before picking back up. Rushing the drying time is by far the most common reason buttons shift or fall off in the days after a piece is finished.
- Draw your complete spiral template on the base in pencil, paying close attention to consistent spacing between the arms from the center out
- Sort your buttons by size and finish, setting aside specific groups for different sections of the design
- Do a full dry layout without adhesive and photograph it before moving anything permanently
- Starting from the spiral’s center, apply adhesive to the base one small section at a time and press buttons firmly into place
- Give each section at least two hours to cure before working on adjacent areas, so freshly placed buttons don’t get nudged
- Once everything is cured, apply a thin protective sealant if you’d like — just take care not to dull the natural finish of the buttons
Creative Variations and Advanced Techniques
Once you’ve got the basic spiral arrangement down, a whole world of variations opens up. Mixed media approaches are especially rewarding — embedding a button spiral in a bed of fabric, surrounding it with seed beads, or mounting it against a background of metallic leaf or textured paint creates a layered richness that takes the work from craft project to something that genuinely reads as fine art. The contrast between the dimensionality of the buttons and a flatter background does a lot to emphasize the spiral’s depth and pull the eye in.
Wearable button spiral art is a fascinating direction to explore if you want to take the craft somewhere more personal. Denim jackets have been a classic canvas for button art forever, and with good reason — the fabric is sturdy enough to handle a substantial button arrangement without any trouble. A black button spiral across the back panel of a jacket is a genuine statement piece that nobody else in the world will have. Tote bags, structured handbags, hat brims, and special-occasion garments are all fair game too. Just pay attention to weight distribution when you’re working on wearables — a heavy arrangement concentrated in one area can really affect how a garment hangs.
Three-dimensional button spiral sculptures are the most ambitious place this craft can go, and they’re genuinely impressive when done well. Wire armatures wrapped in button spirals can become organic forms that look like sea creatures or botanical specimens. Papier-mâché is a fantastic base for this kind of work — it accepts adhesive beautifully and can be shaped into just about anything before you start covering it in buttons. Artists working at this scale tend to develop their own adhesive tricks and structural solutions over time, which is part of what makes this end of the craft so interesting. There’s always more to figure out.
Caring for, Displaying, and Gifting Your Button Spiral Creations
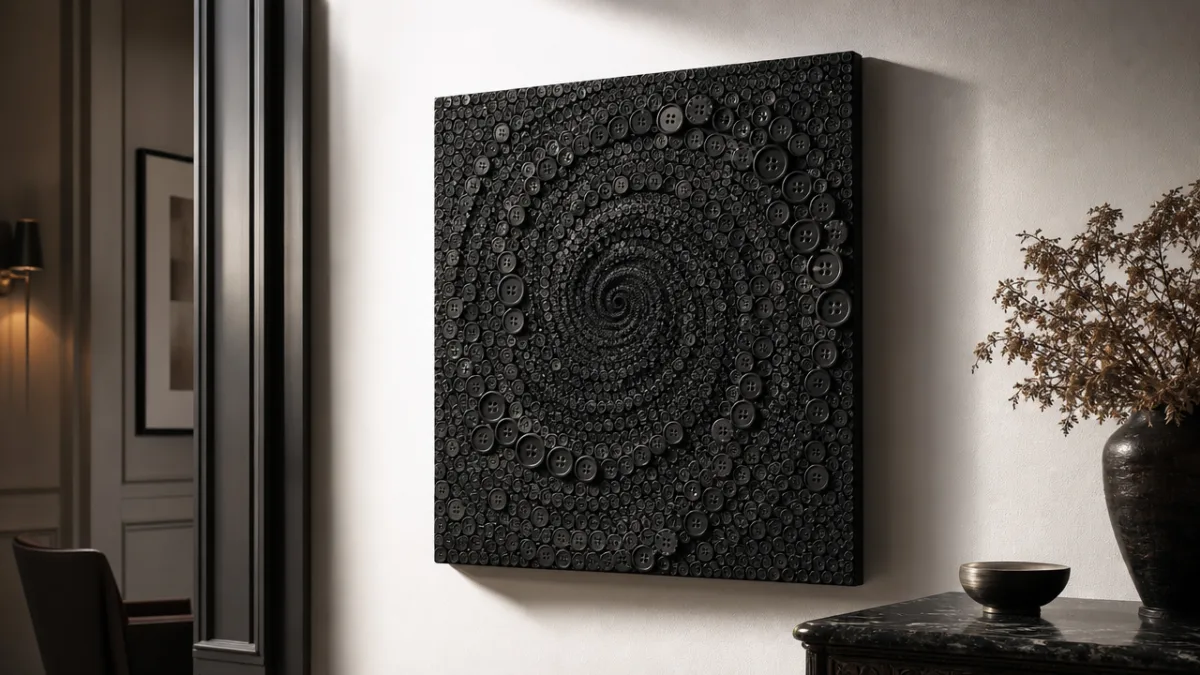
Once you’ve put all that work into a spiral button piece, it’s worth thinking carefully about where it lives. Humidity is the main enemy — it weakens adhesive bonds over time, so bathrooms and poorly ventilated kitchens aren’t great long-term homes for button art. Direct sunlight will fade colored buttons and can yellow certain adhesives, which gradually compromises the piece’s integrity. Ideally, you want a consistently dry, moderately lit wall away from direct sun and away from heating or air conditioning vents. It sounds fussy, but the right spot really does make a difference over the years.
Cleaning button art calls for a gentle touch. A soft, dry artist’s brush used with light strokes is the safest routine option — it moves dust off the surface without pushing it into the gaps between buttons or putting any stress on the adhesive. For something more stubborn, a barely damp cloth used very carefully and followed immediately by gentle air drying can work, but go slowly. Never submerge a button art piece in water or reach for solvent-based cleaners — both will attack the adhesive and can do permanent damage. It’s also worth giving your piece a visual check every now and then for any buttons that might be starting to loosen; catching them early means a quick fix rather than a lost button.
If you’re making a spiral button piece as a gift, you’re giving someone something genuinely rare — a handmade object that required real time, thought, and care to create. You can make it even more personal by building in meaningful details: buttons salvaged from the recipient’s own old clothing, their favorite colors worked into the palette, or a shape or symbol that connects to something they love. Pair it with a handwritten card that explains a little about the materials and the process, and you’ve created something that could genuinely become a family heirloom. In a world full of mass-produced things, a handcrafted spiral button artwork is a real expression of human connection — and people feel that.








What do you think?
It is nice to know your opinion. Leave a comment.