










Ombré Fair Isle Crochet Beanie: Free Pattern & Video Tutorial Guide
Introduction to the Ombré Fair Isle Crochet Beanie
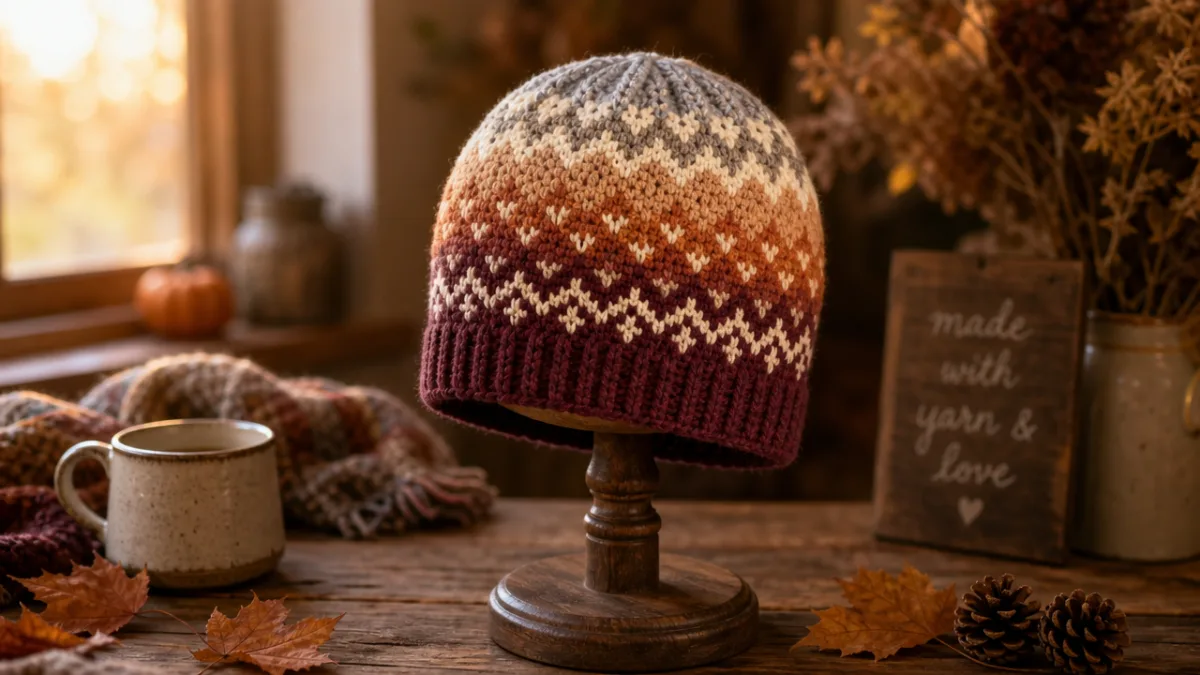
You know those patterns that make you stop mid-scroll and immediately think, “okay, I have to make that”? This is one of them. The Ombré Fair Isle Crochet Beanie brings together two things crafters absolutely love — those gorgeous gradient color transitions you get with ombré yarn, and the charming geometric motifs of traditional Fair Isle knitting — but the whole thing is done in crochet. The finished hat looks way more complicated than it actually is to make, which honestly makes it the perfect project for anyone who wants to try something new without biting off more than they can chew.
What’s great about this pattern is that it really does work for a wide range of skill levels. Whether you’ve got the basics down and you’re feeling confident, or you’re somewhere in the intermediate zone looking for a satisfying weekend project, the instructions walk you through everything clearly. And the video tutorial that goes along with it? Genuinely a game-changer, especially when you’re juggling multiple yarn colors for the first time. Being able to pause and rewind while you figure out exactly where to switch colors or how to keep your tension even makes such a difference.
The design is rooted in a really wonderful tradition. Fair Isle colorwork comes from a tiny island between Orkney and Shetland in Scotland, where small repeating geometric patterns worked in two colors per row were a hallmark of local knitwear. This crochet version honors that heritage while giving it a fresh, modern twist through the ombré gradient. The result is a hat that somehow feels both classic and completely current — the kind of thing you’ll finish and immediately want to make three more of, for yourself and everyone you know.
Materials and Tools You Will Need
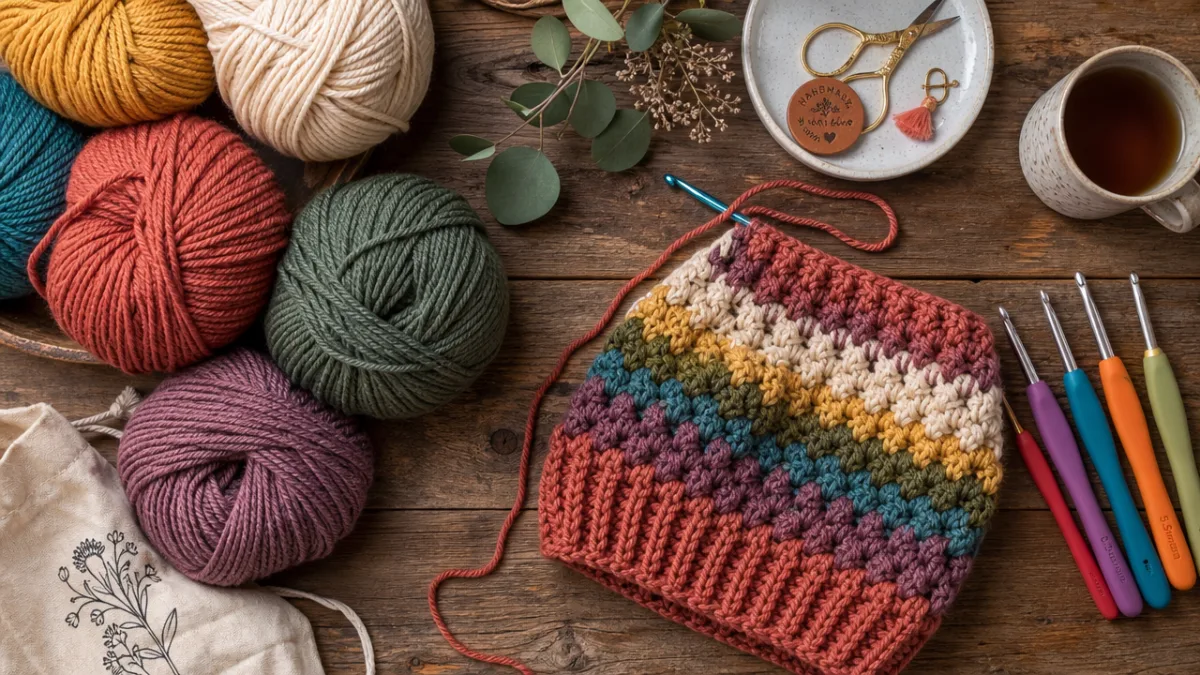
Before you make your foundation chain, it’s worth taking a few minutes to get everything together. Yarn choice is probably the biggest decision you’ll make for this project. The ombré effect really shines when you use a yarn that moves smoothly between shades — either a commercially made gradient yarn or a few individual skeins you’ve curated yourself in coordinating tones. Worsted weight is the go-to for this beanie: it gives the fabric enough structure to show off the Fair Isle motifs clearly while still being soft and cozy to wear.
For the Fair Isle sections, you’ll generally be working with two colors at a time, so you’ll need at least one accent color alongside your main gradient yarn. A lot of crafters go with a neutral that runs through the whole hat to visually tie everything together — think creamy white with warm terracottas and rust tones, or soft grey alongside dusty blues and lavender. One of the perks of a free pattern is that your color palette is entirely up to you, so have fun with it.
In terms of tools and notions, here is what you will generally need to complete this project:
- A 5mm (US size H/8) crochet hook, or the size needed to match gauge
- Approximately 150–200 yards of worsted weight yarn in your main gradient colorway
- 50–100 yards of a contrasting or coordinating accent color for the Fair Isle motifs
- A yarn needle for weaving in ends
- Stitch markers to track rounds and pattern repeats
- Scissors
- A tape measure or ruler for gauge checking
Speaking of gauge — please don’t skip this part, even though it’s tempting. Crocheting a small swatch before you dive in can genuinely save you a lot of frustration. A beanie is a close-fitting garment, so even a small difference in tension can mean the finished hat is too tight to pull on or so loose it slides down your forehead. It takes maybe fifteen minutes to crochet a four-inch swatch and check your measurements, and it’s absolutely worth it. Adjust your hook size if needed, and then you can start the actual hat knowing it’s going to fit beautifully.
Understanding the Fair Isle Colorwork Technique in Crochet
Fair Isle started out as a knitting tradition, but crocheters have figured out their own great ways to get that same geometric patterned look. In crochet, the most common approach is working in the round with single crochet stitches and changing colors at specific points in each round, following a charted pattern. The yarn you’re not actively using gets carried along the back of the work — a method called tapestry crochet or overlay crochet depending on the exact technique. That carried yarn actually adds to the fabric, making it denser, warmer, and really sturdy.
Reading a Fair Isle crochet chart looks a little intimidating at first, but it clicks pretty quickly. Each square on the chart is one stitch, and different colors or symbols tell you which yarn to use. You just follow the chart round by round, switching between your two working colors as you go. The main thing to practice is making your color changes cleanly, so the edges of your motifs come out crisp and defined rather than muddy. The video tutorial does a fantastic job of showing exactly when and how to make those swaps — it’s one of those things that’s much easier to see than to read about.
The trickiest part of Fair Isle colorwork in crochet is usually managing the tension on your carried yarn. Carry it too tight and your fabric will pucker. Too loose and you’ll get little loops poking through to the right side, which nobody wants. The fix is practice — once the motion becomes muscle memory, keeping an even, relaxed tension behind your work starts to feel natural. A lot of experienced colorwork crocheters actually encase the carried yarn inside each stitch as they go, rather than just leaving it to float freely behind. It takes a tiny bit more concentration but gives you a much cleaner finish and more consistent tension overall.
Step-by-Step Pattern Overview
This beanie is worked from the brim upward in continuous rounds, which is the standard way to construct a crochet hat. You start with a foundation chain sized to the hat’s circumference, join it into a ring, work your way up through the body, and then decrease at the crown to close everything off. Because you’re always working in the same direction with the right side facing you, following the Fair Isle chart is much more straightforward — you never have to read a row in reverse.
The brim comes first, and it’s worked in a ribbing stitch to give that stretchy, comfortable band around your forehead and ears. Crochet ribbing is most commonly done with slip stitch ribbing or front-and-back post double crochet, both of which give you that satisfying elasticity. Once the brim is the right depth — usually around two to three inches — you’ll work a transition round that adjusts your stitch count to set up the Fair Isle repeats properly. It sounds like a small detail, but it’s what makes sure your geometric motifs line up perfectly all the way around.
Then comes the fun part: the colorwork body, where the Fair Isle motifs really take over. You follow the color chart here, and the ombré effect builds naturally as you work upward, gradually shifting through your chosen shades. The colors deepen or lighten as you go depending on your palette, and the motifs evolve along with them. Once the hat reaches the right height, you start working decreases at regular intervals around the crown to shape the top, with the motifs adjusting slightly to accommodate the narrowing stitch count.
Here is a simplified overview of the typical construction sequence for this pattern:
- Create the foundation chain and join into a round
- Work the ribbed brim for approximately 2–3 inches
- Complete a transition round to set up the Fair Isle stitch count
- Begin working the colorwork chart, introducing your first gradient color
- Progress through the chart, transitioning through your ombré color sequence
- Begin crown decreases when the hat reaches the desired height
- Complete the final decrease rounds, pull yarn through remaining stitches, and fasten off
- Weave in all yarn ends securely on the wrong side
Tips for Achieving a Perfect Ombré Effect
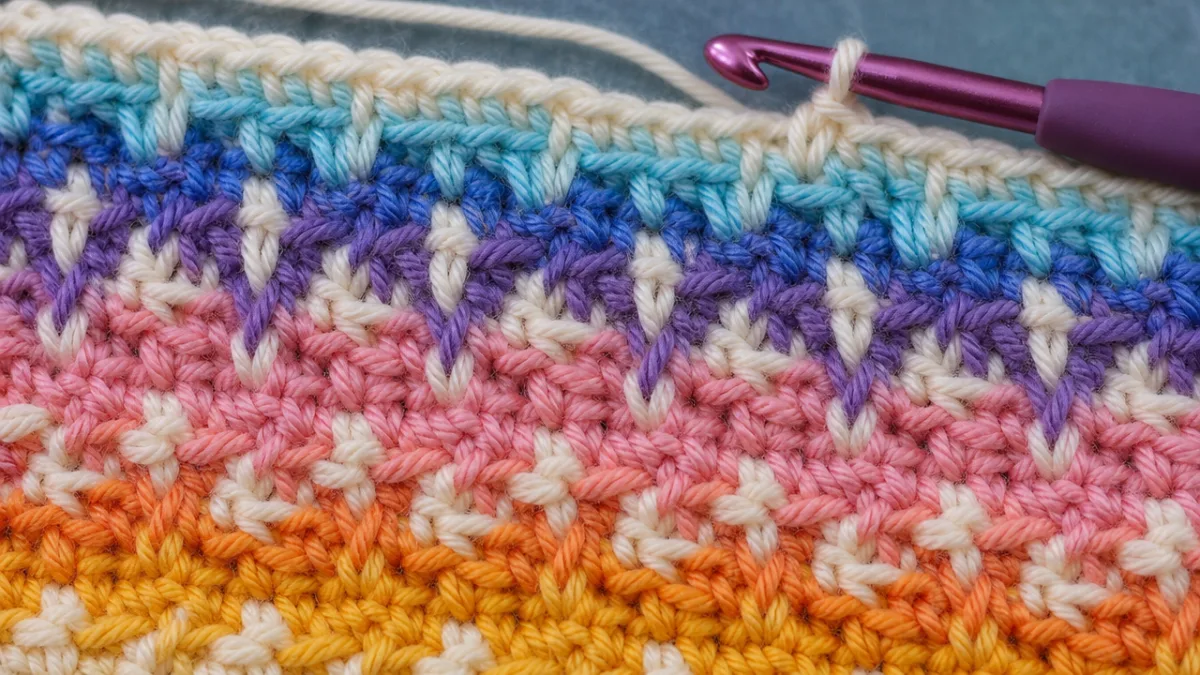
The gradient is what makes this beanie so eye-catching, and getting it to look smooth and natural is mostly about a little planning upfront. Before you pick up your hook, lay your yarn colors out in the order they’ll appear in the finished hat — lightest to darkest, or from one hue to another, depending on your palette. Seeing them in sequence helps you spot any transitions that feel too jarring or any colors that don’t quite belong, and it’s much easier to swap something out at this stage than after you’ve already crocheted several rounds. Snapping a photo of your arranged yarn in natural light is also a great way to check how the overall gradient is going to read.
When it comes to actually making the transition from one color to the next, you’ve got a few options depending on how subtle you want the shift to feel. The simplest approach is to change colors at the start of a round, which gives you a clean, defined stripe. If you want something softer and more blended, try alternating between your outgoing and incoming colors for a round or two before fully committing to the new shade. Some crocheters use a speckled or marled yarn for those in-between rounds, which creates a naturally mixed look that bridges the two colors really beautifully.
Yarn fiber makes a bigger difference to the finished look than you might expect. Natural fibers like merino wool, alpaca, or blends that include them tend to have a richness and depth of color that really photographs beautifully. That said, acrylic yarns have come a long way, and there are plenty of premium options now available in stunning gradient colorways. If you’re making this for someone with wool sensitivities, a good-quality acrylic or wool-acrylic blend is a totally valid choice — you’ll still end up with a gorgeous finished hat, no compromises needed.
Customizing the Pattern for Different Sizes and Styles
One of the best things about working from a well-written free pattern is how much room it gives you to make the project your own. Adjusting for different head sizes is pretty straightforward — you change the length of your starting chain and add or subtract rounds in the body as needed. For a kids’ version, you’d scale down the circumference and overall height while keeping the Fair Isle motifs roughly proportional, maybe opting for a simplified version of the charted pattern if the full-size motifs get too crowded at a smaller gauge.
The silhouette is just as easy to play with. Want a slouchy hat? Just work more rounds in the body before you start the crown decreases and you’ll get that relaxed, pillowy look. Prefer something more fitted and minimal? Work fewer rounds and you’ve got a close-cropped style that sits neatly on the head. Even the brim depth is worth experimenting with — make it tall enough to fold up for a classic cuffed beanie vibe, or keep it short for something more streamlined. Each of these little tweaks changes the personality of the hat quite a bit, so don’t be afraid to play around.
The Fair Isle motifs themselves are another place to get creative. If the pattern includes multiple motif options in the download, you can mix and match them to come up with something that looks completely different from the original. You can also adjust the repeat frequency by changing the stitch count in each pattern section, though that does require a bit of comfort with colorwork math. And if you really want to go all in on the design side of things, drawing up your own Fair Isle chart on graph paper or in a digital charting app is an incredibly satisfying way to put your own stamp on the finished piece.
Finishing Techniques and Caring for Your Beanie
Finishing is where everything comes together, and it’s worth giving it as much care and attention as the crocheting itself. Start by weaving in your yarn ends properly — this is especially important with colorwork, where you’ve got a lot of them. Use your yarn needle to work each end through the backs of stitches in a few different directions, give it a little tug to make sure it’s secure, and then trim close to the fabric. Ends that aren’t woven in well can work loose over time and start unraveling your motifs, which would be such a shame after all that work.
Blocking your finished beanie is one of those steps that makes a genuinely surprising difference, especially with colorwork. To wet block it, just dampen the finished hat thoroughly in cool water, gently squeeze out the excess, and then stretch it over a balloon, bowl, or hat form in the right size. Leave it to dry completely — usually overnight — and when you come back to it, you’ll notice how much more even and defined the stitches look. It’s one of those finishing touches that makes a handmade piece look really polished.
For ongoing care, a few simple habits will keep your beanie looking great for a long time. Most natural fiber hats do best with gentle hand washing in cool water using a mild wool wash or even a little shampoo, followed by carefully pressing the excess moisture out between towels before reshaping and laying flat to dry. Don’t hang a wet crochet hat — the weight of the water can stretch it out of shape pretty quickly. When you’re storing it, fold it gently in a drawer rather than hanging it on a hook, and if you’ve used natural wool yarn, a cedar block or lavender sachet nearby will help keep moths away without any harsh chemicals. Take good care of it and it’ll last for many seasons to come.








What do you think?
It is nice to know your opinion. Leave a comment.