










DIY Outdoor Couch: Build Your Own Beautiful Backyard Seating
Why Building Your Own Outdoor Couch Is Worth Every Minute
There’s something really special about kicking back outside on a piece of furniture you actually built yourself. When you go the DIY route, you get to dial in every measurement, pick materials that make sense for your weather, and end up with something that fits your patio or deck exactly the way you imagined it. Store-bought options always seem to come with some kind of compromise — wrong size, wrong color, wrong price — but when you build it yourself, it’s yours from the ground up.
The money side of things is pretty hard to argue with, too. A comparable outdoor sectional at a big-box store can easily run $800 to over $2,000, while a solid DIY version with quality lumber and good outdoor fabric typically lands somewhere between $150 and $400 depending on the size and cushions you choose. That’s a huge gap — and honestly, what you build yourself is usually sturdier and more your style than anything mass-produced anyway.
On top of the savings, there’s just something satisfying about being part of a real home-craftsmanship tradition. You pick up new skills, you problem-solve on the fly, and you end up with a centerpiece for your outdoor space that actually gets people talking. Every time a guest hears “I built that,” it’s a little reminder that putting your time and creativity into your home is almost always worth it.
Materials and Tools You Will Need
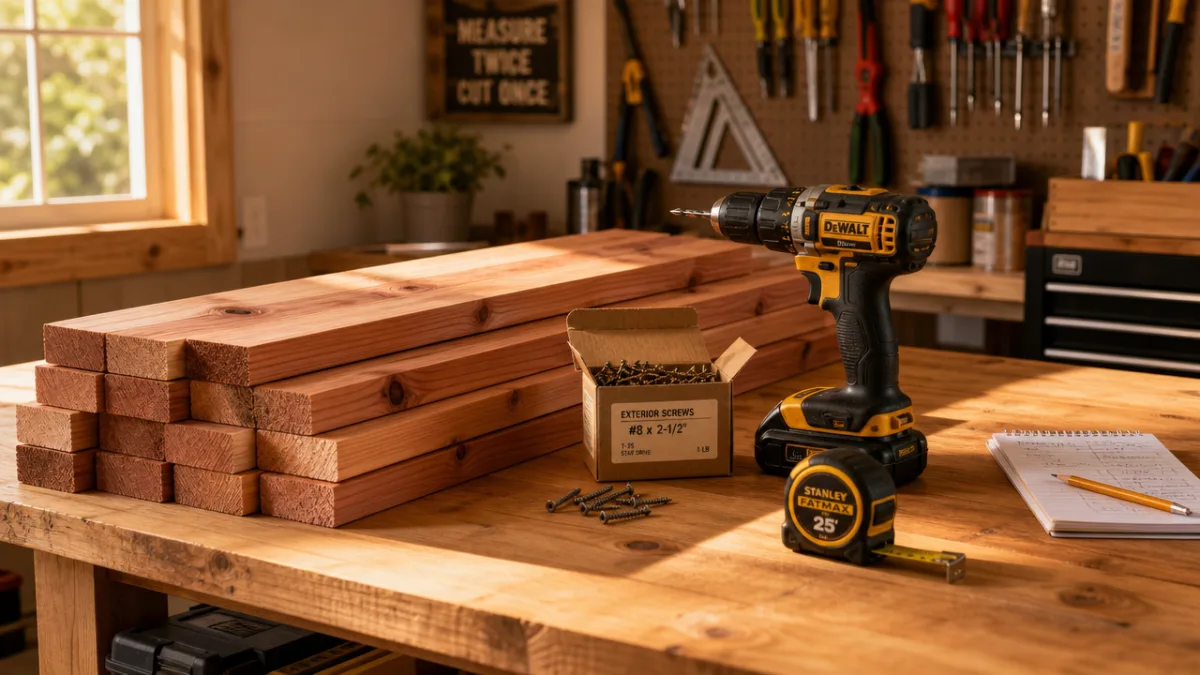
Getting your materials sorted before you pick up a single tool is honestly one of the most important things you can do for a project like this. For an outdoor couch, you’ll want to stick with cedar, redwood, or pressure-treated pine — these woods hold up against moisture, bugs, and rot in a way that untreated lumber simply doesn’t. Cedar is the fan favorite for good reason: it stays stable through temperature swings, has a gorgeous natural grain, and ages beautifully over time without needing a ton of maintenance.
For a basic single-seat section around 36 inches deep by 60 inches wide, you’ll be looking at a handful of 2×4 and 2×6 boards, some exterior-grade screws, outdoor-rated wood glue, and sandpaper in a few different grits. If you’re going bigger — an L-shape or U-shape sectional — just scale up your lumber list accordingly. It’s also worth picking up a full sheet of 3/4-inch exterior-grade plywood for the seat base, since it adds real rigidity and keeps your cushions from sagging in the middle over time.
As for tools, you genuinely don’t need a full workshop setup to pull this off. A circular saw or miter saw, a power drill, a tape measure, a carpenter’s square, clamps, and a sander will cover the essentials. A few extras that are worth having if you can swing it: a pocket hole jig for clean hidden joints, a level to make sure everything sits flat, and a paint sprayer if you’re planning to stain or paint the finished piece.
Here is a quick checklist of materials for a single couch section:
- Six 8-foot 2×4 cedar or pressure-treated boards
- Two 8-foot 2×6 boards for the front and back rails
- One half-sheet of 3/4-inch exterior plywood for the seat deck
- 3-inch and 1.5-inch exterior-grade screws
- Wood glue (exterior formula)
- Sandpaper in 80, 120, and 220 grits
- Exterior wood stain, paint, or sealant of your choice
- Outdoor foam cushions or custom cut foam with outdoor fabric
Step-by-Step Building Instructions
Before you start putting anything together, cut all your boards first. This “batch cutting” approach means all your pieces come out consistent, and you save a ton of time by keeping your saw dialed into the same settings rather than resetting it constantly. For a standard 36-inch couch depth, your side frame pieces will be cut to that length, and your width pieces match whatever overall size you’ve chosen. Label everything with painter’s tape and a marker as you go — it sounds fussy but it makes assembly so much less stressful.
With your cuts done, start by building the two side frames. Each one is basically a rectangle of 2x4s with a horizontal brace or two running across the middle for strength. Use a pocket hole jig if you have one, or just pre-drill and drive screws through the outer pieces into the ends of the inner ones. Check every corner with your carpenter’s square as you go — even a small misalignment here will snowball into a noticeable wobble once the full frame comes together.
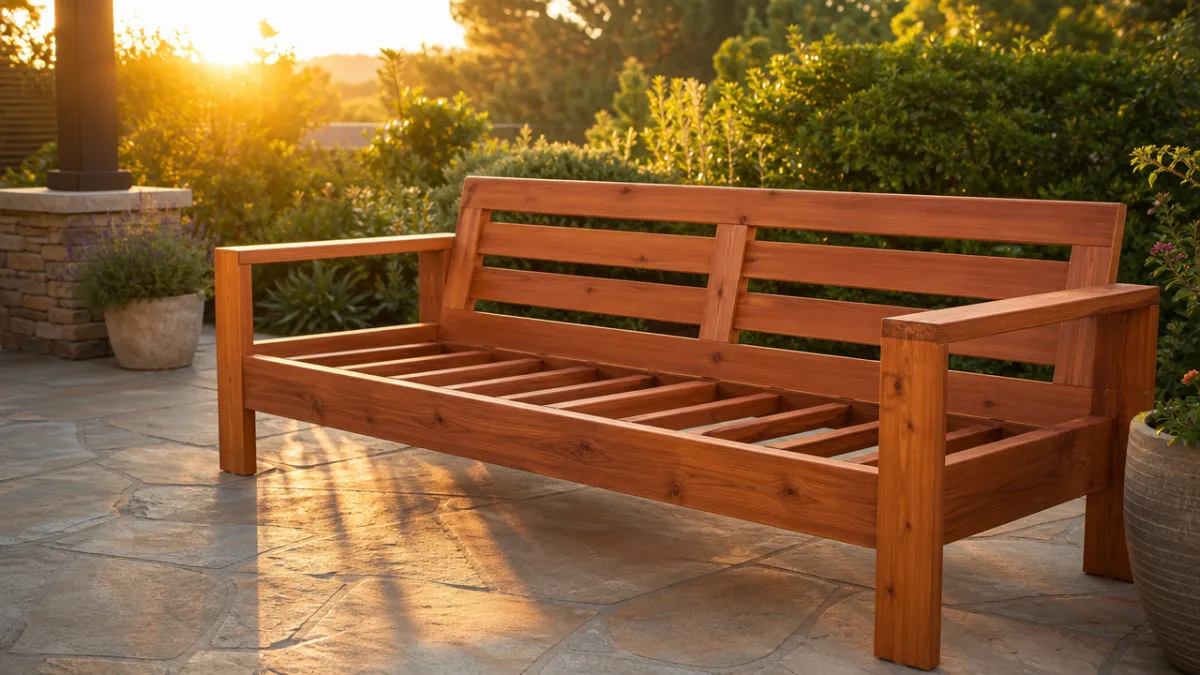
Once both side frames are done, connect them with your front and back rails. These are the long horizontal pieces that span the full width of the couch and give the whole frame its backbone. Clamp everything snug and drive your screws through the rails into the side frames. Then cut your plywood seat deck to fit and screw it down across the top of the frame. At this point you’ll already have something that looks and feels genuinely furniture-like — it’s a great moment in the build.
Next comes the back frame, which is just another rectangular frame that attaches to the rear of your seat frame at a slightly reclined angle — somewhere between 5 and 15 degrees works well for comfortable lounging. A lot of builders use carriage bolts through the rear legs here so there’s some room for minor adjustments. Add horizontal slats across the back frame at even spacing for both support and good looks. Then sand the whole thing, starting with 80-grit to knock out the rough spots and mill marks, and working your way up to 220-grit until everything feels smooth and splinter-free.
Finishing and Weatherproofing Your Couch
The finishing stage is where your build really starts to look like furniture. It’s also one of the most important steps for how long the whole thing actually lasts, especially if you deal with a lot of rain, harsh sun, or cold winters. A penetrating exterior oil or sealer works from inside the wood fibers out, while exterior paint or solid-color stain sits on the surface and gives you the strongest defense against UV damage and moisture. Both approaches work well — it really comes down to the look you’re going for.
Cedar and redwood are naturally rot-resistant, but they’ll still gray out and weather over time if you leave them unprotected. If you like that silver-gray weathered look, a clear water repellent is all you need — just let time do the rest. If you want to keep the wood’s natural warmth or tie it into a specific color scheme on your patio, an exterior paint in semi-gloss or satin gives you great durability and cleans up easily when things get dirty.
Whatever finish you go with, apply it in thin, even coats and follow the grain of the wood. Most exterior stains and sealers want two coats with a light sand in between for the best adhesion. Make sure you give the end grain extra attention — it’s where moisture sneaks in fastest and causes boards to crack and split down the road. A small brush for end grain and a foam applicator or roller for the flat surfaces is a combo that works really well.
Consider these additional weatherproofing steps for maximum durability:
- Apply a bead of exterior caulk along any joints where water might pool or wick into seams.
- Use stainless steel or hot-dipped galvanized hardware to prevent rust staining on the wood over time.
- Add small rubber feet or furniture glides to the legs to prevent the wood from sitting in standing water on your patio surface.
- Cover your couch with a breathable outdoor furniture cover during extended periods of rain or winter storage.
- Re-apply your sealer or stain every one to two years to maintain full protection.
Choosing the Perfect Outdoor Cushions
A great frame deserves great cushions — and the ones you choose will make a bigger difference in how the couch looks and feels day-to-day than almost any other decision in this project. When it comes to fabric, Sunbrella is really the gold standard for outdoor use. It’s a solution-dyed acrylic that shrugs off fading, mildew, and moisture in a way that regular indoor fabrics just can’t match. Yes, it costs more upfront, but it typically holds up five to ten years in direct sun without major color loss — so over time, it’s actually the more economical choice.
For the foam itself, make sure you’re buying outdoor or marine-grade closed-cell foam, or high-density foam wrapped in Dacron polyester. Standard indoor foam is basically a sponge — it’ll soak up rain and grow mold within a season. Outdoor foam is designed to let water drain through and dry out quickly after a shower. For seat cushion thickness, four to five inches is the sweet spot: it looks proportional on the frame and it’s genuinely comfortable for long stretches of outdoor sitting.
If cutting and sewing your own cushion covers sounds like more than you want to take on, there are great online retailers that will cut foam to your exact dimensions and sew custom covers in whatever Sunbrella fabric you pick. It’s a totally reasonable shortcut — it keeps your DIY energy focused on the woodworking while still giving you that custom-sized look that makes the whole couch feel intentional. If you’d rather keep things simple and budget-friendly, Ikea’s HÅLLÖ cushions and similar lines fit a lot of standard DIY frame sizes surprisingly well.
Styling and Decorating Your New Outdoor Living Space
Once the couch is built, finished, and cushioned, the fun really starts. Now you get to pull the whole space together into something that feels like an actual outdoor room rather than just a patio with furniture on it. Think of it the same way you’d approach an indoor living room — layering textures, mixing scales, making it feel intentional. The single biggest bang-for-your-buck move? A generously sized outdoor area rug that anchors the whole seating group. It changes the feel of the space more than almost anything else you could add.
Throw pillows are an easy way to inject personality and color without a big commitment. Since you already have control over your cushion fabric, you can keep the main cushions neutral and let the accent pillows do the heavy lifting with pattern and color — or flip it around with a bold main fabric and more restrained pillows. Either way, look for pillow inserts made specifically for outdoor use, and stash them in a weatherproof storage bin nearby so they’re easy to grab on nice days and easy to tuck away when rain rolls in.
The finishing touches are where it really comes together: a low coffee table that matches your couch, string lights overhead, a lantern or two on the ground, and some planters with trailing greenery can turn a simple seating area into a place people genuinely want to hang out. And if you caught the building bug somewhere along the way, this style of DIY furniture is incredibly modular — matching side tables, an ottoman, or even a full sectional are all natural next steps that build on exactly the same skills you already used.

Maintenance Tips to Keep Your Couch Beautiful for Years
The good news is that a well-built outdoor couch doesn’t need much looking after — but the little bit of care it does need goes a long way. At the start of each season, take a few minutes to go over the whole frame: check for any boards that are cracking or splitting, screws that have worked themselves loose, or spots where the finish is looking thin. Catching those things early — a tightened screw here, a dab of exterior wood filler there, a quick touch-up with fresh stain — keeps small issues from turning into bigger structural headaches later.
Cleaning the frame is easy and only needs to happen a few times a year under normal conditions. Warm water, a splash of mild dish soap, and a soft-bristle brush will handle pollen, bird droppings, mildew, and general outdoor grime without any drama. Rinse it well and let everything dry completely in the sun before the cushions go back on. One thing to avoid: blasting it with a pressure washer on a high setting. It can raise the wood grain, strip your finish, and drive water into the joints — none of which you want.
For the cushions, most outdoor fabrics including Sunbrella handle spot cleaning really well with a diluted bleach solution for mildew and a soft brush for general dirt, followed by a rinse with the garden hose. If you’re in a climate with freezing temps or heavy snow, bring the cushions inside or store them in a ventilated outdoor bench over winter — the freeze-thaw cycle is genuinely hard on fabric over time. With a little seasonal attention and smart storage habits, a well-built DIY outdoor couch can easily last your family a decade or more. That’s a pretty incredible return on a weekend’s worth of work.








What do you think?
It is nice to know your opinion. Leave a comment.