










How to Crochet the Jasmine Stitch: A Complete Guide to This Beautiful Textured Pattern
What Is the Jasmine Stitch?
The Jasmine stitch — you might also hear it called the star stitch or Catherine wheel stitch — is honestly one of the most gorgeous techniques you can add to your crochet repertoire. It creates a densely textured fabric covered in little star-shaped motifs that fan out like petals or rays of light. The finished fabric is thick, plush, and almost luxurious to hold, and it looks impressively intricate to anyone who sees it. The best part? It’s actually way more approachable than it looks.
What makes it so distinctive is the way it pulls multiple loops together through a single stitch, building up those characteristic raised stars across the surface. Unlike basic single or double crochet, you do have to think a couple of steps ahead and keep track of a few loops at once. But once the rhythm clicks — and it will — most crocheters find it almost meditative. It’s one of those satisfying, repetitive patterns where you look up after a while and realize your work has grown into something genuinely beautiful.
The stitch is named after the jasmine flower, and honestly, the resemblance is easy to see once you’ve got a few rows done. Each little star motif echoes the soft, radiating shape of jasmine blossoms, and projects worked in cream or white yarn especially take on an almost botanical quality. It’s a popular choice for baby blankets, scarves, shawls, and decorative pillows — anything where you want texture and visual interest to really take center stage.
Materials and Yarn Selection
Getting the right materials together before you start makes everything so much smoother. For the Jasmine stitch you’ll need a crochet hook suited to your yarn weight, a tape measure, scissors, and a yarn needle for weaving in ends. Most patterns call for worsted weight yarn with a 5mm or 5.5mm hook — that gives you enough bulk to actually see those star shapes pop without making the fabric so stiff that it’s a chore to work with over a long session.
Yarn choice matters a bit more here than it does with a lot of other stitches. Because all that gorgeous texture comes from gathered loops, smooth, plied yarns are really going to show off those star motifs best. Rustic, fuzzy, or heavily textured yarns tend to swallow up the definition of the pattern — you’ll get a fabric that feels lovely, but you won’t really see the stitch doing its thing. Look for something labeled smooth or mercerized cotton, or a clean, consistently twisted acrylic. Reliable go-tos include Lion Brand Vanna’s Choice, Paintbox Simply DK, or a well-spun wool blend.
Color is worth thinking about too. Solid colors and subtle heathered tones let the stitch definition shine through most clearly, while highly variegated or self-striping yarns can compete with all that texture and make the finished piece look a little muddy. That said, soft gradients can be absolutely stunning here — the color shifts gently in the background while the star pattern stays front and center. When in doubt, just swatch it. A small test square will tell you everything you need to know about how your yarn and hook are going to play together before you commit to a full project.
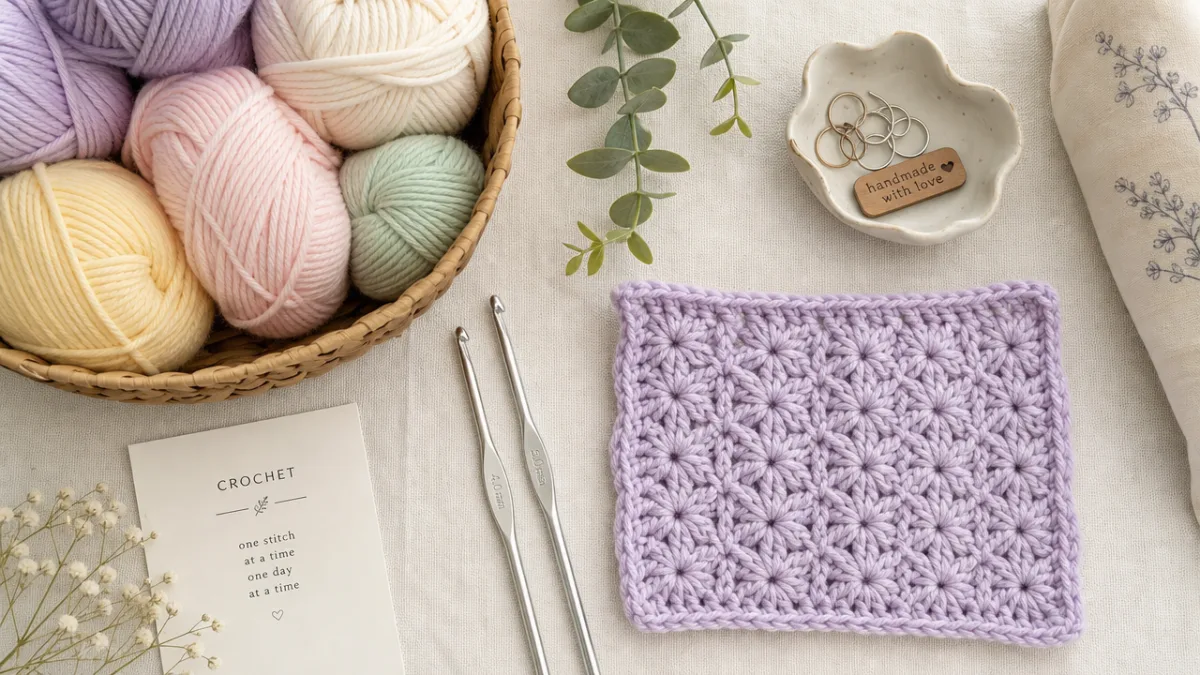
Understanding the Foundation and Stitch Anatomy
The Jasmine stitch needs a foundation chain that’s a multiple of two, plus any turning chains your specific pattern calls for. This is something worth paying attention to before you cast on, because starting with the wrong number of stitches will throw off the entire repeat and leave your pattern looking misaligned from the very first row. Most traditional Jasmine stitch patterns use that multiple-of-two setup, with the stars forming in alternating positions every other row — which is exactly what creates that gorgeous, staggered, all-over texture.
Each Jasmine star forms by drawing up a series of loops — usually five — through a combination of the stitch below and the chain stitches between previous star clusters. You insert your hook into the specified spot, draw up a loop, and repeat that across five entry points while keeping all the loops on your hook at once. Then you yarn over and pull through all five loops in one go, followed by a single chain stitch that locks the star closed and creates that raised, rounded center — the little detail that gives these motifs their satisfying three-dimensional look.
Getting familiar with this structure before you start will save you a lot of head-scratching later. If your loops are twisting or your stars look uneven, it almost always comes down to inconsistent tension on those drawn-up loops. Try to bring each loop up to roughly the height of your working row before pulling through, and keep your hook angle steady and your yarn tension relaxed but controlled. It’s really the one skill that makes the biggest difference with this stitch, and most people find it clicks into place after just a little practice.
Step-by-Step Instructions for the Jasmine Stitch
Start with your foundation chain in a multiple of two stitches. A chain of twenty-two is a nice size to practice with — it’s enough to work several full repeats and actually see the pattern come together. Once your chain is ready, you’ll begin the first row by working into the chain in a specific sequence of positions. This is the part where a lot of beginners trip up, so it’s always worth reading through the full row instructions once before you pick up your hook. That habit pays off whenever you’re learning something new.
To work your first Jasmine star, insert your hook into the second chain from your hook and draw up a loop. Leave that loop on the hook, then insert into the third chain and draw up another. Keep going through the fourth and fifth chains the same way, always leaving every loop on your hook as you go. You should end up with six loops on your hook counting your starting loop. Yarn over, draw through all six loops at once, then chain one to close and lock your first star. That closing chain-one becomes the top of the star and gives you an anchor point for the stars in the row that follows.
To work across the row, each new star begins by re-entering the same fifth chain where the previous star ended, drawing up a loop, then continuing into the next chains in sequence. That overlapping start is what links everything together and keeps the fabric continuous — no gaps or holes between your stars. At the end of the row, add the turning chains your pattern specifies, turn your work, and begin the second row the same way but offset by one position. That offset is what builds up the staggered arrangement of stars that makes this stitch look so rich and layered.
- Step 1: Create a foundation chain in a multiple of two stitches (e.g., 22 chains for practice).
- Step 2: Insert hook into the second chain from the hook and draw up a loop, keeping it on the hook.
- Step 3: Continue drawing up loops from the next three chains — you should have six loops total on your hook.
- Step 4: Yarn over and pull through all six loops at once, then chain one to close the star.
- Step 5: Begin the next star by re-entering the last chain used, overlapping into the next sequence.
- Step 6: Repeat across the row, turn work, and begin the next row offset by one stitch to stagger the motifs.
One thing to watch: your turning chain at the end of each row is more important than it might seem for keeping your edges clean and straight. The Jasmine stitch has a natural tendency to pull inward at the sides because of all those gathered loops, so working your edge stitches a little looser than the rest of the row can really help keep your width consistent. And don’t skip blocking when you’re done — it makes an enormous difference in how those stars settle into their final shape.
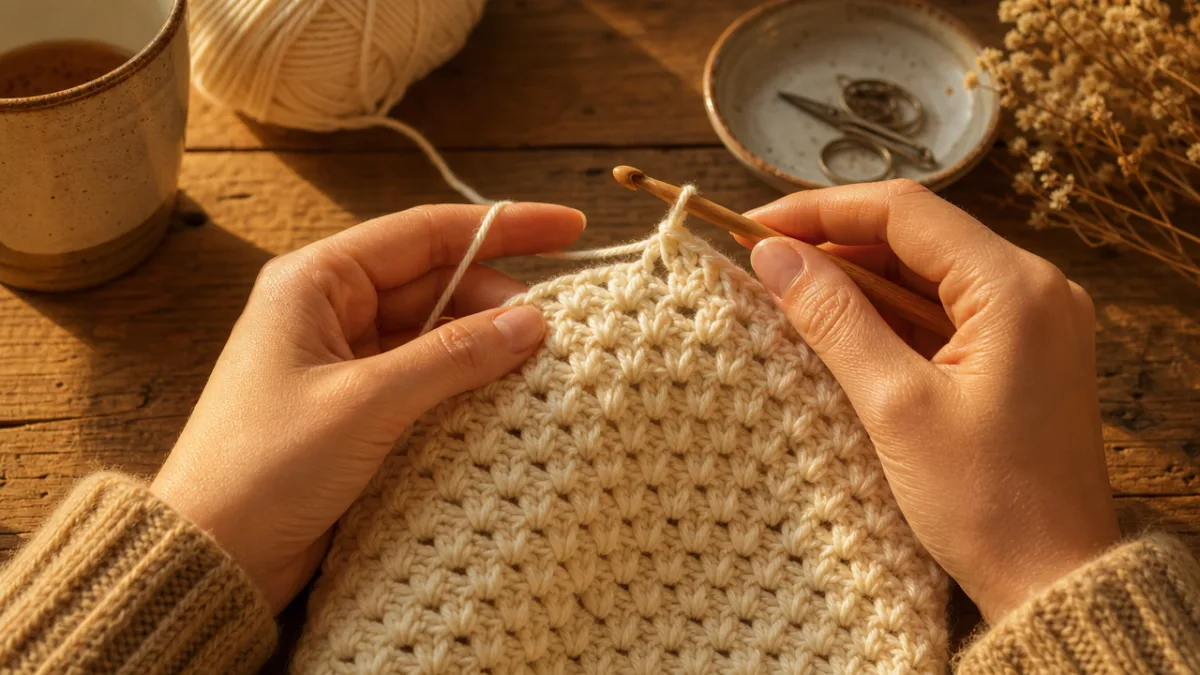
Tips for Tension, Gauge, and Common Mistakes
Tension is the biggest hurdle for most people when they’re learning this stitch. When you’re holding multiple loops on your hook at once before pulling through, it’s very natural to tighten your grip without even realizing it — and that compresses the loops and gives you stars that look small, lumpy, or uneven. The fix is to actively relax your hold on the yarn and let each drawn-up loop breathe at a consistent height before you complete the stitch. Think of it as a gentle inhale rather than a tight grip.
Gauge starts to matter a lot if you’re following a pattern with specific finished dimensions, like a blanket or scarf of a set size. Before starting any bigger project, work a swatch of at least four inches by four inches, count your stars per inch, and check it against whatever gauge the pattern specifies. Jasmine stitch fabric tends to be denser and thicker than regular crochet fabric, so your gauge can differ more than you’d expect from the pattern — especially if you naturally crochet tight or you’re working with an unfamiliar yarn.
The most common beginner slip-ups with this stitch are miscounting insertion points for each star, losing track of which chain-one closing stitch belongs to which star when you’re working the next row, and accidentally skipping that overlapping first insertion that links stars together. A really easy fix: drop a stitch marker into the chain-one closing stitch of each completed star while you’re still getting the pattern into your muscle memory. It takes two seconds and can save you from the very specific misery of having to rip back several rows because you caught a mistake too late.
Project Ideas Using the Jasmine Stitch
Once you’ve got this stitch down, so many beautiful project options open up. Baby blankets are probably the most popular choice, and it’s easy to see why — the dense, plush fabric is wonderfully soft and warm, and there’s something inherently sweet and whimsical about those little star motifs that feels right at home in a nursery. A baby blanket worked in soft white or cream fingering weight yarn comes out looking like a genuine heirloom, the kind of thing that gets kept and passed along. And it looks so much more complicated than it actually is, which is always a bonus.
Scarves and cowls are another great fit for this stitch, especially heading into fall and winter. A long rectangle of Jasmine stitch in a single solid color gives you a reversible scarf with beautiful, consistent texture on both sides — no wrong side to accidentally flip outward at the wrong moment. Cowls add a small amount of extra complexity when you work in the round, but the circular Jasmine stitch method is well documented and the seamless finished result is really worth it.
Home décor is another area where this stitch shines. Decorative throw pillows in the Jasmine stitch bring such rich, artisanal texture to a space, and they look especially good in neutral, earthy tones. Table runners, placemats, and wall hangings are all fair game too — because the fabric is so dense and structured, these pieces hold their shape beautifully on their own without needing stiffening or interfacing. If you’re looking for a project to make as a gift or to display somewhere prominent, this is a stitch that always impresses.
- Baby blanket: Work in a soft fingering or DK weight yarn in cream, white, or a pastel palette for a timeless, heirloom-quality gift.
- Infinity scarf or cowl: Use a bulky or super bulky yarn for fast, luxurious results that showcase the star texture dramatically.
- Throw pillow cover: Work a flat panel in a neutral worsted weight yarn, seam two together, and add an envelope closure at the back.
- Table runner: A long, narrow rectangle in cotton yarn makes a beautiful, textured centerpiece for dining tables or mantels.
- Tote bag: Work the Jasmine stitch in a sturdy cotton or jute yarn and seam into a bag form for a chic, handcrafted carry-all.
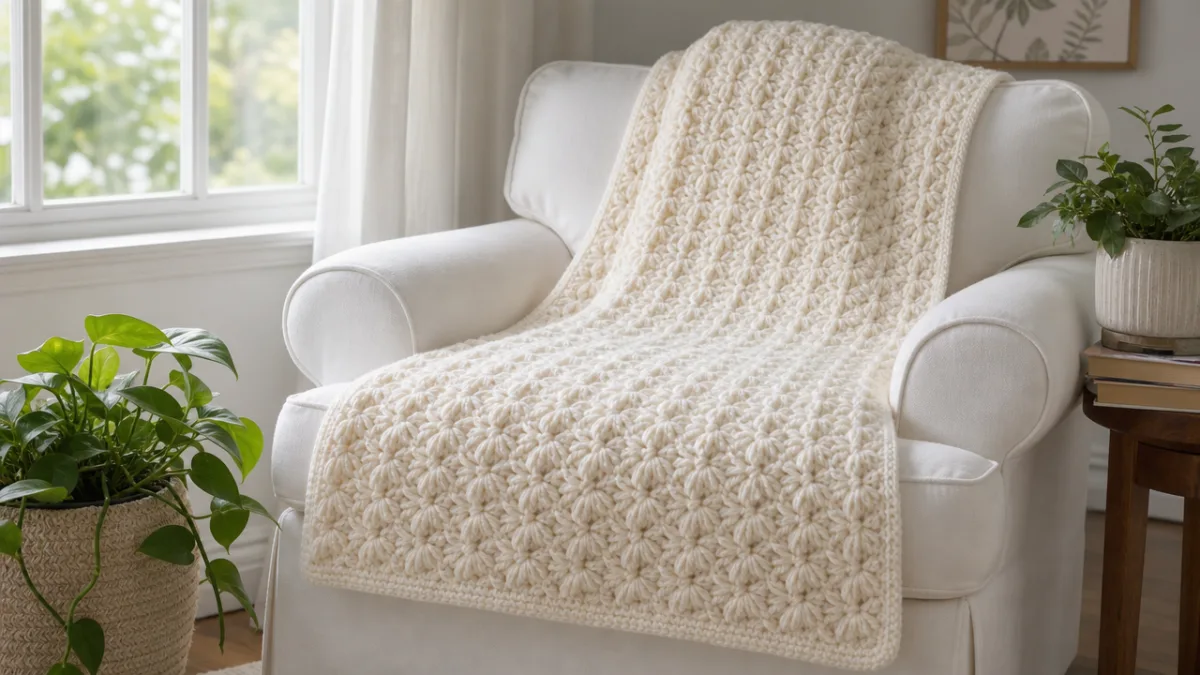
Finishing, Blocking, and Caring for Your Jasmine Stitch Project
How you finish a project is what takes it from “handmade” to “wow, did you make that?” Start by weaving in all your yarn ends securely with a yarn needle, running each tail back and forth through the dense fabric in at least two directions so it won’t wiggle free with wear or washing. Good news: because Jasmine stitch fabric is so thick and tightly built, ends actually stay put really well once they’re woven in. It’s one of the more satisfying things about working with this stitch regularly.
Blocking is genuinely transformative for Jasmine stitch projects, and it’s worth skipping at your own peril if you want the best possible result. Wet blocking — soaking the finished piece in cool water, gently pressing out the excess moisture without wringing, then pinning it to a foam blocking mat at the dimensions you want — opens up all those star motifs and lets them relax into their full, rounded shape. The difference between a blocked and unblocked piece is pretty remarkable. The stars become crisper, the edges straighten out, and the whole fabric drapes better. Let it dry completely flat before you unpin.
For day-to-day care, always check the fiber content of your yarn for washing guidance. Most acrylic Jasmine stitch projects can go in the washing machine on a gentle cycle and then be laid flat to dry. Wool and wool-blend pieces should be hand washed in cool water with a gentle wool wash and blocked again after each wash to keep their shape. Cotton is the most easygoing of the bunch — it handles machine washing well and actually tends to get softer and drapier the more you wash it. Whatever fiber you’re working with, keep it away from high heat in both washing and drying. Heat can permanently flatten those carefully built-up star motifs, and after all the work you put into them, that’s the last thing you want.








What do you think?
It is nice to know your opinion. Leave a comment.