










🚀 Dive into Fun with DIY Submarine for Kids! 🌊
Why DIY Submarines Are the Ultimate Kids’ Craft Project
There’s something about submarines that just captures kids’ imaginations like almost nothing else. The idea of slipping beneath the waves and exploring a hidden world down there — it’s the kind of thing that makes a child’s eyes go wide. And when you take that natural sense of wonder and channel it into a hands-on building project, you’ve got a recipe for one of the most genuinely fun and meaningful craft experiences a kid can have. DIY submarines bring together creativity, a little basic engineering, and a whole lot of joy in a way that’s pretty hard to beat.
What’s really cool is how much kids actually learn without realizing it. When they’re measuring, cutting, assembling, and decorating, they’re quietly picking up concepts from science, engineering, and math — the stuff schools are always trying to make exciting. They start to understand things like buoyancy and water displacement not because someone explained it at a whiteboard, but because they experienced it firsthand. That kind of learning sticks in a way that textbooks really can’t replicate.
And honestly? There’s nothing quite like watching a kid hold up something they built with their own hands. Whether their submarine floats gracefully or sinks straight to the bottom of the bathtub (which, let’s be real, is also hilarious and educational), they feel proud and capable and ready to tackle whatever comes next. Starting with something beginner-friendly like a cardboard or plastic bottle submarine is a perfect first step into the wider world of making things, and that confidence tends to snowball from there.
Materials You Will Need to Build Your DIY Submarine
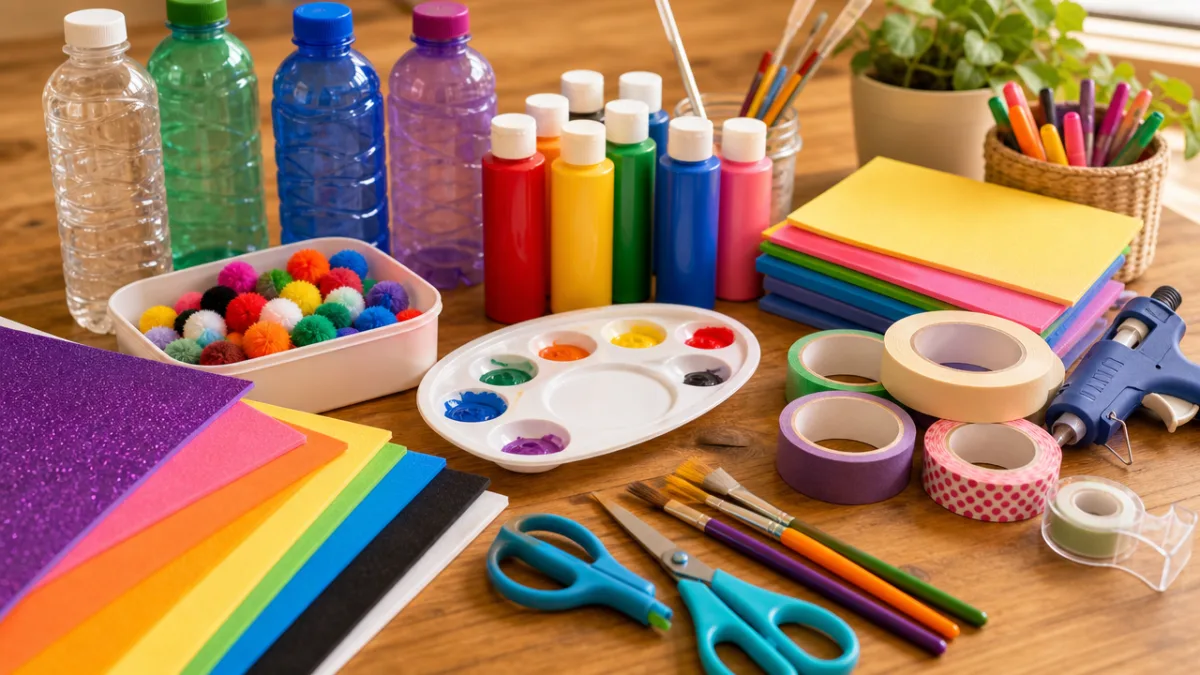
Here’s one of the best parts of this project: you probably already have most of what you need. No expensive tools, no specialty equipment — just a quick rummage through the recycling bin and maybe a small trip to the craft store. That accessibility is a big part of what makes this such a great activity. Before you dive in, it’s worth laying everything out on your workspace first so the building process flows smoothly and nothing goes missing in the chaos of an excited kid ready to get started.
The go-to approach is using plastic bottles as the main hull, and for good reason — they’re lightweight, already waterproof, and free. A two-liter soda bottle makes a great main body, while smaller bottles or cardboard tubes can become the conning tower, periscope, and fins. You’ll also want some waterproof tape, craft foam, acrylic paint in whatever ocean-y colors you like, and a hot glue gun (that part’s for grown-ups). If you want your sub to actually float and experiment with buoyancy, a small balloon tucked inside can act as a basic ballast system.
Here’s a handy checklist of what you’ll typically need:
- One large two-liter plastic bottle (main hull)
- One or two smaller plastic bottles (conning tower and ballast sections)
- Cardboard or foam sheets for fins and decorative panels
- Waterproof tape (duct tape or packing tape work well)
- Acrylic or waterproof paint in grays, greens, or yellows
- Hot glue gun and glue sticks (adult supervision required)
- Permanent markers for adding details and portholes
- Small balloons or ping-pong balls for buoyancy experiments
- Pipe cleaners or drinking straws for periscopes and antennae
- Stickers, sequins, or craft gems for decorating the finished vessel
Gathering supplies is also a great moment to chat with your kid about what each piece actually does. Tell them the big bottle is the hull that holds the whole thing together, or that the fins help the submarine steer. Suddenly the supply run becomes its own little mini science lesson, and kids who understand the “why” behind each part tend to ask way better questions once the building starts — and get a lot more out of it.
Step-by-Step Guide to Building Your DIY Submarine
Alright, materials are ready and the workspace is set — time to build. Start by rinsing out your plastic bottle and peeling off any labels so you’ve got a clean surface to work with. This is actually a great job for younger kids; while they’re scrubbing and peeling, older kids or adults can start prepping the other components. Giving everyone a small task from the start keeps the whole crew engaged and feeling useful.
Next up are the fins. Use scissors or a craft knife (adults only on the cutting) to shape your foam or cardboard into stabilizer fins and a rudder. Real submarines typically have two horizontal fins at the rear and a vertical one, but kids should feel free to get creative here — more fins, different shapes, whatever they want. Attach them to the lower rear section of the bottle with waterproof tape or hot glue, and take a moment to talk about symmetry: fins that are balanced on both sides will actually help the sub move more smoothly through water, just like on a real one.
The conning tower — that raised section you see on top of a submarine — can be made from a smaller bottle or a piece of cardboard tube glued upright near the center of the hull. Poke a drinking straw through the top to make a periscope, and suddenly the whole thing looks remarkably convincing. Once all the structural bits are in place, let the glue dry completely before you move on to painting. It’s tempting to rush this part, but patience here really does pay off later when nothing falls apart mid-mission.
Follow these steps in order for the best results:
- Clean and dry your main hull bottle completely.
- Cut and shape fins and stabilizers from foam or cardboard.
- Attach fins to the rear of the hull using waterproof tape or hot glue.
- Build and attach the conning tower to the top center of the hull.
- Add a periscope using a drinking straw or pipe cleaner.
- Allow all glued joints to dry for at least thirty minutes.
- Apply a base coat of gray or green acrylic paint to the entire vessel.
- Add portholes, panel lines, and decorative details using markers or paint.
- Decorate with stickers, gems, or any creative embellishments your child loves.
- Seal the finished submarine with a coat of clear waterproof sealant if it will be used in water.
Decorating and Personalizing Your Submarine
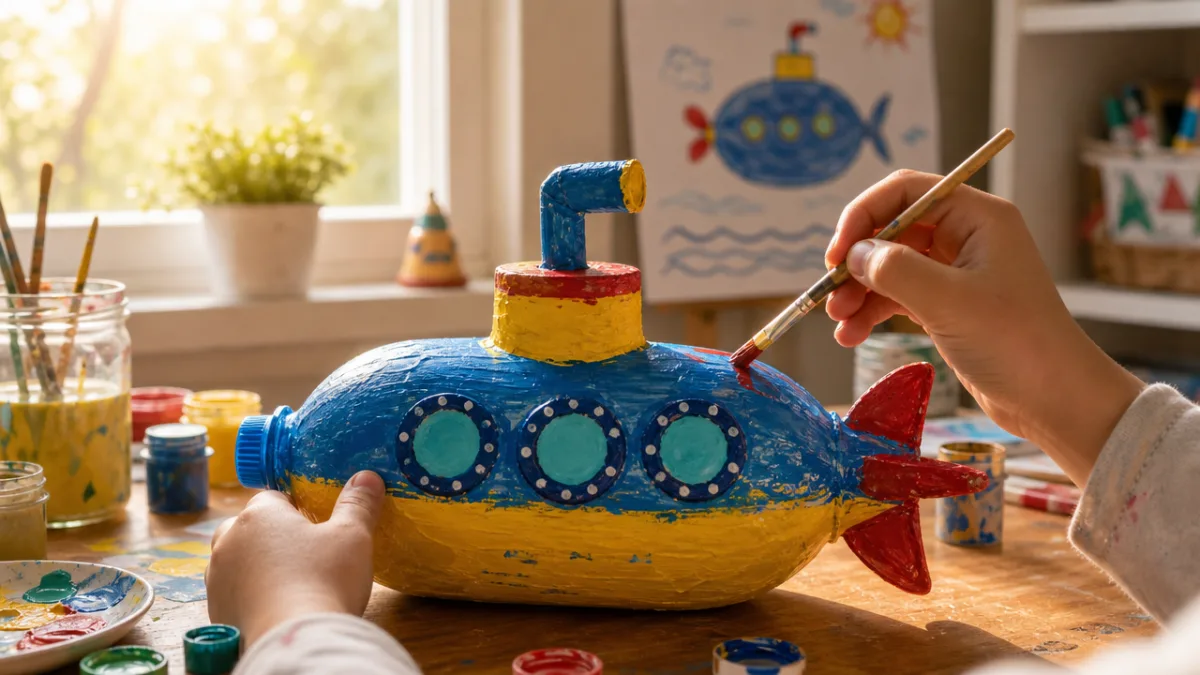
Once the structure is solid and the base coat has dried, it’s time for everyone’s favorite part: making it actually theirs. Decorating is where a lot of kids really come alive with this project, and there’s no wrong direction to go. Some kids want a serious, realistic military submarine in dark gray or olive green. Others want something bright and cheerful that looks like it belongs in a cartoon. Both are completely great — follow the kid’s lead, always.
Drawing portholes along the hull with a permanent marker is one of those simple touches that makes the whole thing look incredibly convincing. Kids can imagine whoever’s peering out of those portholes at the strange and beautiful things drifting by outside. Adding fine panel lines and little rivet dots with a thin marker gives it that industrial, constructed look — genuinely impressive for a project made from a soda bottle. For extra texture, small pieces of crumpled aluminum foil glued on here and there make surprisingly realistic-looking hatches and vents.
Ocean-themed sticker sets are also a fantastic finishing touch and are easy to find at craft stores or online. Fish, bubbles, anchors, sea creatures — kids can arrange them around the hull to suggest the underwater world the sub is traveling through. Cut adhesive craft foam into number decals or name tags to give the vessel an official registration number, or better yet, let your child name the whole thing. “The Deep Diver,” “Ocean Explorer,” “U.S.S. Adventure” — whatever they choose, it instantly transforms the submarine from a craft project into something with a story and a personality.
Turning the Build into a Science Lesson About Buoyancy
A DIY submarine is basically a perfect excuse to talk about buoyancy, and the cool thing is that kids can actually see it happening in real time. The principle goes back to Archimedes, who figured out that anything submerged in a fluid gets pushed upward by a force equal to the weight of the fluid it displaces. That’s why massive metal ships float — and it’s the same reason real submarines can sink and surface on command. It sounds complicated, but once a kid watches their own creation bob around in a tub of water, it clicks in a way that a classroom explanation never quite manages.
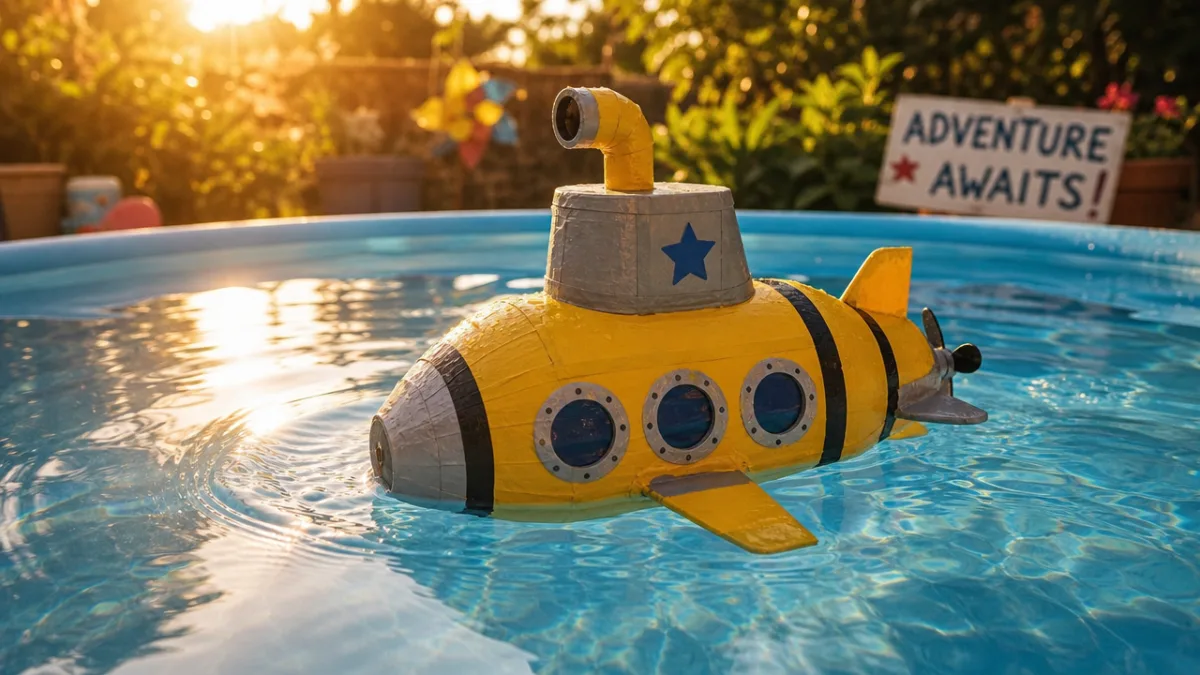
After the submarine is built and decorated, set up a testing station — a bathtub, a big basin, a kiddie pool, whatever you’ve got. Put the sub in the water and see what happens. Does it float? Does it tilt? Does it sink entirely? If it leans to one side, that’s a natural opening to talk about weight distribution and balance. Try sticking small bits of modeling clay to different spots on the submarine and retesting each time. Kids can literally watch how moving weight around changes the way the vessel sits in the water, which is exactly what real submarine crews do to control depth and attitude.
For an even more dramatic experiment, tuck a small ziplock bag partially filled with air inside the hull before sealing it. That air pocket mimics a real submarine’s ballast tanks, giving it extra buoyancy. Then slowly add water to the bag and reseal it — as the water replaces the air, the sub rides lower and lower in the water. It’s a simple setup, but watching it work makes the concept of variable ballast feel like something you can actually hold in your hands. Real physics, real submarines, real fun.
Extending the Fun with Submarine-Themed Play and Storytelling
The build is just the beginning. Once the submarine is finished, it becomes a launchpad for imaginative play that can go on for weeks — or honestly longer. Kids are really good at building rich narrative worlds around things they’ve made themselves, and submarines are especially evocative. Hidden depths, strange creatures, secret missions, underwater mysteries — the stories practically write themselves. Encouraging kids to name the sub, assemble a crew from their action figures or dolls, and set off on pretend adventures keeps the engagement going long after the glue has dried.
You can extend the whole theme pretty easily from there. Read submarine books together, watch an age-appropriate ocean documentary, or look up whether there’s a maritime museum anywhere near you. Introduce them to people like Jacques Cousteau, who spent his life exploring the underwater world and basically invented the idea of bringing the deep sea to the surface for everyone to see. Finding out that real humans have actually descended to the deepest points of the ocean in specially built submersibles tends to make kids feel like the world is even bigger and more exciting than they realized.
Storytelling can even be woven right into the building process. As each piece goes on, ask your child what it does on this particular submarine’s mission. Who’s the captain? What are they looking for down there? Sunken treasure? A rare sea creature nobody’s ever photographed? A secret underwater research base that needs supplies? Those narrative threads transform the craft session into a full-scale imaginative expedition, and the finished submarine becomes an artifact from a world the child has actually created. That’s genuinely powerful — and it makes the whole thing a lot more memorable than just a cool craft project.
Tips for Success and Keeping the Fun Going
A few practical things can make a real difference between a build that feels smooth and fun versus one that ends in tears. The biggest one: match the project to the child’s age and skill level. Kids between three and five are going to get the most joy out of the decorating and painting side of things, so let an adult or older sibling handle the structural assembly while the little ones go wild with the creative finishing touches. Kids six to ten can take on more of the actual building steps with some supervision, and older kids and teens can often run with more ambitious versions of the design entirely on their own.
Breaking the project into sessions rather than pushing to finish it all in one go also tends to produce much better results, especially with younger kids. Do the structural assembly in one sitting, let it dry overnight, and come back to painting and decorating the next day. What this also does, unexpectedly, is build anticipation. A kid who goes to bed knowing their submarine hull is drying in the garage wakes up genuinely excited — eager to see how it looks, ready to dive into the fun part. That ongoing excitement is one of the real pleasures of any multi-stage project.
And finally, don’t stress about perfection. A submarine with slightly uneven fins, paint that wandered outside the lines, or a conning tower that leans just a little bit isn’t a failed project — it’s a handmade one, full of character. The goal was never a flawless replica. It was the experience of making something, the science that snuck in through the back door, the conversations you had along the way, and the pride on a kid’s face when they hold it up and show everyone what they built. Every wobbly porthole and paint drip is part of that story, and that story is always worth telling.








What do you think?
It is nice to know your opinion. Leave a comment.