










Creative Home Office Studio Setup — Artist Desk Inspiration
Designing Your Creative Sanctuary: Where Art Meets Functionality
Creating a home office studio that truly inspires you requires more than simply pushing a desk against a wall and calling it a workspace. The most compelling artist studios are intentionally designed environments where every element — from the lighting to the storage systems — serves both a practical and an aesthetic purpose. When you treat your workspace as a living expression of your creative identity, you naturally find yourself more motivated, more focused, and ultimately more productive in your artistic endeavors.
The first step toward building a genuinely inspiring studio setup is understanding your own creative workflow. Some artists thrive in minimalist environments with clean surfaces and very few visual distractions, while others draw energy from surrounding themselves with reference materials, mood boards, tools, and collected objects that spark their imagination. Neither approach is inherently superior, but knowing which camp you belong to will inform every decision you make, from the size of your desk to the color of your walls and the number of shelves you install.
Consider the type of work you primarily produce when planning your layout. A digital illustrator has fundamentally different needs than a watercolor painter or a graphic designer who splits time between physical sketching and screen-based refinement. Digital creators may prioritize monitor placement, cable management, and ergonomic seating, while traditional media artists need ample flat surface space, dedicated drying areas, and accessible tool storage that keeps supplies visible but protected from dust and accidental damage.
Assessing Your Space and Setting Your Vision
Before purchasing a single piece of furniture or equipment, spend time truly assessing the room or area you plan to dedicate to your studio. Measure the dimensions carefully and note the location of windows, electrical outlets, and any architectural quirks that might influence your layout. Natural light is arguably the most valuable asset a creative workspace can have, so plan around your windows first and build everything else outward from there, treating light as the anchor of your entire design.
Sketch out several different configurations on paper before committing to any one arrangement. Think about traffic flow — how you move through the space during a typical creative session — and identify any bottlenecks or awkward reaches that might disrupt your rhythm. The best studio layouts feel almost invisible when you are working in them; you reach for a tool and it is exactly where your hand expects it to be, without conscious thought interrupting the creative process.
Creating a vision board for your studio can be an enormously helpful exercise, and it is fitting that an artist would approach their own workspace design with the same visual thinking they bring to their work. Collect images of studios, desks, shelving arrangements, and color palettes that resonate with you. Look for recurring themes across those images — a preference for warm wood tones, open shelving, industrial metal accents, or soft neutral palettes — and allow those patterns to guide your purchasing and styling decisions into a coherent whole.
Choosing the Perfect Desk: The Heart of Your Creative Setup
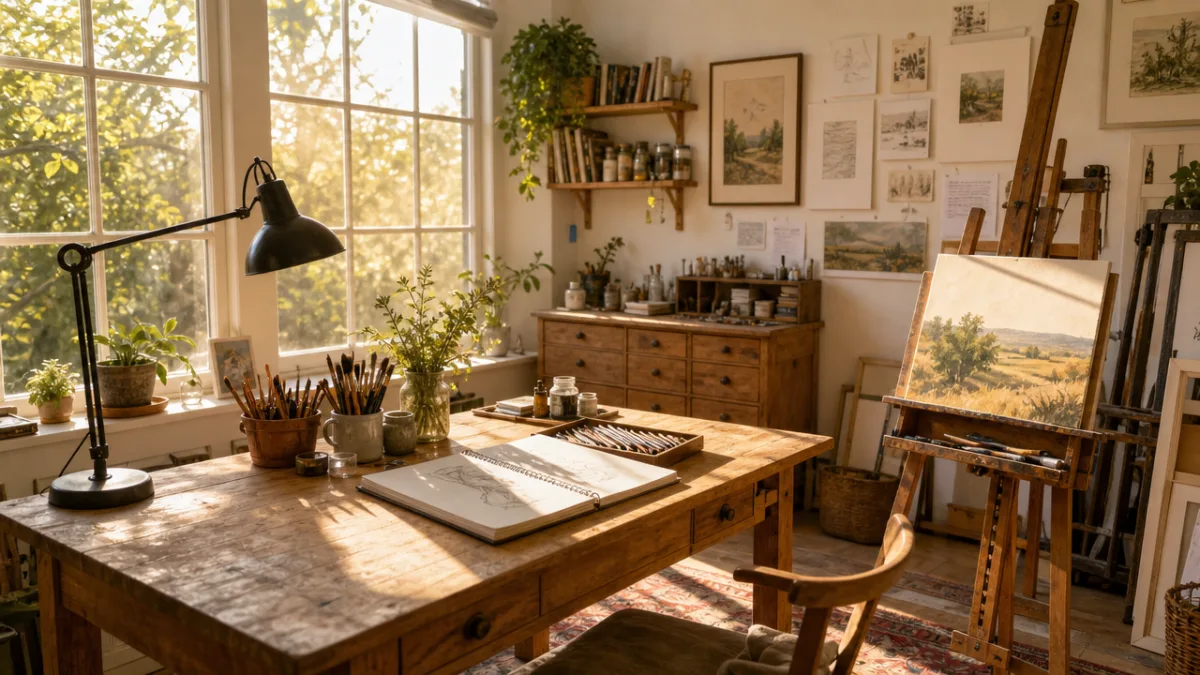
The desk is unquestionably the centerpiece of any artist studio, and choosing the right one deserves serious consideration. For most creative professionals, a larger surface area is almost always preferable to a smaller one, even if the room feels slightly crowded as a result. Having room to spread out reference images, sketchbooks, and tools alongside your main working area eliminates the frustrating habit of constantly stacking and unstacking items just to access what you need, which subtly erodes both your time and your creative momentum.
Height-adjustable or standing desks have become increasingly popular among creatives who spend long hours at their workstations, and for good reason. Being able to shift between sitting and standing throughout the day reduces physical fatigue, promotes better posture, and can even stimulate different types of thinking. Many artists report that standing encourages broader, more gestural movements when sketching or working on large-format pieces, while sitting tends to support detailed, precision-focused work — having the flexibility to switch between these modes is a genuine ergonomic and creative advantage.
L-shaped or corner desk configurations are particularly well-suited to creative studios because they create distinct zones within a single continuous workspace. You might dedicate one arm of the L to your digital setup — monitor, drawing tablet, keyboard — while reserving the other for physical media, sketchbooks, and reference materials. This kind of intentional zoning means you can pivot from one type of work to another in seconds without rearranging your entire setup, which keeps your creative momentum intact during those hybrid working sessions that blur the line between digital and analog.
Selecting the Right Chair and Ergonomic Accessories
No studio setup is complete without a chair that genuinely supports your body through extended creative sessions. Many artists make the mistake of prioritizing aesthetics over ergonomics when choosing seating, opting for a beautiful vintage stool or a stylish mid-century chair that looks wonderful but provides little lumbar support. While visual appeal certainly matters — you want to love every element of your workspace — a chair that causes back pain after two hours of work will ultimately cost you far more in lost productivity and physical discomfort than you save by choosing a cheaper or trendier option.
Look for chairs with adjustable seat height, armrest positioning, and lumbar support that can be tailored specifically to your body and your desk height. The ideal seated position places your feet flat on the floor, your knees at roughly a ninety-degree angle, your forearms parallel to the desk surface, and your eyes level with the top third of your primary monitor or work surface. Getting this geometry right dramatically reduces the neck, shoulder, and wrist strain that plagues so many creative professionals who spend their working days hunched over screens or drawing surfaces.
Beyond the chair, consider supplementary ergonomic accessories that can further protect your body and enhance your workflow. A monitor arm allows you to position your screen at the precise height and distance that suits your vision and posture without being constrained by a fixed stand. A wrist rest for your keyboard and mouse reduces repetitive strain for digital artists. For traditional media artists, a drafting table angle that tilts your working surface toward you reduces neck strain compared to working flat. These small investments compound over time into significantly better physical health and longer, more comfortable creative sessions.
Lighting Your Studio: The Most Underrated Element of Creative Spaces
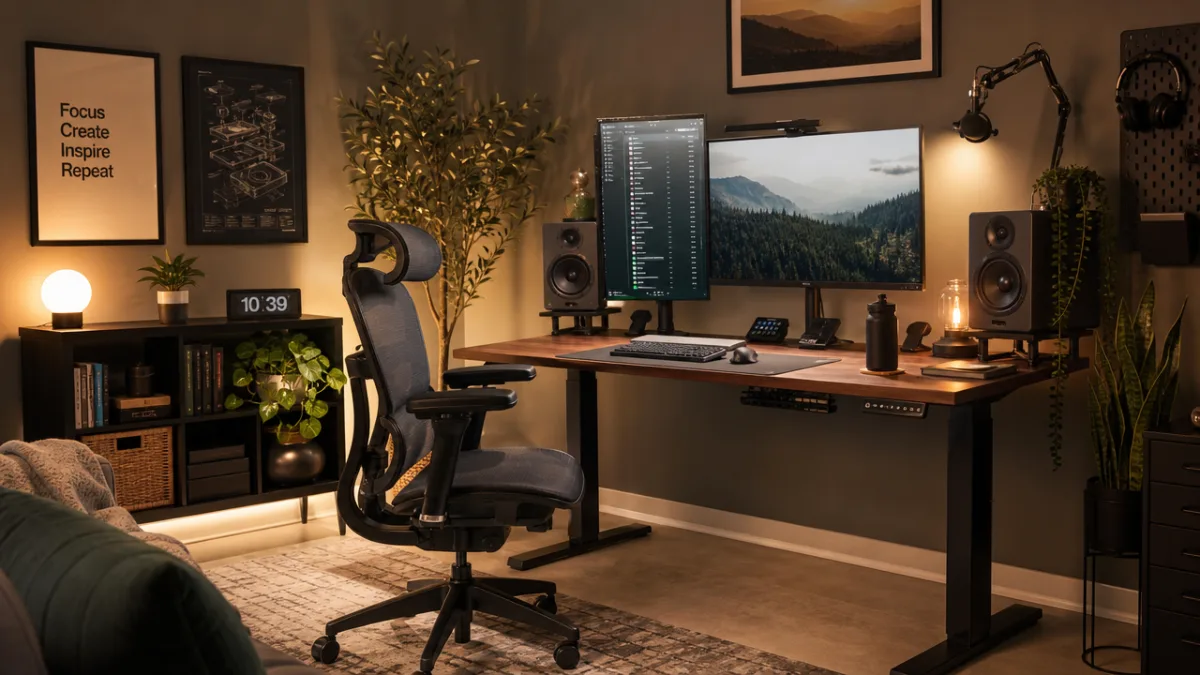
Lighting may be the single most transformative element of any creative studio, yet it is frequently treated as an afterthought by artists who are busy focusing on furniture and storage. The quality, direction, temperature, and intensity of light in your workspace profoundly affects not only your ability to see your work accurately but also your mood, energy levels, and even your perception of color. Getting your lighting right is one of the highest-return investments you can make in your studio environment, and it rewards careful planning generously.
Natural daylight is the gold standard for artist studios because it renders colors most accurately and provides a full spectrum of light that artificial sources rarely replicate perfectly. North-facing windows are traditionally preferred by painters and illustrators because they provide consistent, indirect light that does not shift dramatically as the sun moves across the sky. If your studio has east or west-facing windows, consider diffusing curtains or shades that soften direct sunlight into an even, flattering glow without blocking the room entirely from the benefits of natural illumination.
Artificial lighting should be layered across three distinct categories: ambient lighting that fills the room evenly, task lighting that illuminates your specific work surface directly, and accent lighting that can highlight shelving, artwork, or decorative elements and contribute to the overall atmosphere of the space. For artists working with color-sensitive media, look for light bulbs rated at a color rendering index of ninety or above and a color temperature between five thousand and six thousand five hundred Kelvin, which closely approximates natural daylight and helps ensure that the colors you mix or choose on screen translate accurately to the real world.
Smart Lighting Solutions for Modern Studios
Smart lighting systems have opened up exciting new possibilities for studio customization that were not available to creatives even a decade ago. With programmable LED strips, smart bulbs, and scene-based lighting controllers, you can create completely different lighting environments for different types of work or different times of day. A warm, low-intensity scene might be perfect for brainstorming sessions and mood board reviews in the evening, while a bright, cool-toned setup maximizes visibility and color accuracy during focused execution work.
Bias lighting — the practice of placing a light source behind your monitor — is a technique borrowed from professional color grading environments that significantly reduces eye strain for digital artists who spend hours staring at screens. By illuminating the wall behind your display, bias lighting reduces the contrast between the bright screen and the dark surrounding environment, which is a primary driver of eye fatigue. LED strips in a neutral daylight tone placed along the back edge of a monitor or mounted behind it offer an inexpensive and highly effective solution to this common problem.
Do not underestimate the psychological and motivational power of ambient and accent lighting in your studio. Warm Edison bulbs on a dimmer switch above open shelving, backlit floating shelves that glow softly behind displayed art supplies, or a simple LED strip beneath a floating desk can transform a functional workspace into a genuinely atmospheric creative retreat. These touches signal to your brain that this is a special space — a place set apart for creative work — and that psychological priming can meaningfully improve both the quantity and quality of time you choose to spend there.
Storage and Organization: Systems That Inspire Rather Than Constrain
For artists and creative professionals, storage is not merely about tidiness — it is about accessibility, visibility, and the kind of serendipitous discovery that happens when you can see all of your supplies at once. The right storage systems keep your tools within reach without cluttering your working surface, and they make the act of finding and returning tools effortless enough that it never interrupts creative flow. Poorly designed storage, by contrast, creates friction at every point in the creative process, from setup to cleanup, that gradually erodes your enthusiasm for spending time in the studio.
Open shelving is one of the most popular and effective storage approaches for artist studios because it keeps supplies visible and easily accessible while also allowing you to display beautiful or inspiring objects alongside functional items. Deep shelves work well for large containers, binders, and equipment, while shallower shelves at eye level are ideal for jars of brushes and pens, paint tubes arranged by color, sketchbooks, and reference books that you reach for regularly. The visual rhythm of well-organized open shelving can itself become a source of inspiration, turning your storage into a living display of your creative materials and interests.
For supplies that are less visually appealing or that you want to protect from dust, consider a combination of closed storage — drawers, cabinets, and lidded boxes — with clear labeling systems that make retrieval just as quick and intuitive as open shelving. Modular storage systems like those offered by IKEA, MUJI, or various art supply brands are particularly useful because they can be reconfigured as your practice evolves and your collection of materials changes over time. Investing in storage that grows and adapts with you is far wiser than purchasing purpose-built solutions that become obsolete the moment your workflow shifts.
Organizing by Workflow and Frequency of Use
The most effective studio organization systems are built around workflow logic rather than arbitrary categories. Rather than simply grouping all paints together and all papers together, think about which tools and supplies you reach for during each phase of your creative process and position them accordingly. Items you use in every single session should be within arm’s reach of your primary work position. Things you use weekly might live on nearby shelving. Materials you use only occasionally can be stored in less accessible cabinets or bins without meaningfully disrupting your daily practice.
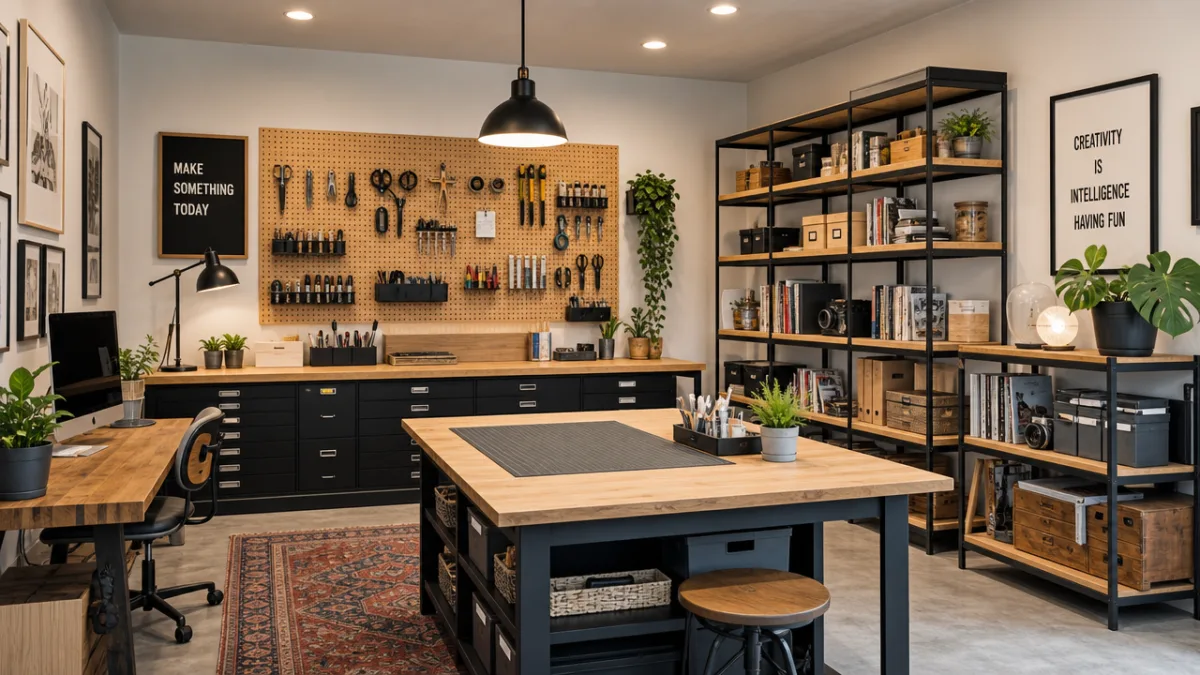
Pegboards mounted above or beside your desk are a beloved staple of creative studios for good reason — they offer infinitely reconfigurable vertical storage that keeps frequently used tools completely visible and accessible without consuming precious desk surface. A well-appointed pegboard might hold scissors, rulers, tape, markers, headphones, cables, and small containers of miscellaneous supplies in a customized arrangement that perfectly mirrors the way you actually work. The visual appeal of a neatly organized pegboard also contributes to the overall aesthetic atmosphere of a studio in a way that closed drawer storage simply cannot replicate.
Labeling and maintaining your organization system is where many creative spaces gradually descend into chaos, and building habits around this is as important as the initial setup. Designating a specific place for every single item in your studio — and genuinely returning things to those places after each session — prevents the accumulation of visual and physical clutter that makes workspaces feel stressful and uninviting over time. Consider ending each creative session with five minutes of reset and organization, treating it as a ritual that closes out one session while preparing the stage for the next, rather than a chore you reluctantly squeeze into an already busy day.
Personalizing Your Studio: Infusing Your Creative Identity into the Space
A truly great artist studio is not just a functional workspace — it is an environment that reflects and amplifies your unique creative identity. The personal touches you bring to your studio, from the art displayed on the walls to the objects collected on shelves and windowsills, create a visual environment that resonates with your sensibilities and reminds you, every time you sit down to work, of who you are as a creator and what kind of work you aspire to make. Personalization is not a luxury or an indulgence; it is a meaningful contributor to creative motivation and a sense of ownership over your practice.
Displaying your own finished work prominently in your studio serves both practical and psychological purposes. Practically, it allows you to study your own work in the context of daily life and catch details or issues you might miss when viewing pieces only in the moment of their creation. Psychologically, surrounding yourself with evidence of your own accomplishments provides a constant, tangible reminder of your capabilities and your growth as an artist. It is far more motivating to work in a space that celebrates your past achievements than one that feels blank and indifferent to your creative history.
Mood boards, inspiration walls, and curated collections of images, swatches, textures, and objects are standard features of professional creative studios for good reason — they externalize the visual thinking that drives creative work and make it available for reference and stimulation throughout the working day. A dedicated wall or large pinboard where you can assemble and rearrange visual references, color stories, and inspirational imagery gives your subconscious something to work with even during the parts of a session when your conscious attention is focused elsewhere. Many artists report that solutions to creative problems they were consciously struggling with arrive during moments of glancing at their inspiration walls rather than staring directly at the work in question.
Plants, Textures, and the Sensory Environment
The sensory environment of a creative studio extends well beyond what you can see. The textures of surfaces you touch, the presence or absence of living plants, the scents in the air, and even the acoustic character of the room all contribute to how you feel while working and, by extension, to the quality of work you produce. Many artists find that working in a space with some natural greenery — even a handful of simple, low-maintenance houseplants — significantly improves their mood and sense of well-being during long creative sessions, and the research on plants and indoor air quality supports this intuition with measurable data.
Acoustic management is another underappreciated dimension of studio design that becomes increasingly important as creative professionals work at home alongside partners, children, or other potential sources of distraction and noise. Soft furnishings, rugs, bookshelves full of books, acoustic panels disguised as artwork, and heavy curtains all absorb sound and reduce the harsh, distracting quality of echoey hard-surfaced rooms. A studio that sounds good — meaning it is quiet, acoustically warm, and insulated from external noise — allows deeper concentration and makes the experience of working in it significantly more pleasant.
Finally, remember that the best studio setup is not a static achievement but an evolving project that should grow and shift alongside your practice. Give yourself permission to rearrange, experiment, upgrade, and completely reimagine your space as your work changes and your needs develop over time. The artists with the most inspiring studios are typically those who approach their workspace with the same curiosity, intentionality, and willingness to iterate that they bring to their creative work itself — treating the studio not as a finished product but as an ongoing, living creative project in its own right.
- Invest in adjustable, high-quality lighting as your single highest-priority studio upgrade, since it affects every other aspect of your work and your wellbeing in the space.
- Choose a desk size generously — most artists consistently report wishing they had more surface area rather than less, regardless of the scale of their current projects.
- Build storage around your workflow rather than arbitrary categories, placing the most frequently used items within immediate reach of your primary working position.
- Layer personal inspiration throughout the space with your own finished work, mood boards, and curated reference materials that reflect and stimulate your creative identity.
- Treat ergonomics as non-negotiable, since a chair, monitor position, or surface height that causes physical discomfort will ultimately limit your creative output far more than any aesthetic shortcoming in your studio.
- Plan for evolution by choosing modular, reconfigurable storage and flexible furniture arrangements that can adapt as your practice grows and changes over time.








What do you think?
It is nice to know your opinion. Leave a comment.