










10 Phases of Home Building Every Homeowner Should Know
Building a home from scratch is one of the biggest things you’ll ever take on in your life. It’s a mix of financial commitment, creative vision, a whole lot of planning, and honestly — a lot of patience. Getting familiar with the phases of construction before you ever break ground can make the difference between a smooth, exciting experience and a stressful, expensive mess. Whether you’re building for the first time or just want to understand the process better, this guide walks you through every major stage so you know exactly what’s coming.
A lot of homeowners assume construction kicks off the moment a permit gets approved. But the truth is, the process starts way earlier than that — sometimes weeks or months before anyone touches the land. Understanding the full timeline helps you ask smarter questions, anticipate delays, keep your budget in check, and actually feel confident at each milestone rather than anxious. The ten phases here reflect the standard sequence most residential builders follow, though the details will vary a bit depending on where you live, who you hire, and how complex your design is.
Phase 1: Planning, Design, and Pre-Construction
The first phase of building a home has nothing to do with shovels or lumber — it starts with ideas. Your ideas. What do you want your home to look like? How do you want it to feel? During this stage, you’ll work with an architect or home designer to turn that vision into actual blueprints. Those drawings need to account for every room, window, door, and structural element. Depending on how complex your floor plan is and how many back-and-forth revisions you go through, the design process can take anywhere from a few weeks to several months.
Once the plans are locked in, they get submitted to your local municipality for permitting approval. Building permits exist to make sure your home meets local zoning laws, safety codes, and environmental regulations. First-time builders often underestimate how long this part takes. In some areas, you can get approval within a week. In others, it might take months — especially if your property needs special variances or environmental reviews. You can’t legally start construction until every required permit is in hand, so starting this process early is one of the best things you can do.
Pre-construction is also when you finalize your budget, pick your general contractor, and sign your construction agreement. Get everything in writing — payment schedules, material specs, projected timelines, warranty terms, all of it. Skipping the fine print now almost always leads to expensive disagreements later. A thorough pre-construction phase sets the tone for the entire project and makes sure you and your builder are starting from the same page.
Phase 2: Site Preparation and Foundation
With permits in hand and contracts signed, it’s finally time to get to work on your land. Site prep means clearing trees, rocks, and debris, grading the land so water drains properly, and marking out exactly where your home will sit. Excavation crews dig down to the right depth for your foundation type — whether that’s a basement, crawl space, or slab. Before the foundation gets poured, any underground utilities that need to go in first — sewer lines, water supply pipes, sometimes electrical conduits — are installed at this stage too.
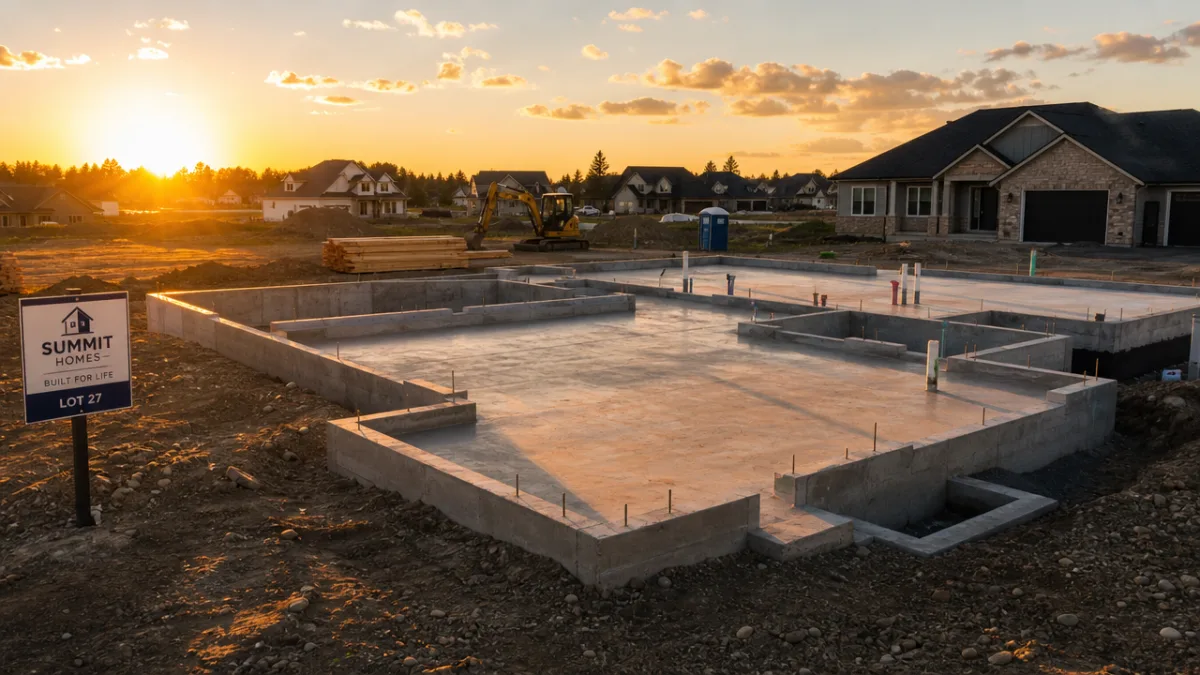
The foundation is arguably the most important structural element of your entire home. It carries the full weight of everything above it and has to be engineered for the specific soil conditions on your lot. Most residential foundations use poured concrete or concrete block. Before pouring, workers set reinforcing steel rebar inside the forms to add tensile strength. Then the concrete needs time to cure properly — a process that takes several days under good conditions — before any framing work can start on top of it.
After the foundation is poured and cured, a waterproofing membrane gets applied to the exterior below-grade walls to keep moisture out. Drainage systems, including footing drains, are put in to route groundwater away from the structure. A final inspection is usually required before moving on. The inspector confirms the foundation meets code and that the dimensions match the approved blueprints. Passing this one is a big deal — it’s the end of all the underground work, and everything from here on happens above ground.
Phase 3: Framing
Framing is the phase where construction finally starts to feel real. This is when your home takes on its actual three-dimensional shape. Crews put up the structural skeleton using dimensional lumber, engineered wood, or steel — whatever your design calls for. Walls go up first, then floor systems, then the roof structure. Watching your home’s silhouette rise against the sky is honestly one of the most exciting moments in the whole build, and it tends to happen faster than most people expect. A standard single-family home can be fully framed in just one to two weeks when the weather cooperates.
Framing includes not just the walls and roof but also the subfloor, which acts as the structural base for all your finished flooring later. Window and door openings are framed with headers — horizontal beams that redirect load around the opening and carry it down to the foundation. The roof gets sheathed with plywood or OSB panels, and then house wrap or building paper goes over the exterior walls. That weather-resistant layer keeps moisture out of the wall assembly while still letting water vapor escape from the inside.
At the end of framing, a building inspector comes out for a framing inspection. They check that all the structural elements — stud spacing, roof truss connections, header sizing, and more — are properly done according to both your engineering documents and local code. Any problems that come up have to be fixed before the project can move forward. It’s an important quality control checkpoint, and passing it means the bones of your home are solid.
Phase 4: Rough-In of Mechanical, Electrical, and Plumbing
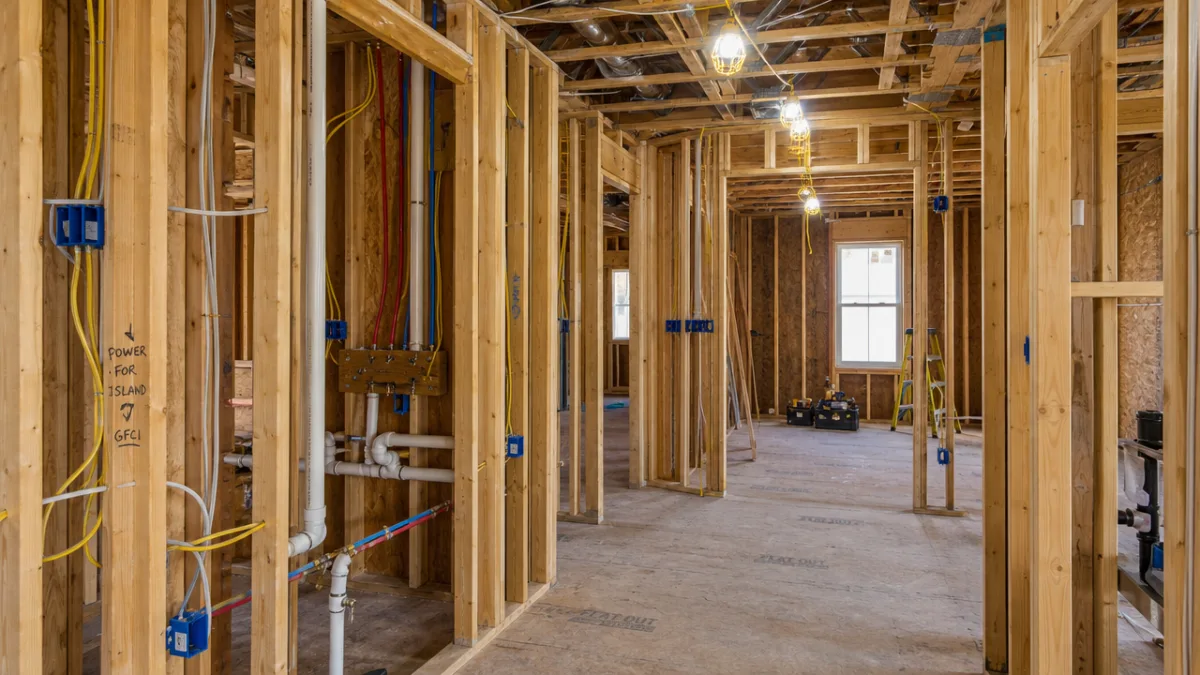
Once framing passes inspection, the tradespeople move in. Plumbers, electricians, and HVAC technicians all work during this phase to run their systems through the open wall, floor, and ceiling cavities before drywall closes everything up. This is called the rough-in stage because none of the visible stuff — faucets, outlets, switches, registers — goes in yet. Right now it’s all about getting the pipes, wires, and ducts routed through the structure exactly where they need to be, following your plans and the applicable codes.
Plumbing rough-in means installing supply lines that bring fresh water to each fixture location, plus the drain, waste, and vent pipes that carry used water and gases out of the home. Electricians run circuit wiring from the main panel out to every outlet, switch, and fixture box throughout the house. The HVAC contractor installs the ductwork that will push heated and cooled air to every room. All three of these trades are working in the same wall and floor cavities at the same time, which means coordination matters — nobody’s work should be blocking anyone else’s.
Before insulation and drywall can go in, all three mechanical systems get inspected. This is one of the most critical inspections in the entire build, because once the walls are closed up, getting back in to fix anything becomes seriously expensive and disruptive. Inspectors check that pipe sizes are correct, electrical circuits are properly protected, and ductwork is sized and sealed right. Some jurisdictions do separate inspections for each trade; others combine them. Either way, you can’t move forward until everything passes.
Phase 5: Insulation and Drywall
With rough-in inspections behind you, it’s time to insulate. Insulation goes into exterior walls, floors over unheated spaces, and attic areas to create a thermal envelope that keeps the home comfortable year-round and cuts down on energy costs in a meaningful way. Common options include fiberglass batts, blown-in cellulose, spray foam, and rigid foam board — each with different R-values and different application methods. Your builder and local energy codes will help figure out the right combination for your climate zone.
Once insulation is in and inspected where required, drywall goes up. Hanging drywall starts with screwing large sheets of gypsum board to the wall studs and ceiling joists. After that comes taping and mudding — covering the seams between sheets with joint compound in multiple thin coats, letting each one dry before applying the next. The final coat gets feathered out smooth, the whole surface gets lightly sanded, and then it’s primed and ready for paint.
Drywall finishing is genuinely both a skill and an art. A good finisher makes seams and screw dimples completely invisible once paint hits the wall. A less experienced one leaves bumps and lines that show through no matter how nice your paint is. The level of finish required depends on the type of paint and texture being applied — smooth finishes demand more precision than textured ones. Once drywall is done and primed, the home finally starts to feel like an actual living space, and most homeowners find their excitement picking up noticeably from this point on.
Phase 6: Interior Finishes and Exterior Work
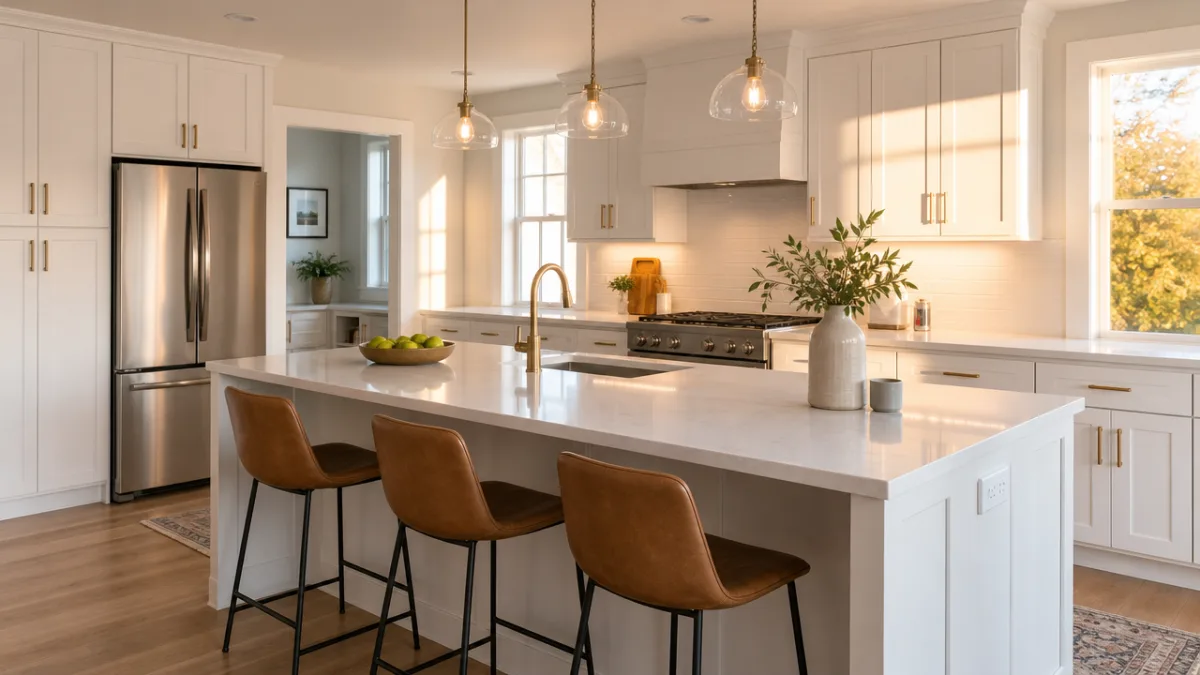
The interior finish phase is where your home really transforms. This is when it stops looking like a construction site and starts looking like somewhere a person could actually live. Flooring goes in — hardwood, tile, carpet, luxury vinyl plank, or whatever combination you chose. Cabinets are installed in the kitchen and bathrooms, followed by countertop templating and installation. Interior doors get hung, trim and molding are nailed and caulked into place, and the walls and ceilings get painted in the colors you picked during design. Each trade builds on the last in a carefully timed sequence.
While all of that’s happening inside, the exterior gets its finishing work too. Siding or masonry cladding goes on the exterior walls. Windows and exterior doors are fully trimmed and sealed. The driveway and any walkways get poured or paved. Exterior paint or stain is applied where needed. Gutters and downspouts are installed to handle roof drainage. Final grading is done around the foundation to make sure water flows away from the house — something that matters a lot over the long term for keeping your basement or crawl space dry.
This phase also covers the installation of light fixtures, plumbing fixtures, outlet covers, switch plates, and HVAC registers and grilles. Appliances get delivered and installed. Cabinet hardware goes on, mirrors get hung, and shower doors or enclosures are set in place. All those hundreds of individual selections you made during the design phase — finishes, fixtures, hardware, colors — finally come together at the same time, and seeing them all in context for the first time is genuinely one of the best moments of the entire build.
Phase 7: Final Inspections, Certificate of Occupancy, and Move-In
Before you can legally move in, your home has to pass a final inspection from your local building authority. This is a thorough review that touches virtually every system in the house — structural, electrical, plumbing, mechanical, fire safety, and more. The inspector will walk through every room, test outlets, check that smoke and carbon monoxide detectors are installed and working, verify that exhaust fans vent to the outside properly, confirm that plumbing fixtures drain correctly, and a whole lot more. Any deficiencies have to be corrected and re-inspected before you can proceed.
Once your home passes, the municipality issues a Certificate of Occupancy — usually just called a CO. This document officially certifies that the home was built to code and is safe to live in. Without a valid CO, your homeowner’s insurance policy may not be in effect, and your mortgage lender may hold back the final draw on your construction loan. It’s not just a formality. It’s a meaningful legal document that protects you as a homeowner for the entire life of the property.
Your builder should also do a formal walkthrough with you before you take possession. During this orientation, they’ll show you how everything works — the HVAC controls, water shutoffs, electrical panel, any smart home features. You’ll go through the home together and note anything that needs attention: scratches, incomplete caulking, paint touch-ups, or things that just weren’t done right. That list is called a punch list, and your builder commits to getting everything on it taken care of. Most reputable builders back their work with a warranty — typically one year for workmanship and longer for structural elements. Knowing what’s covered before you move in means you’re protected from day one.
Key Tips for Navigating the Home Building Process
Understanding the phases intellectually is a great start, but actually getting through the process smoothly takes a few extra habits. Communication is probably the most important one. Set up a regular check-in schedule with your builder — whether that’s weekly calls, site visits, or both — so you stay informed and can raise concerns before small issues turn into big ones. Don’t wait until something looks wrong to speak up. Asking questions throughout every phase is not only appropriate, it’s expected from any engaged homeowner.
Building in a financial cushion is just as important. Most experienced builders suggest setting aside ten to fifteen percent of your total construction budget as a contingency reserve. Unexpected soil conditions, material price swings, design changes, weather delays — any of these can add costs that weren’t in the original estimate. Homeowners who go into a build with no buffer often end up making painful compromises near the finish line, cutting finishes or delaying landscaping simply because there was no room in the plan for surprises.
And finally — document everything. Keep copies of all your contracts, permits, inspection reports, and change orders in one organized place. Take photos and short videos at every phase, especially before walls get closed in. Those photos can be incredibly useful down the road if you need to locate a pipe or wire for a repair, if a warranty dispute comes up, or if you just want to look back at the whole remarkable process someday. Building a home is complex, demanding, and deeply personal — but when you go in prepared and informed, it can also be one of the most rewarding things you ever do.








What do you think?
It is nice to know your opinion. Leave a comment.