










DIY Relaxing Massage Oil Candle – Soy Wax & Butters Recipe
What Is a Massage Oil Candle and Why You’ll Love It
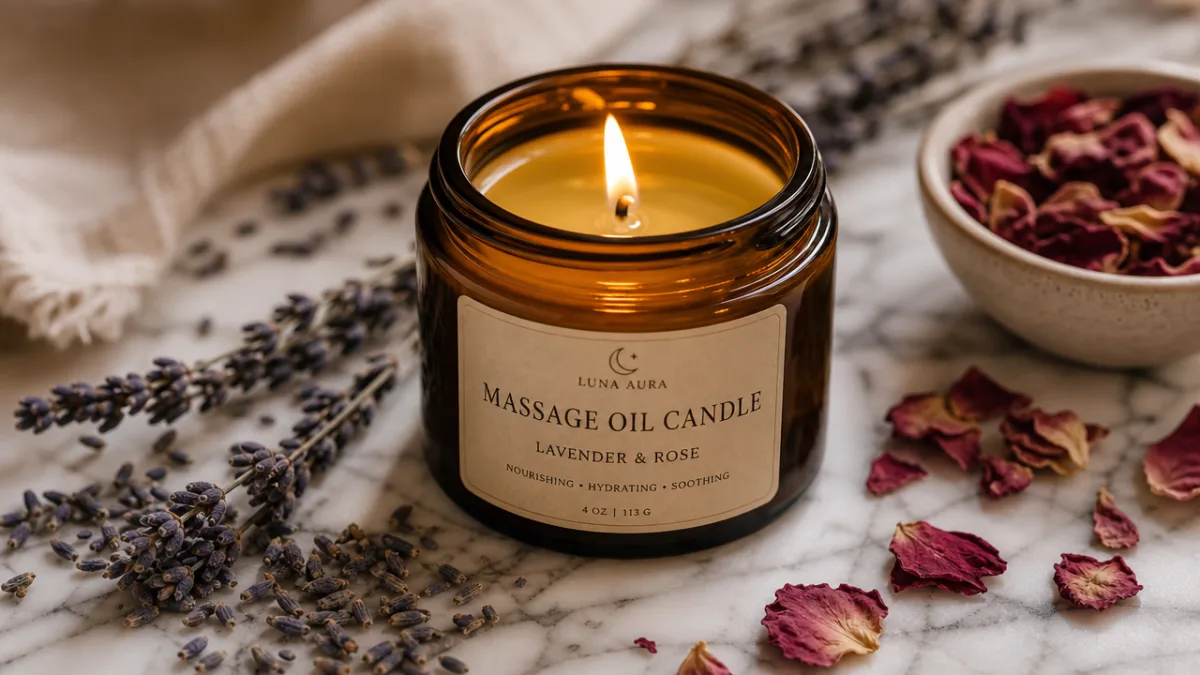
If you’ve never heard of a massage oil candle, you’re in for a treat. It’s one of those DIY projects that sounds fancy but is surprisingly easy to pull off at home. Unlike a regular candle, this one is actually meant to melt — and the warm, silky wax pool that forms is something you can pour right onto your skin for a massage. You get the mood lighting, the beautiful scent, and a ready-to-use warm oil all in one. Honestly, once you try it, buying spa products from a store starts to feel a little unnecessary.
The whole thing works because of the ingredients. When you blend soy wax with skin-loving butters like shea or mango butter, you get a formula that melts at a really gentle temperature — somewhere between 98°F and 120°F — so the liquid wax is warm and lovely on the skin, not hot or irritating. That’s the big difference between a massage candle and a decorative one. Regular candles burn way hotter and use harder waxes that aren’t meant to touch skin at all. A massage candle is designed from the ground up to feel good, and the melted oil glides on like something straight out of a high-end spa.
They also make absolutely wonderful gifts. Pour one into an amber glass jar or a pretty tin, add a handwritten label, and you’ve got something that looks artisanal and thoughtful — for a fraction of what you’d spend on a luxury spa brand. Whether you’re making one for a partner, treating yourself to a self-care ritual, or looking for a heartfelt handmade gift, this project really delivers. It’s one of those crafts that manages to be creative, practical, and genuinely relaxing all at once.
Understanding Your Ingredients and Their Skin Benefits
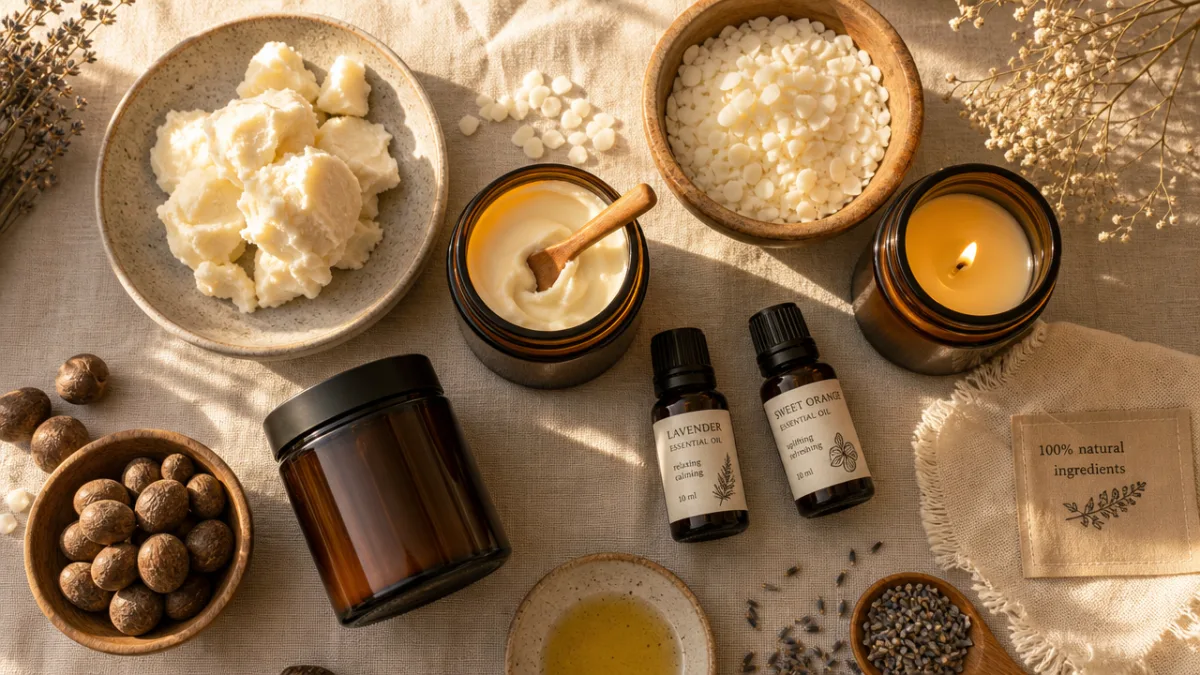
The backbone of any massage oil candle is a good soy wax. Soy wax comes from soybeans, so it’s natural, renewable, and burns a lot cleaner than paraffin. For this type of candle specifically, you want a soft, low-melt-point variety — usually called “container soy wax” — which melts gently and creates a generous pool of oil without getting too hot. It also has a naturally creamy texture that plays really nicely with butters and oils, giving you a finished product that absorbs well and leaves skin feeling soft rather than greasy.
Shea butter is honestly the star of this recipe. It’s loaded with vitamins A, E, and F, deeply moisturizing, and has a well-earned reputation for improving skin elasticity and calming irritation. In a massage candle, it adds that velvety richness to the melted oil and helps everything glide smoothly over skin. Mango butter is a great alternative — it’s a bit lighter than shea, melts beautifully, and is packed with antioxidants that help soften and protect the skin. You can use one or the other, or mix both together depending on the texture you’re going for.
Your carrier oils matter just as much. Sweet almond oil is a classic choice — lightweight, nearly odorless, and nourishing without leaving a heavy residue. Jojoba oil is another favorite because it mimics the skin’s natural sebum so closely that it works well for pretty much every skin type, even sensitive skin. Fractionated coconut oil is wonderful for adding a silky, slippery feel and it stays liquid at room temperature, which helps the formula flow nicely. Then there are your essential oils, which set the whole mood. Lavender for calm, eucalyptus for an energizing kick, ylang-ylang for something a bit romantic — this is where you really get to make the candle your own.
Essential Oils for Different Moods and Benefits
- Lavender: Calming, stress-relieving, and great for promoting restful sleep — a classic for relaxation massage candles.
- Eucalyptus and Peppermint: Invigorating and cooling, ideal for sore muscle relief and post-workout recovery blends.
- Ylang-Ylang and Rose: Romantic and deeply floral, perfect for couples’ massage experiences and self-care rituals.
- Frankincense and Cedarwood: Grounding and meditative, these oils create a spa-like ambiance and support mindfulness practices.
- Bergamot and Sweet Orange: Uplifting and citrusy, they elevate mood and work beautifully in daytime or morning relaxation candles.
The Complete Recipe and Measurements
Getting your ratios right is what makes the difference between a candle that performs beautifully and one that’s too hard, too soft, or runs too hot. The recipe below is sized for a standard 4-ounce jar, which is a perfect size for personal use or gifting. You can scale it up easily for bigger batches. One important tip: use a kitchen scale rather than measuring by volume. Wax and butter have different densities, so weight is the only reliable way to get consistent results. This recipe has been tested for skin safety and strikes a good balance — firm enough at room temperature, but quick to melt once the wick is lit.
For one 4-ounce massage oil candle, you’ll need: 1.5 oz (42g) of soft container soy wax, 0.75 oz (21g) of shea butter or mango butter (or a mix of both), 1.25 oz (35g) of sweet almond oil or fractionated coconut oil, 0.3 oz (8g) of jojoba oil, and about 0.15 oz (4–5g) of your chosen essential oils — that’s roughly 3–4% of the total batch weight, which is a skin-safe fragrance load for something going directly on the body. You’ll also need a thin cotton wick (CD-4 or CD-6 is a good fit for smaller jars), a wick sticker or glue dot to hold it in place, and a wick centering tool or two pencils taped together to keep it centered while everything sets.
The process is actually pretty relaxing in itself. Start by securing your wick to the bottom of your jar with a wick sticker, then use a wick bar or pencil to keep it upright and centered. In a double boiler or microwave-safe pouring pitcher, gently melt the soy wax and butter together over low heat, stirring until fully combined. Take it off the heat and let it cool to around 140°F before stirring in your carrier oils, then let it cool a bit more — down to about 120–125°F — before adding your essential oils. Adding them at lower temperatures helps preserve the fragrance. Pour slowly into your prepared jar and let it cure undisturbed for at least 24–48 hours. Then trim the wick to ¼ inch and you’re ready to go.
Step-by-Step Instructions at a Glance
- Secure your cotton wick to the bottom of a clean, dry glass jar using a wick sticker and center it with a wick bar or pencil.
- Weigh out your soy wax and chosen butter into a heat-safe pouring pitcher or double boiler.
- Melt the wax and butter gently over low heat, stirring constantly until fully liquid and combined, then remove from heat.
- Allow the mixture to cool to approximately 140°F, then stir in your carrier oils (sweet almond oil, jojoba oil, or coconut oil).
- Continue cooling to 120–125°F, then add your essential oils and stir gently but thoroughly for at least one minute.
- Pour the mixture slowly into your prepared jar, taking care not to disturb the wick, and allow the candle to set at room temperature for 24–48 hours.
- Trim the wick to ¼ inch before first use and apply a label listing ingredients and usage instructions if gifting.
How to Use Your Massage Oil Candle Safely and Effectively
Using a massage oil candle is a lovely experience, but since the oil is going directly on your skin, there are a few safety steps worth knowing. Light your candle and let it burn for at least 15–20 minutes before you plan to use it — this gives the wax enough time to build up a good pool of liquid oil. The oil should feel warm and soothing when it hits your skin, never hot. Before applying it to a bigger area, test a small drop on your inner wrist or forearm and give it a moment. Everyone’s heat sensitivity is a little different, and this quick check is especially worth doing if you have sensitive skin.
When you’re ready to use it, blow out the flame first, then gently tilt the jar to let the warm oil pool drip onto your skin, or use a small wooden spatula to scoop a little out. The shoulders, neck, back, and feet are great places to start — they tend to hold a lot of tension and really respond well to warm oil. Work it in with slow, long strokes and circular motions. The warmth, the scent, and the feel of it all together is genuinely meditative — it’s the kind of thing that makes you wonder why you don’t do it more often.
A few more safety things to keep in mind: always burn your candle on a stable, heat-resistant surface and don’t leave it unattended. Keep it away from kids, pets, and anything flammable. When the wax gets down to about half an inch from the bottom, it’s time to retire it rather than burning it all the way through. Store your candle somewhere cool and dry, away from direct sunlight, which can speed up oxidation of the butters and oils. If you’ve used quality ingredients and stored it well, it should stay fresh for around 6–12 months — though honestly, the sooner you enjoy it, the better it’ll smell.
Customization Ideas and Creative Variations
Once you’ve made the basic recipe a time or two, the fun really starts. You can tweak the butter blend to change both the texture and the skin benefits. Cocoa butter, for instance, brings a subtle chocolatey scent and seriously softens skin — though it makes the blend a bit firmer, so you might want to dial back the soy wax slightly to balance it out. Avocado butter is another great addition, especially for dry or more mature skin, since it’s high in oleic acid and absorbs really beautifully.
If you want to add some color, cosmetic-grade micas are your best friend — a tiny pinch can give your candle a gorgeous pearlescent shimmer or a rich, jewel-toned look. Botanical colorants like madder root (for pink), spirulina (for green), or activated charcoal (for a sleek black) are also popular in handmade beauty circles and give a really natural, earthy feel. Just make sure whatever you use is confirmed skin-safe, since this product is going directly onto the body. Candle dyes that aren’t formulated for skin contact are a hard no here.
You can also build your candle around a specific purpose. A muscle relief blend with peppermint, eucalyptus, and a little arnica-infused oil is incredible after a workout. For a romantic evening, ylang-ylang, rose absolute, and a touch of sandalwood create something really warm and grounding. If sleep is the goal, lavender and chamomile with a base of jojoba and evening primrose oil — which has lovely skin-regenerating properties — is a dreamy combination. There’s really no limit to where you can take this recipe once you start experimenting.
Popular Scent Blend Combinations to Try
- Stress Relief Blend: Lavender, bergamot, and frankincense — a classic trio for unwinding after a long, demanding day.
- Muscle Soothe Blend: Peppermint, eucalyptus, and rosemary — invigorating and deeply relieving for post-exercise tension.
- Romance Blend: Ylang-ylang, rose absolute, and cedarwood — warm, floral, and undeniably sensual.
- Grounding Retreat Blend: Vetiver, patchouli, and sweet orange — earthy, complex, and deeply calming for meditation or journaling sessions.
- Citrus Refresh Blend: Lemon, grapefruit, and spearmint — bright, clean, and energizing for a morning self-care ritual.
Packaging, Labeling, and Gifting Your Massage Oil Candles
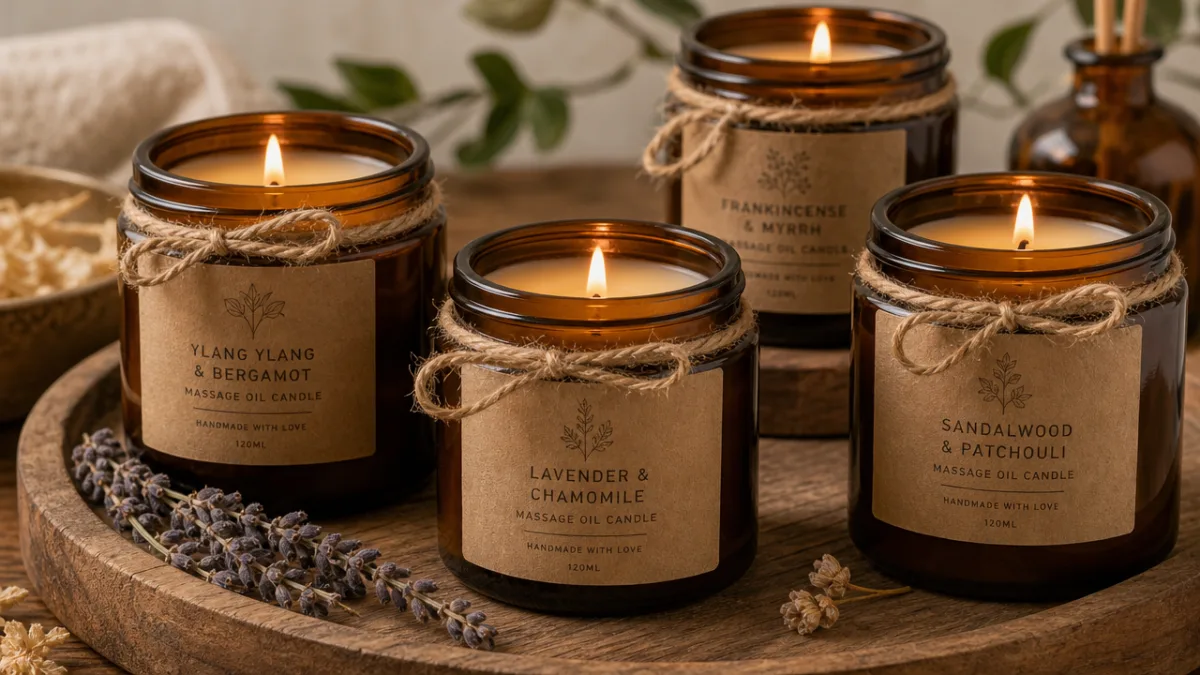
The right packaging takes a handmade candle from “nice homemade thing” to something that genuinely feels special. Amber or dark glass jars are a popular choice for good reason — they protect the oils from UV light, they look beautiful, and they feel solid and premium when you hold one. Clear glass is lovely too if you’ve used micas or colorants and want to show off the color. Metal tins are a more budget-friendly option, especially if you’re making a big batch or planning to ship them. Whatever you choose, make sure the vessel is clean and fully dry before pouring, and let the candle cure before you add lids or any packaging.
Your label is both a practical necessity and a chance to add some personality. At minimum, it should include the product name, a full ingredients list in descending order by weight (that’s the standard in the cosmetic industry), the net weight, your name or brand, and some basic usage and safety notes. This matters a lot when you’re gifting — the person receiving it may not realize it’s a skin-contact product, and they might have allergies you don’t know about. Beyond the essentials, a hand-lettered label with a little botanical illustration gives a lovely personal touch, while kraft paper with clean typography feels more polished if you’re going for a brand-y look.
To really make it feel like a gift, tuck the candle into a small box with tissue paper and add a few complementary items — a wooden massage tool, a little bag of bath salts, or some dried lavender tied with twine all work beautifully. A hand-lettered tag describing the scent and its mood — something like “Unwind & Drift: Lavender & Frankincense for Deep Relaxation” — adds that extra layer of thoughtfulness that no mass-produced gift can replicate. Whether you’re making one candle or a whole batch of twelve, the care you put into every step really does come through in the finished product. There’s something genuinely lovely about giving someone a small jar that holds warmth, intention, and the invitation to slow down and rest.








What do you think?
It is nice to know your opinion. Leave a comment.