










Raised Garden Beds DIY: Choosing The Right Depth For Success
Why Depth Matters More Than You Think
When most gardeners first consider building a raised garden bed, they focus heavily on the length and width of their structure — how much horizontal growing space they can carve out of their yard. What often gets overlooked, however, is the vertical dimension: depth. The depth of your raised garden bed is arguably the single most important measurement you will make, because it directly determines what you can grow, how healthy your plants will be, and whether your entire investment of time and materials pays off over the long run.
Roots are the hidden engine of every plant. They anchor the plant, absorb water, take up nutrients, and in many species serve as storage organs for energy. When roots hit a hard boundary — be it compacted native soil, a solid bottom panel, or simply insufficient growing medium — they stop developing properly. A plant with stunted roots cannot reach its potential above ground either. Leaves become pale, fruit production drops, and plants become far more susceptible to drought stress and disease. Giving roots the vertical room they need is the first act of generosity a gardener can extend to their plants.
Beyond plant health, depth affects drainage, soil temperature regulation, and even the economics of your build. Shallower beds cost less to fill but limit your plant selection drastically. Deeper beds require more soil mix but open up the full range of vegetables, herbs, and flowers available to the home grower. Understanding how depth interacts with all of these factors before you cut your first board or drive your first screw will save you frustration, replanting costs, and wasted weekends. This article walks you through everything you need to know to get the depth right the very first time.
Understanding Root Depth Requirements by Plant Type
Not all plants are created equal when it comes to how deep they want to reach into the soil. Broadly speaking, edible plants fall into three categories based on their root architecture: shallow-rooted plants that stay within the top six inches of soil, medium-rooted plants that explore down to about twelve inches, and deep-rooted plants that want eighteen inches or more to truly thrive. Matching your bed depth to the majority of plants you intend to grow is the foundation of a successful design decision.
Shallow-rooted plants are the most forgiving and include many of the most popular herbs and greens. Lettuce, spinach, arugula, radishes, most culinary herbs like basil and cilantro, and even strawberries fall into this category. A raised bed as shallow as six inches will technically support these crops, though eight inches provides a comfortable buffer that helps with moisture retention and gives you room to add compost over successive seasons without overflowing the walls. If you are planning a dedicated salad or herb garden, you have significant flexibility in keeping your build costs down by using a shallower structure.
Medium-rooted plants need a bit more room and include some of the most satisfying crops to grow at home. Bush beans, peas, cucumbers, chard, kale, beets, and most compact pepper varieties all fall into this middle range. For these plants, you want a minimum of twelve inches of loose, well-amended growing medium. Many experienced gardeners shoot for fourteen to sixteen inches for this category to give themselves extra insurance and to make watering less of a daily crisis during hot summer months. The additional depth holds a larger reservoir of moisture and keeps root zones cooler under the summer sun.
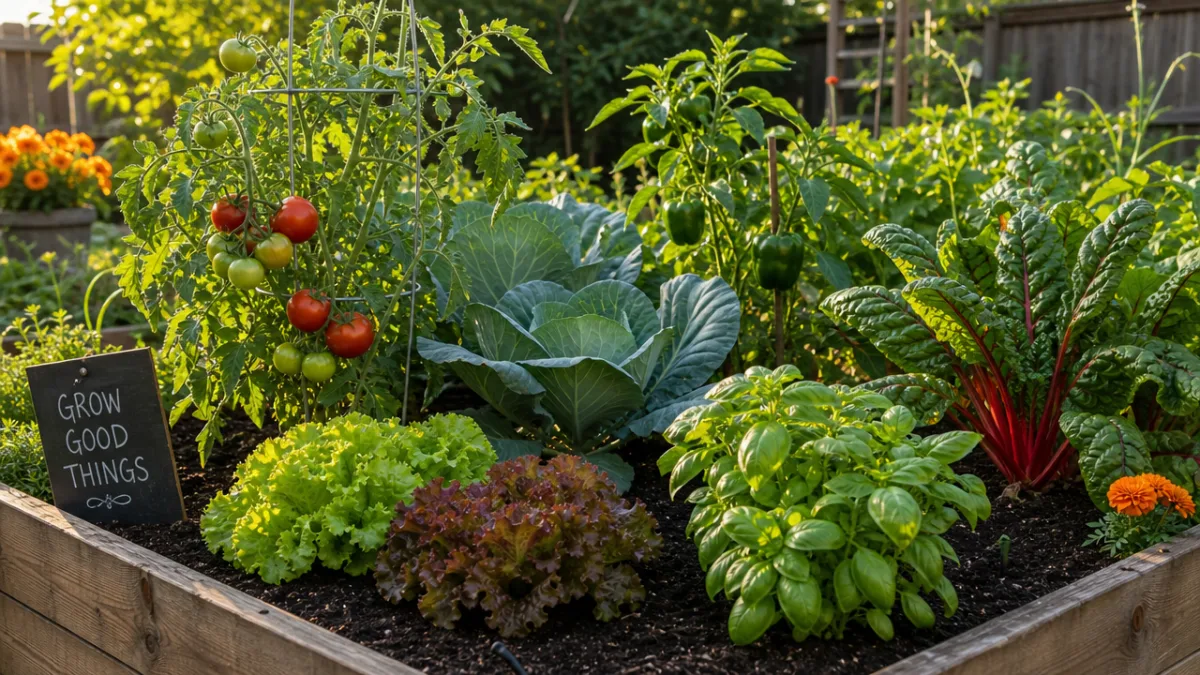
Deep-rooted plants are the most demanding and include the showstopper crops that many gardeners build raised beds specifically to grow. Tomatoes, winter squash, parsnips, carrots, and asparagus all want to reach down eighteen inches or more. Tomatoes in particular develop enormous root systems and will reward every additional inch of depth with larger harvests and better drought tolerance. If tomatoes are your primary crop, designing your bed to be twenty-four inches deep is not excessive — it is simply giving the plant what it evolved to need. The following list summarizes common crops and their minimum recommended depths:
- 6 inches: Lettuce, spinach, radishes, herbs (basil, cilantro, chives), strawberries
- 12 inches: Bush beans, peas, chard, kale, beets, peppers (compact varieties)
- 18 inches: Tomatoes, cucumbers, eggplant, carrots, broccoli, cabbage
- 24 inches or more: Parsnips, winter squash, asparagus, artichokes, indeterminate tomatoes
Standard Depth Recommendations and When to Use Them
The garden center industry has effectively settled on a handful of standard depths for raised bed kits, and they each exist for a reason. The most commonly sold height is ten to twelve inches, and for good reason — it represents a practical middle ground that supports the widest range of common vegetable crops without breaking the budget on lumber or soil. If you are building your first raised bed and are not sure exactly what you want to grow yet, landing somewhere in the ten-to-twelve-inch range is a safe, defensible choice that will serve most gardeners well through multiple growing seasons.
Six-inch beds, while limited in plant selection, have an important place in the raised bed landscape. They are ideal for situations where you are gardening on a rooftop, balcony, or patio where structural weight loads are a genuine concern. They also work beautifully as dedicated herb gardens near the kitchen door or as cut-flower beds where shallow-rooted annuals are the primary tenants. Their lower material costs and ease of construction make them an excellent entry point for beginners who want to develop their soil-amendment and watering skills before committing to a more elaborate setup. Never dismiss the six-inch bed as a lesser option — it simply has a specific audience and purpose.
The eighteen-to-twenty-four-inch range is where serious vegetable gardeners often end up after their first few seasons of experience. At this depth, you have effectively created a contained growing environment that is largely independent of whatever native soil lies beneath. This independence is enormously valuable if your native soil is heavy clay, contaminated, or sits on hardpan that would otherwise restrict drainage. Beds this deep can also be built with a solid, impermeable bottom, making them suitable for deployment over concrete or paved surfaces without any concern about the roots or soil interacting with what lies below. The trade-off is cost: filling an eighteen-inch deep bed that measures four by eight feet requires approximately 48 cubic feet of growing medium, which adds up quickly.
An increasingly popular strategy for managing the cost of deep beds is a technique called the Hugelkultur or “lasagna” method, where the bottom portion of a deep bed is filled with logs, branches, straw, cardboard, and other bulky organic materials that will decompose slowly over time. Only the upper twelve to sixteen inches is filled with finished compost and quality growing mix. This approach dramatically reduces the volume of purchased soil needed while creating a slow-release fertility reservoir in the base layers. Here is a simple layering guide for a twenty-four-inch deep bed built this way:
- Bottom 6–8 inches: logs, thick branches, wood debris (these rot slowly and retain moisture)
- Next 4 inches: straw, leaves, cardboard, kitchen scraps (nitrogen-rich decomposable material)
- Top 10–12 inches: high-quality raised bed mix (compost, topsoil, perlite or coarse sand blend)
Material Choices and How They Influence Depth Decisions
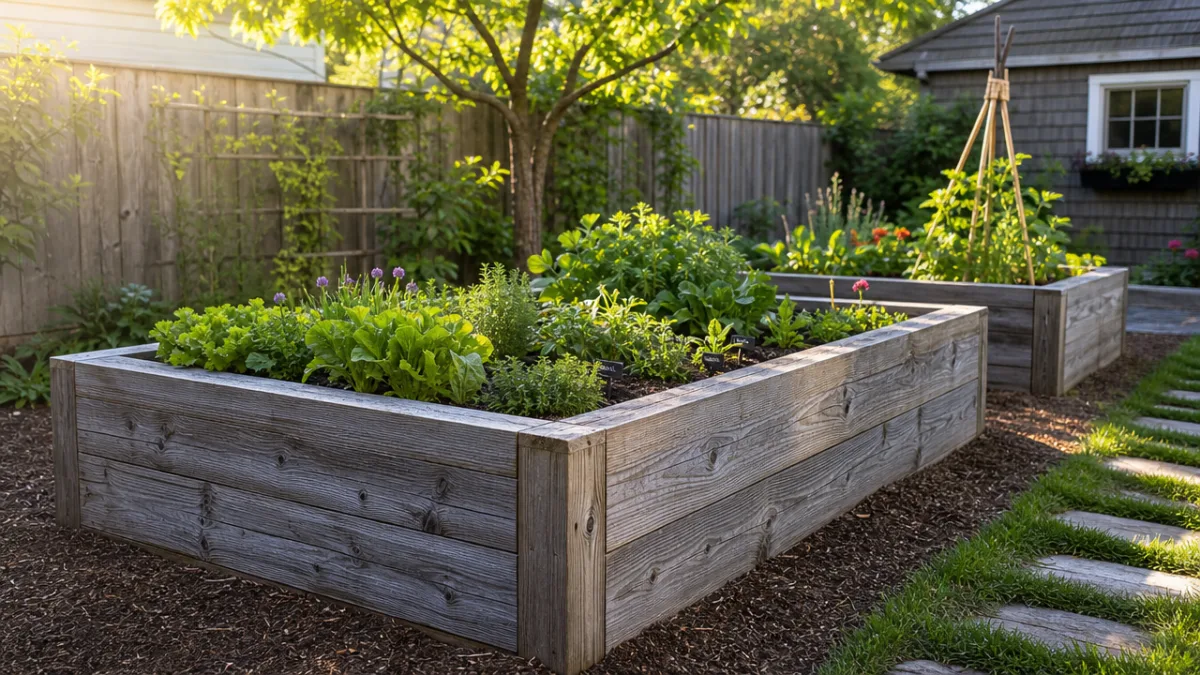
The material you choose for your raised bed walls has a direct relationship with how deep your bed can practically be built and how long it will last at that depth. Cedar and redwood are the classic choices for wood-framed beds because of their natural rot resistance, dimensional stability, and visual warmth. A cedar bed built with two-inch-thick lumber can hold twelve inches of moist soil comfortably without bowing outward, but once you push beyond sixteen to eighteen inches of depth, you need to either step up to thicker stock or add internal cross-bracing to keep the walls from splaying under the hydrostatic pressure of wet soil.
Galvanized corrugated metal panels have exploded in popularity over the last several years, and they are particularly well-suited to tall, deep beds. Because the corrugated profile provides tremendous rigidity along its length, metal panels can span much taller heights without the structural concerns that plague flat wood planks. A metal raised bed of twenty-four inches or even thirty-six inches tall is a reasonable DIY project for a moderately skilled builder. The aesthetic is clean and modern, the material is genuinely long-lasting, and the ability to go tall means these beds are also popular for accessible garden designs where bending at the waist is difficult or impossible for the gardener.
Concrete blocks, natural stone, and brick are the heaviest and most permanent options and lend themselves to any depth you care to build. Their mass provides excellent thermal stability, keeping soil temperatures more consistent through daily and seasonal fluctuations. The downsides are the labor and planning involved — a stone or block raised bed is not something you will reposition in a future growing season if you decide you want more sunlight in a different corner of the yard. For permanent installations where depth can be maximized without concern for moving the structure, masonry materials are a compelling and long-lived choice that adds real landscape value to a property.
One material to approach with caution is treated lumber, particularly older formulations that used chromated copper arsenate, or CCA, as a preservative. While modern pressure-treated lumber has shifted to less toxic copper compounds and is generally considered safe for food gardens by most extension services, many home gardeners still prefer to avoid it in edible growing areas. If you choose to use modern pressure-treated lumber for its rot resistance and affordability, lining the interior walls with food-safe pond liner or landscape fabric before adding soil gives an additional layer of separation between the preservative and your growing medium, addressing the concern while still taking advantage of the material’s structural longevity.
Soil Composition: What Goes Into a Deep Bed
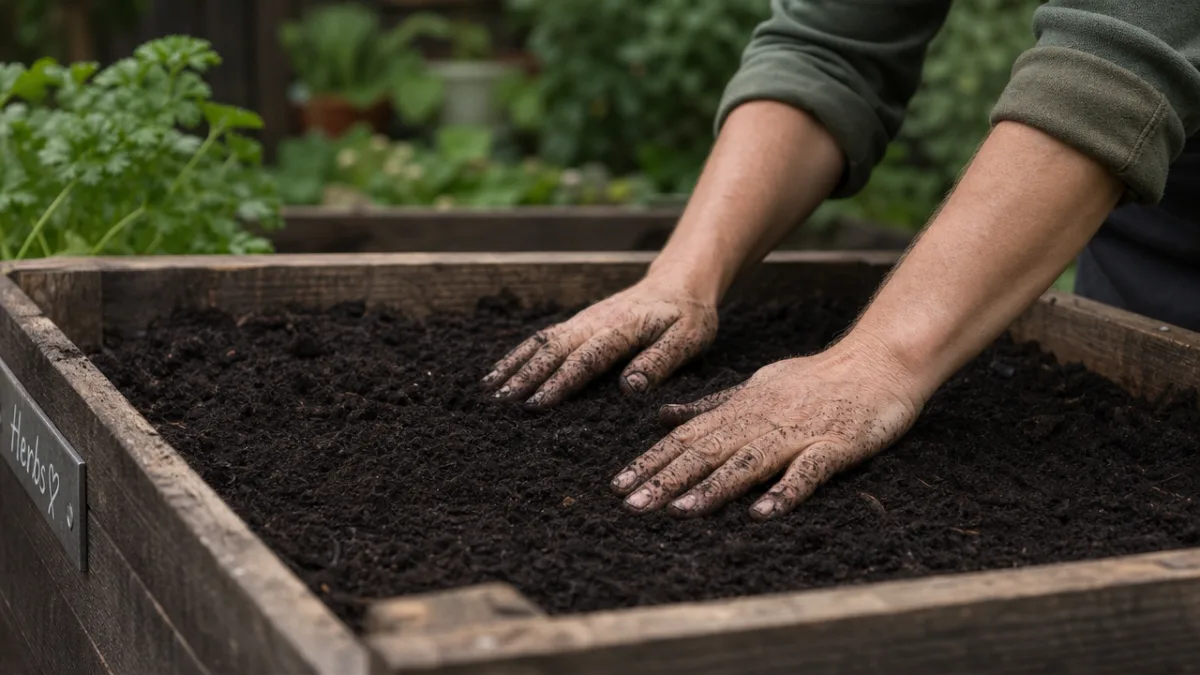
Building a perfectly deep raised bed is only half the equation. What you put inside it determines whether your plants genuinely thrive or merely survive. Native garden soil — scooped directly from the yard — is almost never the right fill material for a raised bed, regardless of how well-intentioned the shortcut may seem. Native soil compacts readily inside the confined walls of a raised bed, drainage suffers, and root penetration through compacted layers becomes just as difficult as it would be in the open ground. The entire point of the raised bed structure is to give you control over the growing environment, and that control starts with a deliberately engineered soil mix.
The most widely recommended starting formula for raised bed soil was popularized by gardening author Mel Bartholomew and is often called Mel’s Mix: one-third compost, one-third peat moss or coco coir, and one-third coarse vermiculite. This combination creates an exceptionally light, well-draining medium with excellent water retention and a rich biological profile from the compost fraction. The compost should ideally be a blend from several sources — worm castings, mushroom compost, and aged manure each contribute different microbial communities and nutrient profiles that collectively support a wide range of crops. Many experienced gardeners modify this base formula over time based on what they observe about drainage and fertility in their specific beds.
For very deep beds — those in the eighteen-to-twenty-four-inch range — the cost of filling entirely with premium purchased mix becomes prohibitive. A practical approach is to use a lighter, less expensive filler material for the bottom third of the bed, where roots of most annual crops will not reach during their first season, and reserve the premium blend for the upper two-thirds where active root growth occurs. Aged wood chips, composted leaf mold, or a blend of topsoil and compost in a sixty-forty ratio are all reasonable choices for that lower zone. Over the seasons, earthworms and microbial activity will gradually improve and integrate the layers, creating a more uniformly rich growing environment naturally.
Regardless of what you fill your bed with initially, plan from the start for annual topping-up with compost. Organic matter decomposes continuously, and raised bed soil will sink noticeably during the first year — sometimes by two to four inches — as the freshest organic materials break down and settle. Adding two to three inches of finished compost to the surface each spring, before planting, maintains the soil volume, replenishes nutrients consumed by the previous season’s crops, and keeps the soil ecosystem active and diverse. Think of compost not as a one-time amendment but as an annual investment in the long-term productivity of your raised growing system. Over multiple seasons this approach builds truly extraordinary growing conditions that would be nearly impossible to replicate in native soil.
Planning for the Future: Accessibility, Expansion, and Seasonal Adaptation
One of the most powerful but underappreciated benefits of choosing a deeper raised bed is the effect on the gardener, not just the plants. Tall beds — those thirty inches or higher — dramatically reduce or eliminate the need to kneel or bend deeply while working. For gardeners managing back pain, knee problems, or other mobility challenges, a well-designed deep bed that doubles as an accessible planting surface can be the difference between giving up the garden entirely and continuing to grow food and flowers for decades. If accessibility is at all a consideration in your planning, it is well worth the additional material investment to build taller from the start rather than retrofitting later.
Depth also interacts with seasonal extension strategies in ways that benefit any serious gardener. A deeper bed holds a larger mass of soil, and that mass acts as a thermal buffer — warming more slowly in spring but also cooling more slowly in autumn. This temperature stability at the root zone can translate to earlier spring planting and later autumn harvests compared to in-ground growing or very shallow raised beds. When you add a low tunnel or cold frame on top of a deep raised bed, you multiply this effect further, potentially extending your growing season by four to six weeks on each end depending on your climate zone and the specific crops involved.
Thinking about your drainage situation before you build will also influence your depth choice. If you are placing your raised bed directly on soil, the bed acts as an extension of the existing soil profile, and drainage is rarely a major concern as long as your fill mix is appropriately loose and porous. If you are building on concrete, compacted gravel, or any impermeable surface, you need to ensure your bed depth provides enough total soil volume to buffer moisture appropriately, because there is no sub-surface drainage to fall back on. A minimum of twelve inches is recommended for beds on impermeable surfaces, and eighteen inches is even better for crops with any significant water demand. Adding a layer of coarse gravel at the very bottom of the bed before adding soil mix can help in these situations, though it is less critical in a properly constructed deep bed than popular wisdom often suggests.
Finally, give serious thought to the future expansion of your garden when planning your initial depth. It is far easier and more economical to build your beds to the right depth the first time than to attempt to add height to an existing structure later. Raising the walls of an established, planted bed means either temporarily removing your plants, leaving gaps where new lumber butts against old, or dealing with mismatched heights and aesthetic inconsistencies. The marginal cost of adding four additional inches of depth during the original build — perhaps an extra board of lumber and a few additional cubic feet of soil mix — is trivially small compared to the cost and disruption of a later retrofit. Build with your ten-year garden vision in mind, and your future self will thank you every single growing season for years to come.
Common Mistakes to Avoid When Choosing Raised Bed Depth
The most common mistake first-time raised bed builders make is building too shallow in the name of saving money or simplifying construction. A six-inch bed built at significant labor cost and filled with quality soil mix will disappoint the gardener who planted tomatoes, squash, or even large pepper plants in it. The plants will survive, but they will not flourish, and the gardener will correctly blame the bed design rather than their own skills or their soil mix. The small upfront savings on lumber and fill translate directly into lost harvests and eventual rebuilding costs. If budget is genuinely tight, it is better to build one properly deep bed than two beds of inadequate depth.
Another frequent error is failing to account for soil settlement when sizing the walls. If you want twelve inches of active growing space above the soil surface — a reasonable working depth for most vegetable crops — you need to build your walls to at least fourteen or fifteen inches to accommodate initial settlement. Gardeners who build exactly to their target depth and then fill to the rim are often disappointed to find several inches of gap appearing between the soil surface and the top of the wall within the first few months. This gap makes the bed harder to water efficiently, loses the visual cue of a full, lush growing space, and represents soil volume that is working below its potential. Always build slightly taller than your target depth and plan to fill that extra space with seasonal compost additions.
A third mistake, particularly relevant for very deep beds on native soil, is neglecting to address what lies beneath. If your native soil is heavily compacted clay or contains hardpan just below the surface, the drainage from your raised bed may still be impaired even with a perfectly engineered fill mix, because water can only move as fast as the slowest layer allows. Before building a deep bed on problematic native soil, it is worth breaking up the top six to twelve inches of that native layer with a broadfork or tiller to improve permeability. This single preparatory step takes less than an hour and can make a measurable difference in drainage performance and root penetration into the native soil layer below the bed — a genuine bonus for deep-rooted plants that eventually push past the bottom of even a tall raised bed structure.
Perhaps the subtlest mistake is treating depth as a fixed, final decision rather than an evolving aspect of your garden system. The most productive gardeners approach their raised beds as living, adaptable systems. They observe which crops struggle and which thrive, they note where drainage is sluggish or where soil dries out too fast, and they use those observations to inform adjustments in subsequent seasons. A bed that works beautifully for lettuce and herbs may be modified with an added extension board to accommodate a future asparagus planting. A bed that drains too quickly might receive an amendment of water-retaining biochar or coco coir. Depth is a starting point, not a permanent limitation, and approaching it with that flexibility of mindset will make you a more successful and more satisfied gardener over the long arc of your growing life.








What do you think?
It is nice to know your opinion. Leave a comment.