










Easy Mug Rug: The Perfect Beginner Quilting Project for Coffee Lovers
If you have ever wanted to try quilting but felt intimidated by large, complex projects, a mug rug is exactly where you should begin. These small, coaster-sized fabric creations sit perfectly beneath your morning coffee cup and a small snack, adding a charming handmade touch to your daily routine. Mug rugs are typically around six by eight inches, making them manageable even for someone who has never picked up a needle and thread before. The small scale means you can complete an entire project in a single afternoon, giving you that satisfying sense of accomplishment without a weeks-long commitment.
Mug rugs originated as a practical craft solution, combining the functionality of a coaster with the generous size of a small placemat. Unlike a standard coaster, a mug rug is large enough to hold your mug and a biscuit, a small pastry, or even your phone beside it. Quilters and crafters around the world have embraced this project as a wonderful way to use fabric scraps that might otherwise go to waste. Because the finished piece is so small, even the tiniest remnants from larger sewing projects can find new life in a beautifully pieced mug rug design.
The popularity of mug rugs has exploded in recent years thanks to social media platforms like Pinterest, where thousands of colorful, creative examples inspire beginners and experienced sewists alike. From simple patchwork squares to intricate appliquéd designs, the variety of mug rug styles is truly astonishing. Whether your taste runs toward modern geometric patterns, classic country quilting aesthetics, or seasonal holiday themes, there is a mug rug design waiting to suit your personality perfectly. This article will walk you through everything you need to know to make your very first easy mug rug from start to finish.
Gathering Your Materials and Tools
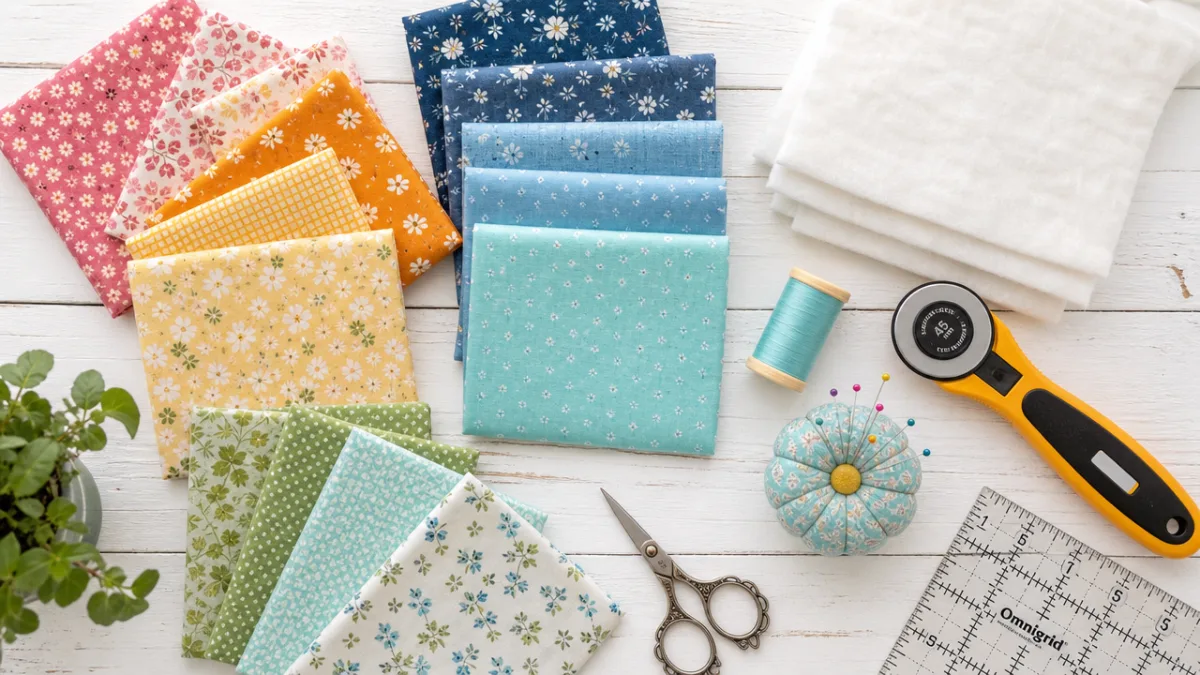
One of the greatest advantages of making a mug rug is that you need very few supplies to get started. Most crafters find that they already have the majority of what is required tucked away in their sewing basket or fabric stash. At its most basic, you need two pieces of fabric for the front and back, a small piece of batting for the middle layer, a sewing machine or needle and thread for hand sewing, and basic cutting tools. Gathering everything before you begin will help the project flow smoothly and keep your creative momentum going once you sit down to sew.
For fabric, cotton quilting fabric is the most popular choice for mug rugs because it is easy to work with, comes in an enormous range of prints and colors, and holds up well to everyday use. Fat quarters are a convenient size to purchase if you are buying fabric specifically for this project, though fabric scraps work just as beautifully. You will want to choose a fabric for the top that excites you visually, whether that is a bold geometric print, a sweet floral, or a playful novelty fabric featuring your favorite things. The backing fabric can coordinate or contrast with the top, and many crafters enjoy using a soft flannel for the back to give the finished mug rug a cozy feel underfoot for your cup.
Batting is the hidden ingredient that gives a mug rug its substance and slight cushioning effect. A small piece of low-loft cotton batting works well for this project, providing enough body to protect your table surface without making the finished piece too thick or stiff. If you do not have quilting batting on hand, a folded piece of cotton flannel or even a section cut from an old terry cloth towel can serve as an effective substitute. Beyond fabric and batting, you will need a rotary cutter and self-healing cutting mat for precise cuts, a quilting ruler, pins or wonder clips to hold layers together, and thread that coordinates with your fabric choices.
- Cotton quilting fabric in your chosen prints, at least two fat quarters or equivalent scraps in coordinating colors
- Low-loft cotton batting cut slightly larger than your intended finished size of approximately six by eight inches
- Rotary cutter, self-healing cutting mat, and a clear quilting ruler for accurate, straight cuts
- Sewing machine with a quarter-inch presser foot, or needle and thread for hand sewing if you prefer
- Coordinating thread, pins or clips, an iron and ironing board for pressing seams flat
- Optional: binding fabric cut into strips, or pre-made double-fold binding tape for finishing the edges neatly
Preparing and Cutting Your Fabric
Accurate cutting is one of the most important steps in any quilting project, even one as small as a mug rug. When your pieces are cut precisely, everything lines up beautifully when you sew, and the finished result looks polished and professional rather than wobbly or mismatched. Begin by pressing all of your fabric with a hot iron to remove any wrinkles or fold lines before you cut. Crisp, flat fabric is much easier to cut accurately and sew smoothly than crumpled or distorted pieces, and this simple step can make a significant difference in your finished result.
For a classic easy mug rug design, you will cut your patchwork pieces for the top from a variety of coordinating fabrics. A simple and very popular approach is to cut several rectangles or squares and sew them together in a pleasing arrangement. For a six-by-eight-inch finished mug rug, you might cut six rectangles that are each approximately two-and-a-half inches by six-and-a-half inches and sew them side by side, or you could cut a grid of small squares measuring two-and-a-half inches each. The exact dimensions you choose will depend on the design you have in mind, but the key principle is to add a quarter inch on each side for seam allowances throughout the process.
Cut your backing fabric and batting slightly larger than your planned finished size, approximately seven by nine inches, to give yourself a little wiggle room when you are assembling and quilting the layers together. This extra margin means that if anything shifts slightly during the quilting process, you will still have enough fabric and batting to trim everything down to a clean, even size afterward. Label each piece as you cut it if you are working with multiple fabrics to stay organized, and lay out all of your pieces together before sewing to confirm you are happy with the color arrangement and overall look of the design before you commit to stitching.
Sewing the Patchwork Top
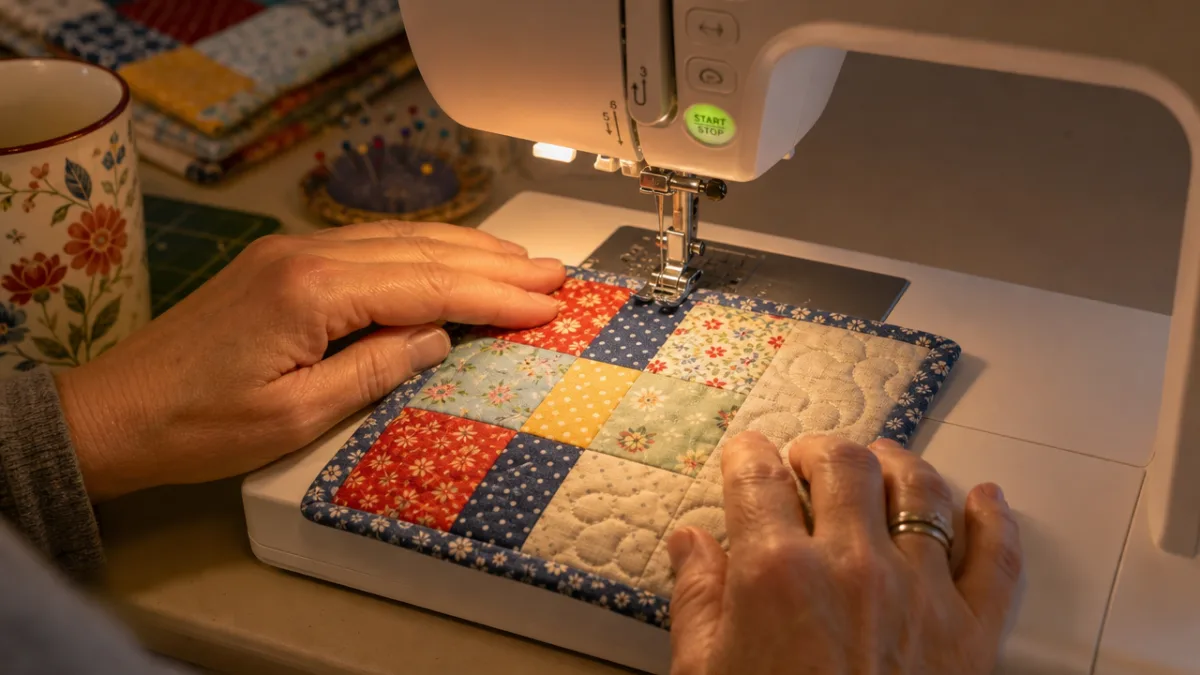
With your pieces cut and your layout decided, you are ready to begin sewing the patchwork top of your mug rug. If you are new to quilting, the most important technique to master is the quarter-inch seam allowance, which is the standard used throughout quilting. Most sewing machines have a special quarter-inch presser foot that makes maintaining this consistent seam width much easier, but you can also use a strip of masking tape on your machine’s throat plate as a guide if you do not have this specialty foot. Consistent seam allowances are what allow all of your pieces to fit together precisely and lie flat when the top is assembled.
Begin by sewing your patchwork pieces together in the arrangement you planned during the cutting stage. If you are making a simple row-based design, sew the pieces within each row together first, pressing the seams in alternating directions so that when you join the rows, the seam intersections will nest together neatly and reduce bulk. This nesting technique is a small trick that experienced quilters use to achieve crisp, flat intersections where seams meet. Press each seam as you go rather than waiting until the entire top is assembled, because pressing as you sew keeps everything flat, accurate, and much easier to handle at each subsequent step.
Once all of your patchwork pieces are sewn together to form the completed top, give it one final press with a hot iron, using steam if your fabric can tolerate it, to set all the seams and ensure the top lies perfectly flat. Check the overall dimensions of your sewn top at this point and trim it if necessary to your planned size plus seam allowances. Take a moment to admire your work because even at this early stage, the combination of colors and patterns you have chosen will already be showing its full potential, and many first-time mug rug makers are genuinely surprised by how beautiful their patchwork top looks even before the project is complete.
Assembling the Layers and Quilting
Assembling the three layers of your mug rug, the patchwork top, the batting, and the backing fabric, is a process that quilters call making the quilt sandwich. Lay your backing fabric face down on a flat surface, then center your batting on top of it, and finally place your patchwork top face up on top of the batting. Smooth each layer as you place it to eliminate any wrinkles or bubbles, working from the center outward. Once all three layers are smoothed and aligned, pin or clip them together around the edges and in the center to hold everything in place while you quilt.
Quilting is the process of stitching through all three layers to hold them together permanently and add decorative texture to the surface of your project. For a beginner’s mug rug, a simple quilting approach is perfectly appropriate and can look just as beautiful as complex quilting designs. You might stitch in the ditch, which means sewing directly in the seam lines of your patchwork, making the quilting nearly invisible from the front while securely anchoring all three layers. Alternatively, you could quilt straight diagonal lines across the entire surface using a quilting guide foot on your machine, or simply sew a grid of horizontal and vertical lines spaced about an inch apart for a classic crosshatch effect.
After quilting, trim all three layers together to your final intended size, using your rotary cutter and ruler to ensure clean, perfectly straight edges. At this stage your mug rug will already look very much like the finished product, with the quilting lines adding beautiful texture and dimension to the surface. The only remaining step before it is completely finished is to enclose those raw edges around the perimeter in a way that is both neat and durable. This edge finishing step is what gives the mug rug its polished, professional appearance and ensures that the raw fabric edges will not fray or unravel with regular use and washing.
Finishing the Edges and Binding Your Mug Rug
There are several popular methods for finishing the edges of a mug rug, and the best choice depends on your skill level and the look you want to achieve. The most beginner-friendly approach is called the pillowcase method or bagging out, in which you place the quilt top and backing right sides together, sew around the perimeter leaving a small gap for turning, and then turn the whole thing right side out through that gap. This method encloses all raw edges completely inside the mug rug and requires no separate binding strip, making it a wonderfully simple finish that looks clean and tidy from both sides of the finished piece.
The more traditional and widely used finishing method for mug rugs is applying binding, which is a folded strip of fabric that wraps around the perimeter of the piece to enclose all raw edges. Binding gives the mug rug a defined, frame-like border that many crafters find very attractive, and it is also extremely durable. To apply binding, cut strips of fabric on the straight grain about two and a half inches wide, join them into one continuous strip, fold the strip in half lengthwise and press, then sew it to the front of the mug rug with a quarter-inch seam. Fold the binding over to the back, mitering the corners neatly, and either slip stitch it down by hand for the neatest invisible finish or machine stitch it from the front for a quicker approach.
Whichever finishing method you choose, be sure to leave a small opening in your stitching to insert a hanging loop or label if you plan to give the mug rug as a gift, which is one of the most popular uses for these charming handmade pieces. A small loop of ribbon or twill tape inserted into one edge of the binding allows the recipient to hang the mug rug as a decorative item when it is not in use. Adding a fabric label to the back with your name and the date gives the piece a personal, heirloom quality that elevates a simple sewing project into something truly meaningful and memorable for the person who receives it.
- Prepare the quilt sandwich by layering the backing face down, batting in the middle, and the patchwork top face up, smoothing carefully and pinning all layers securely together before beginning to quilt.
- Quilt through all three layers using your chosen design, whether stitching in the ditch along seam lines, sewing a diagonal grid, or trying simple free-motion quilting patterns across the surface.
- Trim all three layers together using a rotary cutter and ruler to achieve perfectly straight, even edges at your desired finished dimensions before applying the binding.
- Cut and prepare your binding strips, join them into a continuous length, press in half lengthwise, and sew to the front of the mug rug with a consistent quarter-inch seam allowance all the way around.
- Fold the binding over to the back of the mug rug, miter each corner neatly, and stitch down by hand or machine to complete the professional-looking finished edge.
Caring for Your Mug Rug and Ideas for Creative Variations
A properly made mug rug is both beautiful and practical, designed to be used daily and laundered regularly without losing its shape or charm. Most cotton mug rugs can be machine washed on a gentle cycle in cool or warm water and tumbled dry on low heat, though it is always a good idea to test your specific fabrics according to their individual care instructions before assuming machine washing is safe. Washing the finished mug rug for the first time will cause slight shrinkage and softening that actually enhances the handmade, slightly crinkled look that many quilters adore. This characteristic quilted crinkle is a hallmark of genuine handmade quilted items and is considered a desirable quality rather than a flaw.
One of the most delightful aspects of the mug rug project is how easily it adapts to different themes, skill levels, and creative goals. Once you have made your first simple patchwork version, there is an enormous world of design possibilities to explore. Seasonal mug rugs are tremendously popular among crafters who enjoy rotating their home decor throughout the year. You might make a set featuring cheerful snowflakes and red plaid for winter, fresh florals and pastel ginghams for spring, bright tropical prints for summer, and rich jewel-toned leaves and plaids for autumn. A set of four seasonal mug rugs makes an incredibly thoughtful and personal handmade gift.
For crafters who want to develop their skills further, a mug rug is also an excellent practice ground for more advanced techniques. Appliqué, which involves cutting shapes from fabric and stitching them onto a background piece, creates endless design possibilities and is a skill that transfers directly to larger quilting projects. You might appliqué a simple coffee cup, a flower, a monogram letter, or a geometric shape onto the center of your mug rug top before assembling the layers. Embroidery details such as simple stitched outlines, French knots for flower centers, or backstitch lettering can add beautiful handcrafted texture and personalization to your finished mug rug design.
Making Mug Rugs as Gifts and for Sale
Handmade mug rugs have become one of the most popular items at craft fairs, online marketplaces, and among gift-givers in the quilting community, and it is easy to understand why. They are small enough to be affordable to produce and purchase, practical enough that recipients will actually use and appreciate them, and personal enough that they feel genuinely special compared to mass-produced home goods. A single mug rug can be made in as little as one to two hours by an experienced sewer, making it realistic to produce a collection of them in a single crafting weekend if you plan to sell or gift them in sets or batches.
When making mug rugs as gifts, consider the recipient’s personality, home decor style, and favorite colors to choose fabric combinations that will truly resonate with them. A friend who loves gardening might appreciate mug rugs made from botanical print fabrics in soft greens and creams. A colleague who is obsessed with their morning coffee ritual might love a set featuring coffee cup motifs and rich browns and warm creams. A child who loves a particular storybook character could receive a mug rug featuring novelty fabric in that theme, perhaps paired with a coordinating backing in their favorite solid color. The thoughtfulness that goes into these choices is what makes handmade gifts so deeply meaningful.
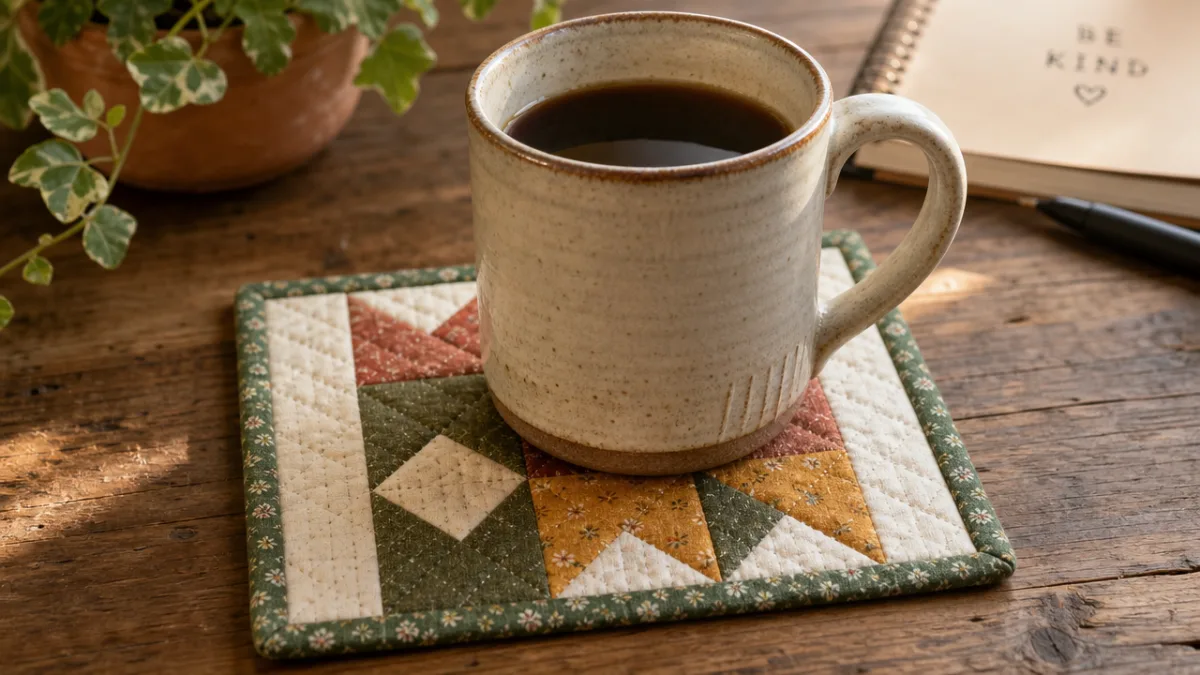
If you are considering selling your mug rugs, it is worth investing time in developing a cohesive collection with a consistent aesthetic that represents your personal style as a maker. Buyers at craft fairs and on platforms like Etsy are drawn to makers who have a recognizable visual identity, whether that means always using a particular color palette, a signature binding technique, or a consistent overall design sensibility. Photographing your mug rugs beautifully, with good natural light and thoughtful styling that shows them in context beside a lovely coffee cup and perhaps a small book or plant, will help potential buyers envision how the pieces would look and feel in their own homes and daily lives.
The mug rug project, modest as it might seem, represents something genuinely valuable in the world of handmade craft. It is a project that welcomes absolute beginners with open arms while still offering experienced quilters a creative outlet for experimentation, skill-building, and the pure joy of working with beautiful fabrics. Whether you make one mug rug as your very first foray into quilting, or you go on to make dozens as you develop your skills and find your creative voice as a maker, each small finished piece carries with it the warmth, intention, and personal care that only handmade objects can possess. Pick up your fabric scraps, thread your machine, and begin your mug rug journey today.








What do you think?
It is nice to know your opinion. Leave a comment.