










How to Build a Deer Fence for Garden: A Complete Guide
Why Deer Fencing Is Essential for Your Garden
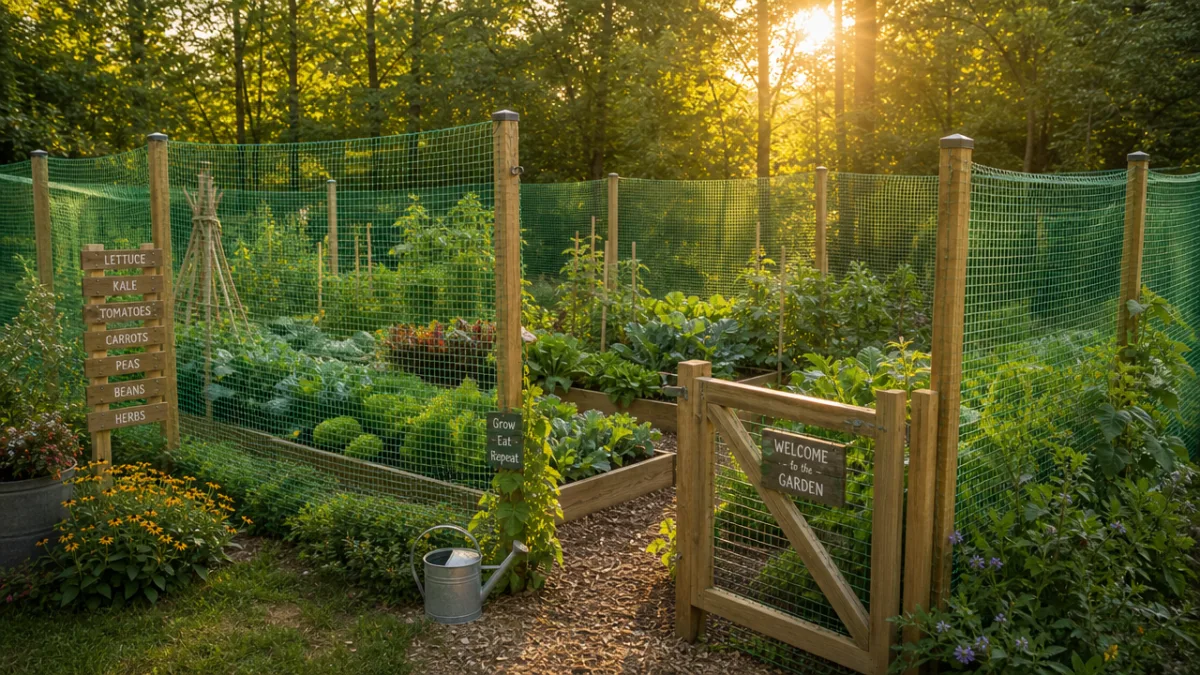
If you’ve ever poured hours into a vegetable garden or a carefully tended landscape, only to walk outside one morning and find it completely stripped overnight — yeah, you know exactly how maddening that is. Deer are remarkably adaptable, and to them, your garden looks like an all-you-can-eat buffet, especially in spring and summer when everything is lush and green. Without some kind of real barrier, even the most determined gardener is going to keep losing that fight.
What surprises a lot of people is how strong the financial case for a deer fence actually is. Think about what you spend year after year — replacing eaten perennials, replanting vegetables, buying repellent sprays that wash off after every rain. A good fence, by contrast, is a one-time investment that can easily last a decade or more. Most gardeners who’ve finally made the switch say it paid for itself within a season or two just from the losses they stopped having.
There’s also something bigger going on beyond just protecting your plants. When deer are consistently kept out, the whole ecosystem inside your garden quietly benefits. Beneficial insects, ground-nesting birds, small pollinators — all of them get disturbed when large animals are constantly browsing through. Take the deer out of the picture, and those creatures can actually do their thing undisturbed. So in a real sense, your fence isn’t just protecting what you’ve planted; it’s helping create a healthier growing environment overall.
Choosing the Right Type of Deer Fence
Not all deer fences are built the same, and picking the right material for your situation makes a big difference in both how well it works and how much hassle it is to maintain. The main options most home gardeners will come across are polypropylene deer mesh, metal hex netting, welded wire, woven wire, and electric fencing. Each one has its own trade-offs in terms of cost, durability, ease of installation, and how it looks in your yard.
Polypropylene deer mesh is probably the most popular choice, and it’s easy to see why — it’s lightweight, relatively affordable, easy enough to put up on your own, and once it’s stretched between posts it practically disappears from a distance. It typically comes in 7- to 8-foot heights, which matters because white-tailed deer can clear a 6-foot fence without much effort when they’re motivated. The main downside is that polypropylene doesn’t last forever. It degrades in UV light over time and can get torn by persistent deer leaning into it or by falling branches.
Welded wire and woven wire fencing are significantly tougher. Galvanized or vinyl-coated welded wire can hold up for twenty years or more and won’t buckle when a deer decides to push against it. Electric fencing is another solid option, especially on larger properties. It works by teaching deer — through a mild shock — to stay away from the fence line entirely. A single or double electrified strand, especially if you bait it with a little peanut butter to get that first nose-to-wire contact, can be surprisingly effective. It’s also a great pick if you want minimal visual impact on your landscape.
Planning Your Deer Fence Layout
A little planning upfront saves a lot of headaches once you’re actually out there digging post holes. Start by walking your whole garden perimeter and sketching a rough map. Note any slopes, existing hedgerows, large trees, or drainage areas that’ll affect where and how your fence runs. Measure each straight section carefully and make sure you account for every corner, since corners need extra posts and hardware to hold proper tension across the whole fence.
One thing a lot of first-time fence builders don’t think about until it’s too late is gate placement. You need at least one opening wide enough to comfortably get through with a wheelbarrow, garden cart, or small tractor if you use one. Try to put your gate on relatively flat ground — it makes the swing easier and helps you get a tight bottom seal so deer can’t push underneath. If your garden is on the larger side, two gates on opposite ends can be a real quality-of-life improvement when you need to drive equipment through without all the reversing and maneuvering in a tight space.
It also helps to think about how deer actually move across your property before you finalize your layout. They tend to come downhill or along natural travel paths like woodland edges and creek bottoms, so those spots deserve extra thought. If your land has slopes steeper than about 15 degrees, you’ll need to plan for how the fencing will conform to the uneven ground — you may need additional tension posts or a finer mesh at the bottom to close up any gaps deer might push through. Honestly, spending an afternoon watching where deer enter your yard before you finalize your plan can make a real difference in how well the fence actually works.
Materials and Tools You Will Need
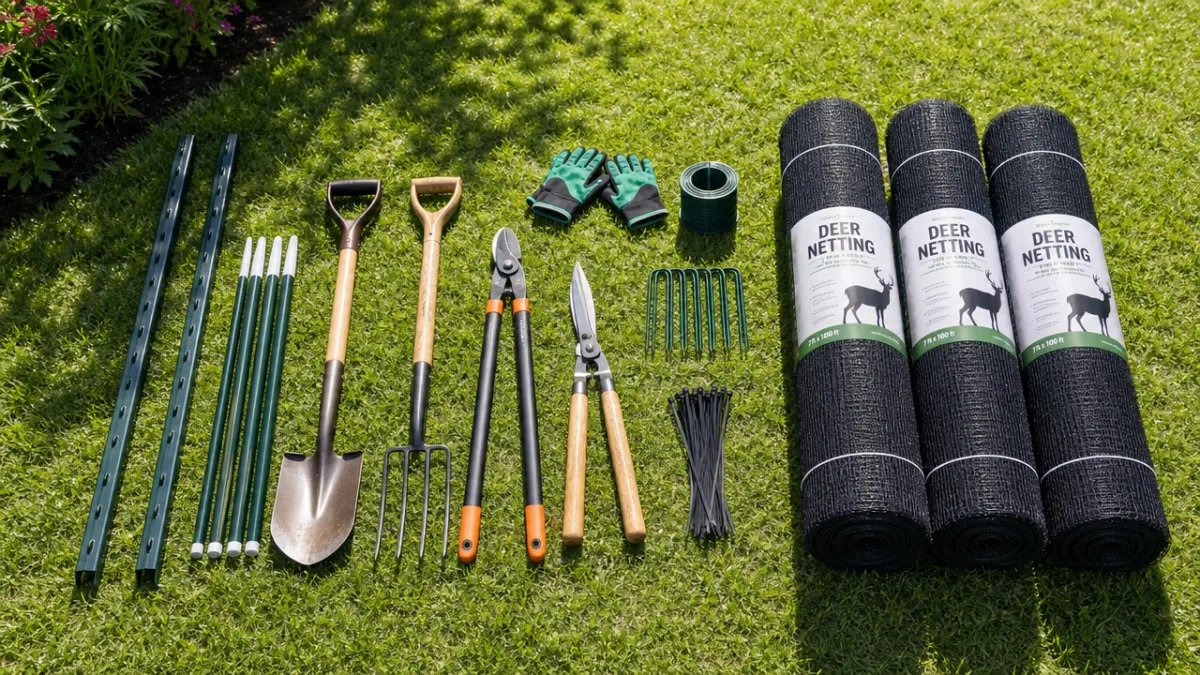
Getting everything together before you start is one of those things that sounds obvious but makes a surprisingly big difference. Nothing slows a project down like having to stop mid-installation because you’re short on zip ties or forgot to pick up a post driver. The exact quantities you’ll need depend on your garden’s size, but for a typical 50-by-50-foot vegetable garden, plan on somewhere between 250 and 300 linear feet of fencing at 8 feet tall — and tack on an extra 10 to 15 percent for overlaps, corners, and any on-the-fly adjustments.
For posts, you’ve got three main options: wood, metal T-posts, and fiberglass. Pressure-treated wooden posts (4×4 or 4×6) are the strongest of the bunch and are the right call for corners, gate posts, and anywhere the fence line makes a significant change in direction. Metal T-posts are cheap and easy to drive in with a post driver, which makes them a practical choice for the line posts that run between your corners. Fiberglass posts are flexible and durable, and they pair particularly well with polypropylene mesh because their slight give under pressure reduces stress on the fencing at attachment points rather than just yanking it loose.
On top of posts and fencing, here’s what you’ll want to have on hand: a post driver or sledgehammer for your T-posts, a manual or powered post hole digger for wooden corner posts (which need to be set in concrete), zip ties or fence clips, wire cutters, fencing pliers, a tape measure, a level, wooden stakes and string for laying out straight lines, and work gloves. If you’re adding an electric component, you’ll also need an energizer unit, ground rods, insulators, and connection wire. And if you can rope in a helper for the post-setting and mesh-stretching stages, do it — it makes everything go considerably faster and easier.
- Deer netting or welded wire fencing (8 feet height recommended)
- Wooden corner posts — 4×4 pressure-treated lumber, 10 feet long
- Metal T-posts or fiberglass line posts for intermediate spacing
- Concrete mix for setting corner and gate posts
- Gate hardware including hinges, latch, and gate frame materials
- Zip ties, fence staples, or wire clips for attachment
- Post driver or sledgehammer
- Post hole digger
- Fencing pliers and wire cutters
- Measuring tape, wooden stakes, and string line
Step-by-Step Installation Guide
Start by laying out your fence line with wooden stakes and string. Drive a stake at each corner and at your gate location, then run string between them to give yourself a straight guide for post placement. Walk the string line and mark each post spot with a flag or a quick spray of marking paint. T-posts should be spaced no more than 10 feet apart, and your wooden corner and gate posts need to go at least 2 feet deep in concrete to stay solid over time.
Once your posts are set and the concrete has had 24 to 48 hours to cure, you can start unrolling and attaching your fencing. Start at a corner post and work your way around the perimeter, keeping the mesh taut as you go. Fasten the mesh to the corner post at several heights using fence staples or heavy-duty zip ties, then walk the roll to the next line post and attach it there. If you have a helper to hold tension on the roll while you fasten, use them — it makes a real difference in how tight and neat the final result looks.
The bottom of the fence deserves particular attention. Deer are smarter than people give them credit for, and they will absolutely push under a gap rather than jump over if they find a weak spot at ground level. You’ve got a few good options here: fold the bottom 12 inches of fencing outward along the ground and stake it flat (this creates an L-shaped footer that deer step on instead of pushing through), bury the bottom 6 to 12 inches, or use ground staples to pin the mesh tight to the soil. Whichever approach you go with, do a full perimeter walk after you’re done and close up any gap larger than a couple of inches.
Installing the gate is one of the most important parts of the whole project, so don’t rush it. Let your gate posts cure fully in concrete before you hang anything — posts that shift even slightly will cause your gate to misalign and stop closing properly. Use heavy-duty outdoor-rated hinges and a positive-latch closure that won’t pop open from wind or a deer nosing at it. One small addition that’s absolutely worth doing: a simple spring mechanism that pulls the gate closed automatically. It sounds minor, but it solves the extremely common problem of accidentally leaving the gate ajar when your hands are full of garden tools or produce.
Maintaining Your Deer Fence Year-Round
A deer fence isn’t something you build and forget about. Like anything that lives outside, it takes weather, seasonal growth, and the constant testing of persistent animals. The good news is that keeping it in shape doesn’t have to be a big deal — a couple of focused check-ins per year is usually all it takes. A thorough inspection of a medium-sized garden enclosure typically takes less than an hour, which is nothing compared to what you’d spend replanting eaten crops.
Your most important inspection is the one you do in early spring, before the growing season gets going. Winter is hard on fences. Heavy snow loads, fallen branches, and freeze-thaw cycles loosen posts, tear mesh, and create gaps along the bottom where frost heave has pushed the ground up. Go around the whole perimeter looking for mesh that’s pulled away from posts, any tears or holes in the material, and any posts that have shifted or gone out of plumb. Catching these things in early spring — before deer are in full browse mode — is so much better than discovering them after the damage is already done.
Keeping the vegetation along your fence line under control is the other big maintenance habit to build. Plants growing against the fence trap moisture and accelerate wear on both metal and polypropylene materials. Woody shrubs and vines that grow into the mesh can put real structural stress on the fencing and eventually tear it or loosen your fasteners. Try to keep a 12-inch clear buffer on both sides of the fence, trim back any tall plants that lean against it during the growing season, and you’ll add years to the life of your fence while also making your annual inspections faster and easier.
Additional Strategies to Maximize Deer Protection
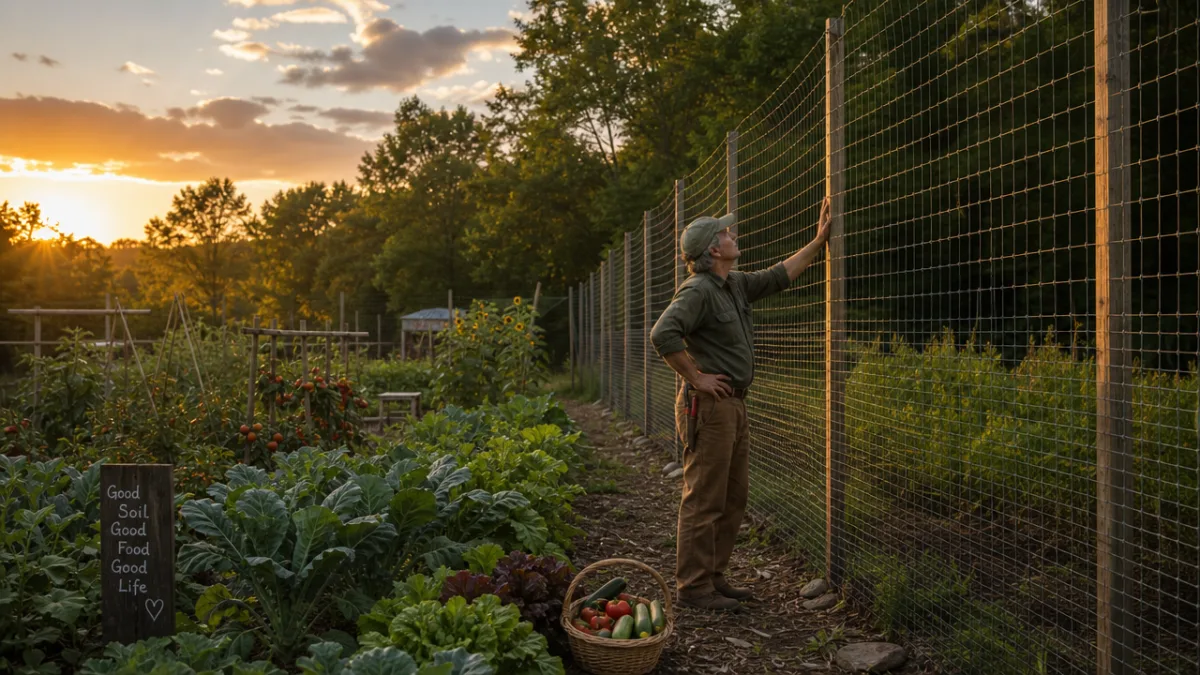
Even a well-built fence works best when it’s part of a bigger picture rather than your only line of defense. Deer are smart, and in areas with heavy deer pressure — especially in late fall and winter when natural food gets scarce — they’ll keep testing barriers, looking for any weak point they can exploit. Layering your fence with a few complementary deterrents raises your overall effectiveness considerably and makes it much less likely that a determined deer finds a way in.
Scent deterrents applied around the outside of your fence can cut down on how often deer even approach it. Products with predator urine, sulfur compounds, or putrescent egg solids have held up pretty well in research trials when applied consistently and refreshed after rain. Motion-activated sprinklers along likely approach routes are also highly effective, especially at night when deer are most active. On their own, scent and motion deterrents aren’t enough to fully exclude deer — but paired with a solid fence, they create a layered barrier that most deer will just decide isn’t worth the trouble when there’s easier food somewhere else.
It’s also worth thinking about what you’re planting both inside the fence and in the surrounding landscape. Swapping out highly attractive plants like hostas, arborvitae, and tulips in the areas outside your fence for deer-resistant alternatives — lavender, salvia, catmint, ornamental grasses — makes your whole property less appealing as a destination. When deer stop thinking of your yard as a reliable food source, they naturally visit less often and with less intensity. Put that together with a well-built, properly maintained fence and a few strategic deterrents, and you’ve got about as strong a setup as you can get for keeping your garden safe season after season.
- Install 8-foot-high fencing to prevent deer from jumping over without difficulty
- Secure the bottom edge tightly to eliminate any gaps deer could push through
- Use a self-closing gate latch to prevent accidental openings
- Inspect the full fence perimeter every spring and fall for damage
- Clear vegetation from both sides of the fence line to reduce wear and improve visibility
- Combine physical fencing with scent deterrents for highest overall effectiveness
- Plant deer-resistant species outside the fence to reduce the attractiveness of your property








What do you think?
It is nice to know your opinion. Leave a comment.