










Star Crochet Ear Warmer: Handmade, Cozy & Colorful
Introduction to the Star Crochet Ear Warmer
There’s something genuinely special about a handmade accessory that manages to be warm, stylish, and creative all at once. The star crochet ear warmer is exactly that — it’s practical winter wear and a little work of art rolled into one, and crochet lovers everywhere have fallen hard for it. Whether you’ve been crocheting for years and want a fun new project, or you’re just starting out and looking for something impressive but totally doable, this pattern is a great time from beginning to end.
Ear warmers have always been a great alternative to a full winter hat. They keep your ears and temples nice and warm without the hat hair situation, and they don’t add a ton of bulk. The star stitch takes this already-great accessory up a notch — it’s got that beautiful woven, almost intricate look to it, and once you make it in a colorful yarn you love, it becomes the kind of thing you grab on your way out the door not just because it’s cold, but because it makes you happy to wear it.
Making your own ear warmer is about a lot more than skipping the boutique price tag, too. There’s a real sense of pride in wearing something you built stitch by stitch with your own hands. People will ask where you got it, and getting to say “I made it” never gets old. That feeling is honestly one of the best parts of crochet, and this little project delivers it in a big way.
Understanding the Star Stitch
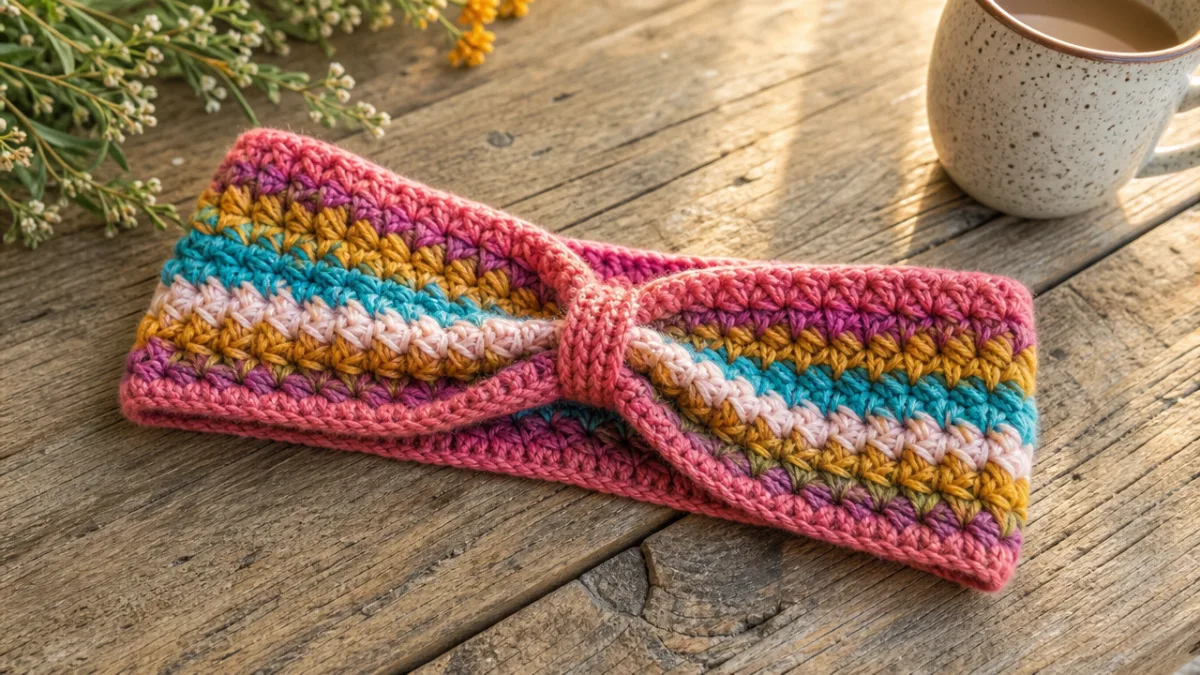
Before jumping into the pattern, it’s worth taking a moment to appreciate what makes the star stitch so special — and why crocheters have loved it for so long. It creates a textured, almost three-dimensional fabric that looks like a series of overlapping starbursts or little daisy shapes. The way it works is that you pull up several loops and join them at a center point, which creates that distinctive radiating effect the stitch is named for.
It might look a little intimidating at first, but honestly once you get the rhythm of it, it’s very approachable. Like most crochet stitches, it follows a logical repeating sequence that starts to feel almost automatic once your hands get the hang of it. A lot of crocheters find the star stitch genuinely meditative once muscle memory kicks in — it’s the kind of thing you can happily work on during a quiet evening or while watching something on TV.
One of the coolest things about this stitch is how completely different it can look depending on the yarn you use. With a smooth solid-color yarn, each individual star shape stands out clearly and the geometric design really pops. With a variegated or self-striping yarn, the colors pool and blend across the starbursts in these unexpected, almost painterly ways that you honestly can’t fully predict — and that’s part of the fun. That versatility is a big reason why so many people love experimenting with different yarns in this stitch.
Picking up the star stitch also opens the door to a whole range of future projects. Blankets, scarves, bags, pillow covers — they all work beautifully in this stitch. So think of this ear warmer as your entry point into something much bigger: a small, manageable project that hands you a genuinely useful skill you’ll keep coming back to.
Materials and Tools You Will Need
Getting your materials together before you start makes the whole process so much smoother. The good news is that an ear warmer doesn’t take much yarn at all, which makes it a perfect project for using up leftover skeins from your stash — or for treating yourself to one special skein of something you’ve been eyeing. Because you need so little, even a higher-end yarn stays pretty affordable for a project like this.
Here’s a general list of what you’ll need to make your star crochet ear warmer:
- Approximately 50 to 100 yards of worsted weight yarn (the exact amount depends on head size and desired width)
- A crochet hook sized to match your yarn, typically a 5mm or 5.5mm hook for worsted weight
- A yarn needle or tapestry needle for weaving in ends
- Scissors
- A measuring tape to check gauge and finished dimensions
- Stitch markers, which are optional but helpful for tracking repeats
Yarn choice is really where you get to have fun. Acrylic yarns are a fantastic starting point — they’re affordable, easy to find, come in every color imaginable, and are a breeze to take care of. Wool and wool-blend yarns bring extra warmth and a beautiful drape that plays really nicely with the star stitch. And if you want to go all out, a merino or alpaca blend feels incredibly soft against the skin around your ears, which you’ll definitely notice on a cold morning.
Color is probably the most exciting decision you’ll make for this project. A single bold color looks clean and sophisticated. Two contrasting colors swapped row by row create a striking striped effect through the starbursts. A variegated or self-striping yarn does all the color work for you, producing this gorgeous, evolving progression of shades as you go. There’s genuinely no wrong answer, and honestly, a lot of people end up making several of these just to try different combinations.
Step-by-Step Guidance for Crocheting Your Ear Warmer
The construction of a star crochet ear warmer is refreshingly straightforward. You crochet a flat rectangle of star stitch to the right length, then join the two short ends together to form a headband. Some versions include a decorative button or bow at the seam, while others are joined invisibly for a cleaner look. Either way, you end up with a snug, comfortable band that sits just right around your head and ears.
Start with your foundation chain. How many chains you need depends on how wide you want the finished band to be, since most star stitch ear warmer patterns are worked lengthwise — meaning the width of your rectangle becomes the height of the finished piece. A typical adult ear warmer runs about three to five inches tall, so it’s worth taking the time to swatch and measure before you commit to your starting chain. A quick gauge swatch saves a lot of frustration down the road and makes a real difference in whether the finished piece fits comfortably.
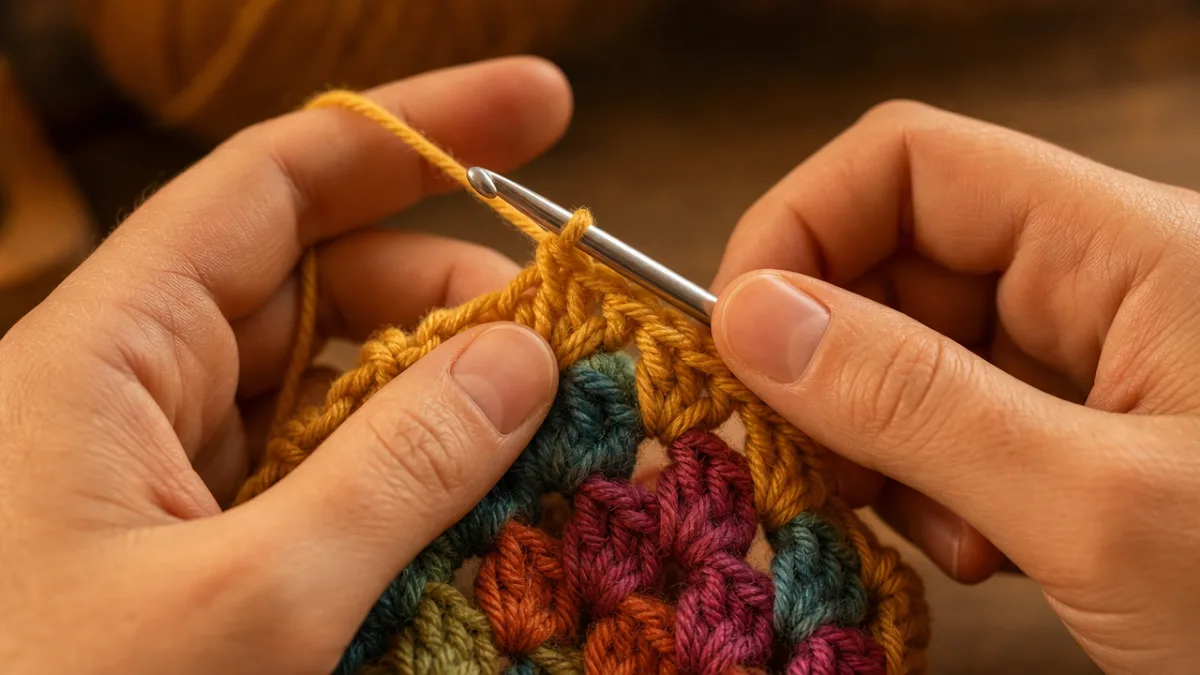
As you work your rows, you’ll notice a natural rhythm starting to settle in. The biggest key to a clean star stitch is consistent tension — not too tight, not too loose. When your tension is even, each star shape comes out uniform and the overall fabric has that satisfying, cohesive look. If your tension is giving you trouble, try loosening your grip on the yarn a bit, or going up half a hook size to give yourself a little more ease to work with.
Once your rectangle is long enough to wrap comfortably around your head, it’s time to seam the ends together. A slip stitch seam on the inside creates a nearly invisible join. A whipstitch with a yarn needle gives you a bit more control and produces a flat, flexible seam that won’t press uncomfortably against your head. After seaming, weave in your ends securely, and if your stitches need evening out, a gentle blocking can do wonders for opening up the star pattern and making the whole piece look polished.
Customization Ideas and Creative Variations
One of the best things about making handmade accessories is that you can make every single one a little different. The basic star crochet ear warmer is wonderfully flexible, and once you’ve made your first one, you’ll probably start dreaming up ways to mix things up. Customization can be as easy as swapping out the yarn color or as involved as restructuring the band entirely — it’s really up to you.
Here are some creative variations to get your ideas going:
- Twisted Headband Style: Instead of seaming the ends straight together, add a single twist before joining to create a chic, modern headband shape that sits differently on the head and adds visual interest.
- Wide Ear Warmer: Increase the starting chain to create a wider band that covers more of the head and ears, providing extra warmth on the coldest days.
- Button Closure: Leave the ends unjoined and instead add a row of buttonholes on one end and sew decorative buttons on the other, allowing the wearer to adjust the fit and adding a charming handmade detail.
- Color Block Effect: Work sections of the rectangle in different colors for a bold, graphic look that makes the most of your yarn stash.
- Faux Fur Trim: Sew a strip of faux fur fabric along the top or bottom edge of the finished ear warmer for a glamorous, cozy look that feels incredibly luxurious.
Beyond the structure itself, button and closure choices are their own fun rabbit hole. A vintage button found at a thrift store or craft market gives the finished piece a really charming, eclectic personality. Wooden buttons feel earthy and natural. Rhinestone or jeweled buttons take the whole thing somewhere more elevated and festive — perfect for a holiday party or a special occasion. It’s amazing how much a small detail like that can change the whole vibe of the accessory.
Making ear warmers in multiple sizes for the whole family is another great way to run with this pattern. Kids’ versions need fewer chains and less yarn, so they come together quickly and they’re adorable. Picture a coordinating set of family ear warmers on a winter walk, or as part of a holiday photo — those are the kinds of handmade things that stick around and mean something long after the season is over.
Gifting and Sharing Your Handmade Creations
Handmade gifts just hit differently. There’s something about receiving something that took real time, attention, and skill that a store-bought item simply can’t replicate. A star crochet ear warmer makes a wonderful gift for friends, family, coworkers, or neighbors — especially in the fall and winter when everyone’s thinking about staying warm and cozy.
Because this project comes together fairly quickly, it’s completely realistic to crochet a whole batch of ear warmers as gifts in the weeks leading up to the holidays. Working in batches — crocheting all the rectangles first and then seaming them all at once — makes the process even more efficient. You could easily set up a cozy crafting session over a weekend with a good podcast or playlist going, and watch your gift list shrink stitch by stitch. There’s something deeply satisfying about that.
How you package a handmade gift really does matter. Rolling the ear warmer and tying it with a ribbon is simple and looks lovely. Tucking it into a small kraft paper gift box with tissue paper makes it feel special to unwrap. You might also include a little handwritten note explaining what stitch was used and how to wash it — that personal touch is something a lot of people genuinely appreciate and remember.
Sharing your finished work online is a great way to connect with the wider maker community and maybe inspire someone else to pick up a hook. Platforms like Pinterest, Instagram, and dedicated crochet groups are full of people sharing their projects, their yarn choices, and their works in progress. Posting a photo of your completed ear warmer can spark some really fun conversations, and you might even be the reason someone who’s been curious about crochet finally decides to give it a try. The handmade community is warm, encouraging, and genuinely enthusiastic — your work belongs there.
Caring for Your Star Crochet Ear Warmer
A handmade item is an investment of time and care, and knowing how to look after it properly means it’ll stay beautiful and functional for many seasons. How you wash and store your ear warmer depends mostly on the yarn fiber you used, which is why it’s always a good habit to hang onto the yarn label or jot down the fiber content before you start a project. Different fibers have very different needs, and treating them right makes a real difference in how long your finished piece lasts.
Acrylic yarn ear warmers are wonderfully easy to care for. Most acrylic yarns are fully machine washable and can even go in the dryer on a low setting, which makes them an especially practical choice for something you’re going to wear often and toss in the laundry regularly. Just throw it in on a gentle cycle with cool or warm water and it’ll come out looking fresh and in great shape. Acrylic doesn’t shrink or felt, which removes a lot of the laundry anxiety that sometimes comes with handmade items.
Wool and natural fiber ear warmers need a bit more attention, but they really reward that extra care with exceptional softness and longevity. Hand washing in cool water with a small amount of wool wash or gentle soap is the safest route. The key is to avoid agitating or wringing the fabric — that’s what causes felting, which shrinks and mats the fibers in a way that can’t be undone. Instead, gently press the water out, roll the ear warmer in a clean towel to soak up the excess moisture, then reshape it and lay it flat to dry. It takes a little more time, but it’s not complicated at all, and your ear warmer will thank you for it.
It’s also worth thinking about how you store it between seasons. Give it a thorough wash before putting it away for the warmer months — oils, dust, and food residue can attract moths and other insects that love natural fibers. Store it in a breathable cotton bag or a sealed container with a cedar block or lavender sachet, both of which work as natural moth deterrents. When you pull it out the following autumn it’ll be fresh, clean, and ready to go — like being reunited with a favorite old friend.








What do you think?
It is nice to know your opinion. Leave a comment.