










50 Dollar Store DIY Ideas for Your Home Decor: DIY Lamps and Lanterns
Transform Your Home with Budget-Friendly Lighting
When it comes to home decor, lighting is one of the most transformative elements you can invest in — and it doesn’t have to cost a fortune. Dollar stores have quietly become a treasure trove of raw materials waiting to be reimagined into stunning decorative pieces. With a little creativity and a few dollars spent at your local dollar store, you can craft lamps and lanterns that look like they came straight from a high-end boutique. The key is knowing what to look for and how to see potential in everyday, affordable objects.
DIY lighting projects are particularly rewarding because they serve a dual purpose: they illuminate your space while also acting as a statement piece or conversation starter. Whether you’re drawn to rustic farmhouse aesthetics, sleek modern minimalism, or warm bohemian vibes, there is a dollar store DIY lamp or lantern concept that will suit your vision. The variety of materials available — glass vases, wire baskets, mason jars, plastic containers, and more — means your options are nearly limitless when it comes to building something beautiful from scratch.
This article walks you through more than fifty creative ideas and the essential techniques behind them, helping you understand how to approach materials, wiring, and design with confidence. Even if you have never attempted a DIY project before, the instructions and inspiration here are designed to be beginner-friendly. By the end, you’ll have a clear roadmap for creating handmade lamps and lanterns that will elevate every room in your home without draining your wallet.
Why Dollar Store Materials Work So Well for Lighting Projects
One of the biggest misconceptions about dollar store shopping is that cheap means low-quality or unusable for crafts. In reality, dollar stores stock a wide range of glass, ceramic, metal, and plastic items that are structurally sound and aesthetically versatile. Glass vases and candle holders, for example, have the clarity and weight needed to serve as lamp bases or lantern bodies. Wire baskets and metal bins can be repurposed into industrial-style pendant shades that look deliberately chic when hung in a kitchen or hallway.
The appeal also lies in the low financial risk. When you’re experimenting with a new craft technique, spending one or two dollars on a test piece means a failed attempt costs almost nothing. This freedom encourages creativity and experimentation in ways that more expensive materials simply do not. You can try painting techniques, try stacking objects to form layered bases, or attempt wiring configurations without the anxiety of wasting a significant investment. Dollar store DIY invites you to play.
Beyond the practical financial argument, there’s also a sustainability angle worth celebrating. Repurposing items that might otherwise be considered disposable or overly simple reduces waste and gives objects a longer, more meaningful life in your home. Giving a plain glass vase a second life as a glowing lamp base is a small but satisfying act of conscious consumption that aligns with a more intentional approach to decorating and living.
Essential Tools and Supplies for DIY Lamps and Lanterns
Before diving into specific project ideas, it’s important to understand what tools and supplementary supplies you’ll need to bring your lamp and lantern visions to life. Beyond the dollar store items themselves, a few core materials are necessary to ensure your creations are safe, functional, and polished. Fortunately, most of these tools are either already in your home or available very inexpensively at hardware or craft stores.
For any lamp project that involves actual electrical wiring, a lamp cord kit is essential. These kits typically include a socket, a switch, and a power cord, and they can be purchased for under ten dollars at most hardware stores. They are designed to be user-friendly, with clear instructions that allow beginners to wire a lamp safely without any electrician training. If you’re not comfortable with wiring, battery-operated LED puck lights, fairy light strands with battery packs, or USB-powered lights are excellent alternatives that eliminate any electrical concerns entirely while still delivering beautiful results.
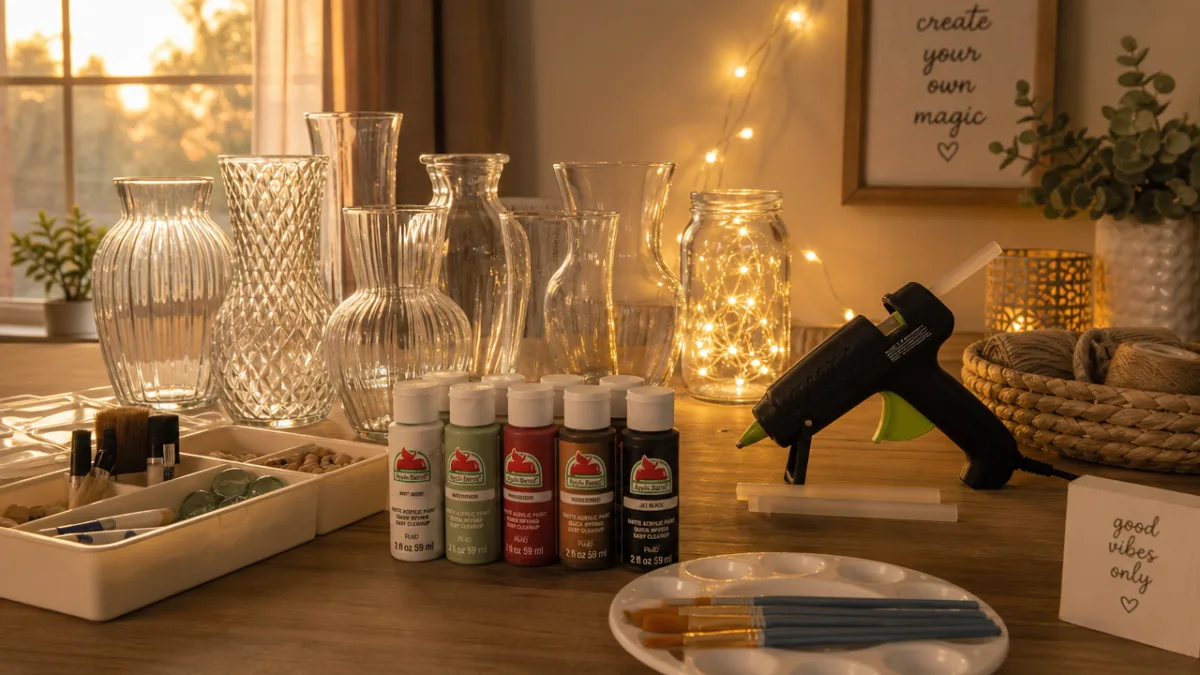
For lanterns and non-wired decorative lighting, the supply list is even simpler. You’ll want a strong adhesive such as E6000 or a hot glue gun, acrylic or chalk paint in your desired colors, paintbrushes in various sizes, sandpaper for distressing effects, and finishing sprays to protect your work. Flameless LED candles are a safe and realistic-looking option for filling lanterns with warm, flickering glow without any fire risk — perfect for households with children or pets.
Safety Considerations When Working with Electrical Components
Safety must always be the top priority when creating any DIY lamp that involves real electrical components. Even though lamp cord kits are designed for home use and are relatively safe, there are important precautions to take. Always ensure the lamp base you’re using can withstand the heat generated by a lightbulb. Glass, ceramic, and metal materials are generally safe, but plastic items from the dollar store should only be used with very low-wattage LED bulbs that produce minimal heat.
Never attempt to modify existing lamp cords or splice wires unless you have specific knowledge and experience with electrical work. Stick to complete lamp cord kits from reputable brands, and always follow the manufacturer’s instructions precisely. If a base you’ve created feels unstable, reinforce it before use — a lamp that tips over while lit poses a serious fire hazard. Consider adding felt pads or a weighted bottom to ensure your creation stands steady on any surface.
It is also wise to test your completed lamp before placing it in its permanent location. Plug it in briefly in an open space, check that the socket feels cool after a few minutes, and make sure all connections are secure. If anything seems off — a flickering bulb, an unusually warm cord, or a loose socket — unplug it immediately and reassess the wiring before use. Building in these safety checks as standard practice will give you peace of mind and ensure your beautiful DIY piece is also a responsible one.
DIY Lamp Ideas Using Dollar Store Materials
The world of DIY lamps from dollar store finds is vast and exciting. One of the most popular approaches is the stacked vase lamp, where two or three glass vases of varying heights are adhered together using strong adhesive or threaded through with a lamp rod, creating an elegant layered base. Once painted in a metallic finish — gold, bronze, or brushed nickel — these stacked vases look indistinguishable from lamps sold in home decor stores for fifty dollars or more. A simple drum shade sourced from a thrift store or made from craft paper completes the look beautifully.
Another beloved project involves repurposing dollar store lantern-style candle holders into table lamps. These often feature ornate metalwork or geometric designs that translate perfectly into a lamp base aesthetic. By threading a lamp cord kit through a drilled hole in the bottom — or simply placing a battery-operated bulb on a wooden base inside — you create something that looks intentionally designed and artistically considered. These types of lamps work especially well in entryways and on bedside tables where a bit of decorative drama is welcome.
For a more industrial or modern look, consider using a dollar store metal bucket, colander, or wire mesh container as a pendant lamp shade. Drill or punch small holes in a pattern around the exterior, thread a pendant cord kit through the top, and hang it in a kitchen or dining space for a fixture that looks deliberately edgy and handcrafted. The perforations create beautiful light patterns on the surrounding walls and ceiling, adding dimension and visual interest to any room. Spray paint in matte black, copper, or white transforms these humble pieces dramatically.
Decorative Touches That Elevate Your DIY Lamps
The finishing details on a DIY lamp are what truly separate a craft project from a polished home decor piece. Texture, color, and hardware details all play significant roles. Wrapping a lamp base with twine, rope, or jute cord — materials easily found at dollar stores or craft stores — adds a coastal or rustic texture that feels organic and intentional. Simply apply a thin layer of glue to the base section by section and wind the cord tightly for a clean, professional-looking finish.
Decoupage is another finishing technique that opens up enormous creative possibilities. Using dollar store tissue paper, decorative napkins, or printed images, you can cover a plain lamp base in patterns ranging from floral botanicals to geometric abstracts. Mod Podge acts as both adhesive and sealant, making the technique beginner-friendly and durable. A lamp base covered in vintage botanical prints, for example, creates an instantly elegant and one-of-a-kind piece that would look perfectly at home in a library or reading nook.
Don’t overlook the power of the lampshade in completing your design. Even a plain white paper lantern shade from the dollar store can be transformed with paint, stamp patterns, cut-out designs, or washi tape stripes into something spectacular. If you have a lamp base you love but struggle to find a shade that complements it, making your own from a wire frame and fabric or paper is a manageable project that gives you complete creative control over color, pattern, and proportion.
DIY Lantern Ideas for Indoor and Outdoor Spaces
Lanterns are among the most versatile and accessible DIY lighting projects for home decorators of all skill levels. Unlike lamps, most lantern projects require no electrical knowledge at all, relying instead on flameless LED candles, battery-powered fairy lights, or simple tealights in safe, non-flammable containers. Dollar stores reliably stock a variety of glass jars, wire-framed lanterns, and decorative containers that serve as ready-made lantern bodies needing only minimal modification and styling to become stunning decor pieces.
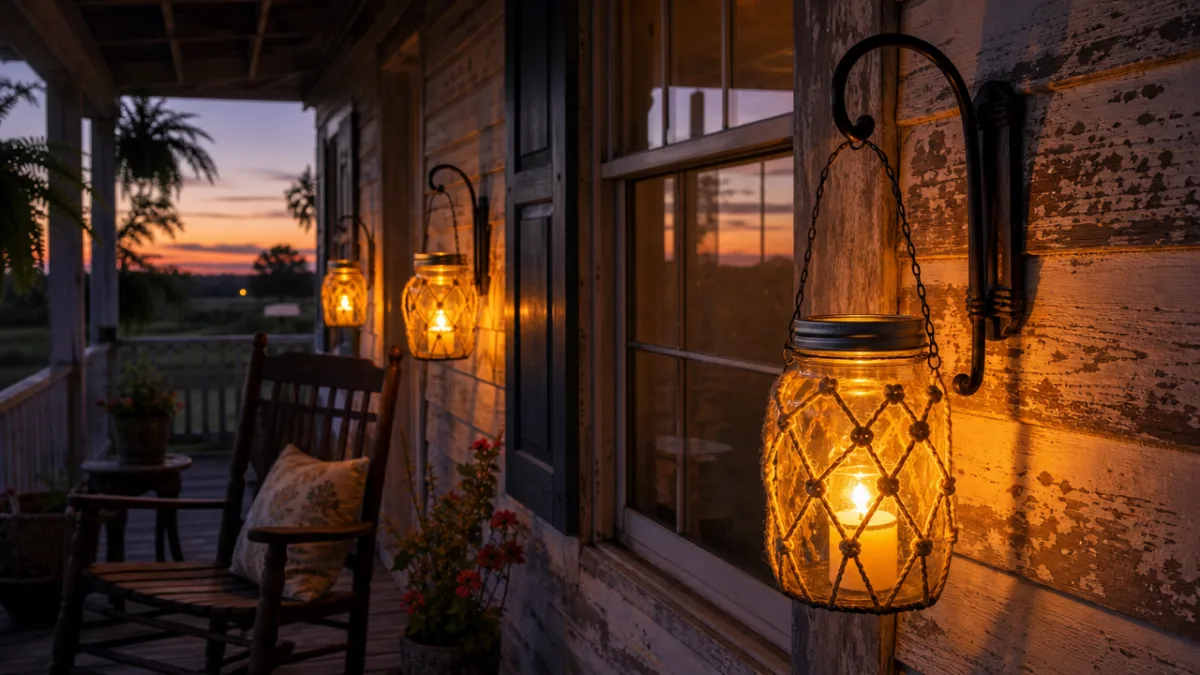
For outdoor spaces such as patios, porches, and garden pathways, mason jar lanterns remain a perennial favorite. Dollar stores often carry mason-style jars in various sizes, and turning them into lanterns is as simple as adding a wire handle (made from craft wire bent into a loop and wrapped around the jar’s neck), placing a flameless tealight inside, and hanging them from shepherd’s hooks or tree branches. For added visual interest, fill the jar base with sand, decorative stones, or sea glass before placing the light — these materials reflect and scatter the glow beautifully in the dark.
Wooden crate lanterns offer a more rustic charm ideal for farmhouse or cottagecore aesthetics. Small wooden crates or boxes from the dollar store can be assembled into enclosed lantern shapes by hinging one side open for access, cutting a simple star or moon shape into the top for light to escape, and adding a wire handle. Stain or whitewash the wood for a weathered look, place a fairy light cluster inside, and you have a lantern that feels handmade in the most charming, artisanal sense of the phrase.
Seasonal and Themed Lantern Designs
One of the greatest joys of DIY lanterns is how easily they adapt to seasons, holidays, and themed decor without requiring an entirely new purchase. The same basic glass jar or wire-framed lantern can be transformed for autumn with dried orange slices, cinnamon sticks, and faux fall leaves; reimagined for winter with artificial snow, pinecones, and battery fairy lights; and refreshed for spring with fresh or faux flowers tucked around the base. This adaptability makes dollar store DIY lanterns an incredibly economical long-term decor investment.
For holiday-specific designs, consider creating lanterns around a central color palette or motif. A collection of lanterns in deep red, gold, and green filled with ornament balls and pine sprigs creates an instantly festive holiday vignette on a mantel or dining table centerpiece. For Halloween, black-painted jars with cut-out spider web patterns allow candlelight to cast eerie shadows on nearby walls — a dramatic effect achieved with minimal supplies and effort. The creative possibilities are as endless as the calendar is long.
Themed lanterns also make exceptionally thoughtful and personal gifts. A lantern assembled with someone’s favorite colors, meaningful items tucked inside, and a handwritten tag carries a warmth and intentionality that store-bought gifts rarely match. Because the materials cost so little, you can create multiple lanterns as a coordinated gift set — a trio of varying heights styled consistently makes a beautiful housewarming, wedding, or birthday present that recipients remember and display with genuine affection.
Styling and Displaying Your DIY Lamps and Lanterns
Creating beautiful DIY lighting pieces is only half the equation — how you style and display them determines the overall impact they have on your home. Grouping is one of the most effective display strategies, particularly for lanterns. Clusters of three to five lanterns at varying heights, placed on a coffee table, fireplace hearth, or outdoor surface, create a cohesive and layered look that feels curated rather than random. The key is varying the heights while keeping the color palette or material consistent so the group reads as a unified collection.
For DIY table lamps, consider the relationship between the lamp and its surroundings carefully. A lamp should anchor a surface — whether a nightstand, side table, or console — by being proportionate to the other objects around it. Pair a tall, slender lamp base with low, horizontal books or trays for visual balance. A shorter, rounder lamp base benefits from being placed next to taller objects like a vase or a framed artwork to create pleasing height variation. These are the same principles professional interior designers apply, and they’re completely achievable in a DIY context.
Lighting placement also affects the mood and functionality of a room in profound ways. Warm-toned bulbs (around 2700K on the color temperature scale) create a cozy, intimate atmosphere ideal for living rooms and bedrooms. Cooler-toned bulbs (around 4000K) are better suited for workspaces and kitchens where clarity and focus are priorities. By choosing your bulb temperature intentionally, your DIY lamp does double duty — it looks beautiful and it sets exactly the right tone for how you want to feel in that particular space.
Combining Multiple DIY Pieces for a Cohesive Decor Theme
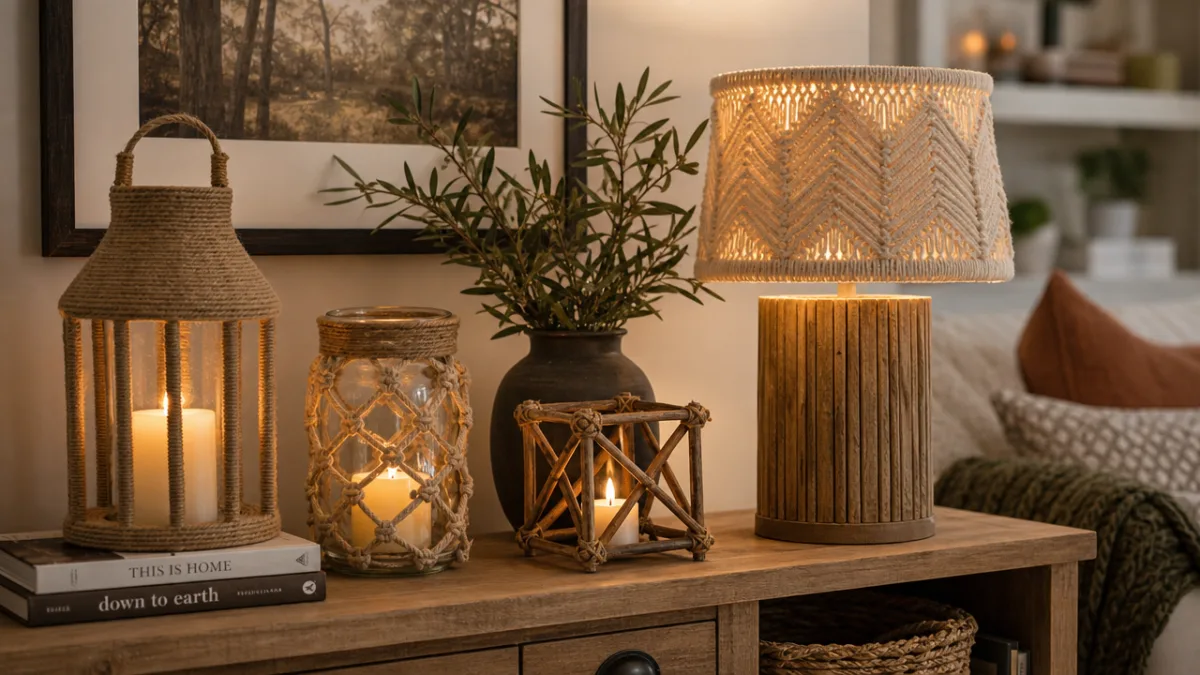
The real magic happens when individual DIY lighting pieces are combined with other handmade or styled elements to create a fully realized decor theme throughout your home. A hallway styled with two matching DIY lanterns flanking a console table, topped with a DIY stacked vase lamp and framed by a mirror, feels intentionally designed and elegantly personal. None of these pieces need to be expensive to achieve that result — they simply need to speak a common design language through consistent color, material, or style choices.
Consider designating a primary material or color thread that runs through all your DIY pieces for a given room. If you’re creating pieces for a coastal-inspired bedroom, for example, using blue glass, white rope accents, and natural wood tones across your lamp base, lanterns, and even your candle holders creates a visual harmony that makes the whole room feel more pulled together. Consistency in even small details — the same metallic paint used on different objects, or the same style of decorative bead — creates a sense of intentionality that elevates the entire space.
Finally, remember that DIY home decor is a living, evolving process rather than a one-time project. As your tastes develop, as seasons change, and as new dollar store finds inspire new ideas, your collection of handmade lamps and lanterns will grow and shift alongside you. Keep a simple notebook of ideas, sketches, and color combinations you love so that your creative energy is always building on itself. The investment in time, imagination, and a few dollars spent at the dollar store pays dividends in a home that feels genuinely, beautifully your own.








What do you think?
It is nice to know your opinion. Leave a comment.