










12 Lawn Edging Ideas on a Budget for a Clean, Beautiful Yard
Why Lawn Edging Makes All the Difference
There’s something almost magical about a well-edged lawn. Even when the grass itself isn’t perfectly manicured, clean borders between your lawn and your garden beds, pathways, or driveway can make the whole yard look intentional and cared for. Edging creates that visual boundary that draws the eye and says, “someone actually thinks about this space.” It’s honestly one of the easiest upgrades you can make — and the difference it delivers is way out of proportion to the effort and money involved.
A lot of homeowners assume that crisp, professional-looking landscaping means hiring a crew or dropping hundreds of dollars on elaborate hardscaping. That’s really not the case. With a little creativity, a free weekend, and materials that often cost less than a dinner out, you can put in edging that looks sharp, holds up for years, and genuinely boosts your curb appeal. Budget-friendly doesn’t have to mean it looks cheap — it just means you’re being smart about it.
Beyond looks, edging actually does some real work for you. It keeps grass from sneaking into your garden beds, stops mulch and soil from washing onto the lawn, and cuts down on how much trimming you have to do week after week. A good edge saves you time in the long run. Whether your yard is big or small, formal or a little wild, there’s something on this list that’ll fit your style, your soil, and your budget — no professional installer required.
Natural and Organic Edging Options
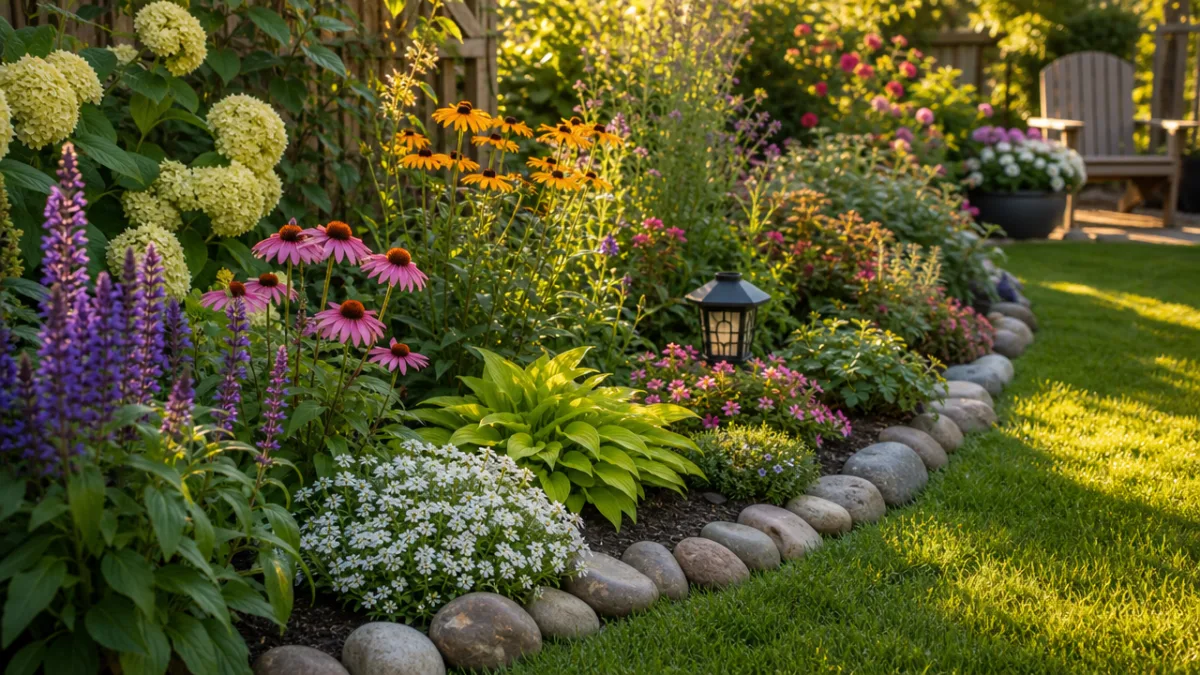
One of the easiest ways to keep costs down is to work with natural materials you might already have lying around or can pick up cheaply from a local supplier. River rocks and stones are a classic for good reason. Lining your garden beds with smooth, rounded stones gives you that relaxed, cottage-garden feel that works in both tidy formal yards and looser, more naturalistic ones. You can gather river rocks yourself if you live near a stream, or grab a bag from the garden center without spending much at all per linear foot of edging.
Logs and branches are another option that’s more attractive than you might expect. Thick branches or split logs laid end-to-end create a woodsy edge that looks right at home around tree rings, shaded beds, or naturalistic gardens. Since wood is organic, it’ll eventually break down and actually enrich the soil below — which is a nice bonus. Keep an eye out for fallen branches after storms, browse the free section on Craigslist, or ask a local tree-trimming crew if they have pieces they’d otherwise toss.
A gravel mowing strip is another low-cost natural option worth knowing about. You just dig a shallow trench between your lawn and a garden bed, fill it with gravel or crushed stone, and you’ve got a clean, defined boundary that grass roots really don’t want to cross. This works especially well in drier climates where gravel is cheap and plentiful. It also helps with drainage along bed edges, which can protect the roots of shrubs and perennials from sitting in soggy soil.
Recycled and Repurposed Edging Materials
If you’re working with a truly tight budget, the best edging materials might be things you already own — or can get for free. Broken concrete pieces, sometimes called “urbanite,” can be stacked or arranged along bed edges to create a chunky, textural border with real character. Contractors and homeowners give this stuff away all the time during demo projects, and it costs nothing but a little effort to haul and arrange. Laid flat or stood on their sides, those irregular pieces create an edge that’s surprisingly stylish in the right garden.
Old wine bottles buried neck-down in a row make for a playful, colorful garden edge that always gets people talking. Green, brown, and clear glass mixed together catches the light in a really pretty way, and it adds a whimsical touch to vegetable gardens and informal flower beds. Collect them over time, ask friends and neighbors to save theirs, or check with local restaurants. It’s completely free edging that looks intentional and charming — especially when the bottles are evenly spaced and lined up consistently.
Reclaimed bricks might be the best recycled edging option out there. Old bricks have a warm, worn patina that new bricks just can’t fake, and they’re often free or nearly free through demolition sales, estate sales, and architectural salvage yards. You can lay them flat in a single row, stand them on end for a taller edge, or arrange them in a sawtooth pattern for a more decorative Victorian-inspired look. No mortar, no special tools, no particular skill required — just a level trench and an afternoon with your hands in the dirt.
Affordable Manufactured Edging Products
Your local home improvement store and garden center carry plenty of manufactured edging products that won’t break the bank and go in fast. Flexible plastic lawn edging is one of the cheapest options out there — usually just a dollar or two per linear foot. It bends easily around curves, stakes in simply, and creates a clean separation between lawn and bed. It’s not the most glamorous material, but once grass grows up to it you can barely see it. It just quietly does its job.
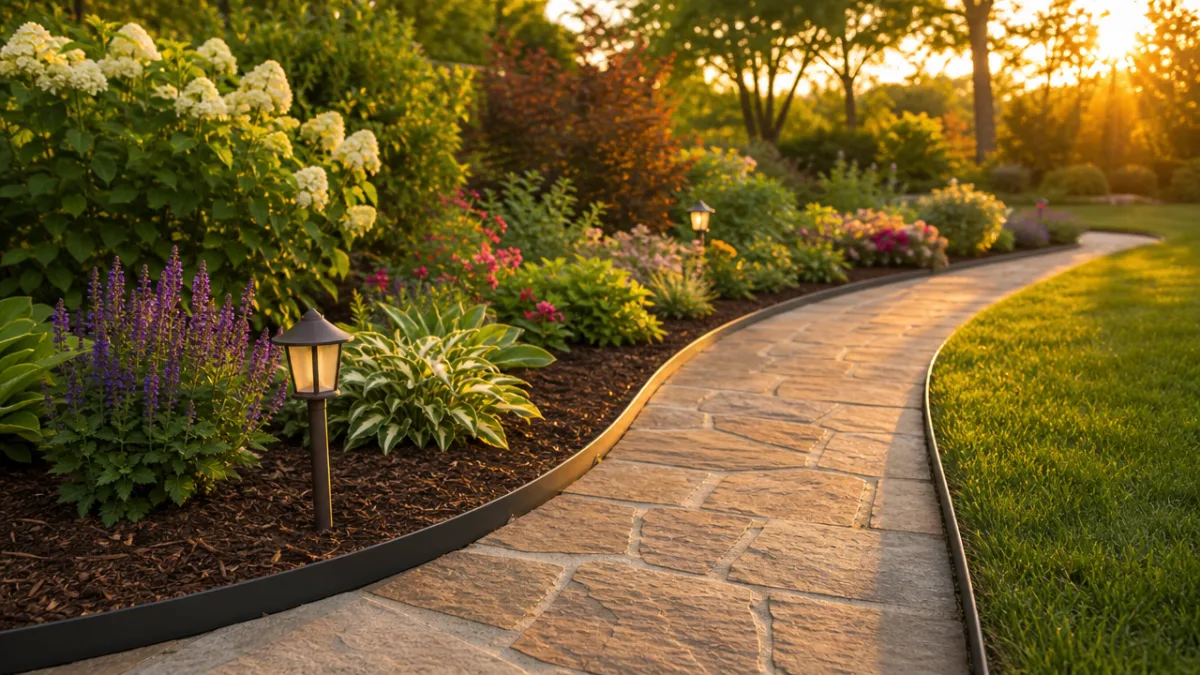
Steel and aluminum landscape edging has gotten much more affordable in recent years and is now well within reach for budget-conscious homeowners. These metal strips create that really crisp, clean edge you see in professional landscaping — and that’s exactly where designers use them. Metal holds its shape better than plastic, doesn’t warp in the heat or cold, and develops a nice weathered patina over time. You cut a shallow trench, press the strip in, stake it down, and the result genuinely looks like hired work at a fraction of the cost.
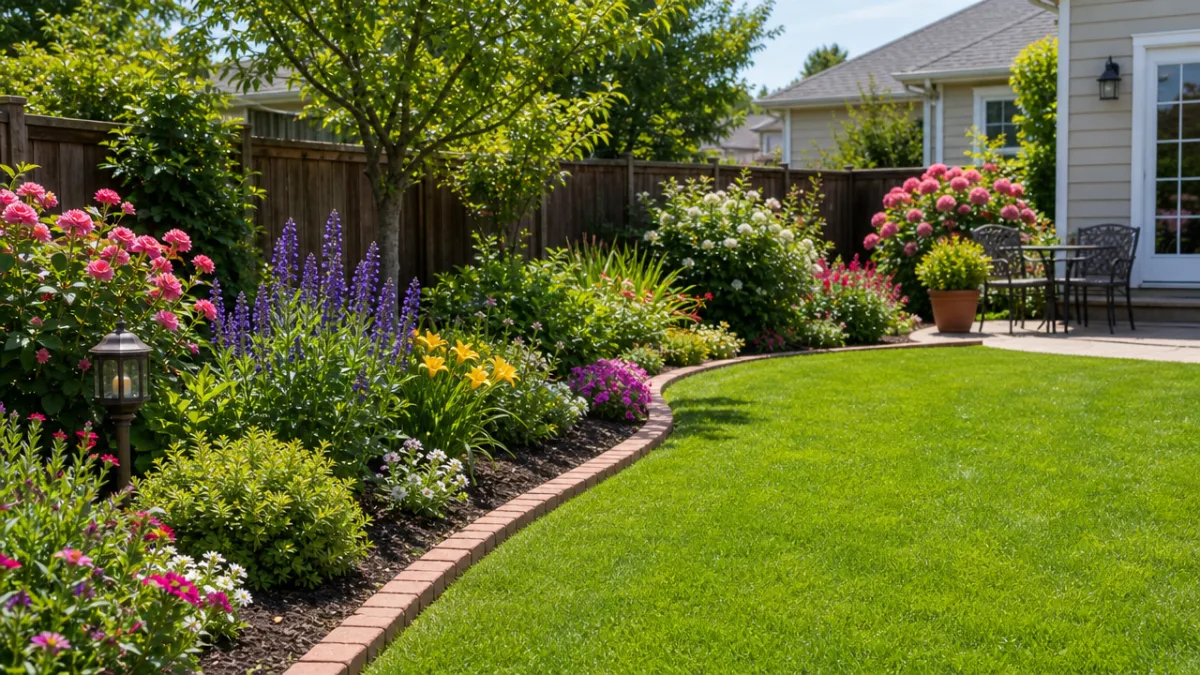
Scalloped or corrugated concrete edging blocks, sold individually at most garden centers, are another solid option. You can lay them in straight lines or gentle curves, and they’re heavy enough to stay put without staking. They come in natural gray, terra cotta, and faux-stone finishes, so it’s pretty easy to find something that plays nicely with whatever hardscaping you already have. Buying just what you need by the piece keeps the cost manageable, and since they’re modular, you can always add more or adjust things later.
Creative DIY Edging Techniques
Some of the best-looking lawn edging requires nothing more than tools you already own and a willingness to put in a little work. The classic spade-cut trench is the most fundamental technique, and when it’s done well, it looks as clean as anything you could buy. Using a flat spade, a half-moon edger, or a sharp square spade, you cut a shallow trench between the lawn and the bed — either a V-shape or straight-sided. The severed grass edge holds its shape, the trench creates visible separation, and the whole thing looks sharp and deliberate. It costs nothing and takes just a few minutes to refresh each season.
Wooden boards and planks are another really versatile DIY option. Thick cedar boards, railway sleepers cut to length, or salvaged decking planks set into the ground along bed edges create a substantial, handsome border. Cedar is a particularly good pick because it naturally resists rot without any chemical treatment. Pressure-treated lumber works too if you want maximum longevity. Wooden edging gives a garden a structured, almost architectural quality and looks great in vegetable gardens, ornamental beds, and around raised planters alike.
If you want something genuinely unique, try mixing materials to create a mosaic or patterned edge. Alternating terracotta pot shards with smooth stones, laying different-sized pebbles in a repeating pattern, or pressing colored glass pieces into a mortar edge are all ways to turn your borders into something that functions as garden art. These projects take more time and thought, but the materials are often free or close to it, and nothing else in the neighborhood will look quite like it. Just plan your pattern before you start and work in short sections so it stays consistent from one end to the other.
Maintaining Your Lawn Edging for Long-Term Results
Getting the edging in is just the first part. Keeping your yard looking tidy means building a simple maintenance routine around it. For spade-cut trenches and natural material edges, plan to re-cut or freshen things up at least twice during the growing season — once in spring and again around midsummer. Grass is persistent and will always be working its way into your beds, so the trick is to catch it before it gets a foothold. A dedicated edging tool or a string trimmer held vertically makes this a quick, satisfying task rather than a chore.
Manufactured and material-based edging like metal strips, bricks, or stones requires a different kind of attention, but it’s generally pretty low-maintenance. Check now and then that stakes haven’t heaved out of the ground from frost, or that individual pieces haven’t shifted after a heavy rain. Usually a firm press back into place or a new stake is all it takes to get things looking right again. Staying on top of weeds right at the bed edge is also worth doing — weeds that settle in along the boundary can hide even the most carefully installed edging and make everything look unkempt.
Adding a fresh layer of mulch each spring is one of the best things you can do to make your edging look its best. Pull the mulch back neatly from the edging and the lawn edge, and that color contrast — dark mulch against green grass — does a lot of the visual work for you. A two-to-three-inch layer of dark mulch alongside a clean edge is one of the most impactful combinations in residential landscaping, and it costs very little. Together, they make your whole outdoor space look significantly more polished with minimal effort.
Choosing the Right Edging for Your Yard Style
Not every edging solution works in every yard, and picking the right one for your situation makes a big difference in how happy you’ll be with the result. Formal yards with geometric beds and straight paths really benefit from clean, linear materials — metal strips, straight-laid bricks, or a crisp spade-cut trench. These choices reinforce the precision and symmetry that formal gardens are built around. In that kind of setting, rustic or irregular materials like logs or mixed stone can feel out of place and work against the look you’re going for.
Cottage gardens, naturalistic plantings, and more relaxed yards are where organic and creative materials really come into their own. River rocks, wooden logs, recycled bottles, and free-form stone arrangements all feel right alongside loose, abundant plantings — they add personality without imposing a rigidity that would feel wrong. In an informal garden, your edging can have a little variation and character while still doing its job of keeping lawn and bed separated. The goal isn’t perfect precision; it’s more of a deliberate looseness — edges that look considered without looking uptight.
Before you buy or install anything, take a few minutes to really look at your yard at different times of day and think about how the material will read in different light and across seasons. Something that looks great in the middle of summer might feel drab in winter when the foliage is gone and the edging itself is more exposed. Colors that pop in bright sunshine can look washed out on a gray day. A little time spent thinking this through upfront can save you from installing something you end up wanting to pull out — which would defeat the whole point of doing this on a budget.








What do you think?
It is nice to know your opinion. Leave a comment.