










Easy DIY Valentine Sewing Projects for Cute Gifts
Why Handmade Valentine’s Day Gifts Are Extra Special
There is something undeniably heartwarming about receiving a gift that someone took the time and care to create with their own hands. In a world overflowing with mass-produced candy boxes and generic greeting cards, a handmade Valentine’s Day gift stands out as a true expression of love and thoughtfulness. When you sit down with your fabric, thread, and sewing machine to create something beautiful, you are investing not just materials but your time, creativity, and genuine affection into every stitch.
DIY Valentine sewing projects are especially meaningful because they allow you to personalize each gift to perfectly suit the recipient. Whether you are making something for your romantic partner, your children, your best friend, or even a beloved teacher, you can choose fabrics, colors, and designs that reflect their personality and your unique relationship. That level of intentionality simply cannot be purchased at any store, no matter how large the budget or how fancy the packaging.
For moms, crafting Valentine’s Day gifts at home carries an additional layer of joy. It becomes an opportunity to model creativity and generosity for your children, to carve out peaceful moments of making something beautiful, and to give your little ones gifts that feel magical and one-of-a-kind. Handmade gifts from a parent have a way of becoming treasured keepsakes that children remember for years, sometimes even decades, into adulthood.
Essential Sewing Supplies to Get Started
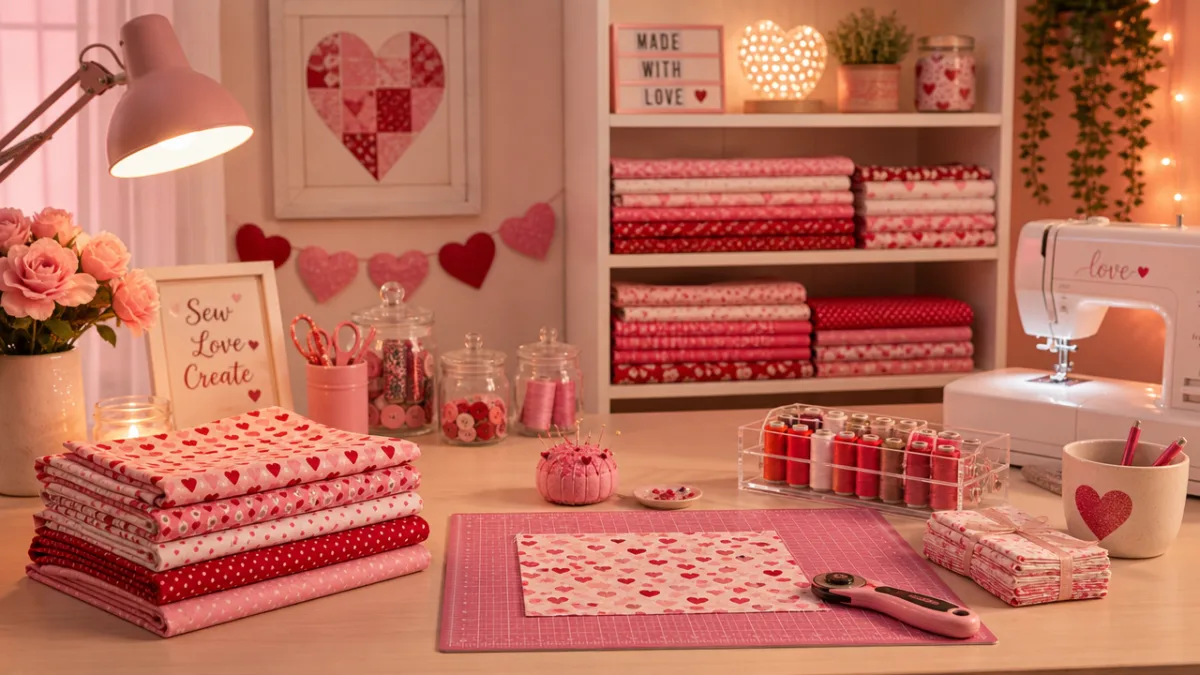
Before diving into your Valentine’s Day sewing projects, it is important to gather the right supplies so your creative process flows smoothly from start to finish. Having everything organized and within reach before you begin will save you frustration and help you maintain momentum throughout the project. The good news is that most beginner-friendly Valentine sewing projects require only basic supplies that are either already in your sewing kit or easy to find at your local craft store.
The most fundamental supplies you will need include good quality fabric in red, pink, white, and other Valentine-appropriate colors and prints. Cotton quilting fabric is an excellent choice for most projects because it is easy to cut, holds its shape well, and comes in an enormous variety of cheerful prints. You will also want a reliable pair of fabric scissors, straight pins, a measuring tape, disappearing ink fabric markers, and an iron with an ironing board for pressing your seams neatly as you work.
For stuffed projects and plush creations, polyfill stuffing is an absolute essential. You will want to have plenty on hand, as it tends to compress more than expected once you begin filling your items. Additionally, consider stocking up on fusible webbing for appliqué work, heat transfer vinyl if you have a cutting machine, and a variety of coordinating thread colors. A good seam ripper is also a beginner’s best friend, since even experienced sewists occasionally need to undo a stitch and start fresh without damaging the fabric.
- Red, pink, and white cotton quilting fabric in assorted prints and solids
- Polyfill stuffing for plush toys and stuffed hearts
- Sharp fabric scissors and a rotary cutter with cutting mat
- Coordinating thread in Valentine colors
- Fusible webbing for appliqué designs
- Sewing pins, clips, and a seam ripper
- Iron and ironing board for pressing seams
- Basic sewing machine with standard presser foot
Simple Heart Plush Projects Perfect for Kids and Beginners
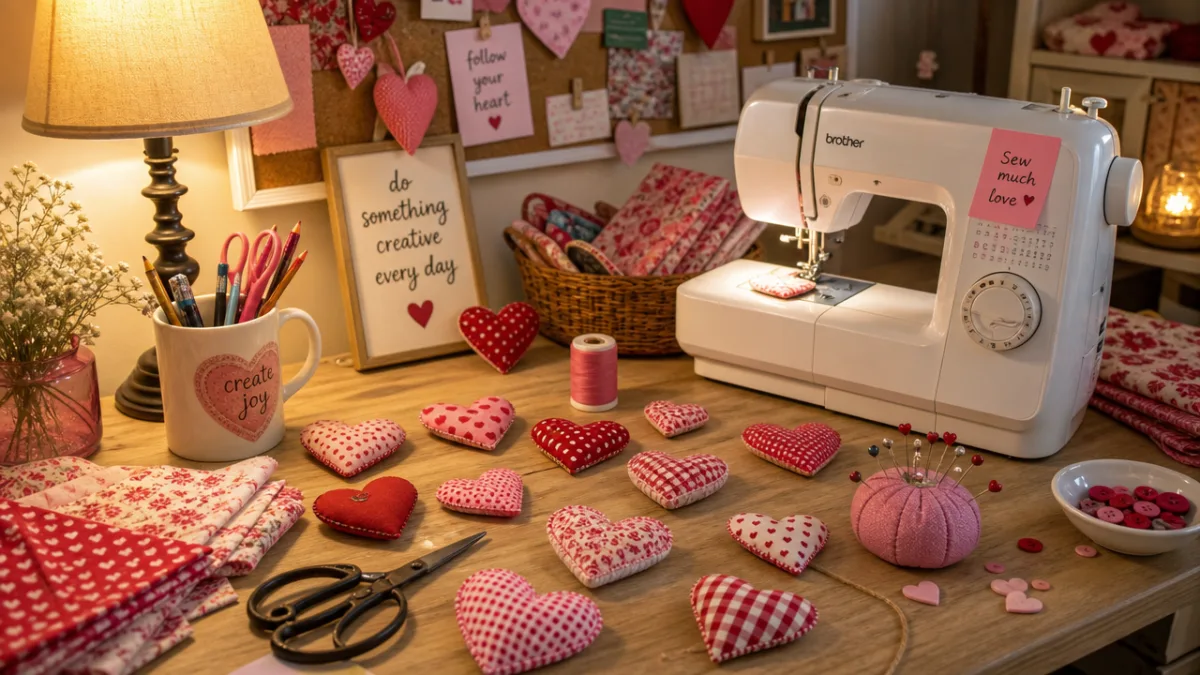
Stuffed fabric hearts are arguably the most classic and beloved Valentine’s Day sewing project, and for very good reason. They are quick to make, require minimal fabric, and result in an adorably charming gift that people of all ages will love to receive. Whether you make them palm-sized for little hands or large and fluffy for decorative pillows, stuffed hearts never go out of style and never fail to communicate warmth and affection in the most delightful way possible.
To make a basic stuffed heart, start by drawing or printing a heart template in your desired size on paper, then trace it onto your fabric. Cut two identical heart shapes from your chosen fabric, place them right sides together, and pin or clip them securely. Sew around the entire perimeter of the heart using a half-inch seam allowance, leaving a small opening of about two inches along one side. Clip the curves and the point at the bottom of the heart carefully to reduce bulk, then turn the heart right side out through the opening, pushing out all the edges with a blunt tool or chopstick.
Once your heart is turned right side out, press it gently with an iron to smooth out all the seams and curves. Stuff it generously with polyfill until it is plump and firm but not so overstuffed that the seams are straining. Close the opening with a neat ladder stitch by hand, which creates an almost invisible seam. You can embellish your heart with hand embroidery, fabric paint, iron-on letters, or even a sweet little bow stitched to the front for extra charm and personality.
For moms wanting to involve their children in the gifting process, consider making a set of smaller hearts in different sizes and fabrics and letting your kids help with the stuffing and closing steps. Children as young as four or five can safely help push stuffing into the opening with their fingers, making them feel like true participants in the gift-giving experience. When children help create a gift, their sense of pride and connection to the person receiving it deepens in a truly beautiful way.
Sweet Fabric Pouches and Treat Bags for Valentine Gifting
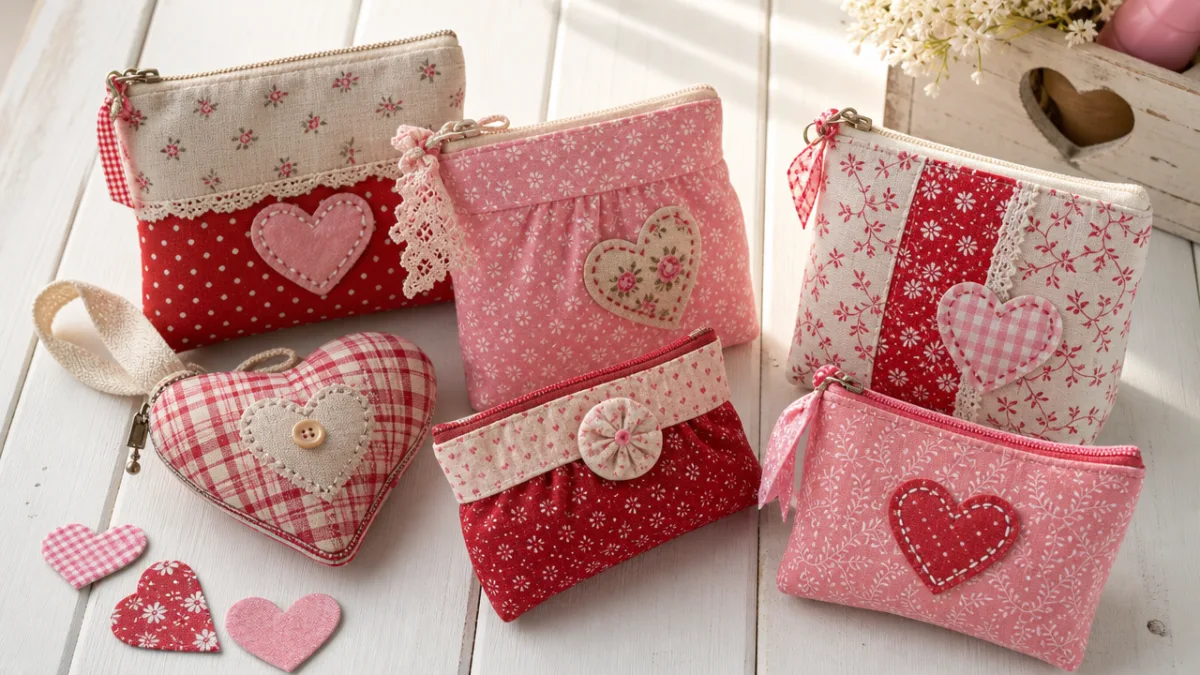
Fabric pouches and treat bags are among the most practical and versatile Valentine’s Day sewing projects you can undertake. Unlike a stuffed heart that serves primarily as a decorative keepsake, a fabric pouch has real everyday utility, making it a gift the recipient will actually use long after Valentine’s Day has passed. These little bags can hold candies, small jewelry pieces, gift cards, love notes, or any other small treasures you want to package beautifully for someone special in your life.
A simple drawstring pouch is an excellent starter project that comes together in under thirty minutes once you have your fabric cut and ready. Cut two rectangular pieces of fabric in the same size, sew them together along three sides with right sides facing, fold down the top edge to create a channel for your drawstring cord, and thread the cord through. For Valentine’s Day, choose fabrics printed with hearts, kisses, polka dots, or stripes in the classic red and pink palette, or mix and match different coordinating prints for a modern, eclectic look that feels fresh and intentional.
For a slightly more polished result, consider lining your pouch with a contrasting fabric so the inside is just as pretty as the outside. A lined pouch also has the practical benefit of being sturdier and holding its shape better over time. If you want to add extra personalization, embroider the recipient’s initial on the front of the pouch before assembling it, or use iron-on vinyl letters to add a sweet phrase like “Be Mine” or “With Love.” These small customizations transform a simple project into something that feels genuinely thoughtful and specially made.
- Cut your fabric pieces to the desired pouch dimensions, adding half an inch on all sides for seam allowance.
- Place outer fabric pieces right sides together and sew along the bottom and two side seams.
- Repeat the same process with your lining fabric pieces.
- Insert the lining into the outer bag with wrong sides together and align the top edges carefully.
- Fold and press the top edges down, create the drawstring channel, and topstitch in place.
- Thread your ribbon or cord through the channel and tie the ends securely with a knot.
Adorable Valentine Plushies and Character Toys to Sew
If you want to take your Valentine’s Day sewing projects to a more ambitious and memorable level, consider making a plushie or stuffed character toy as a gift. Children especially adore receiving a soft, huggable toy that they know was made just for them, and many adults secretly love them too. Valentine-themed plushies can take many forms, from simple heart-shaped animals with embroidered faces to more elaborate characters like stuffed bears holding tiny fabric hearts or love-struck owls with big button eyes.
One particularly charming option is a simple bear or bunny made from soft minky or fleece fabric, dressed in Valentine colors and accessories. Minky fabric is wonderfully soft and gives finished plushies a professional, luxurious feel, but it does require a bit more care when cutting and sewing since it tends to shift and shed more than cotton. Using plenty of clips rather than pins and sewing slowly and carefully will help you achieve clean, even seams even in this more challenging but undeniably beautiful material.
For a simpler character plushie suitable for beginners, try making a stuffed heart with a sweet embroidered face stitched onto the front. Add tiny arms and legs cut from coordinating fabric, and you have an irresistibly cute “heart person” plushie that kids will absolutely adore. Use embroidery floss to stitch simple dot eyes, a curved smile, and rosy cheeks, or use small safety eyes for a quicker but equally charming result. This style of plushie can be made in an evening and requires only a small amount of fabric.
Another beloved Valentine plushie idea is a stuffed animal holding a tiny fabric banner or pennant stitched with a sweet message. Sew a small rectangular flag from contrasting fabric, write or embroider “Be Mine” or “I Love You” on it, attach it to a thin wooden dowel or sturdy wire, and tuck it into the hands or paws of your finished plushie. This small additional detail elevates the entire piece from a simple toy to a genuinely charming, storybook-worthy Valentine’s gift that carries a heartfelt message in the most adorable way imaginable.
Tips for Making Multiple Gifts Quickly and Efficiently
One of the most useful skills any crafty mom can develop is the ability to batch-produce handmade gifts efficiently without sacrificing quality or the personal touch that makes handmade items so special. If you have multiple children who each need Valentine gifts for their classmates, or if you simply want to give handmade gifts to several people in your life this February, learning to work in batches will save you enormous amounts of time and energy compared to making each item completely from start to finish before beginning the next one.
The key to efficient batch production is to complete each step for all items before moving on to the next step. For example, if you are making ten small stuffed hearts, cut all twenty heart pieces before you do any sewing at all. Then pin or clip all ten pairs before you sew a single seam. Then sew all the seams on all ten hearts before turning any of them. This assembly-line approach dramatically reduces the time spent switching between tasks, rethreading your machine, repositioning your materials, and mentally shifting gears between different stages of the process.
Keeping your workspace organized throughout the process is equally important for maintaining efficiency and your own sanity. Designate specific areas of your work surface for cut pieces, pinned pieces, sewn pieces waiting to be turned, and finished items. Label small bins or baskets if needed, especially if you are working on multiple different types of projects simultaneously. Playing music or an audiobook in the background can help you maintain a pleasant, focused rhythm while working through larger batches without feeling rushed or overwhelmed by the volume of work ahead of you.
- Cut all fabric pieces for the entire batch before beginning any sewing steps.
- Use an assembly line method, completing one step across all pieces before advancing.
- Keep a dedicated pressing station set up and hot throughout your sewing session.
- Pre-wind several bobbins before you start so you are never halted mid-project.
- Use fabric clips instead of pins on curves for faster positioning and repositioning.
- Keep a labeled bin system to track each item’s progress through the stages.
Packaging and Presenting Your Handmade Valentine Gifts
Even the most beautifully crafted handmade gift benefits from thoughtful presentation, and taking a little extra time to package your Valentine sewing projects with care can elevate the entire gifting experience from lovely to truly unforgettable. The way a gift is wrapped and presented communicates how much care you invested in every detail, and for a handmade item that already carries so much personal meaning, beautiful packaging simply amplifies the love and effort that went into making it.
For stuffed hearts and plushies, consider tying a simple ribbon around the item and attaching a handwritten tag with a personal message. Choose ribbon in coordinating Valentine colors, and write your tag on a piece of kraft cardstock or a specially printed card that matches the style of your gift. If you are giving a gift to a child, you might tuck the item inside one of your handmade fabric pouches for a double gift that feels extra generous and delightful to unwrap and explore.
If you are giving classroom Valentine gifts made from your sewing projects, presentation becomes even more important because the sheer volume of gifts children receive on Valentine’s Day can make individual items blur together. Make your handmade creations stand out by attaching a small treat like a wrapped chocolate or a sticker sheet alongside the sewn item, and present each one in a small cellophane bag tied with a ribbon. Add a punny Valentine message tag to each one for a touch of humor that kids and their parents will appreciate and remember long after the holiday has passed.
Finally, remember that the most important element of any gift presentation is sincerity. Whether your packaging is elaborately decorated or beautifully simple, what matters most is that it reflects the genuine care you put into choosing and creating the gift inside. A simple handwritten note tucked into or tied onto your handmade gift can say more than any store-bought card ever could. Tell the recipient why you made this gift for them specifically, what you thought of while making it, and how much they mean to you. That personal message, combined with your handmade creation, is what truly transforms a craft project into a cherished Valentine’s Day memory.








What do you think?
It is nice to know your opinion. Leave a comment.