










Forget-Me-Not Plant Care Tips for Beginners
Introduction to Forget-Me-Nots: A Timeless Garden Favorite
If you’ve ever wandered past a garden filled with tiny clusters of sky-blue flowers and felt instantly charmed, there’s a good chance you were looking at forget-me-nots (Myosotis). These little plants have been winning over gardeners for centuries, and honestly, it’s not hard to see why. Whether you’re just getting started with gardening or you simply want to bring some romantic, cottage-garden magic to your outdoor space, forget-me-nots are one of the most rewarding plants you can grow — even if you’ve never picked up a trowel before.
The name “forget-me-not” comes loaded with history. In medieval Europe, the flower was tied to ideas of faithfulness, remembrance, and enduring love — which is why you’ll still find them planted in memorial gardens and used in wedding arrangements today. But beyond all the sentiment, what really makes them special for beginners is how easy they are to grow. You don’t need years of experience to get a beautiful display; these plants pretty much want to succeed.
There are a few species worth knowing about. Myosotis sylvatica is the woodland forget-me-not you’ll most commonly find in gardens, while Myosotis scorpioides loves life near ponds and streams. Most people grow them as biennials or short-lived perennials, though in many climates they behave more like annuals. The really lovely thing is that forget-me-nots self-seed so freely that once you’ve got them established, they tend to just keep coming back on their own — popping up along borders, at the edges of woodland areas, and under spring-blooming trees with very little help from you.
Understanding Light, Soil, and Growing Conditions
One of the biggest reasons forget-me-nots are so great for beginners is how flexible they are about where they grow. They’re happy in anything from partial shade to full sun, which makes them one of the few flowering plants that will genuinely do well under a tree or along a shady border where other plants struggle. If you’re in a hotter part of the world, a bit of afternoon shade is actually a good thing — too much summer heat can cause them to bolt early and finish before you’re ready for them to. In cooler climates, a sunnier spot will give you the biggest, most generous flush of blooms.
Soil-wise, forget-me-nots are equally forgiving. They do best in moist, well-draining soil that has a bit of fertility to it, but they’ll manage in everything from sandy loam to heavier clay as long as the drainage is decent. If your soil is pretty poor or compacted, dig in some compost or well-rotted organic matter before planting — it makes a real difference to both drainage and how well the plants feed themselves. A slightly acidic to neutral pH (around 5.5 to 7.0) is ideal, though they won’t throw a fit over minor variations.
Cold hardiness is another thing forget-me-nots have going for them. They can shrug off light frosts, which makes them invaluable for getting early spring colour into the garden. In milder climates, people often plant them in autumn so they can settle in over winter and burst into flower in early to mid-spring. If you’re somewhere with harsher winters, spring planting after the last frost makes more sense. Either way, working with your local climate rather than against it is the real secret to getting the best out of them.
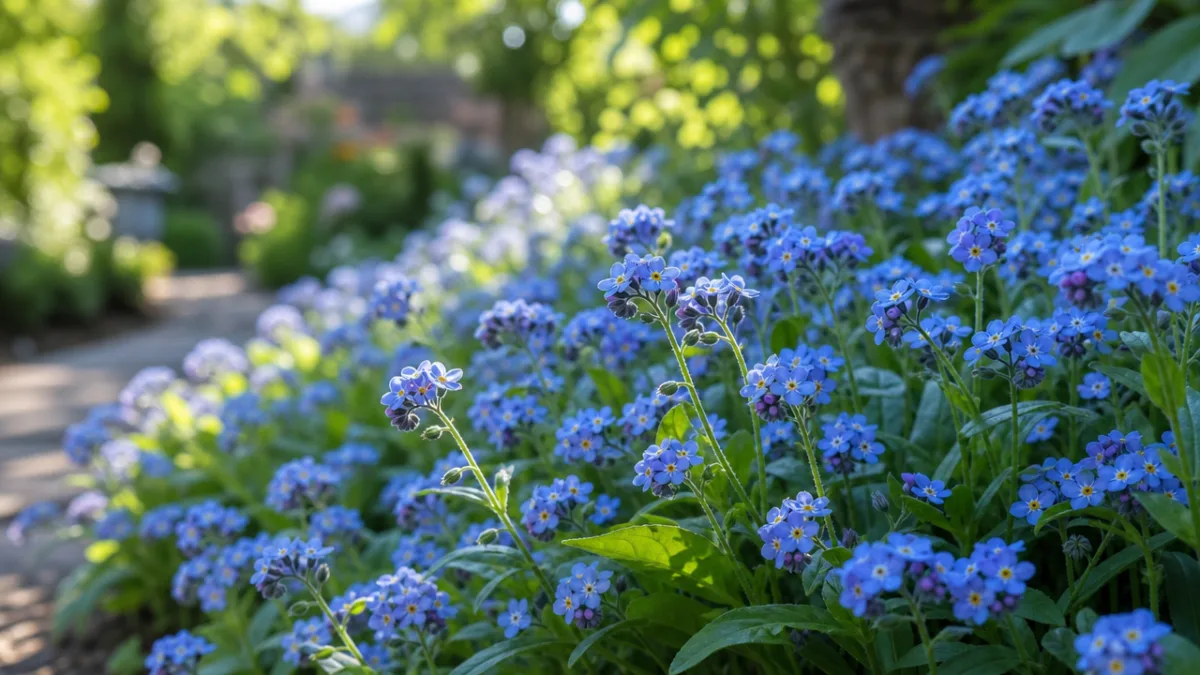
Planting Forget-Me-Nots: Seeds, Seedlings, and Spacing
You can grow forget-me-nots from seed or pick up seedlings from a nursery, and either way you really can’t go wrong as a beginner. Starting from seed is much cheaper if you’re covering a large area, and the process is pretty simple. The one thing to know is that forget-me-nots don’t love being moved once their roots get going, so it’s usually better to sow them directly where you want them to grow. Just scatter the seeds thinly over prepared soil, press them down gently so they make good contact with the earth, and keep things consistently moist. You should see germination within one to three weeks.
If you’d rather start seeds indoors, aim to do it six to eight weeks before your last expected frost. Sow them in a good seed-starting mix in small trays or pots, pressing them onto the surface and covering with just a thin layer of compost or vermiculite — they need a little light to germinate well, so don’t bury them. A cool, bright windowsill or cold frame is perfect. Keep the compost moist but not soggy, and once the seedlings are ready to go outside, take a week or two to gradually acclimatise them to outdoor conditions rather than plonking them straight out into the elements.
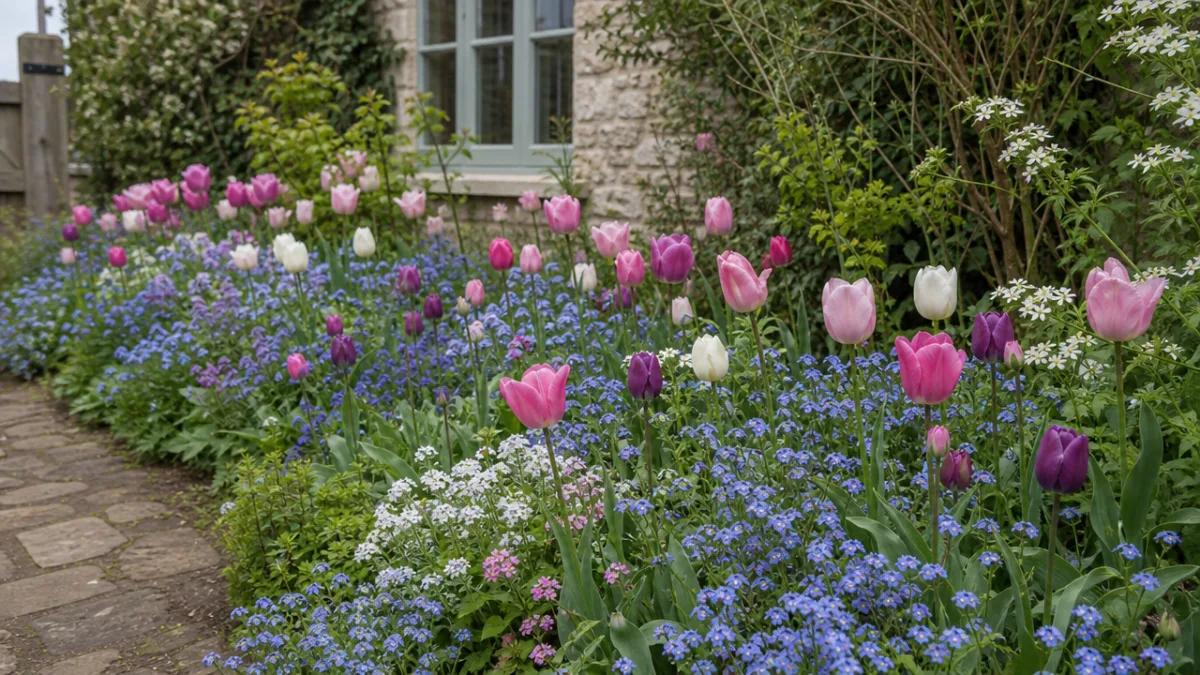
Don’t skip the spacing — it really does matter. Aim for about six to twelve inches between plants depending on the variety. Crowding them together is an open invitation for powdery mildew and other moisture-related issues. One thing that almost every cottage gardener discovers at some point: forget-me-nots and spring bulbs like tulips or daffodils are a dream combination. The forget-me-nots weave themselves between the emerging bulb foliage and create a gorgeous carpet of blue that makes yellow, orange, and pink blooms look even better. It’s one of those classic pairings that never gets old.
Watering, Feeding, and Ongoing Maintenance
Getting the watering right is probably the most important day-to-day job when it comes to forget-me-nots. They like their soil to stay consistently moist and won’t thank you for letting them dry out for long stretches, especially when they’re actively growing and flowering in spring. Water at the base of the plants rather than over the top — wet leaves and stems are much more prone to fungal problems. During dry spells, a deep watering every few days beats a quick splash every day, since it encourages roots to go deeper and makes the whole plant more resilient.
The good news is that forget-me-nots aren’t greedy feeders. If you’ve worked compost into the soil before planting, they’ll mostly take care of themselves. That said, a light sprinkle of balanced, slow-release granular fertiliser in early spring can give them a nice little boost as they start waking up. Just steer clear of anything high in nitrogen — it pushes the plant into producing lots of leafy growth at the expense of flowers, which is the opposite of what you want. If the foliage starts looking pale and yellow mid-season, a diluted liquid feed can help perk things up without sending the plant into a leafy spiral.
Deadheading can stretch out the blooming period a bit, but plenty of gardeners deliberately leave some flower heads on toward the end of the season to let the plant self-seed — and that’s one of the best things about forget-me-nots. If you’d rather they didn’t spread themselves around your garden, just pull the whole plant out as it starts to look ragged after flowering, and collect the seeds into a paper bag to sow where you actually want them later on. The dried seed heads shake apart really easily, and saved seeds store well in a cool, dry spot until autumn planting time.
Common Pests, Diseases, and How to Manage Them
For such an easy-going plant, forget-me-nots do have a few vulnerabilities worth knowing about. Powdery mildew is the most common one you’ll run into — it shows up as a white or greyish powdery coating on the leaves and stems, usually when plants are crowded together or the air isn’t circulating well. The best approach is prevention: space your plants properly and avoid watering from above. If mildew does show up, removing the affected leaves and disposing of them (not composting them) can slow it down.
Aphids are frequent visitors too, clustering on new growth and tender stems where they suck sap and cause leaves to curl and distort. A firm blast from the garden hose is often all you need to knock them off, and it’s completely chemical-free. Better yet, encourage natural predators like ladybirds, lacewings, and parasitic wasps into your garden — they’ll deal with aphids across the whole garden over time, not just on your forget-me-nots. For a more serious infestation, insecticidal soap sprayed directly onto the affected areas is a targeted fix that won’t cause collateral damage.
Slugs and snails are probably the biggest headache when your plants are young — a small seedling can be completely gone by morning if they find it overnight. Copper tape, crushed eggshells, or grit around vulnerable plants can deter them, and beer traps set at soil level work surprisingly well. Longer term, making your garden welcoming to hedgehogs, frogs, and ground beetles gives you natural slug control that pays off season after season. Keeping things tidy — clearing away debris and fallen leaves where slugs like to hide — also makes a meaningful difference.
Propagation, Self-Seeding, and End-of-Season Care
Here’s one of the best things about forget-me-nots: once you’ve got a colony going, you may genuinely never need to buy or sow new plants again. As the flowers fade in late spring or early summer, the seed heads ripen quickly and seeds get dispersed by wind and by contact with passing animals, clothing, and tools. If you let this happen naturally, you’ll start seeing little rosettes of forget-me-not foliage appear in autumn, ready to quietly overwinter and put on a show the following spring. It’s a lovely kind of self-sustaining cycle once it gets going.
If you’d prefer a bit more say in where they end up, collecting seeds before they scatter is easy. Wait until the seed heads look dry and papery, then snip the stems into a paper bag and give them a good shake to release the seeds. Pop them into a labelled envelope and store somewhere cool and dry until you’re ready to sow — either in late summer for autumn planting or in early spring for a later start. Seeds saved from your own plants tend to be just as viable as anything you’d buy, and there’s a real satisfaction in closing that loop yourself.
Once the season is over, think about how you want to handle the spent plants. If you’re happy for them to spread, leave everything in place until the seeds have had a chance to fully ripen and disperse. Then pull out the old plants completely, since leaving them to rot down in the border can harbour pests and disease. Lightly fork over the soil where seeds have fallen to help them settle in, then finish with a thin layer of garden compost. It enriches the soil and gives any emerging seedlings a bit of protection against the worst of winter.
Design Ideas and Garden Combinations for Forget-Me-Nots
From a design standpoint, forget-me-nots are wonderfully versatile. In a traditional cottage garden they weave between taller perennials and shrubs, tying everything together with that consistent, soft blue. Beneath rose bushes they’re particularly lovely — their low-growing habit and cool colour complement the warmth and height of the roses without competing with them. It’s that layered, effortless look that makes cottage gardens feel so lived-in and abundant.
If you’re working with a smaller space, don’t write them off — forget-me-nots actually do very well in containers. Pots, window boxes, hanging baskets — they’re happy in all of these as long as you use a good-quality potting mix with some added drainage material like perlite, and make sure the containers have proper drainage holes. They’re a fantastic way to get instant spring colour onto a patio, balcony, or doorstep. Once they’re done flowering, swap them out for summer bedding plants and you’ve got colour going all season long.
Consider the following combinations to make the most of forget-me-nots in your garden designs:
- Blue forget-me-nots with yellow daffodils and orange wallflowers for a vivid, warm spring palette that is classical and enduringly popular.
- Pale pink forget-me-not varieties planted beneath white or blush-pink tulips for a soft, romantic effect suited to contemporary and minimalist garden styles.
- White forget-me-nots interplanted with grape hyacinths and white alliums for a sophisticated monochromatic scheme with contrasting textures.
- A naturalistic woodland edge planting combining forget-me-nots with primroses, wood anemones, and bluebells to evoke the feeling of a wild English woodland in spring.
- Ground cover beneath a standard wisteria or climbing rose, where the forget-me-not’s spreading habit fills bare soil attractively while the feature plant draws the eye upward.
There’s also an ecological argument for growing forget-me-nots that’s easy to overlook. Their early blooms show up right when emerging bees, hoverflies, and other beneficial insects are desperately searching for nectar and pollen — often before much else is flowering at all. By including them in your garden, you’re genuinely helping to support pollinators and contribute to local biodiversity. That combination of beauty, ease, and real ecological value is what makes the forget-me-not so much more than just a pretty face — it’s a plant that earns its place in any garden, no matter the size.








What do you think?
It is nice to know your opinion. Leave a comment.