










Common Plant Care Mistakes: Beginner Houseplant Problems and How to Avoid Them
Bringing houseplants into your home is one of the most rewarding ways to add life, color, and a sense of calm to your living space. However, for beginners, the journey from excited new plant parent to confident caretaker is often paved with yellowing leaves, wilting stems, and a few too many trips back to the garden center. The good news is that most plant failures are not the result of bad luck — they are the result of very common, very fixable mistakes. Understanding what goes wrong and why is the first step toward building a thriving indoor garden.
This guide is designed to walk you through the most frequent houseplant care errors that beginners make, explain the science behind why these mistakes harm your plants, and give you clear, practical strategies to turn things around. Whether you have already lost a few plants to mysterious causes or you are just starting out and want to get things right from the beginning, the information here will give you a solid foundation. Plants are far more resilient than most people give them credit for, and with a few adjustments, even struggling plants can make remarkable recoveries.
1. Overwatering: The Number One Killer of Houseplants
If there is one mistake that claims more houseplants than any other, it is overwatering. New plant owners often associate love and care with frequent watering, assuming that giving their plants plenty of water is always a good thing. Unfortunately, this well-intentioned habit is the fastest route to root rot, a condition where the roots of the plant sit in soggy soil for so long that they begin to decay. Once root rot takes hold, the plant loses its ability to absorb both water and nutrients, and the damage can be very difficult to reverse.
The tricky part about overwatering is that its symptoms often look identical to underwatering. A plant suffering from root rot will have yellowing leaves, a drooping or wilted appearance, and soil that feels perpetually wet. Because the roots can no longer function properly, the plant cannot pull moisture upward even when the soil is saturated. Many beginners respond to these symptoms by watering even more, which accelerates the decline. Learning to distinguish between these two conditions requires checking the soil rather than just looking at the leaves.
The best practice for most houseplants is to water only when the top one to two inches of soil are dry to the touch. Stick your finger into the soil rather than relying on a schedule. Different plants have very different water needs — succulents and cacti may only need water every two to four weeks, while tropical plants like pothos or peace lilies prefer more regular moisture. Always ensure your pots have adequate drainage holes, and never let your plants sit in standing water in a saucer for more than an hour after watering.
- Check soil moisture with your finger before every watering session.
- Use pots with drainage holes to prevent water from pooling at the roots.
- Research the specific water needs of each plant species you own.
- Empty saucers after watering so roots are never sitting in standing water.
- Reduce watering frequency significantly during the winter months when plant growth slows.
2. Getting the Light Wrong: Too Much or Too Little
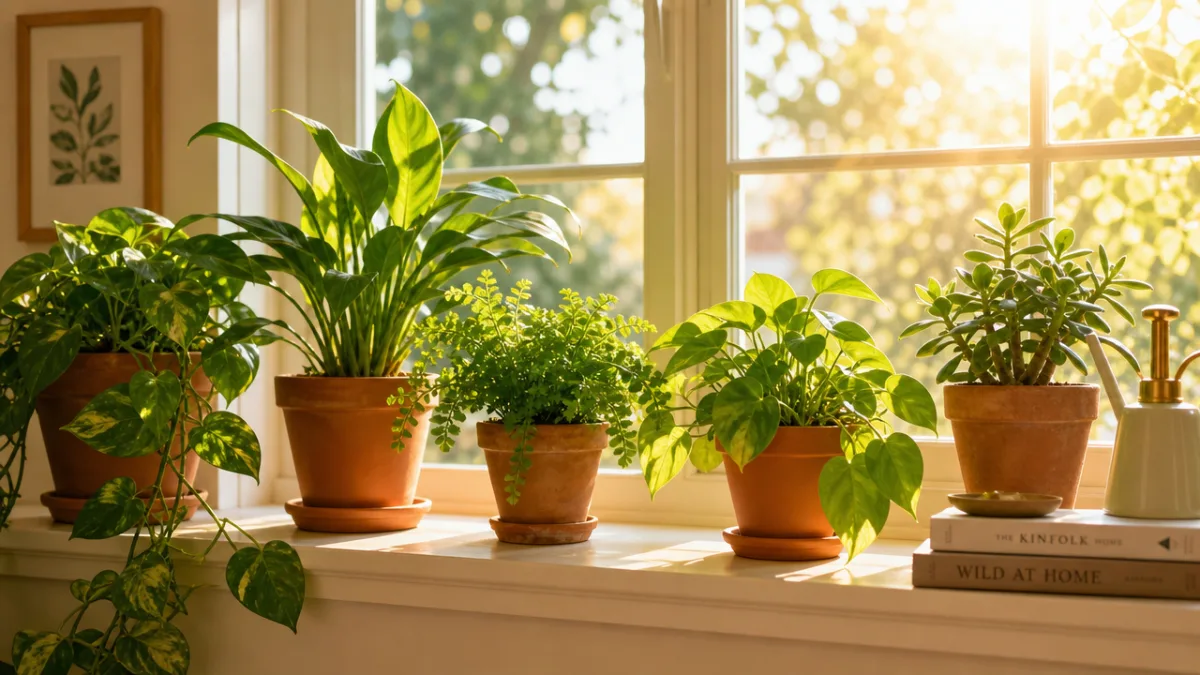
Light is the engine of plant life, and getting it wrong is one of the most common reasons beginner plants fail to thrive. Many new plant owners either place their plants too far from windows, assuming any indoor location will do, or they position sun-loving plants in south-facing windows without realizing that intense, direct afternoon sun can scorch the leaves of many tropical species. Light requirements vary enormously between plant types, and what works beautifully for one plant may be entirely wrong for another sitting just a few feet away.
Plants that do not receive enough light will often show their distress through etiolation — a process where the plant stretches its stems and spaces its leaves further apart as it reaches desperately toward any available light source. The result is a leggy, weak-looking plant with pale, undersized leaves. On the other end of the spectrum, too much direct sunlight will cause bleached or crispy patches on leaves, often appearing as brown, papery spots. These symptoms are easy to diagnose once you know what to look for, and repositioning the plant is usually all that is needed to begin the recovery process.
As a general rule, most common houseplants prefer bright, indirect light — meaning they thrive near a window but out of the direct path of the sun’s rays. East-facing windows are ideal for many plants because they provide gentle morning sun. North-facing rooms tend to have the lowest light levels and are best suited to very shade-tolerant species like snake plants, ZZ plants, and cast iron plants. South and west-facing windows provide the most light and are excellent for succulents, cacti, and other sun-loving varieties. Rotating your plants a quarter turn every week also helps ensure all sides receive even light exposure.
3. Using the Wrong Soil and Pots
One of the most overlooked aspects of plant care is the growing medium itself. Many beginners assume that any potting mix from the garden center will work for all their plants, but this is far from the case. Standard potting soil is formulated for a broad range of plants, but it can hold far too much moisture for succulents and cacti, which need a fast-draining, gritty mix to prevent root rot. Conversely, an overly sandy or coarse mix may dry out too quickly for moisture-loving tropical plants, leaving their roots parched and stressed between waterings.
The size and material of your pot also has a significant impact on plant health. Pots that are too large for the plant’s root system are a common beginner trap — it seems logical to give a plant plenty of room to grow, but an oversized pot holds much more soil than the roots can absorb moisture from, which means the outer soil stays wet long after watering and creates the perfect conditions for root rot. As a general guideline, choose a pot that is only one to two inches larger in diameter than the plant’s current root ball when repotting. This gives the roots room to expand without drowning them in excess soil.
The material of your pot also matters more than many people realize. Terracotta pots are porous and breathable, which means they allow moisture to evaporate through the sides — excellent for plants that prefer drier conditions, but potentially a challenge for plants that like consistent moisture. Plastic and glazed ceramic pots retain moisture much longer, making them better suited to water-loving plants. Regardless of the material you choose, always ensure the pot has drainage holes. Decorative pots without holes should be used as cachepots — outer sleeves for a functional inner pot — rather than direct planting containers.
- Match your potting mix to your plant type — use cactus mix for succulents, and peat or coir-based mixes for tropicals.
- Choose a pot that is only slightly larger than the plant’s current root ball.
- Consider pot material based on your plant’s moisture preferences.
- Always use pots with drainage holes, or use a cachepot system.
- Refresh potting soil every one to two years, as it breaks down and loses its structure over time.
4. Ignoring Humidity and Temperature Needs
Most popular houseplants are tropical in origin, having evolved in warm, humid environments with relatively stable temperatures year-round. When we bring these plants into our homes — where heating systems in winter and air conditioning in summer can create surprisingly harsh, dry conditions — we are asking them to adapt to an environment that may be quite alien to their natural preferences. Ignoring the humidity and temperature requirements of your plants is one of the quieter mistakes that beginners make, because the damage it causes often appears gradually rather than all at once.
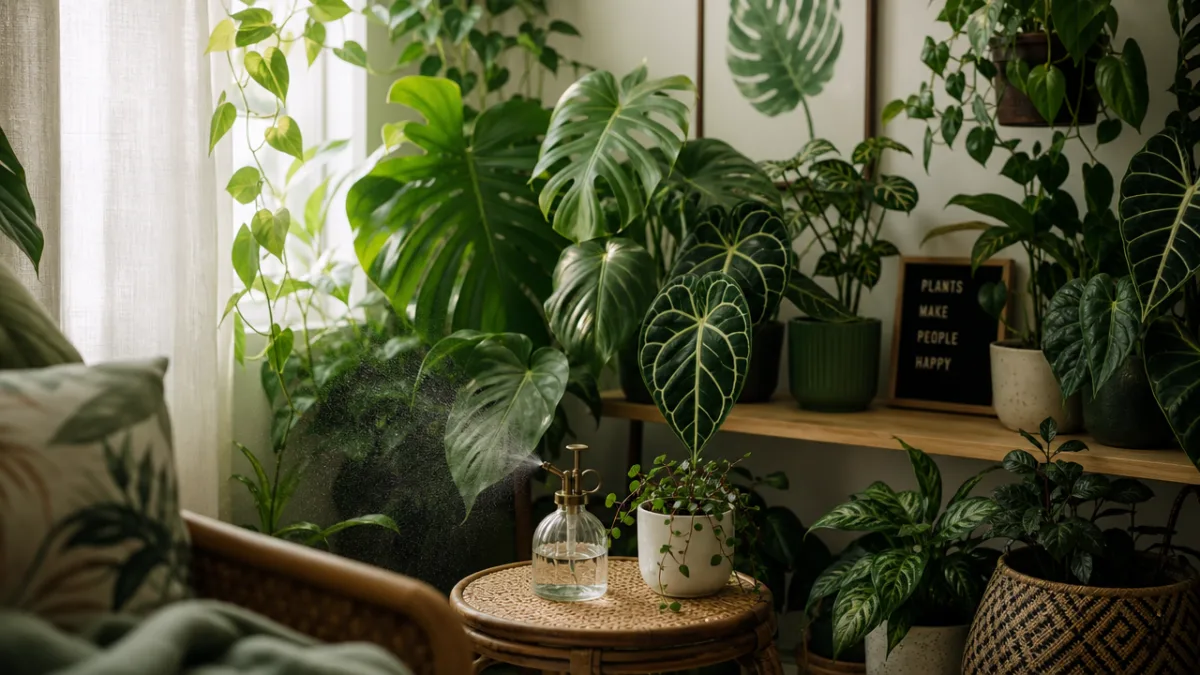
Low humidity is a particular challenge during the winter months when indoor heating dramatically reduces the moisture content of the air. Signs that a plant is struggling with low humidity include brown, crispy leaf tips and edges, curling leaves, and increased susceptibility to pests like spider mites, which thrive in dry conditions. Tropical plants such as ferns, orchids, calatheas, and monsteras are especially sensitive to humidity levels. The typical indoor humidity of a heated home in winter can drop as low as 20 to 30 percent, while many tropical plants prefer humidity of 50 percent or higher.
There are several practical strategies for increasing humidity around your plants without turning your entire home into a greenhouse. Grouping plants together creates a localized zone of higher humidity as they all transpire moisture through their leaves. Placing pots on a tray filled with pebbles and water — where the water level sits just below the bottom of the pot — allows moisture to evaporate upward without waterlogging the roots. Small humidifiers placed near your plant collection are one of the most effective solutions for maintaining consistent humidity levels. Avoid placing plants near radiators, heating vents, or air conditioning units, as these rapidly strip moisture from both the air and the plant’s leaves.
5. Skipping or Overdoing Fertilization
Fertilization is one of the most misunderstood aspects of plant care for beginners. Some new plant parents never fertilize at all, not realizing that potting soil eventually becomes depleted of the nutrients plants need to grow and produce healthy foliage. Others swing to the opposite extreme, assuming that more fertilizer means faster, healthier growth, and end up burning their plants with a concentration of salts that the roots cannot handle. Both extremes cause harm, and finding the right balance requires understanding what fertilizer actually does and when plants truly need it.
Plants require three primary macronutrients to grow: nitrogen, which supports leafy, green growth; phosphorus, which promotes strong root development and flowering; and potassium, which supports overall plant health and disease resistance. Most balanced houseplant fertilizers contain all three in roughly equal proportions, and these work well for the majority of common indoor plants. However, the timing of fertilization matters just as much as the type. Plants are actively growing during spring and summer and can make good use of regular feeding during this period — typically once every two to four weeks. During fall and winter, most plants slow their growth dramatically and need very little if any additional fertilizer.
Signs of over-fertilization include white crusty deposits on the soil surface or around the rim of the pot (caused by salt buildup), brown leaf tips and edges, wilting despite adequate watering, and in severe cases, complete root burn that causes rapid decline. If you suspect over-fertilization, flush the soil thoroughly with plain water to wash out excess salts, and hold off on feeding for at least a month. Signs of under-fertilization are subtler — slow growth, pale or yellowing leaves despite good light, and small new leaves — and can sometimes be confused with other problems. When in doubt, a soil test or a simple observation of new growth over several weeks will help you assess whether your plant needs a nutritional boost.
- Use a balanced liquid fertilizer diluted to half the recommended strength to avoid burning roots.
- Fertilize only during the active growing season — spring through early fall.
- Flush soil with plain water every few months to prevent salt buildup.
- Never fertilize a plant that is stressed, recently repotted, or showing signs of disease.
- Newly purchased plants typically do not need fertilizing for at least the first two to three months.
6. Neglecting Pest Prevention and Early Detection
Pests are one of the most discouraging experiences for beginner plant parents. Discovering that your beloved monstera or fiddle leaf fig is hosting a colony of fungus gnats, spider mites, or mealybugs can feel overwhelming, and many new plant owners give up on the affected plant entirely rather than attempting treatment. The reality is that most houseplant pest infestations are highly manageable when caught early, and building a habit of regular plant inspection is one of the most valuable skills any plant caretaker can develop. Prevention is always easier than cure, and a few simple habits can dramatically reduce the likelihood of infestations taking hold in the first place.
Pests often enter your home via new plants purchased from garden centers or nurseries, or occasionally through open windows during warmer months. Quarantining any new plant for two to three weeks before introducing it to your existing collection is a straightforward and highly effective prevention strategy. During the quarantine period, inspect the plant carefully — checking the undersides of leaves, the soil surface, and the area where the stem meets the soil — before deciding it is safe to place near your other plants. Maintaining proper watering habits also plays a significant role in pest prevention: overwatered soil creates the perfect breeding environment for fungus gnats, while overly dry plants under stress become much more vulnerable to spider mite infestations.
When pests do appear, early intervention is key. Most common houseplant pests respond well to treatment with neem oil, insecticidal soap, or rubbing alcohol applied with a cotton swab directly to the affected areas. Consistency matters — one treatment is rarely sufficient, and most pest management protocols require weekly treatments for at least a month to fully break the breeding cycle. Isolate any infested plants immediately to prevent pests from spreading to your healthy plants, and increase your inspection frequency across your entire collection after any outbreak. Over time, getting to know your plants intimately through regular care and observation is your best early warning system against pest problems before they become serious.
7. Repotting Too Often or Not Enough
Repotting is one of those plant care tasks that beginners often either neglect entirely or approach with too much enthusiasm. Repotting a plant too frequently — particularly when it is not yet rootbound — disturbs the root system unnecessarily and can send even a healthy plant into a prolonged period of transplant shock, during which it drops leaves, pauses growth, and looks generally miserable. On the other hand, leaving a plant in the same pot for years after it has outgrown its container means the roots become severely crowded, the plant exhausts the nutrients available in the soil, and growth stalls completely.
The right time to repot is when you can see roots growing out of the drainage holes at the bottom of the pot, when the plant dries out much more rapidly after watering than it used to (because roots have displaced most of the soil), or when the plant appears to be pushing itself up and out of the pot. For most houseplants, this occurs roughly every one to two years during the active growing season. Spring is universally considered the best time to repot because the plant is entering its most vigorous growth phase and will recover from the disturbance quickly. Avoid repotting in fall or winter when the plant’s energy is conserved and it is far less equipped to handle root disturbance.
When it is time to repot, handle the roots gently and avoid disturbing them more than necessary. Shake off excess old soil and inspect the roots — trim any that are visibly rotted, dark, or mushy before placing the plant in its new container. Water the plant thoroughly after repotting and place it in a bright, indirect light location to recover. Avoid fertilizing for at least four to six weeks after repotting, as the fresh potting mix will contain enough nutrients to support the plant while it settles in, and fertilizing too soon can stress the newly disturbed roots. Most plants will show signs of new growth within a few weeks of a successful repot, which is one of the most satisfying milestones in a beginner’s plant care journey.
Learning to care for houseplants is ultimately a process of observation, adjustment, and patience. Every mistake is a lesson, and every plant that recovers under your improved care is a genuine achievement. The most successful plant parents are not those who never make mistakes — they are those who stay curious, keep learning, and pay close attention to what their plants are telling them. With the knowledge from this guide and a willingness to adapt your approach, your indoor garden will not only survive but genuinely flourish.








What do you think?
It is nice to know your opinion. Leave a comment.