










13 Cute DIY Stickers That Look Store-Bought: Your Complete Guide to Professional-Looking Homemade Stickers
Why DIY Stickers Are Having a Major Moment
There has never been a better time to dive into the world of DIY sticker making. What was once considered a craft reserved for scrapbooking enthusiasts has exploded into a full-blown creative movement, with makers of all skill levels discovering that homemade stickers can genuinely rival the quality of anything you would find on an Etsy shop or in a specialty stationery store. The combination of affordable materials, widely available design tools, and a surge in sticker culture across social media has made this hobby more accessible and rewarding than ever before.
The appeal of making your own stickers goes beyond simple cost savings, though that is certainly a bonus. When you create your own stickers, you have complete control over the design, size, color palette, and finish. You are not limited to whatever happens to be trending in stores this season. Whether you want a specific shade of sage green for your planner spreads, a custom illustration of your pet, or a motivational phrase in your favorite font, the DIY route gives you the creative freedom to make exactly what you envisioned rather than settling for something close enough.
Perhaps most importantly, the gap between homemade and store-bought has narrowed dramatically thanks to better consumer-grade printing technology and materials. With the right paper, the right printer settings, and a few finishing techniques, your stickers can have that crisp, laminated, professional look that makes people ask where you bought them. This guide will walk you through thirteen approaches to sticker making that consistently deliver those impressive, store-worthy results.
Essential Materials and Tools You Will Need
Before diving into specific sticker styles, it is worth spending time understanding the materials that separate a great sticker from a mediocre one. The single most important investment you can make is in quality sticker paper. Printable sticker paper comes in several varieties including matte, glossy, and kraft, and each produces a noticeably different final result. Matte sticker paper tends to give a more sophisticated, modern look and resists fingerprints beautifully, while glossy paper makes colors pop with a vibrant, eye-catching shine. Both are worth having on hand depending on the aesthetic you are going for.
Your printer matters more than many beginners realize. An inkjet printer generally produces richer, more saturated colors that work beautifully for illustrated or watercolor-style designs, while a laser printer offers sharper, more precise lines that are ideal for text-heavy stickers or detailed patterns. If you are serious about sticker making, investing in a printer with individual ink cartridges rather than a single combined cartridge will save you money in the long run and give you more consistent color quality. Always print a test sheet on regular paper first to check alignment and colors before committing your sticker paper.
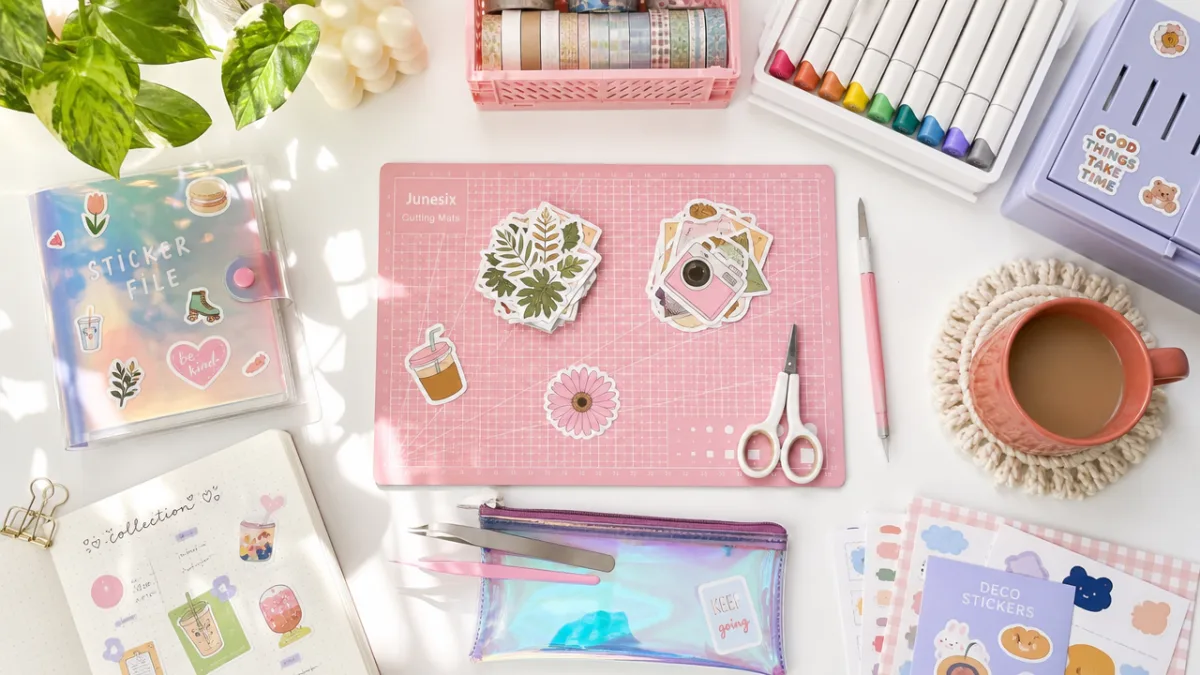
Beyond paper and ink, a good cutting tool is essential. Many sticker makers start with scissors or a craft knife and cutting mat, which works perfectly well for simple shapes. However, a cutting machine such as a Cricut or Silhouette Cameo is a game changer that allows you to cut perfectly precise shapes, including intricate kiss cuts that leave the backing paper intact while cutting cleanly through the sticker layer. Laminating sheets or a cold laminator add waterproofing and durability, giving your stickers that satisfying thick, professional feel that store-bought products are known for.
Watercolor and Hand-Painted Style Stickers
Watercolor stickers have an almost magical quality to them, combining the organic, flowing beauty of traditional painting with the practicality of an adhesive label. The good news is that you do not need to be a skilled painter to create them. Digital watercolor brushes available in programs like Procreate, Adobe Fresco, or even free tools like Medibang Paint allow you to achieve authentic-looking watercolor effects that print beautifully onto matte sticker paper. The soft edges, color blooms, and translucent layering effects that define watercolor art translate exceptionally well to the sticker format.
For those who prefer working with actual paint, scanning or photographing your original watercolor artwork and cleaning it up digitally before printing gives you the best of both worlds. Paint your design on watercolor paper, let it dry completely, then scan it at a minimum of 300 DPI for crisp print quality. Open the scan in an editing program, remove the background if desired using the magic wand or select-by-color tool, adjust levels to make the colors true to your original, and then arrange multiple designs on a single sheet for efficient printing. The imperfections and texture of real watercolor add character that pure digital designs sometimes lack.
Florals, botanicals, mushrooms, and celestial motifs are among the most popular subjects for watercolor stickers, and for good reason. The loose, expressive quality of watercolor complements organic shapes beautifully, and these subjects appeal to a wide range of aesthetics from cottagecore to modern minimalism. Try creating a coordinated collection where several stickers share the same color palette and loose style, creating a set that looks cohesive and intentional. Printing with a white border and then cutting slightly inside that border gives a clean edge that mimics the look of commercially produced sticker sheets.
Aesthetic Quote and Typography Stickers
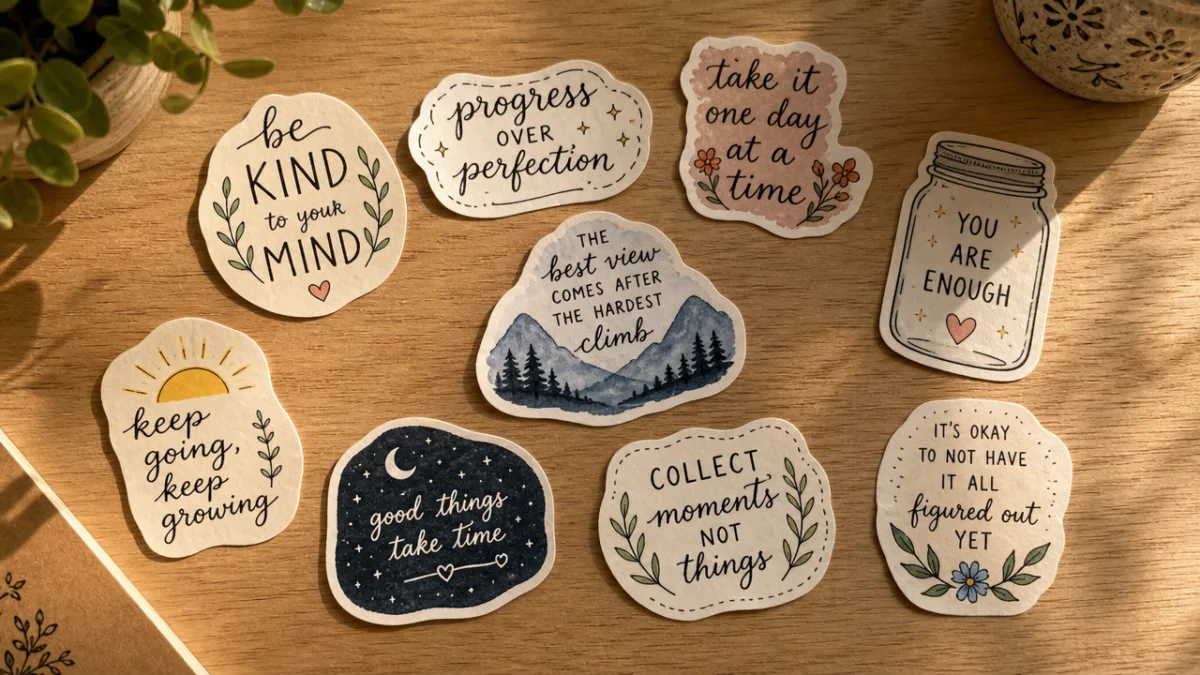
Typography stickers are enduringly popular because words have power, and seeing a favorite phrase or affirmation on your water bottle, journal, or laptop creates a small but meaningful moment of connection throughout the day. Creating beautiful typography stickers at home is more approachable than it might seem, even if you have no formal design background. Free tools like Canva offer hundreds of font pairings and layout templates that make it easy to produce polished, visually balanced text-based designs. The key is restraint: choose one or two complementary fonts rather than mixing many styles, and give your text breathing room with generous spacing.
The font you choose sets the entire mood of the sticker. Thin, elegant serifs feel sophisticated and editorial. Chunky retro fonts read as playful and nostalgic. Handwritten brush scripts feel personal and warm. Pairing a bold display font for the main phrase with a clean, minimal secondary font for supporting text is a classic design trick that consistently looks professional. Pay attention to kerning, which is the spacing between individual letters, as uneven spacing is one of the clearest signs that a design was made by a beginner. Most design tools allow you to adjust this, and taking the time to do so makes a noticeable difference.
For an especially polished look, consider adding subtle design elements around your text rather than letting it float on a plain background. A simple border, a small illustration, a geometric shape, or a delicate line detail can frame the text and make it feel complete. Color choices matter enormously: designs with limited, well-chosen color palettes almost always look more intentional than those using many colors. Consider printing your quote stickers with a transparent background so they can be applied to colorful surfaces without a visible white rectangle around the words, which requires clear sticker paper and careful ink saturation settings.
Die-Cut Character and Illustrated Stickers
Character stickers, those adorable little illustrated figures with a cut line that follows the shape of the design rather than leaving a rectangular border, are perhaps the most satisfying type to make and the most impressive to show others. When someone picks up a perfectly cut sticker of a tiny illustrated mushroom with a cute face or a chubby illustrated cat and asks where you got it, the answer that you made it yourself never fails to impress. The die-cut format is what elevates an illustrated design from a simple printout to something that genuinely looks and feels like a product you purchased.
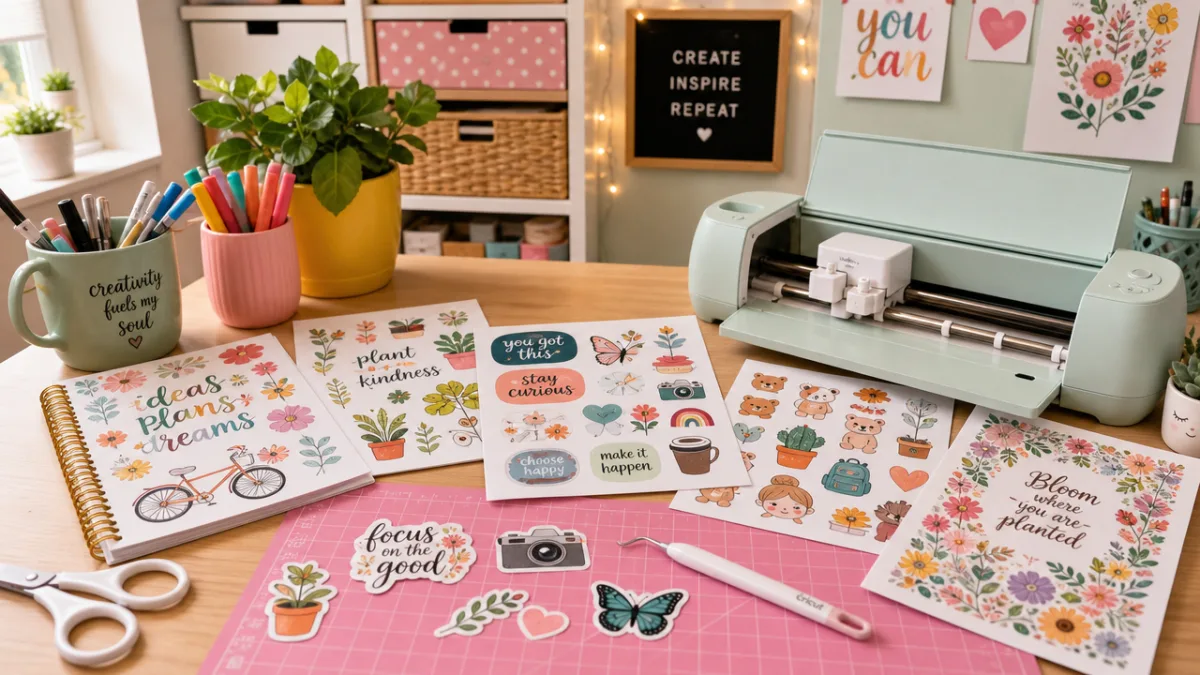
Creating die-cut stickers at home requires a cutting machine or extremely steady scissors and considerable patience. If you are using a Cricut or Silhouette, the process involves printing your designs with registration marks that the machine uses to align the cutting path precisely. This print-then-cut feature is one of the most useful capabilities of these machines for sticker makers. Your cutting file should be set to cut about two to three millimeters outside your design outline to create what is called a bleed edge, which gives the sticker a small white border and prevents any slight misalignment from resulting in the machine cutting into your artwork.
When it comes to illustration style, simple and bold tends to work better for stickers than highly detailed artwork. Fine lines and intricate details can get lost at small sizes and may not survive the cutting process cleanly. Thick outlines, solid color fills, and clear silhouettes read well even when the sticker is quite small. Consider designing your characters in a consistent style so they feel like a cohesive collection. Popular themes that consistently perform well include food characters, animals with expressive faces, plants and nature elements, retro shapes, and seasonal motifs. Giving each character a thick black or white outline in your design helps them stand out from whatever surface they are applied to.
Holographic, Glitter, and Special Finish Stickers
If you want to create stickers that genuinely stop people in their tracks, special finish sticker papers are where the magic happens. Holographic sticker paper, which shifts through rainbow colors as it catches the light, is available from craft suppliers in both printable sheets and adhesive rolls. Designing for holographic paper requires thinking a bit differently than for standard prints: simpler designs with areas of clear or minimal ink allow the holographic effect to shine through, while heavily saturated designs can mute the shimmer. The most effective holographic stickers use a combination of printed elements and exposed holographic surface for a dynamic, eye-catching result.
Glitter sticker paper offers a different kind of sparkle, with a consistent all-over texture rather than the shifting rainbow quality of holographic film. It works particularly well for designs that lean into the glam aesthetic: stars, crowns, hearts, and other decorative elements that benefit from a bit of extra shine. Note that glitter paper can be trickier to cut cleanly because the textured surface can cause slight fraying along cut edges. Using a sharp, fresh blade in your cutting machine and applying gentle heat from a hair dryer briefly before cutting can help achieve cleaner results on these specialty materials.
You do not necessarily need to start with specialty paper to achieve special finishes. Applying a sheet of holographic or glitter laminate over a standard print transforms an ordinary sticker into something extraordinary. Transparent glitter laminating sheets layered over your designs add sparkle while preserving the colors underneath. Iridescent laminate creates a subtle color-shifting effect over your artwork. These laminating options also add significant durability, making your stickers waterproof and scratch resistant in a way that unlaminated prints simply are not. For a targeted effect, some makers use specialty sticker paper for backgrounds and layer clear printed elements on top for a dimensional look.
Building Your Sticker-Making Practice and Sharing Your Work
Like any craft, sticker making rewards consistent practice and a willingness to experiment. Your first few sheets may not come out exactly as you envisioned, and that is completely normal. Keep a record of your printer settings for each type of paper you use, noting the color profile, print quality setting, and any adjustments you made. Over time you will build a personal reference guide that takes the guesswork out of producing consistent results. Many sticker makers keep a dedicated binder or digital folder with test prints showing how different papers and settings perform.
The sticker making community is wonderfully generous with knowledge and resources. Platforms like Pinterest, YouTube, and dedicated Facebook groups are full of tutorials, free cut files, and design resources that can dramatically shorten your learning curve. Many experienced makers share their exact processes, including links to the specific papers and tools they use, making it easier to replicate their results. Engaging with this community not only gives you access to technical knowledge but also provides inspiration and accountability. Seeing what others create consistently sparks new ideas and pushes you to try techniques you might not have considered on your own.
Once your skills develop, consider sharing your creations or even turning your hobby into a small business. Selling sticker sheets at local markets, through an Etsy shop, or as digital cut files that customers print at home are all viable paths that many makers have pursued successfully. Even if commercial goals are not your aim, gifting custom sticker sets is a wonderfully personal and relatively affordable way to share something you have made with care. A sheet of stickers customized to a friend’s interests, color preferences, or inside jokes is a gift that will genuinely delight them, and the reaction you get when they realize the stickers are handmade makes every hour of practice feel worthwhile.
Quick Reference: Best Sticker Styles for Beginners
- Rectangle or square stickers on matte paper — the simplest starting point, requiring only scissors and good design software to produce clean, professional results immediately.
- Watercolor florals printed on matte sticker paper — forgiving of slight print variations and beautiful even when imperfect, making them ideal for building confidence.
- Simple typography stickers in Canva — fast to design, easy to cut, and endlessly customizable to personal taste without requiring any artistic drawing skills.
- Sticker sheets with a mix of small designs — an efficient use of paper that results in a satisfying variety of stickers from a single print run.
- Character stickers with thick outlines — a step up in complexity but highly rewarding, especially when paired with a cutting machine for clean die-cut results.
Quick Reference: Common Mistakes and How to Avoid Them
- Printing at low resolution — always design at 300 DPI minimum and print at the highest quality setting your printer allows to avoid pixelated or blurry results.
- Skipping the test print — always print on regular paper first to check colors and alignment before using your sticker paper.
- Using dull cutting blades — replace blades regularly in your cutting machine; a dull blade tears rather than cuts and ruins otherwise perfect prints.
- Rushing the drying time — allow prints to dry fully before laminating or cutting to prevent smearing, which is especially important with inkjet printers.
- Overcomplicating the design — simpler, bolder designs almost always translate better to small sticker sizes than highly detailed artwork.








What do you think?
It is nice to know your opinion. Leave a comment.