










The Mountain Crochet Blanket Pattern: A Complete Guide to Crafting Your Cozy Masterpiece
Few things in the world of fiber arts capture the imagination quite like a blanket inspired by the majestic peaks and rolling ridges of mountain landscapes. The Mountain Crochet Blanket Pattern has become one of the most beloved designs in the contemporary crochet community, combining geometric precision with a deeply organic aesthetic that evokes the feeling of standing at the edge of a high alpine vista. Whether you are a seasoned crocheter with decades of experience or someone who has only recently picked up a hook, this pattern offers a rewarding journey through texture, color, and technique that culminates in a finished piece of breathtaking beauty.
What makes the Mountain Crochet Blanket Pattern so enduring is its remarkable versatility. The design can be scaled up or down depending on your intended use — from a small lap blanket perfect for curling up by the fire to a generous king-size throw that drapes luxuriously across an entire bed. Crafters around the world have adapted the pattern to suit their personal tastes, experimenting with everything from rustic neutral palettes that mimic the earthy tones of granite and pine to bold, vibrant colorways that transform each mountain ridge into a vivid stripe of personality and expression.
Beyond its visual appeal, the Mountain Crochet Blanket Pattern has earned a devoted following because of the meditative quality of its construction. The repetitive nature of the stitches, combined with the satisfying progression of each mountain row, creates a rhythmic workflow that many crafters describe as deeply calming. There is a particular joy in watching the peaks and valleys of the design emerge from what begins as a simple foundation chain, and that joy is something this article aims to help you experience fully, no matter where you are in your crochet journey.
The Origins and Inspiration Behind the Mountain Design
The geometric representation of mountains in textile arts is not a new concept — it stretches back centuries across cultures that used weaving, knitting, and needlework to capture the landscapes that surrounded them. From the zigzag patterns found in traditional Andean textiles to the chevron motifs woven into Scandinavian blankets, the idea of translating mountain silhouettes into fiber is a deeply human impulse. The modern Mountain Crochet Blanket Pattern draws on this rich heritage while adapting it to the accessible, portable craft of crochet, making it available to a global community of makers.
Contemporary designers who have developed and refined the mountain blanket pattern often cite the particular emotional resonance of mountain imagery as central to their inspiration. Mountains represent permanence, grandeur, and a kind of quiet power that many people find deeply comforting. When you wrap yourself in a blanket that echoes those shapes, the effect is more than decorative — it feels grounding, as if the blanket itself carries some of the stillness and strength of the peaks it represents. This emotional dimension is part of what elevates the Mountain Crochet Blanket from a simple home accessory to something closer to art.
The pattern has also been shaped by the modern maker movement’s emphasis on transparency, community, and the sharing of knowledge. Many of the most popular iterations of the Mountain Crochet Blanket Pattern were developed collaboratively, with designers sharing their work-in-progress photos on social media platforms and refining their patterns based on feedback from thousands of enthusiastic crafters. This spirit of open creative exchange means that the pattern you find today represents not just one designer’s vision, but a collective refinement that has been tested, adjusted, and improved by an entire community of passionate makers.
Materials and Tools You Will Need
Before you cast on your foundation chain and begin the satisfying process of building your mountain ridge by ridge, it is essential to gather the right materials and tools for the project. The choices you make at this stage will have a profound impact on the finished blanket — its drape, its warmth, its durability, and its overall aesthetic. Taking the time to select your yarn and hook thoughtfully is not just a practical step; it is itself a creative act that sets the tone for everything that follows in your crafting journey.
When it comes to yarn selection, the Mountain Crochet Blanket Pattern is most commonly worked in a medium-weight worsted yarn, which strikes an ideal balance between workability and finished texture. Worsted weight yarn creates clear, defined stitch definition that allows the mountain peaks to read crisply and dramatically against the background rows. Many crafters prefer natural fibers such as wool, cotton, or a wool-cotton blend for this project, as these materials offer excellent stitch memory and a beautiful matte finish that complements the organic inspiration of the design. For a softer, more budget-friendly option, high-quality acrylic yarns with a matte finish can also produce stunning results.
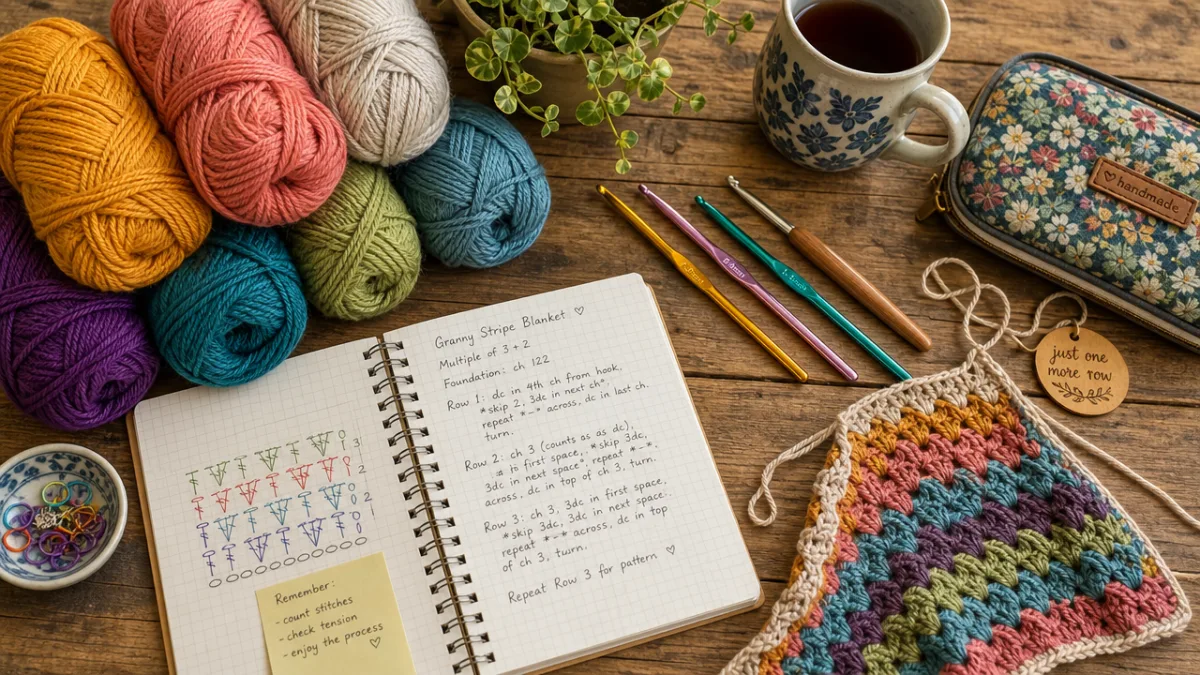
In terms of color planning, the Mountain Crochet Blanket Pattern lends itself beautifully to both monochromatic and multicolor approaches. A classic interpretation might use three to five shades of the same hue — moving from deep navy through mid-tone slate to pale silvery blue — to suggest the atmospheric perspective of distant mountain ranges. Alternatively, a bolder approach might use distinct contrasting colors for each mountain row, creating a graphic, contemporary look that feels fresh and modern. Beyond yarn, you will need a crochet hook sized to match your yarn (typically a 5mm or 5.5mm hook for worsted weight), a yarn needle for weaving in ends, scissors, and stitch markers to help you keep track of your progress through the pattern.
Understanding the Core Stitches and Techniques
The Mountain Crochet Blanket Pattern is built on a foundation of relatively accessible crochet stitches, making it a genuinely achievable project for crafters at the intermediate level and above. However, understanding the specific techniques that create the mountain effect is crucial before you begin, as the visual impact of the finished blanket depends entirely on the consistent and correct execution of these core elements. Taking the time to practice and understand each stitch before committing to the full blanket will save you frustration and ensure a result you will be proud to display or gift.
The primary technique that defines the mountain silhouette is a variation of the classic chevron or ripple stitch, combined with strategic increases and decreases that create the distinctive peaked and valleyed profile. In most versions of the Mountain Crochet Blanket Pattern, you will work a series of single crochet or half double crochet stitches along each row, increasing at the designated peak points by working multiple stitches into the same stitch, and decreasing at the valley points by crocheting stitches together. The ratio and spacing of these increases and decreases determine how steep or gentle your mountain ridges appear, giving you a degree of artistic control over the final silhouette.
Many versions of the pattern also incorporate surface texture through the use of spike stitches, back loop only stitches, or raised front-post and back-post stitches that add dimensional interest to what might otherwise be a relatively flat fabric. These textural elements are particularly effective in the lower rows of the blanket, which often represent the foreground elements of the mountain scene — rocky foothills, pine forests, or rolling meadows — while the upper rows maintain a smoother texture to suggest the clean lines of snow-capped peaks against an open sky. Mastering these textural variations will elevate your finished blanket from competent to truly spectacular.
Step-by-Step Construction Process
Beginning the Mountain Crochet Blanket Pattern requires careful attention to your foundation chain, as the width of your blanket and the accuracy of your mountain repeats depend entirely on starting with the correct number of chains. Most mountain blanket patterns are built on a multiple of stitches that accommodates the number of mountain repeats you want across the width of your blanket, plus a specific number of turning chain stitches. Before you commit to your full foundation chain, it is strongly advisable to work a swatch of at least two full mountain repeats to confirm that your gauge matches the pattern specifications and that you are comfortable with the stitch pattern before scaling up to the full project.
Once your foundation is established, the blanket grows row by row in a logical and satisfying progression. Each row is typically worked across the full width of the blanket, with color changes happening at the beginning of a new row to create the horizontal banding that defines the mountain landscape effect. Working in one color for several rows before transitioning to the next creates the layered depth that makes the design so visually compelling — the sense that you are looking at a landscape with genuine foreground, middle ground, and background. Managing your yarn tails and color changes cleanly is essential at this stage, and many experienced crafters recommend carrying unused yarn along the edge of the work rather than cutting and reattaching with every color change.
As your blanket grows, maintaining consistent tension is perhaps the single most important technical challenge you will face. Tension inconsistencies can cause your mountain peaks to look uneven, your blanket to cup or ruffle at the edges, and your finished dimensions to deviate significantly from the pattern specifications. Taking regular breaks to lay your work flat and assess its progress, and adjusting your grip or hook size if necessary, will help you maintain the even, flowing fabric that makes the Mountain Crochet Blanket so beautiful. Many crafters also find that working in good natural light makes it significantly easier to count stitches accurately and catch any errors before they become embedded in many rows of work.
Color Theory and Palette Planning for Stunning Results
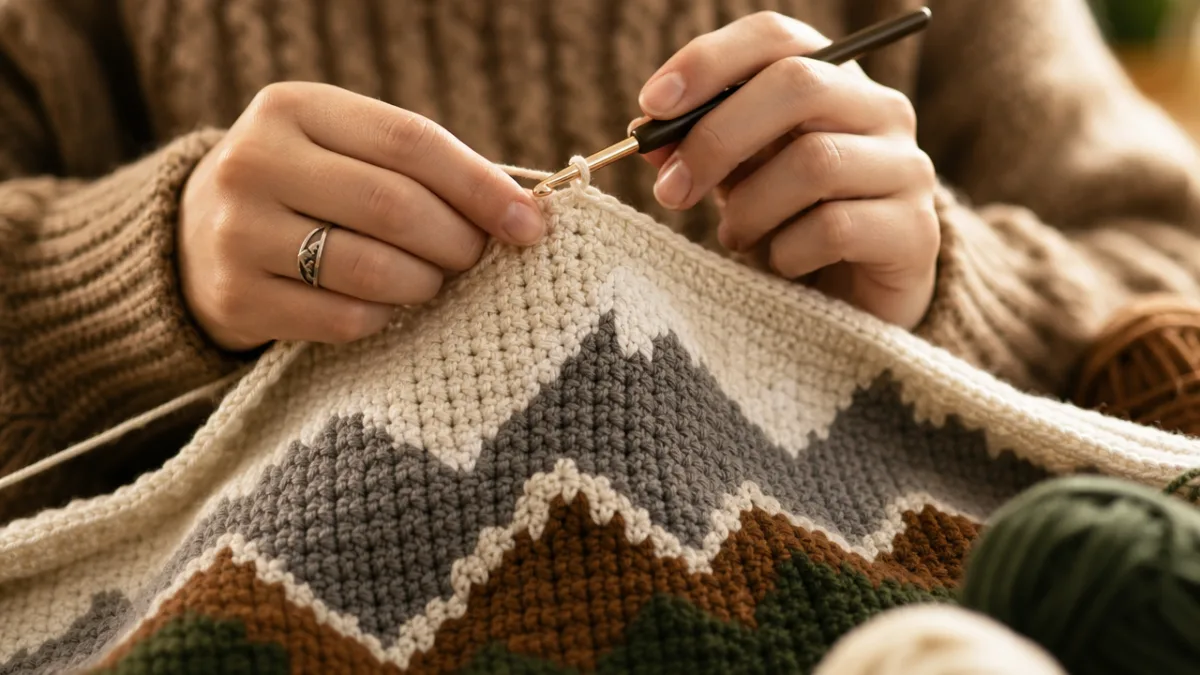
The color choices you make for your Mountain Crochet Blanket Pattern will ultimately determine its visual character and emotional impact more than any other single element of the design. Color has the power to make the same fundamental pattern feel completely different — a palette of charcoal, ivory, and warm taupe creates a timeless, sophisticated piece that would be at home in any interior, while a selection of burnt orange, mustard yellow, and deep burgundy produces something with the warmth and drama of an autumn sunset over alpine peaks. Investing time in thoughtful palette planning before you purchase your yarn is one of the most rewarding parts of the creative process.
Understanding basic color theory principles can help you make more intentional and successful palette choices for your blanket. The concept of value — the relative lightness or darkness of a color — is particularly important in the Mountain Crochet Blanket Pattern because the design depends on visual contrast between the mountain rows to create its layered, atmospheric depth. A palette in which all the colors are of similar value, even if they are technically different hues, can result in a blanket where the mountain ridges blur together and lose their definition. Introducing deliberate variation in value — using at least one noticeably lighter and one noticeably darker shade — ensures that the geometric structure of the pattern reads clearly and powerfully in the finished piece.
For those who find color selection daunting, there are several practical strategies that can simplify the process considerably. One popular approach is to select a single commercially available color palette card or gradient yarn set and use it as the foundation of your color scheme, supplementing with coordinating solids as needed. Another strategy is to photograph a landscape, artwork, or fabric that you love and use a color-picking tool to extract the dominant hues, then find yarn colors that approximate those shades as closely as possible. Whatever approach you take, purchasing small amounts of your candidate yarns and holding them together in natural light before committing to full quantities will save you from the disappointment of colors that seemed harmonious in an online swatch but clash in person.
Finishing Techniques and Border Options
The finishing process for a Mountain Crochet Blanket is as important as any other stage of its construction, and the choices you make at this stage have a significant impact on the professional quality and longevity of your finished piece. Weaving in yarn ends carefully and securely is the least glamorous but most essential finishing task — loose or poorly secured ends can unravel over time, compromising both the aesthetics and the structural integrity of your blanket. Using a yarn needle to weave each tail through at least one inch of stitches in multiple directions, then trimming close to the fabric, will ensure that your ends stay securely anchored through years of use and washing.
Blocking is a transformative finishing step that many new crafters are tempted to skip but should absolutely embrace. Blocking — the process of wetting or steaming your finished blanket and then pinning or reshaping it while it dries — evens out any tension inconsistencies, opens up the stitches to reveal the full beauty of the stitch pattern, and allows you to gently correct any cupping or distortion at the edges. For wool blankets, wet blocking produces particularly dramatic results, often making a blanket that looked slightly uneven and stiff straight off the hook look like a professionally finished heirloom piece. The difference between a blocked and unblocked Mountain Crochet Blanket can be genuinely astonishing.
The border you choose to add around the perimeter of your blanket provides a finishing frame that ties the entire design together and gives the edges a clean, polished look. For the Mountain Crochet Blanket, border options range from the simplest single crochet edging worked evenly around all four sides to more elaborate options such as a picot edge, a shell stitch border, or a contrasting color frame that echoes one of the shades used in the main body of the blanket. The border is also an opportunity to correct any slight unevenness in the outer edges of your work, as a carefully worked edging can absorb minor variations in tension and create a clean, straight perimeter around even an imperfect main body.
Caring for Your Mountain Crochet Blanket and Making It Last
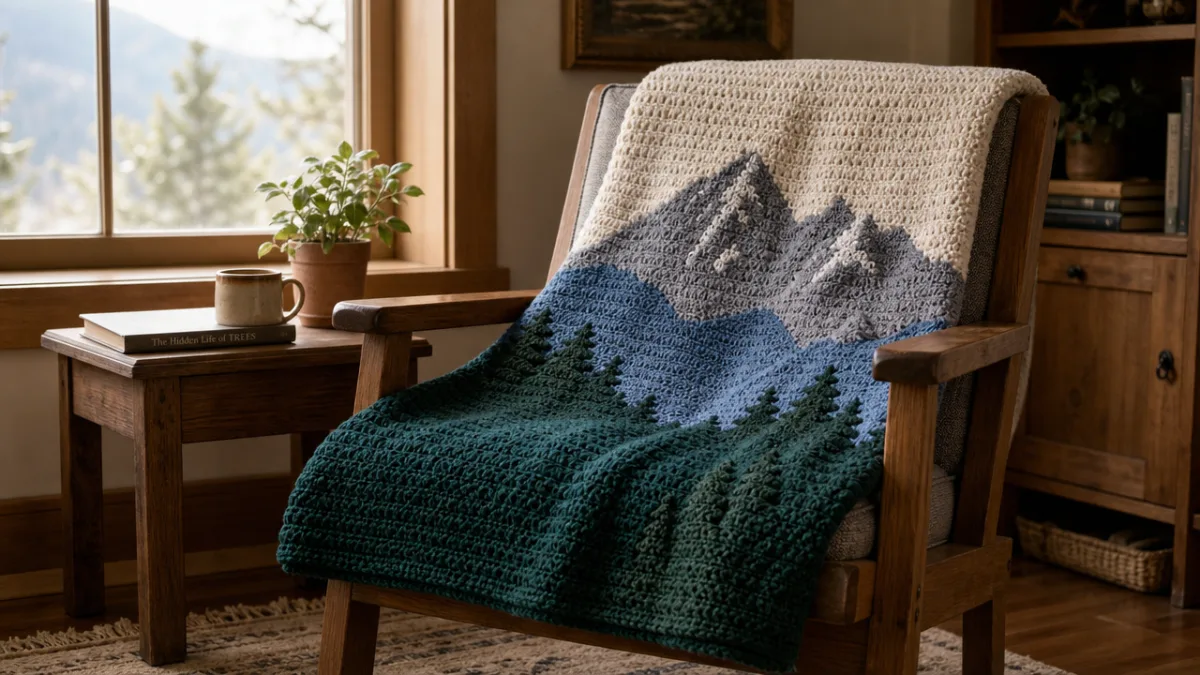
A well-made Mountain Crochet Blanket is not just a beautiful object — it is an investment of time, creativity, and care that deserves to be maintained and preserved with equal thoughtfulness. The specific care requirements for your blanket will depend primarily on the fiber content of the yarn you used in its construction, so keeping a record of your yarn labels or noting the care instructions before you discard them is a practical habit that will serve you well when the time comes for the first wash. Most yarn labels provide clear guidance on washing temperature, whether machine or hand washing is appropriate, and drying instructions.
For blankets made with natural wool yarns, hand washing in cool water with a gentle, wool-safe detergent is typically the safest approach, as machine washing — even on a delicate cycle — can cause felting and irreversible shrinkage in untreated wool. After washing, avoid wringing or twisting the wet blanket, which can distort the stitches and stretch the fabric. Instead, gently press excess water out by rolling the blanket in a clean towel, then lay it flat to dry on a blocking mat or clean, dry surface, reshaping it to its correct dimensions while it is still damp. Acrylic blankets, by contrast, are generally much more forgiving and can typically be machine washed and dried on a low heat setting, making them a practical choice for blankets intended for everyday use or as gifts for busy households.
Proper storage between uses is another important aspect of caring for your Mountain Crochet Blanket. If you are storing a wool blanket for an extended period, protecting it from moths is essential — cedar blocks or lavender sachets placed near the stored blanket can help deter these pests without exposing your work to the chemicals found in commercial mothballs. For any fiber type, storing your blanket folded or rolled in a breathable cotton bag or pillowcase, rather than a sealed plastic bag, allows air circulation that prevents the musty odors and potential mildew that can develop in airtight storage conditions. With proper care, a Mountain Crochet Blanket made from quality materials can remain beautiful and functional for decades, becoming a cherished heirloom that is passed from one generation to the next.
Adapting and Personalizing the Pattern
One of the greatest pleasures of working with the Mountain Crochet Blanket Pattern is the extraordinary degree of personalization it invites. While the basic structure of the pattern — the rising and falling peaks, the horizontal color bands, the layered sense of distance — provides a framework, that framework is remarkably flexible and responsive to the individual crafter’s creative input. Whether you want to make subtle adjustments that fine-tune the proportions of your mountains or radical departures that transform the design into something entirely new, the Mountain Crochet Blanket Pattern rewards creative experimentation with deeply satisfying results.
Some of the most popular adaptations include changing the height-to-width ratio of the mountain peaks to create either more dramatic, sharply pointed peaks or gentler, more rolling hill-like curves. Others experiment with adding embellishments such as crocheted snowflake motifs worked separately and then appliquéd onto the upper rows of the blanket to suggest snow-capped summits, or small crocheted tree motifs scattered along the base rows to represent alpine forests. Color-wise, some crafters have created striking gradient versions using hand-dyed or commercially available gradient yarns that transition through a full spectrum of color across the width or length of the blanket, producing an almost painterly effect that is completely unlike the banded look of the traditional pattern.
The pattern also lends itself beautifully to adaptation as a modular project, where individual mountain sections are crocheted separately and then joined together — a technique that can make the overall project feel less overwhelming and more portable, as you can work on individual sections wherever you find yourself rather than hauling an increasingly heavy blanket in progress around with you. Whatever direction your personal adaptation takes, documenting your modifications carefully as you work — noting stitch counts, color change points, and any structural adjustments — will allow you to reproduce your unique version if you ever want to make a second blanket or share your variation with the broader crochet community.
- Gauge swatching: Always work a swatch before beginning to confirm your tension matches the pattern and your finished blanket will reach the intended dimensions without unwanted ruffling or cupping at the edges.
- Stitch markers: Place removable stitch markers at each peak and valley point when you are first learning the pattern repeat, removing them as you become comfortable with the rhythm of the increases and decreases.
- Yarn substitution: When substituting a different yarn than the one specified in the pattern, always match both the weight category and the fiber content as closely as possible, and swatch thoroughly before committing to the full project.
- Color joining: Join new colors at the beginning of right-side rows for the cleanest, most invisible joins, and always complete the last pull-through of the final stitch in the old color using the new color to keep joins crisp.
- Edge stitches: Work your edge stitches with slightly looser tension than the main body of the blanket to prevent the sides from drawing in and creating a wavy, uneven perimeter.
- Rest and assess: After every ten or fifteen rows, remove your work from the hook, lay it completely flat, and spend a moment assessing the overall tension, shape, and visual balance of what you have created so far.
The Mountain Crochet Blanket Pattern is, at its heart, an invitation — to slow down, to be present with your hands and your materials, and to create something that carries both the beauty of a natural landscape and the warmth of human craft. Whether you follow the pattern precisely or allow it to become a launching point for your own creative exploration, the finished blanket will be a testament to your patience, your skill, and your willingness to invest time and care in making something truly beautiful. That is the enduring gift that every Mountain Crochet Blanket carries within its stitches, and it is why this pattern continues to inspire and delight crafters around the world.








What do you think?
It is nice to know your opinion. Leave a comment.