










Sarah Doll Crochet Pattern: A Complete Guide to Creating Your Adorable Handmade Companion
Introduction to the Sarah Doll Crochet Pattern
If you’ve been looking for a crochet doll pattern that’s genuinely worth your time, the Sarah Doll might just be it. Crafters all over the world have fallen for this one, and it’s easy to see why — she’s charming, detailed, and just plain fun to make. This amigurumi-style doll is best suited to intermediate and experienced crocheters, and whether you’re making her as a gift, a keepsake, or just a project for yourself, the whole process is as enjoyable as holding the finished doll in your hands.
What really sets Sarah apart from other crochet figures is how much personality she has. Her head, face, little outfit, hair — every piece feels intentional, like it belongs to a character rather than just a craft project. The pattern takes classic amigurumi techniques and weaves in some doll-making touches that give her this wonderful storybook quality that’s hard to put your finger on but immediately obvious when you see her.
This guide covers the whole journey from start to finish — gathering your supplies, brushing up on the techniques you’ll need, putting her together piece by piece, and adding those little finishing touches that make all the difference. Whether this is your first time making Sarah or you’re coming back to the pattern to level up your skills, you’ll find everything you need right here to end up with a doll you’re genuinely proud of.
Materials and Tools You Will Need
Before you cast on a single stitch, it’s really worth taking the time to get everything together. There’s nothing more frustrating than hitting your stride on a project and realizing you’re out of stuffing or can’t find your yarn needle. Having it all laid out in front of you keeps things flowing and, honestly, makes the whole experience more enjoyable. It also matters more than you might think — the right materials make a real difference in how your finished doll looks and feels.
For yarn, you’ll want a lightweight cotton or acrylic in a skin tone for the head and body, plus whatever colors you’ve chosen for her hair, clothing, and any little accessories. Cotton is a favorite for doll making because it shows off stitch definition so well — your edges come out crisp and clean, which really matters at this scale. Most crafters reach for sport or DK weight for a doll like this, since it hits that sweet spot between workability and detail without being too fiddly or too chunky.
Beyond yarn, you’ll need a hook that matches your yarn weight — somewhere in the 2.5mm to 3.5mm range is typical — and you want to err on the tighter side so the stuffing doesn’t peek through the stitches. Other essentials are polyfill stuffing, a yarn needle, safety eyes in the right size, stitch markers, and scissors. If you want to get a bit more creative, wire armature lets you make poseable limbs, embroidery floss is great for facial details, and felt can add some nice decorative touches.
- DK or sport weight cotton or acrylic yarn in skin tone, hair color, and clothing colors
- Crochet hook sized 2.5mm to 3.5mm depending on yarn weight
- Polyfill stuffing in sufficient quantity to fill head, body, and limbs firmly
- Safety eyes, typically 6mm to 10mm depending on desired look
- Yarn needle for seaming, weaving ends, and attaching pieces
- Stitch markers to track rounds and key points in the pattern
- Scissors and optional embroidery floss for facial embellishment

Understanding the Core Crochet Techniques
The Sarah Doll is built on a handful of techniques that are pretty standard in amigurumi and doll making, but they’re worth reviewing before you dive in. The big one is working in the round — crocheting in a continuous spiral instead of joining at the end of each row. This is how you get those seamless, three-dimensional shapes that become Sarah’s head, body, arms, and legs. If you haven’t done much of it before, it’s a good idea to practice on a little swatch first so it feels natural when you’re working the real thing.
You’ll also be using the magic ring constantly throughout this pattern, so if it’s not already second nature, now’s the time to get comfortable with it. The magic ring solves that annoying little hole you sometimes get at the center of a piece when you start with a chain — instead, you wrap the yarn around your fingers, pull up a loop with your hook, and work your first stitches right into the ring. Then you pull the tail to close everything up snugly before carrying on. It sounds fiddlier than it is, and once it clicks, you’ll wonder how you ever did without it.
Increases and decreases are what give each piece its shape — the curve of the head, the taper of the arms, the roundness of the body. Increases are straightforward: just work two stitches into the same stitch. For decreases, the invisible decrease is the one you want here. You insert your hook through the front loops of two consecutive stitches before completing the stitch, which gives you a much cleaner result than the standard method. The difference is subtle but it really shows on the surface of a finished doll, so it’s worth getting right. Nail these three techniques and you’ll be able to handle whatever the pattern throws at you.
Step-by-Step Construction of the Sarah Doll
Building Sarah is a process of making each piece separately and then bringing them all together, which feels a bit like solving a very satisfying puzzle. Most people start with the head, and for good reason — it’s the most complex piece and it sets the tone for everything else. You’ll work outward from a magic ring, increasing over several rounds until you have a nice round sphere, then stuff it firmly and close it up. The safety eyes go in before you close, so take a moment to get the placement right — this is where Sarah’s expression comes from, and it’s worth trying a few positions before you commit.
With the head done, you move on to the body, which follows a similar process but with different shaping to suggest a torso. Stuff it well and then attach it to the head with your yarn needle, making sure that join is solid — it needs to hold up to being picked up and handled. The arms and legs each get made separately, stuffed to varying degrees depending on whether you want them poseable or more decorative, and then sewn onto the body at the right spots. Take your time hiding those seams; it’s one of those things that’s easy to rush and immediately noticeable if you do.
Sarah’s hair is honestly one of my favorite parts of this whole pattern — it’s where she really starts to look like herself. The most popular approach is attaching lengths of yarn directly to the head with a latch hook or yarn needle, then styling them into braids, buns, or loose waves. Some crafters prefer to crochet a separate hair piece and sew it on, which can give a tidier finish and opens up more styling options. Either way, don’t rush this step. The hair has an enormous impact on Sarah’s overall personality, and the extra time you put in here will show in the finished doll.
- Crochet the head using a magic ring, increasing to full size, then stuff and insert safety eyes before closing.
- Crochet the body with appropriate shaping, stuff firmly, and attach securely to the completed head.
- Make the arms and legs separately, stuffing as directed, and sew them firmly to the body at marked positions.
- Add hair using your preferred method, whether attached yarn strands or a crocheted hair piece.
- Crochet any clothing pieces such as a dress, shoes, or accessories and attach or dress the doll accordingly.
- Embroider or add any remaining facial details such as a mouth, eyebrows, or rosy cheeks.
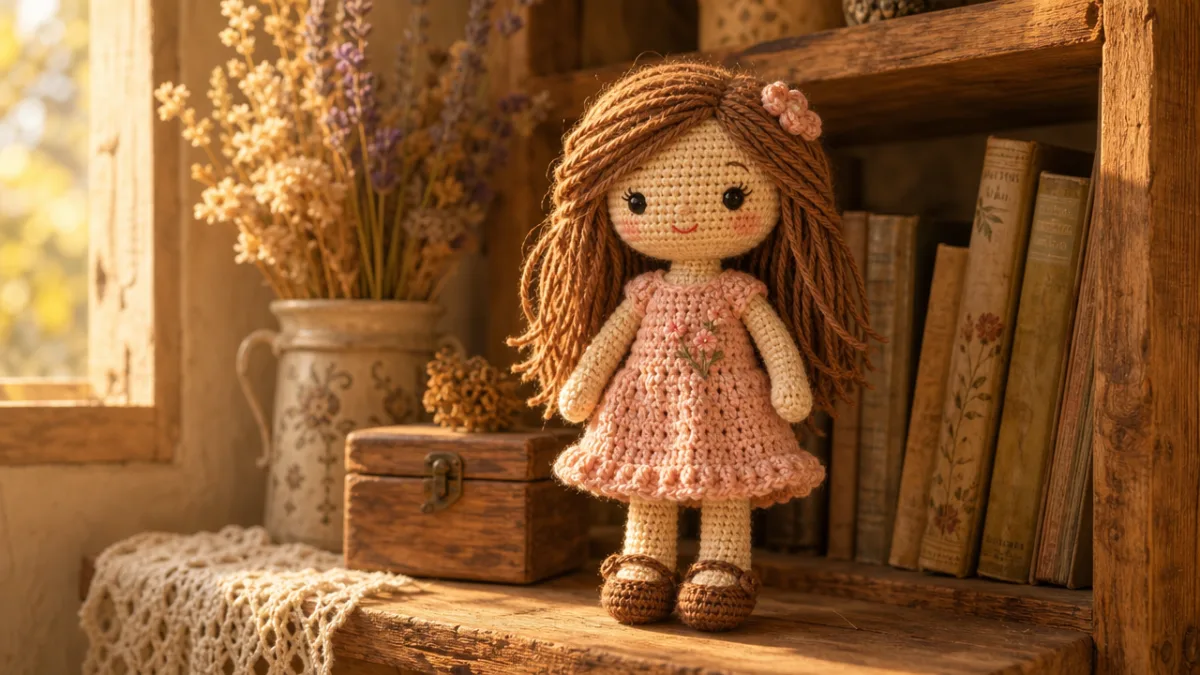
Customizing Your Sarah Doll
One of the best things about making a Sarah Doll is how much room there is to make her your own. The base pattern gives you a consistent, lovely character to start with, but every choice you make from there — color palette, yarn texture, clothing style, finishing details — can turn that into something completely unique. It’s really fun to make multiple Sarahs for different people and give each one a color story that suits the recipient. Something about that personal touch makes a handmade gift feel genuinely special rather than just crafty.
Clothing is where most people have the most fun customizing, and the possibilities are pretty much endless. A delicate lace dress in white cotton gives her a vintage, heirloom feel. Bold, bright colors make her playful and modern. Tiny crocheted shoes, a miniature bag, a little hat — each addition makes her feel more like a fully realized character. If you’re making Sarah for a child, you might even consider crocheting a few interchangeable outfits, which adds an interactive element kids absolutely love.
Beyond the clothing, you can do a lot with just the face and finishing details. Embroidering a slightly different mouth shape changes her expression entirely. Tiny lashes worked in embroidery floss add a sweet, delicate touch. A light brush of chalk pastel on the cheeks gives her the most lovely subtle blush. Even the safety eyes make a bigger difference than you’d expect — spacing them a little wider apart reads as innocent and youthful, while bringing them closer together gives her a more focused, serious look. These small decisions stack up, and the result is a doll that feels like nobody else’s.
Tips for Success and Troubleshooting Common Issues
Even if you’ve been crocheting for years, a detailed pattern like this one can throw up the occasional challenge, and it helps to know what to watch out for ahead of time. Tension consistency is one of the most common things people struggle with — if some sections come out noticeably looser than others, pieces won’t fit together the way they should. The most common culprit is tired hands. When you start to feel fatigued, your stitches loosen up, so taking regular breaks is genuinely useful rather than just a nice idea.
Stuffing is another area where it’s easy to go wrong in either direction. Too little and your doll ends up floppy and shapeless; too much and the stitches stretch out and the stuffing starts to show through. The trick is to add it a little at a time, checking the shape as you go and working it all the way into the corners and extremities of each piece — a blunt pencil or stuffing tool is great for this. For the arms and legs, you’re aiming for firm but not stiff, something that holds its shape but still has a little give.
Assembly trips people up more than almost anything else, especially if you’re newer to multi-piece dolls. The invisible join method — working your needle through the front loops of both pieces — gives you the cleanest seam and is worth practicing before you tackle the main joins. Make sure you’re doing enough passes to make each attachment genuinely secure, particularly on pieces that will get a lot of handling. And when you’re weaving in ends, really take your time with it: running the tail through several stitches in multiple directions before trimming means it won’t work its way loose later, and it keeps the inside of the doll looking tidy.
- Use stitch markers consistently to avoid losing your place in the pattern, especially when working long rounds.
- Block finished pieces gently if using natural fiber yarn to help even out your stitches and improve the overall look.
- Take photos as you progress to document your work and help you remember your position if you set the project aside.
- Join online crochet communities or forums where you can share your progress and get help from experienced doll makers.
- Keep a project notebook to record any adjustments you make to the pattern, especially if you plan to make multiple dolls.
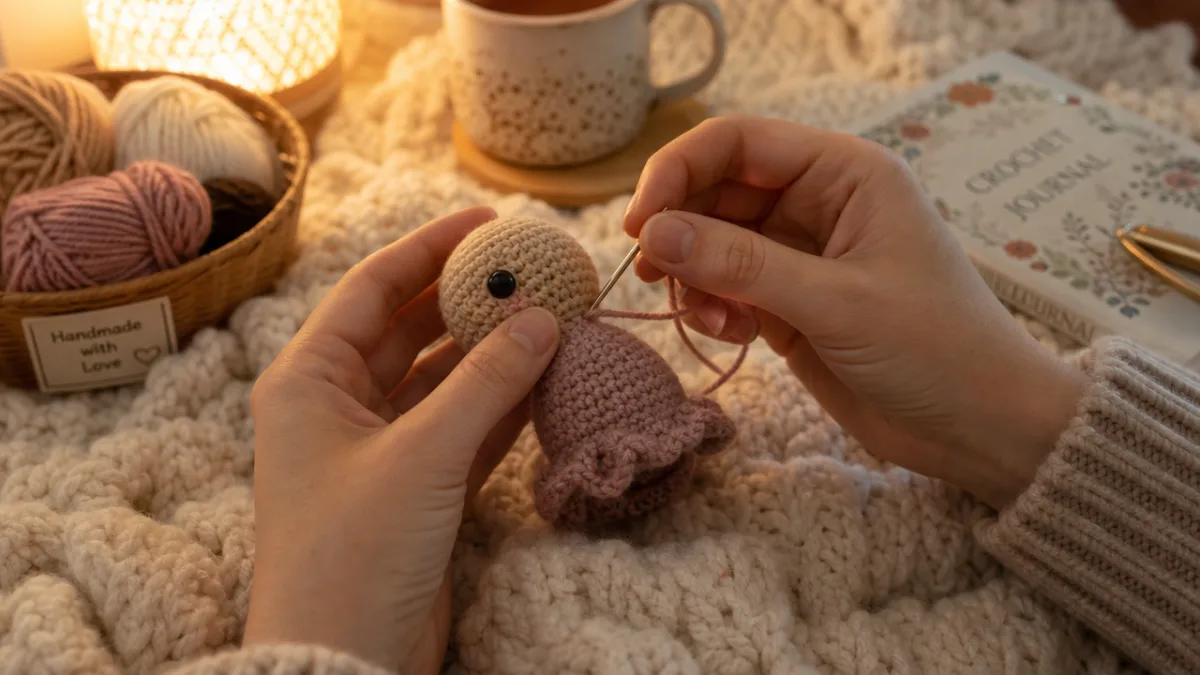
Sharing and Gifting Your Finished Sarah Doll
Once Sarah is finished, the natural impulse is to show her off — and you absolutely should. She makes a genuinely wonderful gift for birthdays, baby showers, holidays, or honestly any occasion where you want to give something that feels personal and considered. Every stitch carries a little bit of the time and care you put into it, and people feel that. Tucking her into a simple gift box or wrapping her with a ribbon is enough to make the whole presentation feel special.
If you want to share her online, it’s worth putting a little thought into how you photograph her. Natural daylight is your best friend here — it shows the true colors of your yarn and picks up stitch texture in a way that artificial light just doesn’t. Keep the background simple: a white foam board, a piece of textured fabric, a wooden surface. The idea is to let Sarah be the focus without anything else competing for attention. A good photo genuinely makes people stop scrolling, and your work deserves that.
If you’re thinking about selling your finished dolls, it’s important to understand where the line is between selling a finished object made from someone else’s pattern and selling the pattern itself. Most designers keep the rights to their patterns but do allow you to sell things you’ve made from them — sometimes with a credit or attribution requirement. It’s always worth reading the specific terms of any pattern you buy before you list anything for sale. And if selling is the goal, making several iterations of Sarah is one of the best things you can do: you’ll develop consistency, spot your own improvements, and end up with a product that customers will genuinely love and hold onto for years.








What do you think?
It is nice to know your opinion. Leave a comment.