










Beginner-Friendly Crochet Baby Blanket Patterns You Can Make
Why Crochet Baby Blankets Are the Perfect Starter Project
If you’ve been wanting to learn crochet but keep putting it off because everything looks so complicated, a baby blanket is honestly one of the best places to start. They’re small enough that you can actually finish one in a reasonable amount of time, which means you get to experience the joy of completing a real, usable project without spending months on it. That feeling of being done — actually done — is huge for beginners who are still figuring out which end of the hook to hold.
Baby blankets are also wonderfully forgiving, which matters more than you might think when you’re just starting out. Since you’re mostly working simple, repetitive stitches across a flat surface, small tension wobbles or the occasional mistake are barely noticeable. That’s a big deal when you’re still getting comfortable with the rhythm of crocheting and don’t want one slipped stitch to unravel your confidence along with the yarn.
And there’s something really special about making something by hand for a baby. Whether it’s a baby shower gift, a welcome for a new family member, or a donation to a local charity, a handmade blanket carries a kind of warmth that you just can’t buy off a shelf. Knowing that your very first real project will be loved and used by someone — that adds a whole emotional layer on top of the practical skills you’re picking up.
Essential Supplies Before You Begin
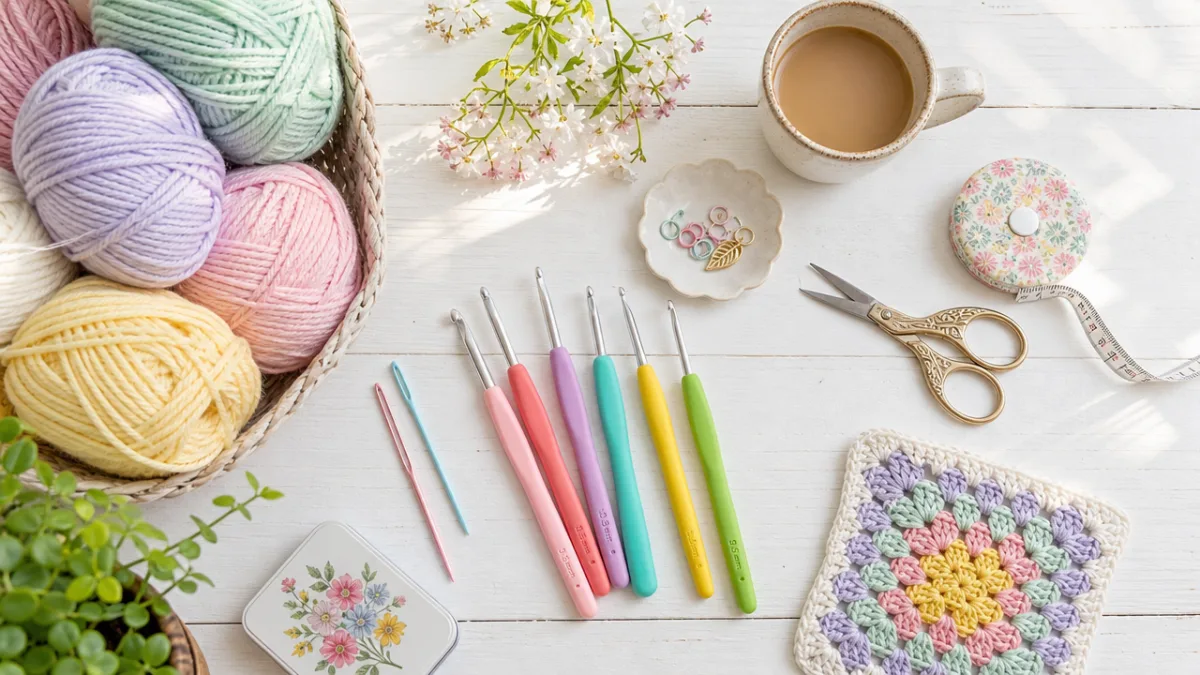
One of the great things about crochet is that you really don’t need much to get started. For a baby blanket specifically, yarn choice matters a lot — you want something soft, washable, and safe for delicate baby skin. Check the label to make sure it’s machine washable and free of scratchy fibers. Some reliable beginner-friendly options are Lion Brand Baby Soft, Bernat Baby, and Red Heart Soft. They’re easy to find, won’t break the bank, and come in all the soft pastels and neutrals you’d expect for a baby project.
Your hook size should match your yarn weight. Most baby blanket yarns are worsted weight (size 4) or bulky weight (size 5), and the yarn label will point you toward a recommended hook size. A 5.0mm or 5.5mm hook is a solid starting point — big enough that you can actually see what you’re doing, but not so large that keeping your tension even becomes a struggle. If you’re planning to crochet for long stretches, it’s worth spending a little extra on an ergonomic hook with a soft grip handle. Your hand will thank you.
Everything else on the list is pretty minimal. Sharp scissors, a yarn needle for weaving in ends, and a stitch marker or two are really all you need beyond the basics. A row counter can also be handy — either one of those little clicker types or just an app on your phone. Having everything within reach before you sit down means you won’t have to keep breaking your rhythm to go hunt for a tool.
- Yarn: Choose soft, machine-washable baby yarn in worsted or bulky weight for easiest handling.
- Crochet hook: A 5.0mm to 6.0mm hook works well for most baby blanket patterns.
- Scissors: Small, sharp scissors make clean cuts and are easy to tuck into a project bag.
- Yarn needle: A blunt tapestry needle is essential for weaving in ends neatly and securely.
- Stitch markers: Especially useful for patterns that require counting or marking specific stitch locations.
- Row counter: Optional but helpful for keeping track of your progress across long blanket rows.
Understanding Basic Stitches Used in Baby Blanket Patterns
Most beginner baby blanket patterns only use a small handful of stitches, and once you’ve got those down, you’ll be surprised by how many different designs become available to you. Everything starts with the chain stitch — it forms your foundation row, and nothing else can happen until you’ve got it. From there, the single crochet is your workhorse stitch. It’s tight, durable, and creates a fabric that babies genuinely seem to love touching. Plenty of classic baby blankets are worked entirely in single crochet, and they look beautiful precisely because of their simplicity.
The double crochet is taller and works up noticeably faster, which makes it a popular choice when you want to see real progress on the blanket without crocheting for hours. It creates a softer, more drapey fabric that really shines in plush yarns. The half double crochet sits right between the two and is incredibly versatile — you’ll see it show up constantly in shell patterns and V-stitch designs. Learning to recognize what each stitch looks like, both on your hook and in the finished fabric, is one of those skills that suddenly makes everything click.
You’ll also run into the slip stitch fairly often. It doesn’t really build height the way other stitches do — it’s mainly used to join rounds, reposition your yarn, or close off seams. It’s not the star of the show, but understanding what it’s doing when you see it in a pattern will help you follow instructions without getting confused. The good news is that once these basics feel natural, you’ll start noticing that even the fanciest-looking patterns are just these same simple stitches arranged in clever combinations.
Five Beginner-Friendly Baby Blanket Patterns to Try
The granny square blanket is probably the most iconic beginner crochet project out there, and it earned that reputation for good reason. Each square is its own little self-contained project worked from the center outward, so you can put it down whenever life gets busy and pick right back up without losing your place. Once you’ve made enough squares, you join them all together and suddenly you have this cheerful, patchwork blanket that looks like it took serious skill. Working each square in a different coordinating color is a great way to use up small amounts of yarn and keep things visually interesting.
The corner-to-corner blanket, usually called C2C, has exploded in popularity with beginners because the end result looks way more impressive than the actual technique warrants. You start with a small cluster of stitches at one corner, add a new cluster at the start of each row to build diagonally outward, then mirror that process in reverse to taper back down to the opposite corner. It’s repetitive in the best way, and self-striping or variegated yarn looks absolutely stunning worked in this style.
The moss stitch blanket — sometimes called the linen stitch — alternates single crochets and chains in a simple two-row repeat that creates this lovely woven-looking texture. It moves quickly and stays interesting without demanding much mental energy. A simple striped blanket is another great option if you want something even more straightforward: just single or double crochet in alternating colors, and the stripes do all the visual work for you. If you want to stretch yourself just a little, the shell stitch blanket groups stitches into fan shapes that look genuinely impressive, and it’s still very doable for a careful beginner working from a clear pattern.
- Granny Square Blanket: Work small squares individually in the round, then join them together for a cheerful patchwork effect.
- Corner-to-Corner (C2C) Blanket: Build diagonally from one corner to create striking geometric stripes with a simple repeating technique.
- Moss Stitch Blanket: Alternate single crochets and chains for a woven texture that looks intricate but works up simply.
- Striped Baby Blanket: Use basic stitches in multiple colors for a bold, modern look that is endlessly customizable.
- Shell Stitch Blanket: Group stitches into fan-shaped shells for a classic, elegant texture that impresses everyone who sees it.
Reading and Following a Crochet Pattern as a Beginner
Learning to read a crochet pattern is its own little skill, and it can feel like deciphering a foreign language at first. Patterns are written in shorthand — stitches get abbreviated to save space, and groups of instructions are tucked into parentheses or brackets to signal that they repeat a certain number of times. You’ll see things like ch for chain, sc for single crochet, dc for double crochet, sl st for slip stitch, and rep for repeat. The good news is that most well-written patterns include a key right at the top that defines every abbreviation used, so start there every single time before you read anything else.
Before you make a single stitch, read through the entire pattern once. It sounds like extra work, but it saves so much frustration. You’ll get a feel for the overall structure, catch any techniques you might need to practice or look up, and notice important details about finishing and edging that you might otherwise miss until you’re already deep into the project. You’ll also figure out whether the pattern works in rows or rounds and whether there’s a stitch count you need to hit at the end of each row — both of which are good things to know before you start.
When you hit a step that doesn’t make sense, don’t spiral. The crochet community is genuinely one of the most helpful corners of the internet, and searching YouTube for the name of a specific stitch or technique will almost always turn up multiple clear tutorials within seconds. Many pattern designers also maintain social media communities where you can ask questions directly and get answers fast. Keep a notepad nearby to track which row you’re on and note any tweaks you make — especially for longer projects where a day or two might pass between crochet sessions.
Tips for Finishing, Edging, and Gifting Your Baby Blanket
When you work your last stitch, you’re close — but not quite done. Weaving in your ends is the step that holds everything together, quite literally. All those yarn tails from starting, finishing, and switching colors need to be secured so they won’t unravel after a few trips through the washing machine. Thread each tail onto your yarn needle and weave it back and forth through several nearby stitches in different directions to lock it in place. Don’t rush this part. A beautiful blanket with loose, unsecured ends can fall apart fast, and that would be heartbreaking after all the work you put in.
Adding a border is one of the simplest things you can do to take your blanket from “I made this” to “I made this and it looks polished.” Even a single round of evenly worked single crochet all the way around the edge will tighten up any wobbly spots and give the whole thing a clean, finished look. If you’re feeling adventurous, a scalloped or shell border adds a really pretty decorative touch and is very manageable once you’ve finished the main body. Picking a border color that contrasts softly with the rest of the blanket is a small detail that makes a surprisingly big visual difference.
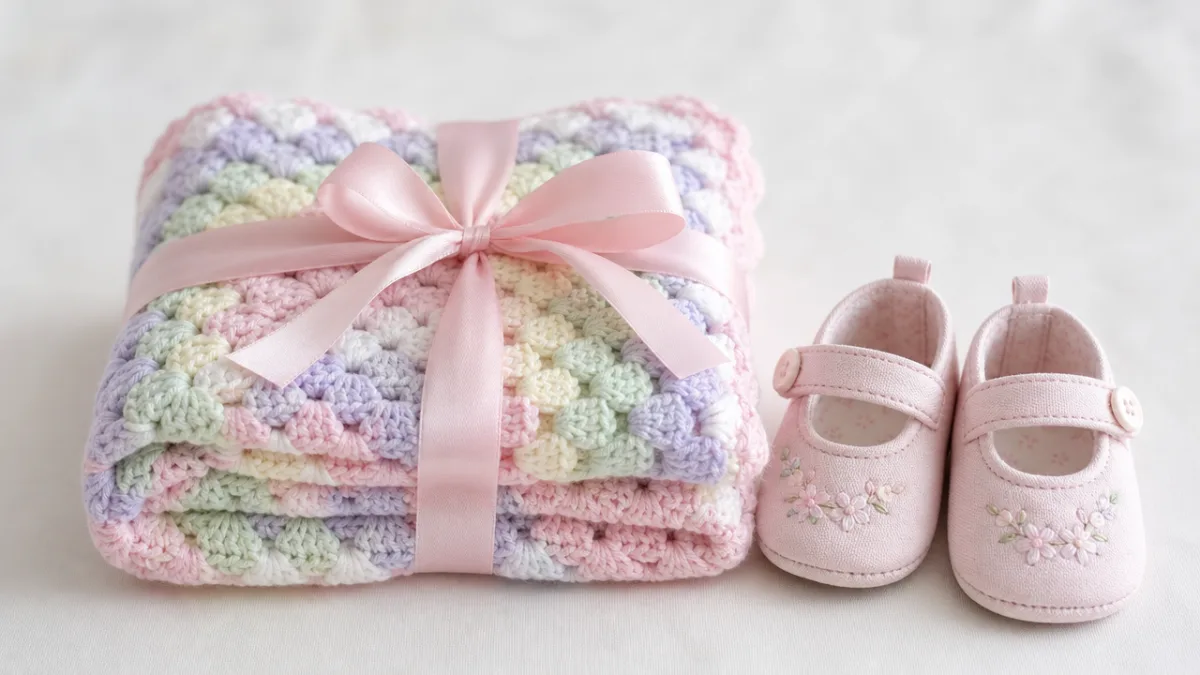
If you’re giving the blanket as a gift, a little thought goes a long way. Fold it neatly, tie it with a coordinating ribbon, and consider attaching a small handwritten tag with the fiber content and washing instructions — new parents genuinely appreciate knowing they can just throw it in the machine. A short note about how long it took you to make and why you made it turns something practical into something personal. That’s the kind of thing people keep for years.
Building Confidence and Growing Your Crochet Skills
Finishing your first baby blanket is a real milestone, and it deserves a real moment of appreciation. Think about what you actually did: you picked up unfamiliar tools, learned a new notation system, kept your tension reasonably consistent across row after row, and ended up with a finished object that someone will use and love. That’s not nothing. And here’s the thing — every blanket you make after this one will feel noticeably easier, because these skills compound quickly once they start to click.
From here, the best way to keep growing is to challenge yourself one small step at a time. Once a basic single or double crochet blanket feels comfortable, try something with a moss stitch or a simple shell repeat. Once that feels manageable, explore color changes within a row, or give your first granny square a shot. Crochet has this wonderful quality where each new technique feels like a natural extension of the last one, so progress rarely feels overwhelming — it mostly just feels satisfying.
The crochet community is also genuinely one of the best parts of picking up this craft. Ravelry, Pinterest, Instagram, and YouTube are overflowing with free patterns, tutorials, and project inspiration, and local yarn shops often host beginner circles or drop-in classes where you can crochet alongside people at the exact same stage as you. Finding even one online group or following a few crochet creators whose work you admire can do wonders for keeping your motivation up between projects. People in this community really do want to see you succeed — and they’ll probably ask to see photos of your finished blanket, too.








What do you think?
It is nice to know your opinion. Leave a comment.