










11 Solid Granny Square Patterns: A Complete Guide to Timeless Crochet Craft
The Enduring Legacy of the Granny Square
There aren’t many motifs in the fiber arts world that have stuck around quite like the humble granny square. What started as a clever way to use up leftover yarn scraps has grown into one of the most loved and versatile techniques in crochet today. You’ll find them on vintage afghans draped over farmhouse sofas and bold, modern tote bags carried through city streets. The granny square just keeps reinventing itself across generations, styles, and skill levels — and its simple geometric form somehow contains far more creative potential than it first lets on.
The classic granny square is built from clusters of double crochet stitches worked in rounds, with chain spaces at each corner giving it that instantly recognizable shape. The “solid” granny square takes this same foundation in a slightly different direction by filling in those open, lacework gaps you’d normally see in the center and body. The stitches are worked so the fabric comes out denser, warmer, and often more visually striking. That makes solid squares a great fit for projects that really need some structure and substance — things like blankets, pillow covers, and garments.
It’s worth understanding what actually separates a traditional open granny square from a solid variation before you start. In a standard granny square, those holes and gaps are part of the charm — they give it that airy, lacy feel. Solid versions close up the fabric by working into the chains themselves rather than into the spaces, or by swapping chain bridges out for additional stitches. The result still has all the nostalgic warmth of the classic version, but with a cleaner, more modern finish that works beautifully across a much wider range of projects and color combinations.
Choosing the Right Yarn and Hook for Solid Granny Squares
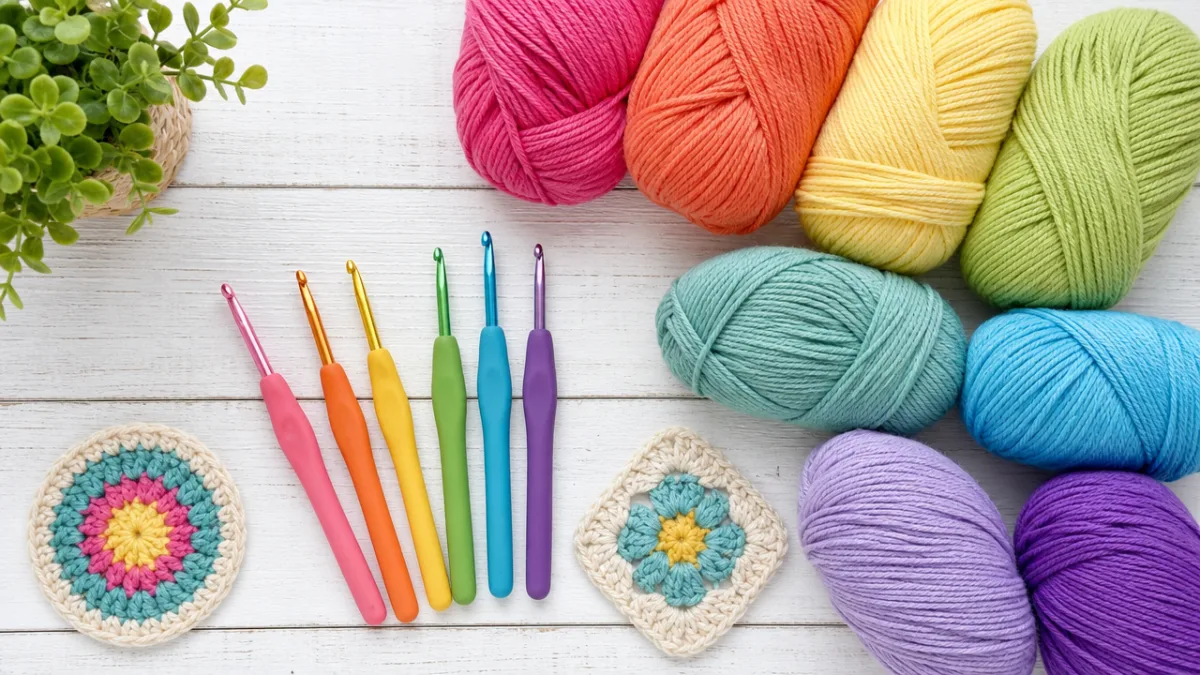
Choosing the right materials might honestly be the most important decision you make before starting any granny square project. For solid squares specifically, yarn weight matters a lot, because the denser stitch construction means the fabric’s drape and weight become more pronounced compared to open-work versions. Worsted weight yarn — your standard size 4 medium — is the go-to for a reason. It works up quickly, comes in virtually every color you could dream of, and produces squares with satisfying heft and durability. If you’re newer to crochet, worsted weight is also the most forgiving to work with.
That said, plenty of experienced crocheters love to see what solid granny squares can do in other weights. Fingering or sport weight yarn produces a delicate, refined fabric that’s lovely for baby blankets, lightweight shawls, or decorative wall hangings. At the other end of the scale, bulky or super bulky yarn creates squares with incredible texture and visual punch — perfect for chunky throw blankets or floor cushions that look as good as they feel. The main thing is to match your yarn weight to what you’re actually making, and then choose a hook size that gives you a fabric that’s firm but not stiff.
Fiber content deserves just as much thought as weight. Cotton and cotton-blend yarns are a great pick for dishcloths, market bags, or warm-weather garments because they have very little stretch, which helps your squares keep their clean geometric shape over time. Acrylic yarns bring machine washability, budget-friendliness, and an almost overwhelming range of colors to the table — making them a practical workhorse for big blanket projects. Wool and wool blends add natural warmth and elasticity, and they have one big advantage: they can be blocked. That means you can dampen your finished squares, pin them to exact measurements, and dry them into perfectly uniform shapes before joining everything together.
Essential Techniques for Mastering Solid Granny Squares
Before you jump into any of the eleven patterns in Linda Hagans’ collection, it’s worth spending a little time building a solid foundation in the core techniques they all share. The magic ring — also called the adjustable ring or magic circle — is the most common way to start a granny square because it lets you pull the center opening completely closed. That eliminates the tiny hole you sometimes get with a traditional chain loop start, and once you’ve mastered it, every granny square you make will have a clean, polished center that looks intentional and professional.
Working in joined rounds is another fundamental skill that shapes how solid granny squares come together. Unlike the continuous spiral rounds you’d use for amigurumi or hats, granny squares are typically worked in flat rounds that close with a slip stitch and then restart with a standing stitch or a chain. That’s what gives the motif its layered, structured look. For solid variations especially, knowing the difference between working into a stitch versus working into a chain space becomes really important, because that choice is largely what makes a square “solid” in the first place.
Color changes are where a lot of the artistic magic happens, and solid squares give you a particularly clean canvas to play with bold color work. The neatest changes happen when you complete the final yarn over of your last stitch before the switch in the new color — that little trick prevents the muddy blending that can happen at transition points. It’s also worth getting into the habit of weaving in your ends as you go rather than saving them all for the end. It saves a surprising amount of time on finishing and spares you from staring down a pile of loose tails at the end of an otherwise beautiful project. These small habits add up quickly and really do make a difference from your very first motif.
Overview of the Eleven Solid Granny Square Patterns
Linda Hagans’ collection of eleven solid granny square patterns covers a thoughtfully chosen range of difficulty levels and visual styles, making it genuinely accessible to crocheters at every stage of their journey. The simplest patterns in the set are designed with true beginners in mind, sticking to the most fundamental stitches — chain, slip stitch, single crochet, and double crochet — arranged in a clear, easy-to-follow sequence. These entry-level squares are perfect for building confidence, working on consistent tension, and getting comfortable with the rhythm of working in rounds before moving on to anything more challenging.
As the collection moves forward, the patterns introduce more sophisticated techniques and design elements that keep experienced crocheters interested and genuinely challenged. Some squares bring in textural stitches like bobbles, puff stitches, or popcorns to add three-dimensional detail and some really satisfying tactile interest. Others play with geometric subdivision, creating the illusion of pinwheels, diamonds, or concentric squares within the larger frame. A handful of patterns in the collection even have you working with two colors at once, which produces striking two-tone effects and gives each square a graphic, almost quilt-like quality that feels very fresh and contemporary.
The range of projects you can make with these eleven patterns is honestly pretty exciting. Here are just a few directions you could take them:
- Blankets and afghans — Mix and match several patterns for an eclectic, sampler-style throw, or repeat one favorite design for a cohesive, graphic statement piece that works in any room of the home.
- Pillow covers — Four squares joined together create the front panel of a standard throw pillow, making this one of the fastest and most satisfying home décor projects a crocheter can complete.
- Tote bags and market bags — Solid squares joined into tubes or flat panels and reinforced with simple crochet side panels make sturdy, stylish bags that are far more durable than their open-work counterparts.
- Garments and accessories — Cardigans, vests, ponchos, and even skirts constructed from granny squares have never been more fashionable, and solid squares give these wearables a structured, polished look.
- Coasters and trivets — A single solid granny square worked in cotton yarn makes a practical, beautiful coaster that protects surfaces and brightens up any tabletop.
What really sets this collection apart from the sea of free granny square patterns online is Linda Hagans’ clear, detailed writing. Each pattern uses standard US crochet terminology and includes stitch counts at the end of every round, so you can catch any mistakes quickly before they snowball. Many patterns also include notes on how to adjust the finished size just by changing your yarn weight and hook size, which gives you a lot of flexibility to scale the same design up or down for different projects without hunting down an entirely different pattern.
Joining Methods and Creating Cohesive Projects
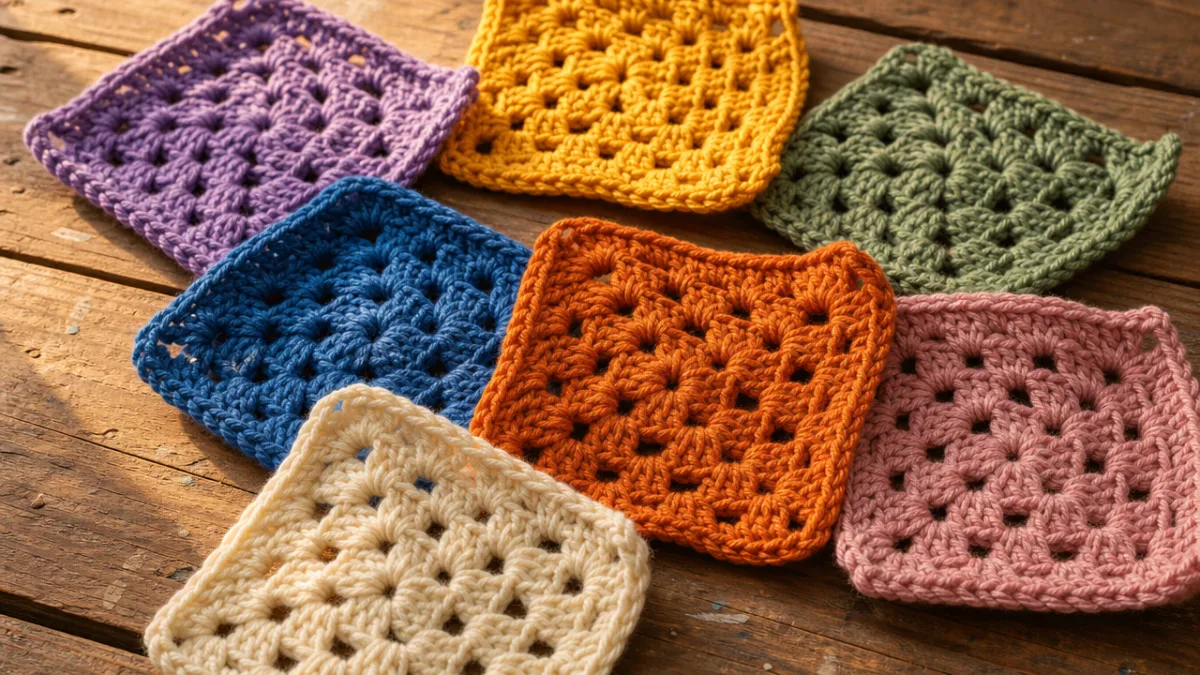
Once you’ve worked your way through the eleven patterns and built up a collection of beautiful solid granny squares, figuring out how to join them into a finished project becomes the next big creative puzzle. The joining method you choose has a huge impact on how the finished piece looks and feels, and different projects really do call for different approaches. It’s worth testing a few techniques on small sample squares before committing to one for a large project — switching methods partway through can introduce noticeable inconsistencies that are hard to ignore once you see them.
The flat slip stitch join is worked with the wrong sides of two squares held together while a crochet hook draws loops through both layers at once. It creates a thin, subtle seam that nearly disappears into the fabric, which is ideal when you want the squares themselves to do all the talking. The flat single crochet join works similarly but creates a slightly more pronounced ridge on the wrong side, adding some structural stability that’s a real plus for items that will see a lot of use over time. Both methods can also be worked with the seam running along the right side in a visible, intentional way if you want to lean into it as a design element.
For crocheters who want their seams to actually become part of the design, the join-as-you-go method is a particularly elegant option. With this technique, each new square gets joined to its neighbors during the final round of its construction, rather than being sewn or crocheted together afterward. It takes more planning and careful arrangement of squares upfront, but it eliminates the separate joining step entirely and produces a finished fabric with no extra seam bulk. The result feels beautifully cohesive and professionally made — especially effective when you’re working solid granny squares in a single colorway, where it creates an almost seamless expanse of textured fabric.
Customizing Colors and Creating Unique Colorways
One of the best things solid granny squares offer is an exceptional canvas for exploring color. Because the fabric is dense and the stitches are so clearly defined, color combinations show up with real clarity in solid squares — there’s no open lacework to soften or muddy the relationship between hues. That makes the solid granny square one of the best hands-on tools for learning about color theory in practice. Working through even a small project with deliberately chosen color combinations will teach you more about how colors actually interact than any book on the subject.
A good starting point for building a harmonious colorway is to choose a dominant color, an accent color, and a neutral that can tie the two together. This classic three-color approach gives you results that feel balanced and intentional without needing any formal design background. From there, you can start exploring analogous color schemes — three to five colors sitting side by side on the color wheel — for something that feels lush, layered, and almost botanical. Complementary schemes, which pair colors from opposite sides of the wheel like orange and blue or yellow and violet, create vibrant, high-energy projects with a bold graphic quality that photographs really well.
If you prefer a more spontaneous approach, working with scrap yarn remains one of the most genuinely joyful ways to work through a set of solid granny squares. In this method, each round of each square gets worked in whatever yarn you have on hand, pulling from a basket of leftover bits and partial skeins from past projects. The finished piece ends up completely one-of-a-kind, deeply personal, and full of a visual warmth that comes from the natural variety in the palette. To keep things from looking chaotic, try using a single consistent yarn for the final border round of every square and for all the joining seams — it creates just enough visual coherence to pull everything together while still letting all that glorious color variety shine.
Care, Blocking, and Long-Term Maintenance of Finished Projects
After all the time you’ve put into making your solid granny squares, it’s worth taking equally good care of them once they’re done. Blocking — the process of wetting or steaming your finished squares and pinning them to specific measurements while they dry — is honestly one of the most transformative things you can do as a finisher. Squares that look a little uneven or inconsistent fresh off the hook can come out looking perfectly crisp and professional after a good blocking session. If you’re planning to join your squares together, blocking each one to identical dimensions beforehand makes the whole assembly process easier and gives you a noticeably more polished result.
How you care for a finished project comes down almost entirely to the fiber content of your yarn. Projects made with superwash wool or acrylic can usually go in the washing machine on a gentle cycle and be laid flat to dry, which makes them a practical choice for things like children’s blankets or throw pillows that get washed frequently. Cotton projects can generally handle slightly more vigorous washing but should still be dried flat to keep their shape. Natural wool that hasn’t been treated for machine washing needs a gentler approach — a hand wash in cool water with a wool-specific soap, then pressed (not wrung) in a towel to remove moisture before being reshaped and dried flat on a blocking board or clean surface.
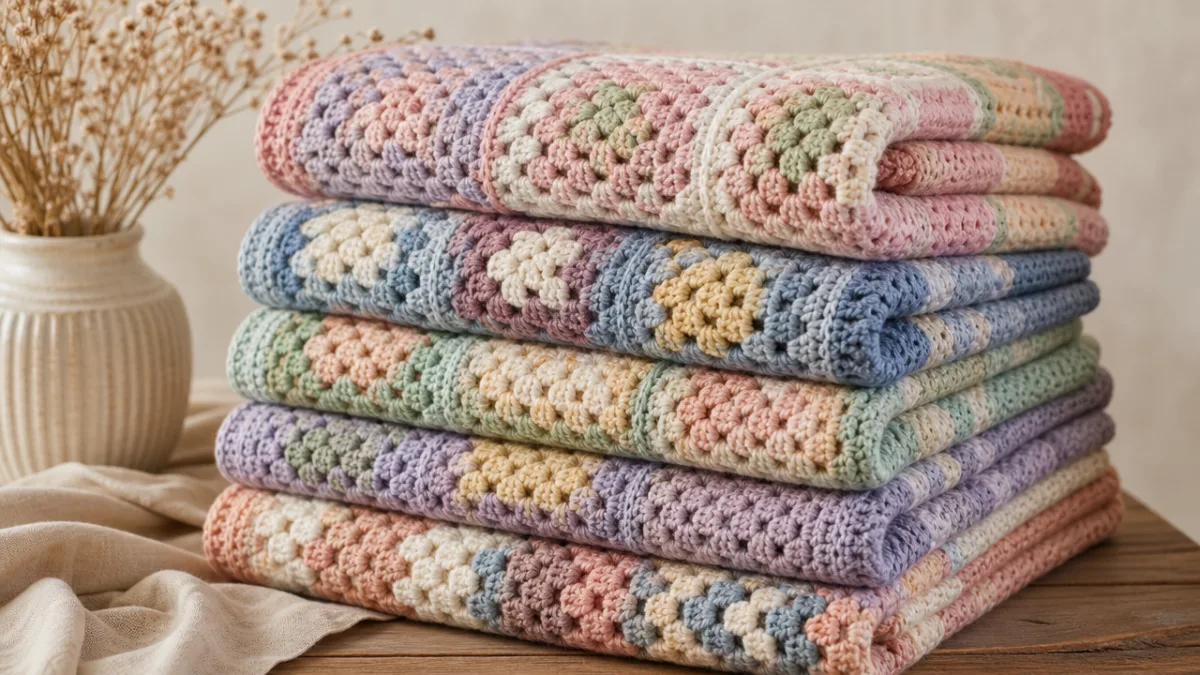
Storing your finished crochet projects properly goes a long way toward keeping them looking great over the years. Folded blankets stored in breathable cotton bags or pillowcases stay protected from dust while still getting enough air circulation to prevent mustiness. If you’re storing anything made with natural fibers, tuck in some cedar balls or lavender sachets — both discourage the moths that are unfortunately attracted to wool and other animal fibers. A little attention to storage and care ensures that all the time, creativity, and love you put into each motif pays off in a finished piece that looks just as beautiful years from now as it does today.








What do you think?
It is nice to know your opinion. Leave a comment.