










Handprint Fish: A Complete Guide to This Beloved Children’s Art Project
Introduction to Handprint Fish Art
If you’ve spent any time around kids and craft supplies, you’ve probably encountered handprint fish at some point — and for good reason. This project has stuck around because it’s genuinely magical for children. You press a paint-covered hand onto paper, add a few simple details, and suddenly you’ve got a fish. Whether you’re doing it at the kitchen table, in a classroom, or at a summer camp, there’s something about this project that just works. Kids love it, parents love the results, and teachers keep coming back to it year after year.
What makes it so appealing is the simplicity. The palm becomes the body of the fish, the fingers splay out to form a fan-shaped tail, and all of a sudden something completely ordinary — a hand — turns into something unexpected and fun. That little moment of transformation is what gets kids hooked. They did that. Their hand made that fish. It’s hard to overstate how much that sense of accomplishment means to a young child.
But handprint fish are more than just a cute finished product. They’re genuinely good for kids developmentally — helping with fine motor skills, sensory exploration, color recognition, and creative thinking. Children naturally start learning about patterns, symmetry, and even a little bit of marine biology as they add scales and fins and googly eyes. And the project scales beautifully, from a toddler who just wants to squish paint around to a ten-year-old who wants to paint an entire ocean scene. This guide covers everything you need to know to pull it off successfully, no matter who you’re crafting with.
Materials You Will Need
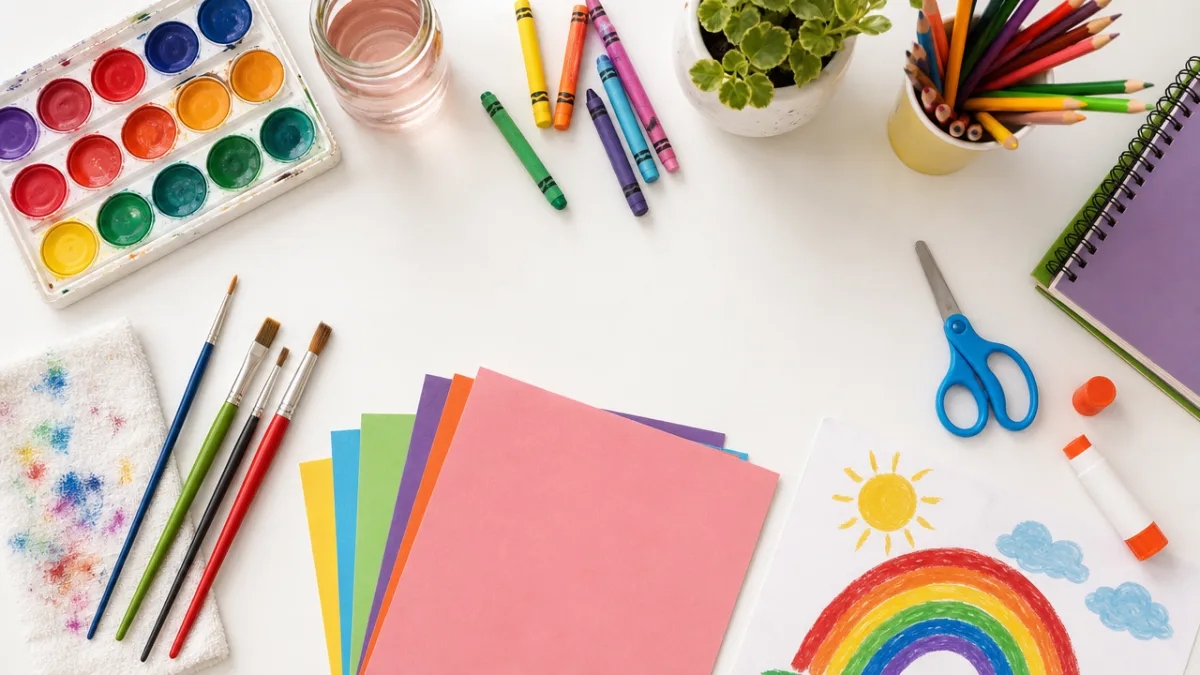
Before you get started, it’s worth taking a few minutes to pull everything together. Having your supplies laid out and ready makes the whole session run more smoothly — and trust me, you do not want to be hunting for a paper towel when there’s a paint-covered hand hovering in mid-air. The good news is that this project doesn’t require anything fancy or expensive. Most of what you need is probably already in your home, and anything else is easy to find at a craft store or dollar store.
Paint is your most important supply. For younger kids, washable tempera paint is the way to go — it goes on smoothly, comes in great colors, and washes off skin and surfaces without much fuss. Older kids can handle acrylic paint, which dries to a richer, more lasting finish. Watercolors are another fun option, especially if you want that soft, watery look that feels like light filtering through an aquarium. Each type gives the finished fish a slightly different feel, so it’s worth thinking about which effect you’re going for.
Paper matters more than most people expect. Regular printer paper will buckle and tear once wet paint hits it, so go for thick cardstock or watercolor paper instead. If you’re making something meant to be framed and kept, canvas boards are fantastic. Blue paper is a handy shortcut since it already looks like water, saving you from painting a background later. Here’s everything you’ll want to have on hand:
- Washable tempera paint or acrylic paint in a rainbow of colors
- Thick cardstock, watercolor paper, or canvas boards
- Foam brushes or sponge rollers for applying paint evenly to hands
- Fine-tip black markers or paint pens for adding details
- Googly eyes or small circles of white and black paper for fish eyes
- Glitter, sequins, or metallic paint for decorative scales
- A shallow tray or palette for paint
- Wet wipes and a bucket of soapy water for cleanup
- Old shirts or smocks to protect clothing
- A drop cloth or newspaper to protect your work surface
A few optional extras are worth considering too. Blue and green watercolor for painting an ocean background, small foam stamps for bubbles or coral, and stickers for younger kids who aren’t quite ready to paint fine details freehand can all add a lot to the experience. A reference photo of a real fish or a colorful illustration is also surprisingly helpful — kids love having something to look at for inspiration when they’re deciding how to decorate their creation. A little prep goes a long way toward a fun, low-stress craft session.
Step-by-Step Instructions for Creating Handprint Fish
The process itself is pretty simple, but going through the steps in order really does make a difference — especially if you’re doing this with a group of kids. Before anyone touches paint, get your work surface covered, smocks on, and your palette set up. Those few minutes of prep will save you a lot of cleanup headaches later. Once everything’s in place, the fun part can begin.
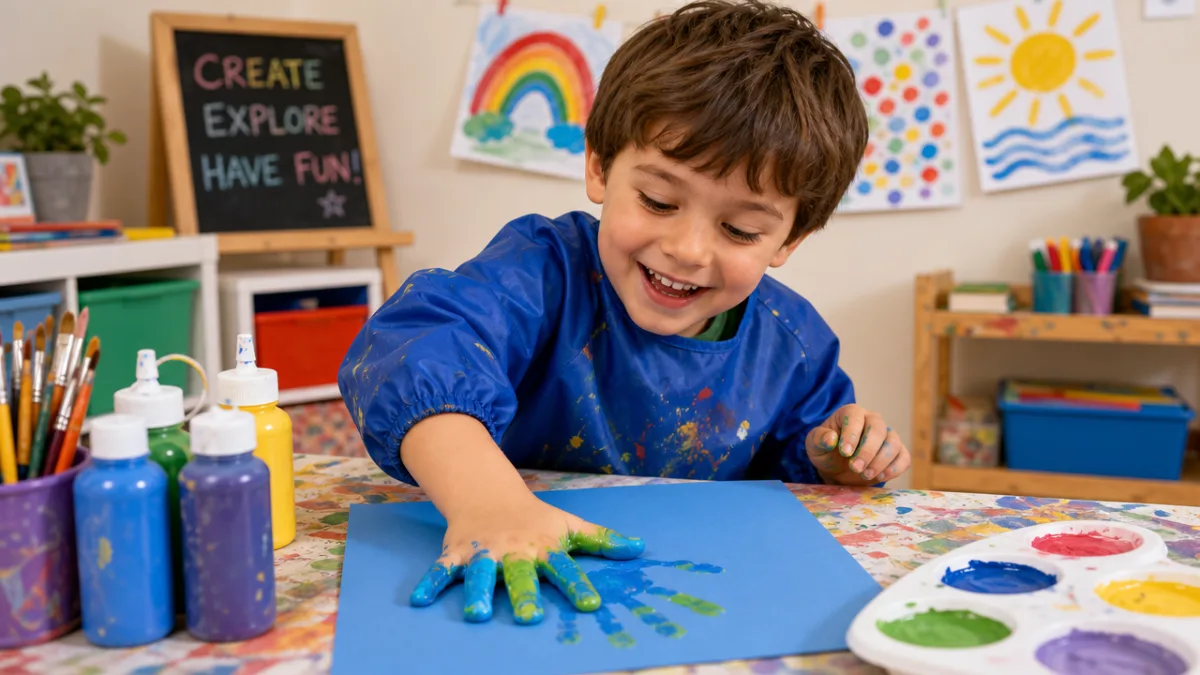
First, decide which direction your fish will face. Position the hand so the thumb points upward and the fingers fan out to one side — that spread of fingers is going to become the tail. Using a foam brush or sponge roller, apply a smooth, even coat of paint over the entire palm and all the fingers. The key here is not too thick. A heavy, clumpy layer of paint tends to smear and lose detail when you press down. You want a nice even coat that will give you a clean, crisp print.
Press the painted hand firmly onto the paper and hold it still for three to five seconds before lifting straight up. No sliding, no rocking — just steady pressure and a clean lift. Once the hand comes off the paper, you’ll see the palm forming the fish’s body and those spread fingers making a beautiful fan tail. Now comes the hardest part: waiting for it to dry before adding any details. This is genuinely difficult for excited kids, but skipping this step leads to smeared paint and frustration.
Once the base print is fully dry, the decorating stage begins — and this is honestly where the most fun happens. Grab a fine-tip black marker or paint pen and add the eye near the base of the thumb impression, a small curved mouth, and a gill line to suggest where the body meets the tail. From there, the fish is yours to make as simple or elaborate as you like. Here are some popular ways to finish it off:
- Draw curved scale lines across the palm area using a fine marker
- Add a bright dot of white paint inside the eye to create a lifelike gleam
- Paint stripes, dots, or zigzag patterns along the finger-tail fins
- Apply glitter glue along the edges for a shimmering, iridescent effect
- Add a small pectoral fin using a thumb print or painted triangle
- Surround the fish with painted bubbles using a fingertip dipped in white paint
- Create an ocean background with blue and green watercolor washes
For the finishing touch, paint the world around your fish. A loose wash of blue and green watercolor around the handprint instantly creates an underwater scene. Kids can use their fingertips to dab on bits of coral, seaweed, and floating bubbles. If you want to go bigger, try putting multiple handprint fish — in different colors and sizes — on the same sheet of paper. The result is a whole little ocean, full of life and color. Let everything dry completely before you think about framing or displaying it.
Age-Appropriate Variations and Adaptations
One of the best things about this project is how well it adjusts to different ages. You really can do it with a one-year-old and a ten-year-old on the same afternoon — it just looks a little different for each of them, and that’s perfectly fine.
For the very youngest kids, ages one and two, the whole point is the sensory experience. They’re not going to be decorating a fish with fine details, and that’s completely okay. At this age, the adult does most of the physical work — applying the paint and guiding the hand press — while the child gets to experience the weird, wonderful feeling of squishy paint on their palm and the surprise of seeing a mark appear on paper. Keep it short, keep it low-pressure, and celebrate whatever ends up on the page.
Toddlers and preschoolers, around three to five years old, can jump in much more independently. They can choose their colors, help brush paint onto their own hand, and press it down on their own. For decorating, keep it simple — a googly eye, a few dots of color with a finger, maybe a squiggly line or two. The goal at this age is confidence and joy, not a polished final product. Let them make the decisions and try hard not to redirect or correct. What they choose is always the right choice.
School-age kids between six and ten are where things get really interesting. This age group can handle real detail work — painting scales one by one, creating patterns on the fins, building out a full ocean background. They also start to think about their art more intentionally, which is a great opportunity to introduce ideas like complementary colors, shading, and composition. Giving them a little guidance alongside a lot of creative freedom at this stage builds real artistic skills, not just a fun afternoon.
For older kids, tweens, and even adults, handprint fish can be genuinely sophisticated. Acrylics on canvas, mixed media with collage and texture paste, or even using the handprint as a relief printing template opens up a whole new world of possibilities. Group projects where everyone contributes a fish to a shared ocean mural are especially wonderful in classroom or community settings — the result is always more impressive than anyone expects, and the collaborative process is meaningful in its own right.
Educational Benefits and Learning Opportunities
It would be easy to write handprint fish off as just a rainy-day activity, but there’s actually a lot going on developmentally when kids do this kind of project. Pressing a hand firmly onto paper, painting carefully with a brush, drawing tiny details with a marker — all of that is working the fine motor muscles and hand-eye coordination that children need for writing, drawing, and using tools later on. Art projects like this one are genuinely useful in early childhood, not just entertaining.
The fish themselves are also a natural jumping-off point for science. Once a child has made their fish, they get curious about real fish — what they look like, what colors they come in, how they breathe, why they have scales. That curiosity is worth following. Pairing this project with a picture book about ocean life, a trip to an aquarium, or even just pulling up a video of a coral reef creates a full learning experience that weaves together art, science, and language in a way that feels natural and engaging rather than forced.
Math shows up here too, in ways that are easy to highlight without making it feel like a lesson. Counting five fingers to understand the number five, noticing the symmetry in a fish’s body, spotting patterns in the scale designs, comparing the sizes of different fish on the page — these are all real mathematical ideas showing up in context. For older students, you can go further and talk about proportion, geometric shapes, and scale. The connections are already there; you just have to point at them.
Language development gets a boost too. While kids work, they talk — describing what they’re doing, naming colors, asking questions, making up stories about their fish. When the project is finished, ask your child where their fish lives, what it eats, or what its name is. Those conversations build vocabulary and narrative skills. Writing a short caption or story to go alongside the finished artwork takes it even further and gives kids a chance to express themselves in words as well as images. It’s a small addition that makes the whole experience more meaningful.
Display Ideas and Keepsake Projects
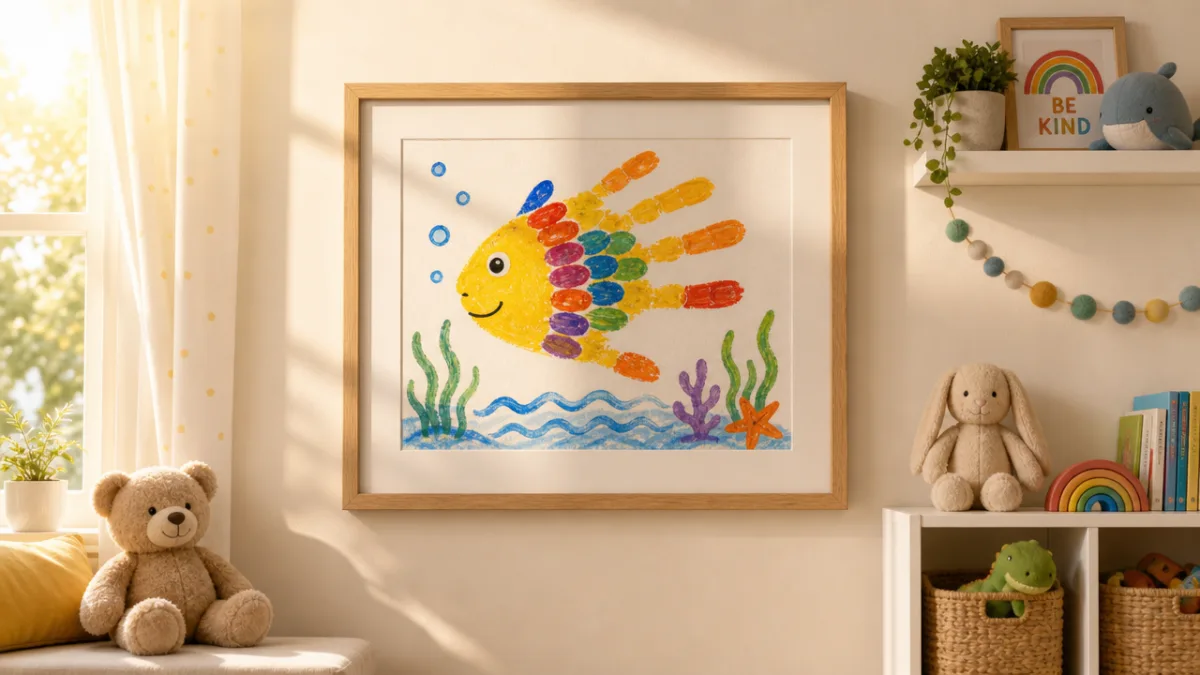
Once you’ve made something this good, it deserves a proper home. The simplest approach — and honestly one of the most effective — is just to frame it. A colorful frame on a bedroom or living room wall immediately makes it feel like real art, because it is. Children notice when their work is displayed with care, and it means a lot to them. Pick a frame that picks up one of the colors in the fish and it’ll look like you put a lot more thought into it than you did.
For families thinking long-term, the annual handprint fish is one of those ideas that sounds simple but becomes genuinely precious over time. Make one every year on the same date — a birthday, the first day of summer, whatever feels right — and you end up with a visual record of how much a child’s hand has grown over the years. Collected in a portfolio or displayed together in a shadow box, it becomes one of those things people actually keep and look at for the rest of their lives.
In classrooms, a large sheet of blue butcher paper mounted on the wall makes a perfect backdrop for a whole class ocean. Every student contributes a fish, and kids can add paper coral, seaweed, and bubble details to fill it out. The result is always surprisingly beautiful, and it does something really nice for classroom culture — each fish is individual, but they all belong to the same world. It’s a good metaphor, and kids pick up on it.
If you want to take the finished artwork even further, there are lots of ways to transform it into something that can be used and enjoyed beyond a framed display. Here are some ideas worth trying:
- Scan and digitally print the artwork onto mugs, tote bags, or phone cases for personalized gifts
- Use the image to create custom greeting cards or thank-you notes
- Laminate smaller prints for use as bookmarks or placemats
- Incorporate the artwork into a handmade photo book or memory journal
- Transfer the design onto fabric using heat-transfer paper for custom T-shirts
- Create a mobile by cutting out individual fish and hanging them from a wooden dowel
- Use the prints as gift wrap or decorative tissue paper for special occasions
However you choose to display or preserve the finished work, the most important thing is that it’s treated like it matters — because to the child who made it, it really does. When kids see their artwork handled with care and displayed somewhere prominent, it tells them something important: that their effort counts, that their ideas have value, and that making things is worth doing. Those are lessons that start with something as simple as a painted hand pressed onto a piece of paper, and they can last a lifetime.








What do you think?
It is nice to know your opinion. Leave a comment.