










Fabric Bookmarks to Sew in 10 Minutes: A Complete Guide
Why Fabric Bookmarks Make the Perfect Quick Sewing Project
If you’ve ever caught yourself staring at a pile of fabric scraps with absolutely no idea what to do with them, here’s your answer: fabric bookmarks. They’re practical, they’re charming, and they give those leftover bits of fabric a real purpose. Whether you’ve been sewing for years or you just figured out how to thread a needle, this is the kind of project that eases you into textile crafting without making your head spin.
What makes a ten-minute bookmark so satisfying isn’t just the speed — it’s actually finishing something. Unlike a quilt or a garment that might take weeks (or let’s be honest, months), a fabric bookmark goes from scraps to something you can hold and use in a single sitting. That feeling of completion is genuinely addictive. A lot of crafters sit down to make one and end up making twelve, because they’re so quick and they make such great gifts, party favors, or little personal touches for every book on the shelf.
And they’re not just cute — they’re actually useful. A fabric bookmark won’t dog-ear, tear, or fade the way a paper one does. It’s durable, washable, and flexible enough to slide between pages without wrecking your book’s spine. You can customize them endlessly to match your personality or whoever you’re making them for, which makes them so much more meaningful than anything you’d grab off a store shelf. There’s something about receiving something handmade that just hits differently.
Who This Project Is Right For
Honestly? Pretty much everyone. If you can sew a straight line — by machine or by hand — you’ve got all the skill this project needs. The small scale works in your favor here: any little wobbles in your stitching are barely noticeable once the bookmark is flipped right side out and pressed flat. That forgiving quality also makes it a wonderful project to try with kids who are learning to sew with some adult supervision.
But experienced sewists will find plenty to love here too. A bookmark is the perfect low-stakes place to experiment with something you’ve been curious about. Want to try out a new decorative stitch? Test it on a bookmark. Wondering how two different fabric weights work together? Bookmark. You can play with precision corners, try out embellishments like buttons or embroidery, or dabble in appliqué — all without the pressure of ruining a bigger project.
It’s also a great fit for anyone with limited sewing time — busy parents, students, people who love crafting but rarely get a full afternoon to sit down with it. If you keep a small basket of pre-cut fabric strips near your machine, you can knock out a finished bookmark in whatever gap opens up between other things. A lot of crafters describe it almost like a creative reset — something that keeps their hands busy and their mind pleasantly focused without demanding too much of either.
Materials and Tools You Will Need
One of the best things about this project is how short the materials list is. You probably already have most of what you need. The whole idea is to use what you’ve got — fabric scraps, some thread, a few basic tools — and you’re basically ready. If you want to take things up a notch, a few optional embellishments can turn a simple bookmark into something really lovely.
For fabric, cotton quilting fabric is the go-to choice because it’s easy to handle, comes in every color and print imaginable, and holds up beautifully. That said, linen, lightweight denim, canvas, or even old clothing scraps all work great — just make sure whatever you’re using isn’t so thick or stiff that it won’t turn right side out cleanly. A simple test: if you can fold it easily with your fingers, it’ll work. Stretchy fabrics like jersey are best avoided unless you’re already comfortable handling them, since they tend to shift during sewing and make clean edges tricky.
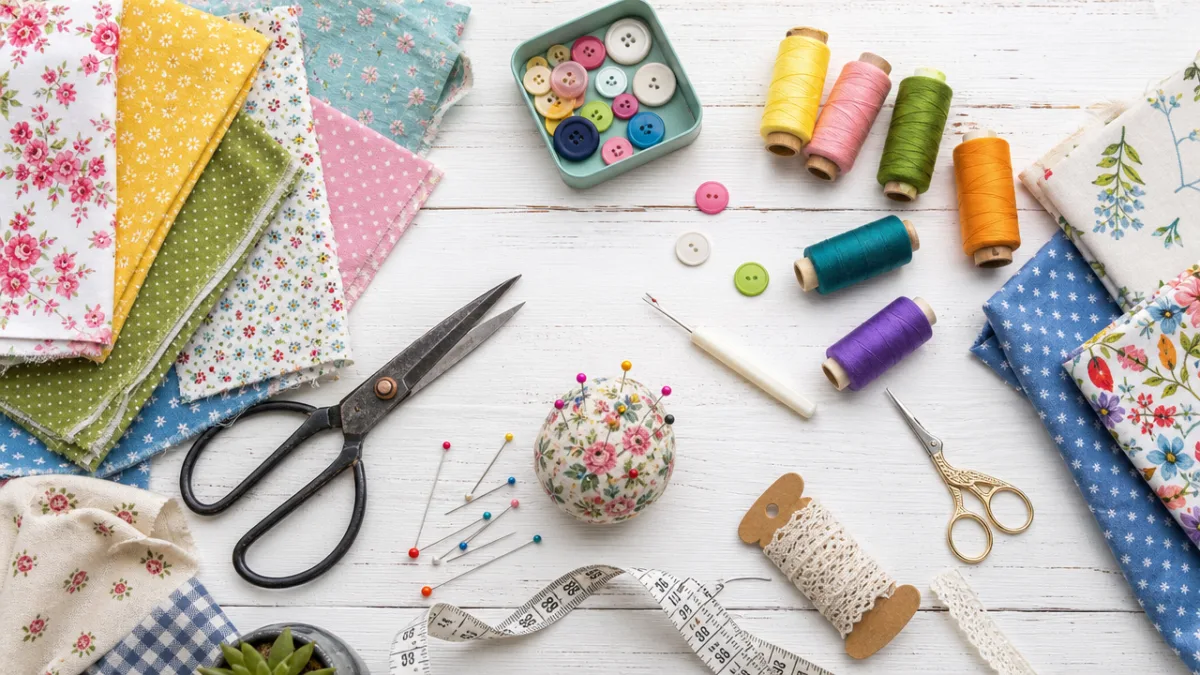
Here’s everything you’ll need to get started:
- Cotton or lightweight fabric scraps in your chosen colors or prints, cut to approximately 3 inches by 8 inches for a standard strip bookmark
- Coordinating or contrasting thread for your sewing machine or hand sewing needle
- Sharp fabric scissors or a rotary cutter with a cutting mat for clean, precise edges
- A ruler or quilting square to ensure accurate measurements before cutting
- An iron and ironing board for pressing seams and achieving professional-looking results
- Pins or sewing clips to hold fabric layers together during sewing
- A turning tool or chopstick to push out corners neatly after turning right side out
- Optional: ribbon, buttons, lace trim, or embroidery floss for decorative finishing touches
Step-by-Step Instructions for the Classic Strip Bookmark
The classic strip bookmark is the best place to start, and once you’ve got it down, every other variation comes naturally. Cut two pieces of fabric to the same size — around three inches wide and eight inches long is standard, though you can tweak those dimensions based on the books you read. Place the two pieces together with right sides facing each other, meaning the printed or decorative sides are touching and the plain sides face out. Pin or clip the edges so nothing shifts while you sew.
Stitch around all four edges using a straight stitch with about a quarter-inch seam allowance. At each corner, stop with your needle down in the fabric, lift the presser foot, pivot the fabric ninety degrees, lower the foot, and keep going. That little maneuver is what gives you those sharp, tidy corners. Just before you close the last side, leave about a two-inch gap unsewn — that opening is how you’ll turn the whole thing right side out, so don’t forget it.
Once you’ve gone around the perimeter, trim the corners diagonally, being careful not to cut through your stitching. This gets rid of the extra bulk and lets those corners turn out sharp and flat instead of lumpy. Push the bookmark through the turning gap — fingers first, then a turning tool or chopstick to coax the corners all the way out. Press it flat with a hot iron, folding the raw edges of the gap inward so they line up with the rest of the seam. Then close up that opening either with a hand slip stitch or by running a straight machine stitch along the whole edge for a clean topstitched finish.
Variations to Try Once You Have Mastered the Basics
The corner bookmark is another favorite, and it works a little differently — instead of sliding between pages, it hugs the corner of a page like a little pocket. Cut two five-inch squares from coordinating fabrics, place them right sides together, sew around all edges with a turning gap, clip the corners, turn it out, and press it flat. Then fold the square diagonally into a triangle and topstitch along the long open edge. The pocket that forms slips right over any page corner and stays put even when the book is closed.
You can also work ribbon or decorative trim into a strip bookmark by tucking it between the fabric layers before you sew. Lay a length of ribbon at one short end with the body of the ribbon pointing inward and just the loop peeking out past the fabric edge. When you sew and turn the bookmark, that ribbon becomes a little tail hanging from the finished end. It’s such a simple addition, but it makes the bookmark look so much more polished — especially if you’re making them as gifts for book lovers.
If embroidery is your thing, a bookmark is a wonderful little canvas to practice on before you put a needle to anything bigger. Use an air-erasable marker to sketch a simple motif onto one fabric piece — a flower, a monogram, a short quote, a geometric shape — then stitch it up with basics like backstitch, satin stitch, or French knots before assembling the bookmark. That little stitched design becomes part of the finished piece forever, and it makes every bookmark feel completely one of a kind.
Tips for Achieving Professional-Looking Results
The difference between a bookmark that looks thoughtfully handmade and one that looks unfinished usually comes down to a few small habits. Pressing your fabric — before cutting and again after each sewing step — is probably the single biggest thing you can do for the quality of your finished piece. An iron smooths out the wrinkles that throw off your cutting, flattens your seams, and gives the finished bookmark that crisp, intentional look that makes handmade feel special rather than rushed.
Accurate cutting is right up there in importance. Even slight variations between your two fabric pieces can lead to uneven seams and edges that don’t quite line up, and the finished bookmark ends up looking a little off. It’s worth taking an extra minute to use a ruler and rotary cutter on a proper mat, or at least mark your cutting lines with a fabric pencil before you pick up the scissors. When both pieces are cut exactly the same, they sit together perfectly during sewing and the whole process just goes more smoothly.
Fabric combinations matter more than you might expect too. A strong contrast between your two pieces — whether in color, pattern scale, or both — tends to give you the most visually interesting results. A busy floral paired with a solid, or a small geometric next to a large abstract print, can look really striking. If you’re making a set of bookmarks as a gift, choosing fabrics that share a color palette but vary in pattern gives the collection a cohesive, curated feel rather than a random one.
Common Mistakes and How to Avoid Them
Forgetting to leave a turning gap is probably the most common beginner mistake, and it’s an easy one to make when you’re in the zone and sewing along confidently. A completely closed bookmark can’t be turned right side out without seam ripping, which wastes time and can damage your fabric. A simple fix: mark the turning gap with pins before you even start sewing. They’ll be right there as a physical reminder to stop and backstitch before you reach that section.
Another common issue is trimming the corners too aggressively and accidentally snipping through the stitching. Always leave at least a millimeter of fabric beyond your stitch line when you’re cutting, and use sharp scissors so you have control over where the cut lands. If you do clip through by accident, a tiny dab of fabric glue on the corner before turning usually saves it — and once it’s pressed flat, you’d never know anything went wrong.
The wrong needle can also cause more frustration than you’d expect, especially when sewing through multiple layers at the corners. A dull needle or one that’s not suited to your fabric can cause skipped stitches, puckering, or even snags. For most cotton quilting fabrics, a fresh universal needle in size 80 or 90 is all you need — it glides through cleanly and gives you even, consistent stitches from start to finish.
Creative Ideas for Gifting and Displaying Fabric Bookmarks
Fabric bookmarks are one of those handmade gifts that almost everyone genuinely appreciates, because almost everyone uses them. Books, journals, planners, recipe binders — a handmade bookmark adds a personal, tactile touch to something people interact with every day. For gifting, try making a small set of three to five coordinating bookmarks and tying them together with ribbon or twine, tucking them inside a book you’re already giving, or slipping them into a kraft paper envelope with a little handwritten note about why you chose those fabrics.
They’re also a quietly genius solution for holiday gift stress. Because each bookmark takes so little time and material, you can make a whole year’s worth of teacher gifts, hostess presents, stocking stuffers, and birthday tokens in a single dedicated afternoon. Choose prints that suit the person — botanicals for a nature lover, bold geometrics for someone with a modern aesthetic, soft florals for a vintage sensibility. The handmade quality is always noticed and felt, even when the actual making time was short.
At craft fairs, school fundraisers, or charity events, fabric bookmarks are a reliable hit. They’re inexpensive to make in quantity and appeal to a wide range of people. Displaying them in a small basket or fanned out on a piece of driftwood or a fabric-covered board invites people to pick them up and handle them — and once someone touches a handmade bookmark, they almost always buy one. Pricing them between two and five dollars each, or bundling three for a small discount, makes them easy impulse purchases that add up nicely over the course of a market day.
Building a Bookmark-Making Habit
The real joy of fabric bookmark making shows up when it becomes a regular part of your creative life rather than a one-off project. Keep a basket near your machine with pre-cut bookmark strips already inside, and you can sit down and finish something in almost any spare ten minutes you find. For a lot of sewists, this kind of low-pressure, high-reward making is what keeps their creative energy going during stretches when bigger projects feel too daunting or life just doesn’t allow for long uninterrupted hours at the machine.
You might also think of bookmarks as a way to document your fabric story over time. A bookmark made from the leftover fabric of your first quilt, another from the remnants of a dress you sewed for a special occasion, one from a fabric you picked up on vacation — each one carries its own small memory. Stitching those moments into something functional and lasting is one of the quiet pleasures that makes fabric crafting feel like more than just a hobby.
And if you want to share the experience, fabric bookmarks are the perfect group project. They need minimal equipment, fit neatly into a single session, and send every participant home with something finished and real. Kids and adults both enjoy the process, and making something alongside other people adds a layer of warmth and connection that solo making — wonderful as it is — just can’t replicate. Whether you gather in person or share your work online, making and giving fabric bookmarks has a way of spreading creativity wherever it goes.








What do you think?
It is nice to know your opinion. Leave a comment.