










Bottle Cap Wind Chime: A Complete Guide to Crafting Your Own Musical Masterpiece
Introduction to Bottle Cap Wind Chimes
Bottle cap wind chimes are one of those DIY projects that just make sense — they’re sustainable, creative, and somehow end up sounding way better than you’d expect. Instead of tossing out the metal caps from your soda, beer, or sparkling water, you can turn them into something genuinely lovely. Hang them somewhere with a bit of a breeze and those humble little discs produce this light, tinkling sound that gives any outdoor space a lot of personality.
And the appeal really does go beyond just recycling. Bottle caps come in so many colors and designs that every chime you make ends up completely one-of-a-kind. You might go for the bold reds and greens of soda caps, the warm gold tones of beer caps, or a carefully curated set in a matching palette — the possibilities are pretty much endless. Plenty of crafters spend months collecting exactly the right caps before they even start building, and honestly, that gathering phase becomes its own little hobby.
There’s also something meaningful about the environmental side of it. Every cap you repurpose is one less small piece of metal headed to a landfill. Billions of bottle caps are produced every year, and because they’re so small, most municipal recycling programs can’t handle them. Finding creative uses for them actually matters. So when you’re done and your chime is hanging in the garden, you get to feel good about how it looks and what it represents — and that’s a pretty nice bonus.
Materials and Tools You Will Need
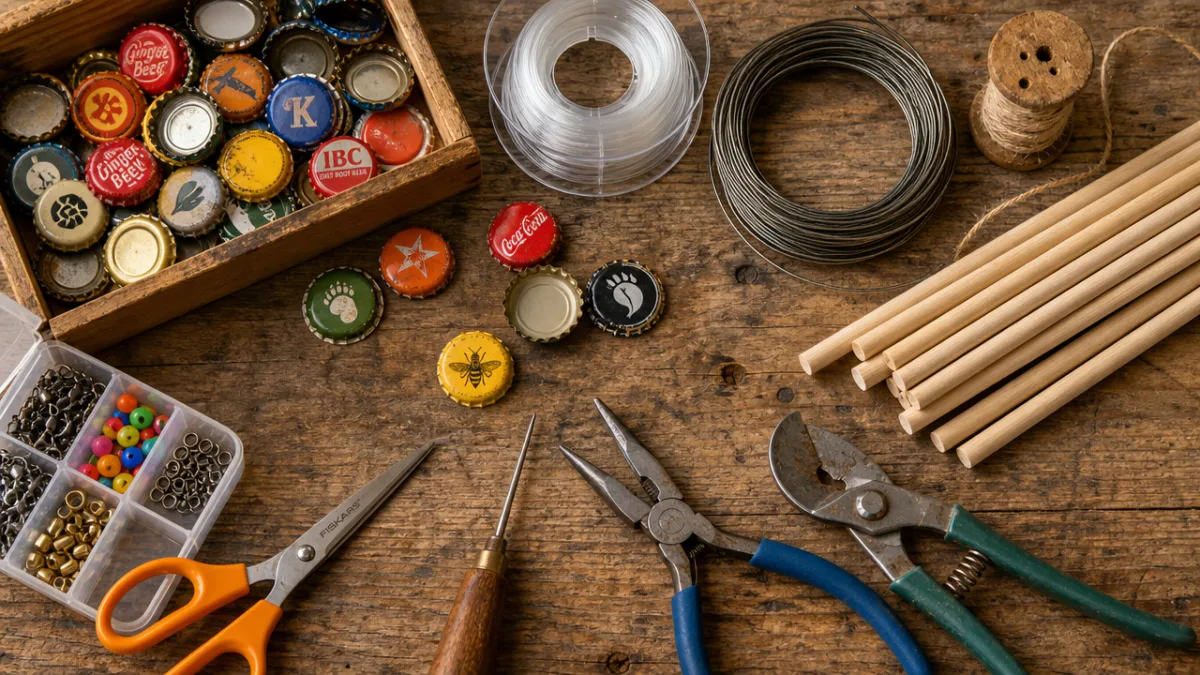
Before you dive in, it’s worth getting everything together first. Nothing derails a fun craft project like stopping halfway to hunt down a missing tool. The obvious starting point is the caps themselves — a mid-sized wind chime typically calls for somewhere between thirty and sixty of them, though bigger or fancier designs will need more. Start saving early, and don’t be shy about asking friends, family, or even your local bar or restaurant to set some aside for you.
You’ll also need something to serve as the base — the piece everything hangs from. Driftwood is a popular choice, and so are wooden dowels, short lengths of copper pipe, or even a metal ring from an old embroidery hoop. Whatever you go with, it needs to be sturdy enough to hold the weight of all those caps and tough enough to handle being outside year-round. Copper and treated hardwood both hold up really well, and they look great too.
For the rest of your supplies, you’ll need a hammer and a sturdy nail for punching holes in the caps (or a power drill if you want cleaner results), fishing line or thin wire for stringing everything together, and pliers for bending wire ends. Optional extras like beads, small bells, or sea glass can add a lot of character. If the caps you’ve collected aren’t quite the colors you want, some spray paint or acrylic craft paint can fix that easily. Get it all laid out before you start and the whole process will go much more smoothly.
Preparing Your Bottle Caps
Prep work isn’t the most exciting part of any project, but with bottle cap wind chimes it really does make a difference. Start by giving every single cap a proper cleaning. Even ones that look fine can have dried residue tucked inside those crimped edges, and left untreated that stuff can attract insects, cause unpleasant smells, or speed up rusting. Soak the caps in warm soapy water for about ten minutes, give them a scrub with an old toothbrush, and let them dry completely before you move on.
Next, you need to punch or drill a hole in each cap. If you’re going the hammer-and-nail route, flip each cap face-down on a piece of scrap wood, center the nail, and give it one firm, confident strike. You’re aiming for a hole around three to four millimeters across — big enough to thread your line or wire through, but not so big that it weakens the cap. A thick piece of wood or a sandbag underneath will protect your work surface and give the cap something solid to press against.
If you’re planning to paint your caps, do it now, before they’re strung together. Lay them face-up on some cardboard or newspaper and apply thin, even coats of acrylic craft paint — it comes in just about every color imaginable and works really well on metal. For something that’ll actually hold up against rain and sun, finish them with a coat of outdoor-grade Mod Podge or a clear acrylic sealant spray. Give everything plenty of time to dry, ideally overnight, before you move on to assembly.
Assembling the Wind Chime
Now the fun part begins. Start by deciding how many strands your chime will have and roughly how long each one should be. Most designs have somewhere between four and eight strands at varying lengths, which gives the chime that nice cascading look and also means caps on different strands will knock into each other when the wind picks up — that’s where the sound comes from. Cut your fishing line or wire a bit longer than you think you need so you have room to work.
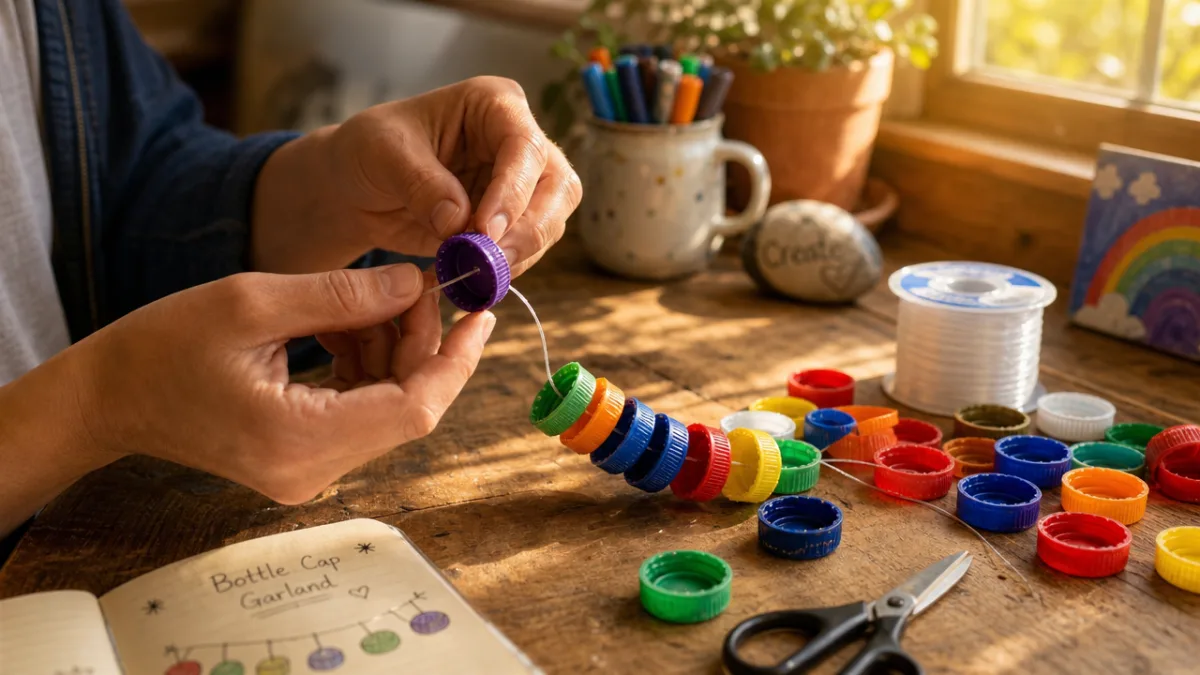
To string the caps, thread your line through the hole in each cap and tie a knot below it to keep it from sliding down. If you’re using wire, a small bent loop does the same job. Leave about an inch or two of space between each cap so they can swing freely and actually clank together. This is also the moment to add beads or other decorative elements — just work them in between the caps as you go. The spacing and rhythm of everything affects both how it looks and how it sounds, so it’s worth taking your time here.
Once your strands are done, tie or wrap them onto your base at evenly spaced intervals. If you’re working with a wooden dowel or piece of driftwood, small notches cut with a saw or file will keep the strands from drifting around. Then add a hanging loop at the center of the base — a sturdy loop of wire or a length of jute twine both work well. Before you commit to anything, hold it up and check the balance. If it tilts, shift your hanging point slightly until it hangs level and swings freely.
Creative Variations and Customization Ideas
Once you’ve got the basic method down, the real fun is seeing how far you can take it. Bottle cap wind chimes are incredibly flexible as a format — you can go simple and color-coordinated or get elaborate with multiple materials and a distinct theme. Either way, you’re making something that’s genuinely yours.
Themed chimes make fantastic gifts and always spark conversation. A beach version might combine blue and green caps with drilled shells, bits of sea glass, and a piece of bleached driftwood for the base. A garden theme could use floral-print caps, wooden beads painted to look like berries, and a curved branch overhead. Holiday variations are always a hit too — think red and green for Christmas, orange and black for Halloween, or soft pastels for spring. There’s really no limit to the directions you can take it.
You can also play with how the caps are arranged on each strand to create patterns. Alternating two contrasting colors gives you a striped effect. Going from light to dark within a single color family creates a gradient that catches the light beautifully. You can even use a paint pen or permanent marker to add words, tiny drawings, or decorative dots to individual caps — turning each one into its own miniature piece of art.
Sound is worth experimenting with too. The tones your chime produces depend on things like the thickness of your caps, the length and spacing of your strands, and whether you’re using wire or fishing line. Thicker wire produces a slightly different sound than thin monofilament. Caps strung closer together will chime in lighter breezes. Adding small brass or copper bells into the mix brings in richer tonal variety. Tweaking these variables is genuinely enjoyable, and no two chimes will ever sound quite the same.
Hanging and Caring for Your Wind Chime
Where you hang your wind chime matters more than you might think, both for how it looks and how it sounds. You want a spot that gets a steady but gentle breeze — enough to get the caps moving and striking each other, but not so much wind that the chime becomes a racket or risks getting battered. A covered porch or pergola is ideal since it keeps off the worst of the rain while still letting plenty of air through. In an open garden, shepherd hooks, fence-mounted brackets, or a sturdy tree branch all work really well.
Think about the visual setting too. Bottle cap wind chimes have a cheerful, eclectic, slightly bohemian energy that pairs naturally with lush plantings, colorful outdoor furniture, or rustic wood structures. But they can work in more minimal spaces too, as long as you’ve been thoughtful about your color choices. Wherever you hang it, try to find a spot where sunlight can catch the metal — the glittering effect in morning or late afternoon light is genuinely lovely.
Maintenance is pretty low-key, which is one of the perks of this project. Every few months — especially after a storm — give the knots and wire connections a quick check and re-tie anything that’s showing wear. If you didn’t seal your caps with a waterproof finish, you might start to see some surface rust in humid climates. A little white vinegar on a cloth can take care of minor rust spots, and a fresh coat of outdoor sealant afterward will keep it from coming back.

The Cultural and Artistic Significance of Upcycled Crafts
Bottle cap wind chimes fit into a much longer tradition of upcycled folk art that spans cultures and centuries. Long before sustainability was something people talked about, resourceful people everywhere were finding ways to transform discarded objects into things of beauty and use. Tin can lanterns in rural Mexico, bottle-cap mosaics in West African art — the impulse to see potential in cast-off materials is a deeply human creative instinct, and it shows up everywhere you look across history.
In today’s craft world, projects like this one have carved out a real and growing place for themselves. They attract people who care about the environment, people who love the look and feel of handmade objects, and people who just enjoy the challenge of making something remarkable out of something most folks would throw away. Online crafting communities have grown enormously over the past decade, with places like Pinterest functioning as global gathering spots where people share their designs, techniques, and finished pieces with millions of others who get it.
There’s also genuine educational value here that’s easy to overlook. Making a bottle cap wind chime with kids is a natural, hands-on way to introduce concepts like how sound is produced when objects strike each other, or how wind can be converted into motion. It also builds practical skills — measuring, knotting, basic tool use — and it demonstrates in a very concrete way that creativity and caring about the environment aren’t in conflict. Teachers and youth group leaders have caught onto this, and it’s easy to see why: the project manages to be educational, accessible, affordable, and actually fun, all at the same time.
When it comes down to it, a bottle cap wind chime is a small thing that carries a lot of meaning. When you hear it tinkling out in the garden, you’re not just enjoying a pleasant sound. You’re part of a long tradition of human creativity and resourcefulness. You’ve made a small but real contribution to using materials more thoughtfully. And you’ve made something that couldn’t have come from anywhere but you. That’s a pretty wonderful combination for an afternoon craft project.








What do you think?
It is nice to know your opinion. Leave a comment.